


Inspiration
Picture this:
- You're sitting in a classroom, eyes wide, as your teacher spins tales of civilizations long past. The pyramids of Egypt, rising from sun-baked sands. The bustling streets of Pompeii, frozen in time by Vesuvius's wrath. Your mind races, trying to piece together these ancient worlds from fragments of information.
- Up to now, we've been limited to words on a page, a few pictures in a textbook, maybe a documentary if we're lucky. We've squinted at reconstructed models and artists' renditions, willing ourselves to step through the page and into history.
- Then came the age of AI. Suddenly, with models like stable diffusion, we could conjure up images of these lost worlds with just a few words. Type in "Ancient Roman marketplace at sunset," and boom – there it is, rendered in stunning detail. It's like a window to the past, letting us peek into corners of history we've only dreamed about.
- But here's the thing – as amazing as these AI-generated images are, they're still just that: images. Static snapshots based on our prompts. You can look at that Roman marketplace, but you can't move around it, can't explore its nooks and crannies. It's a tantalizing taste of the past, but it leaves you hungry for more.
- That's where we come in. We wanted to change the game, to bring the educational experiences of the future to the students and curious individuals of today. We asked ourselves: What if you could do more than just look at a picture? What if you could explore it right from your computer?
What it does

We’ve created a first-of-its-kind 3D environment renderer powered by a combination of diffusion, depth estimation, point clouds, inpainting, and upscaling. Essentially, you start with one of the following:
- An existing environment image
- A description of an environment
- An address of a real-world location
We then take the initial environment image, and using the techniques described below turn this into an environment that you can navigate with either your WASD keys or the buttons which appear on screen. Using the power of this rendering technique, we are able to use AI to ‘guess’ what the camera’s POV would be after performing various movements (-45° rotation, forward, 45° rotation). As the user moves throughout the environment, we keep track of these movements so we can maintain consistency throughout movements and also pre-render potential next frames to make the transitions appear near-real time.
How we built it

- DiffusionEarth was built using a combination of Python (API development, complex math pertaining to camera placement, point normalization, mask generation, etc.), Open3D (point cloud generation, camera movement, rendering, etc.), Stable Diffusion (Image generation, inpainting), Marigold (depth estimation), Moondream (image -> text), Creative Upscaler (upscaling), NextJS (frontend), TailwindCSS (styling), and the Google Maps API (street view imagery).
Here’s a rundown of everything that occurs in the process of generating and maintaining a DiffusionEarth generation:
- The start image is provided
- If the user provides an image, this is done
- If the user provides a prompt, a call is made to a turbo version of stable diffusion to generate the requested environment
- If the user provides an address, we use the Google Maps Street View API to get the starting image at that location
- We run the marigold depth estimation model on the image, which returns a depth map of the image.
- Using Open3D, we convert this combination to a group of points in 3D space forming an initial point cloud. Then, we create a grid of possible positions and orientations for a user to take in the 3D environment, and asynchronously render a view for each one. To do this for an unvisited view, we take the points in the field of view of the virtual camera closest to the view and estimate an average normal, which we transform the camera to look directly along. We then use the Nelder-Meade optimization method to analytically determine the optimum position along that vector to place the camera to minimize the amount of whitespace in the camera frame. With the initial perspective established, we can perform a small rotation or translation in the camera’s local frame to get an image close to the original but with slightly different perspective and fill in the revealed white space with an inpainting model. We then calculate the depth for that new image and use it as the basis for further unvisited views if the user continues to travel in that direction.
- We then perform the user’s requested action on the virtual camera, with the same FOV, leaving missing pixels in the new image.
- Then, the now moved camera’s output is rendered into a png
- Based on the rendered image and it’s now missing pixels, we generate a black & white mask to signal to Stable Diffusion which pixels should be painted.
- We also perform an image -> text description generation powered by Moondream, in order to provide greater context of the requested image to the impainting model.
- Then, the inpainting is performed, creating an updating version of the frame post-movement
In the background, we kick off the following jobs:
- Upscaling: we generate a higher-quality version of the rendered point cloud which will replace the currently shown image once finished
- Pre-rendering: in parallel, we pre-render the 8 possible camera movements of each point, creating the effect of near real-time generation
Challenges we ran into
Going into this project, we knew that it was going to be a struggle from start to finish, and that turned out to definitely be true. The first challenge that we ran into was dealing with installing Open3D on MacOS, which we ended up having to build from scratch. Our next issue followed shortly after, was we were successfully generating point clouds, but the camera was positioned at the origin without respect for where it should be placed.
The next biggest challenge was solving the latency of generating new frames, which initially garnered around 2 minutes per frame when running locally. Through techniques like reducing the number of points per generating, switching to hosted GPUs for point cloud rendering, and more, we were able to cut that down to around 10-15 seconds. We spent around 4-5 hours on this particular topic, because we knew how important it was to the overarching experience.
Accomplishments that we're proud of
We’re really proud of the turn around in quality and speed we’ve had since we generated our first point clouds and eventually rendered images. The first image we generated was an elephant, and I can safely tell you that it definitely did not look very much like one at ALL. We invested a lot of our time into really getting things right, and it paid off!
What we learned
This entire project was a huge undertaking and therefore a huge learning process for all of us.
The biggest learning lessons had to do with:
- Open3D
- Point clouds are very cool and powerful
- The stable diffusion and open source model ecosystem
- Hosting applications with GPUs
What's next for Diffusion Earth
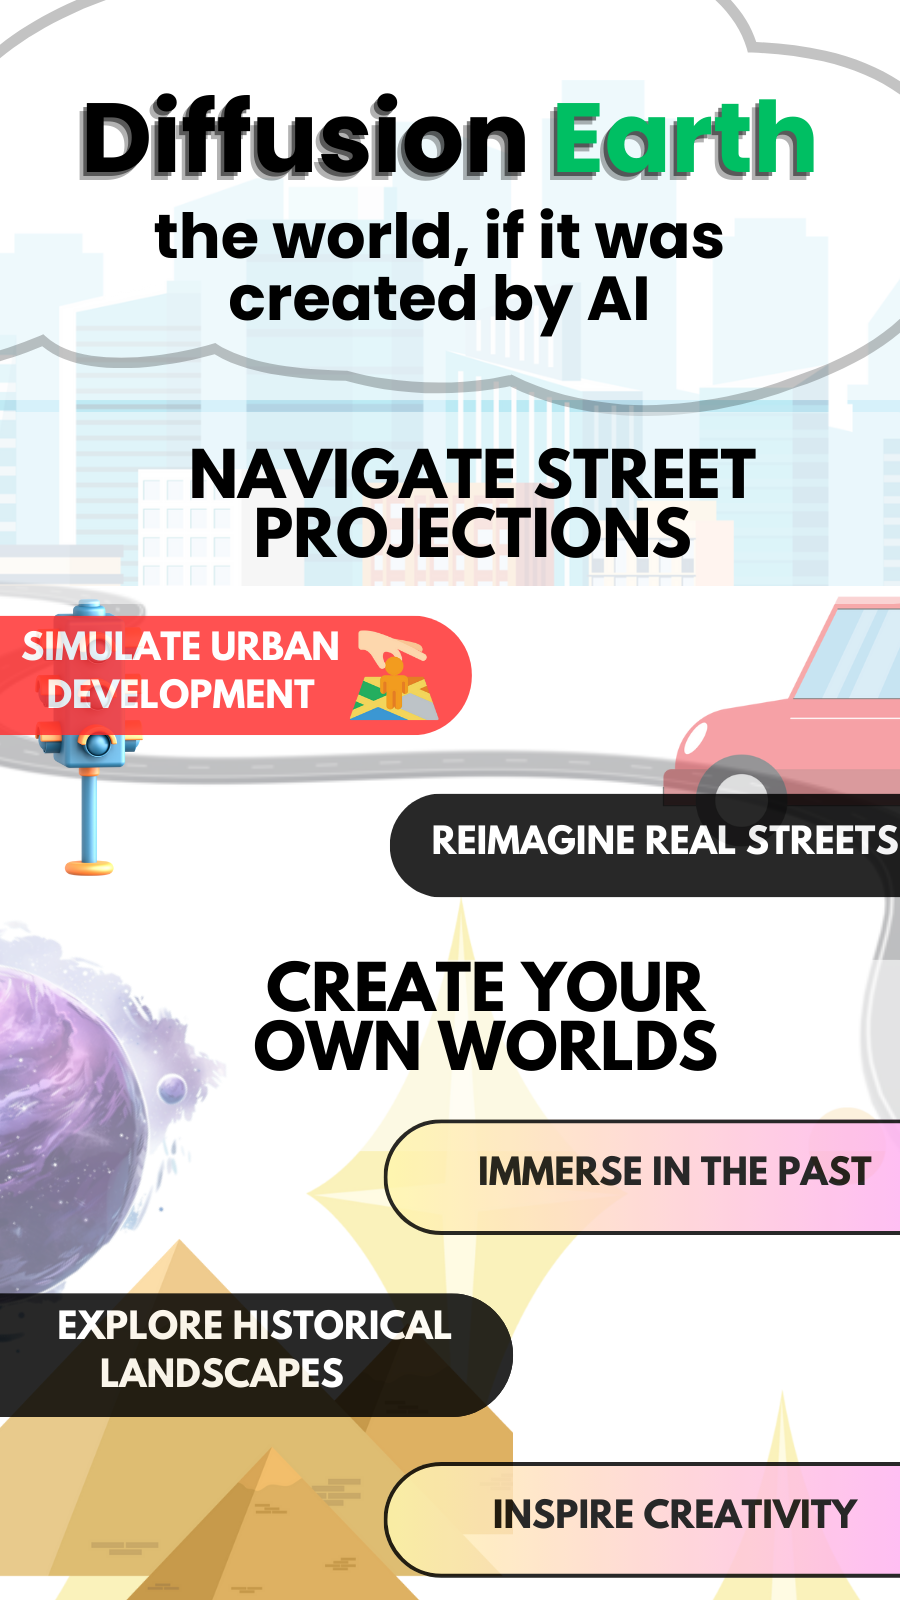
We’ve explored a lot of use cases related to imagining fictional worlds and recreating forgotten civilizations, but something we really wanted to explore but simply ran out of time is how we can transform today’s society using Diffusion Earth. Imagine cities using Diffusion Earth to simulate their urban development or reimagine real, existing streets in their city. Imagine generating explorable 3D models of scientific concepts (e.g., cell structures, planetary systems) from textbook illustrations. Imagine creating virtual tours of endangered habitats to raise awareness about conservation. This can also be accomplished through minimal changes to the platform, and we are excited to continue working!
Built With
- nextjs
- open3d
- python
- stablediffusion
- tailwind


Log in or sign up for Devpost to join the conversation.