With Tickets Commerce, you can use Stripe as your payment gateway with Event Tickets and Event Tickets Plus. However, there are some key differences depending on whether you are using our free plugin or our premium plugin that we’d like to highlight so there are no surprises.
Below, we’ll list out the features for Stripe that are included with Event Tickets and Event Tickets Plus.
Event Tickets
- Commission of 2% on ticket sales. (not including Stripe’s charges).
- Accept payments via credit cards.
- Select between displaying credit cards fields in a single line or multifield.
- Accept payments via credit cards with a handful of payment methods.
- Payment methods included with ET: Credit cards, AfterPay & ClearPay, Alipay, Giropay, Klarna.
Event Tickets Plus
- Removal of the 2% commission on ticket sales.
- Additional payment methods included:
- Bancontact
- BECS direct debit (Australia)
- Boleto (Brazil)
- EPS
- FPX
- GrabPay
- iDEAL
- OXXO
- SEPA direct debit
- WeChat Pay
- Accept payments via Digital Wallets: Apple Pay, Google Pay.
Troubleshooting
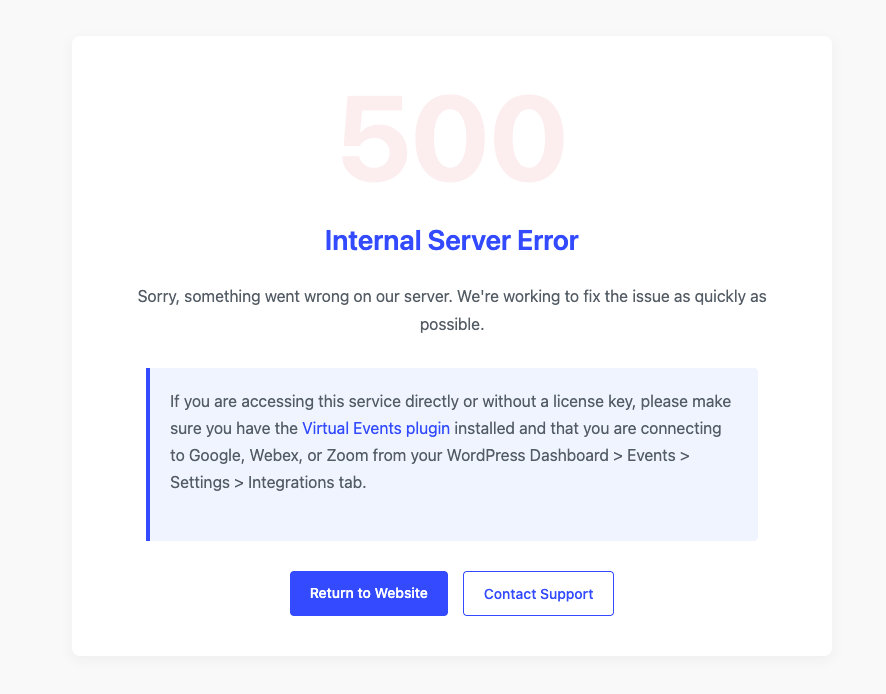
500 Internal Server Error When Connecting to Stripe
In some edge cases, when attempting to “Connect to Stripe” via the Tickets > Settings > Payments page, you may encounter a 500 Internal Server Error.
Why This Happens
Stripe accounts have a limit of 16 webhook endpoints per account. If that limit is exceeded, any new connection attempts—such as the one initiated by Event Tickets—can fail, resulting in a server error.
How to Fix It
- Log in to your Stripe Dashboard.
- Navigate to Developers > Webhooks.
- Review the list of webhook endpoints.
- Delete one or more webhook endpoints that are no longer in use.
- Go back to Event Tickets > Settings > Payments and try connecting to Stripe again.
This should allow Event Tickets to register its own webhook without exceeding Stripe’s limit.
Checkout Unavailable
There may be instances where you may encounter the Checkout Unavailable! notice at the checkout screen below.

Several factors may contribute to this occurrence. Let’s dive in to the things to check when this happens.
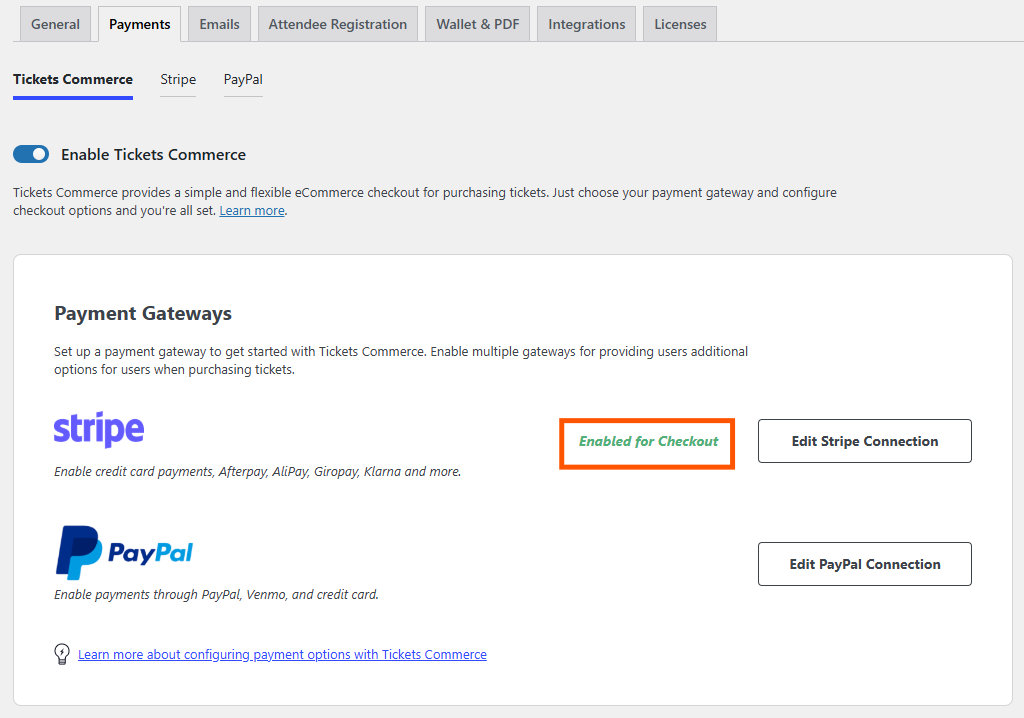
- Ensure that Stripe is enabled for Checkout in Tickets -> Settings -> Payments (tab) -> Tickets Commerce (section).
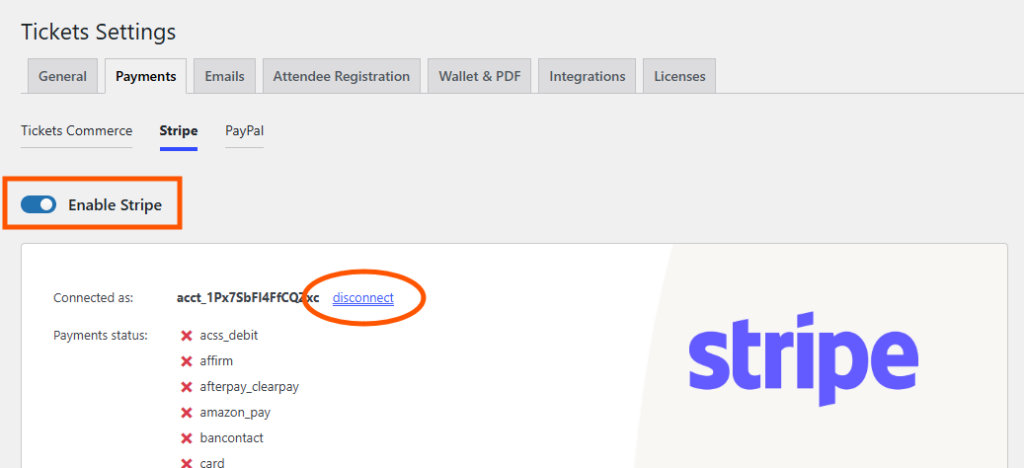
- Ensure that Stripe is enabled and connected in Tickets -> Settings -> Payments (tab) -> Stripe (section). Disconnect and reconnect to Stripe if needed.
- Ensure that the webhook is correctly configured in your Stripe dashboard.
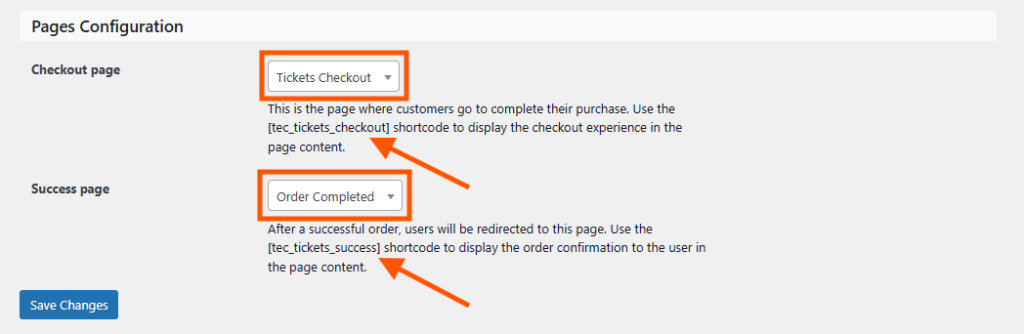
- Ensure that you have the appropriate Checkout page and Success page configured (with the appropriate shortcodes existing on those pages) in Tickets -> Settings -> Payments (tab) -> Tickets Commerce (section).
- If your site employs caching and optimization, ensure that the checkout page (you selected above) and the Event Tickets resource files (CSS & JavaScript) are excluded (see Caching Basics).