
In this article, I will show you how to test REST API using Postman. Let’s get started.
Installing Postman as a Chrome Extension:
In this section, I will show you how to install Postman from the Chrome Web Store.
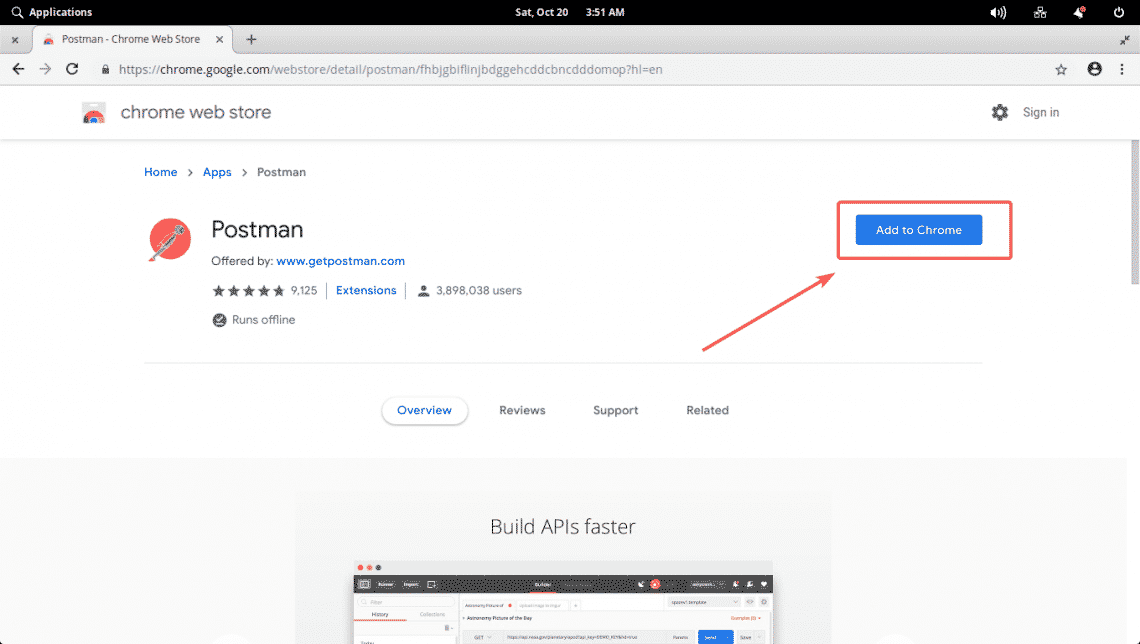
First, go to the Postman extension page on Chrome Web Store at https://chrome.google.com/webstore/detail/postman/fhbjgbiflinjbdggehcddcbncdddomop?hl=en
Now click on Add to Chrome.
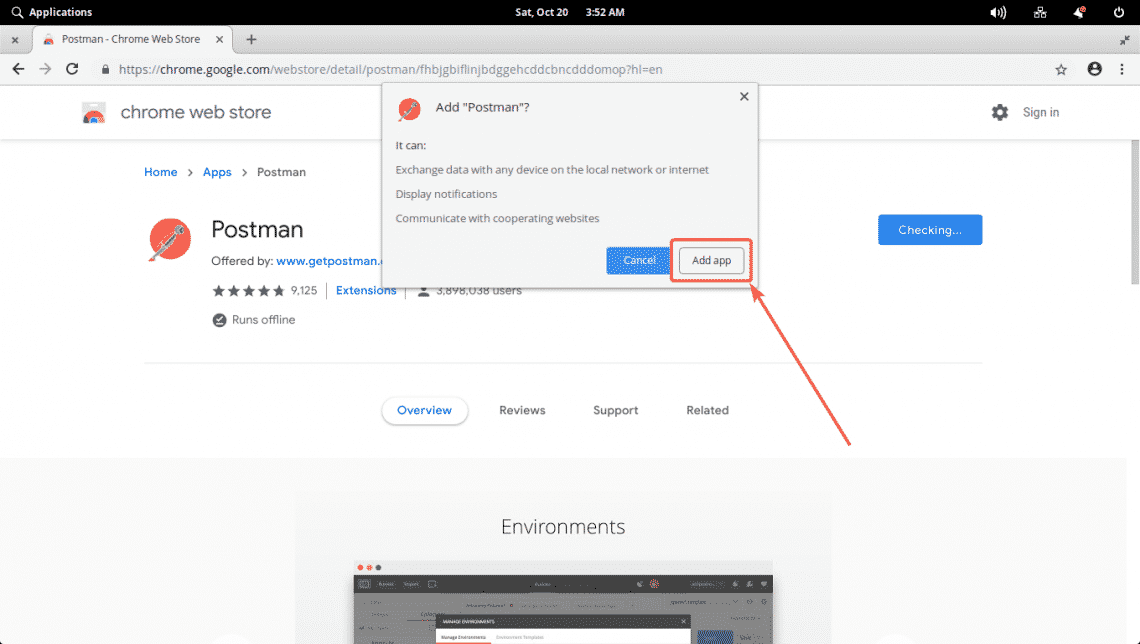
Now, click on Add app.
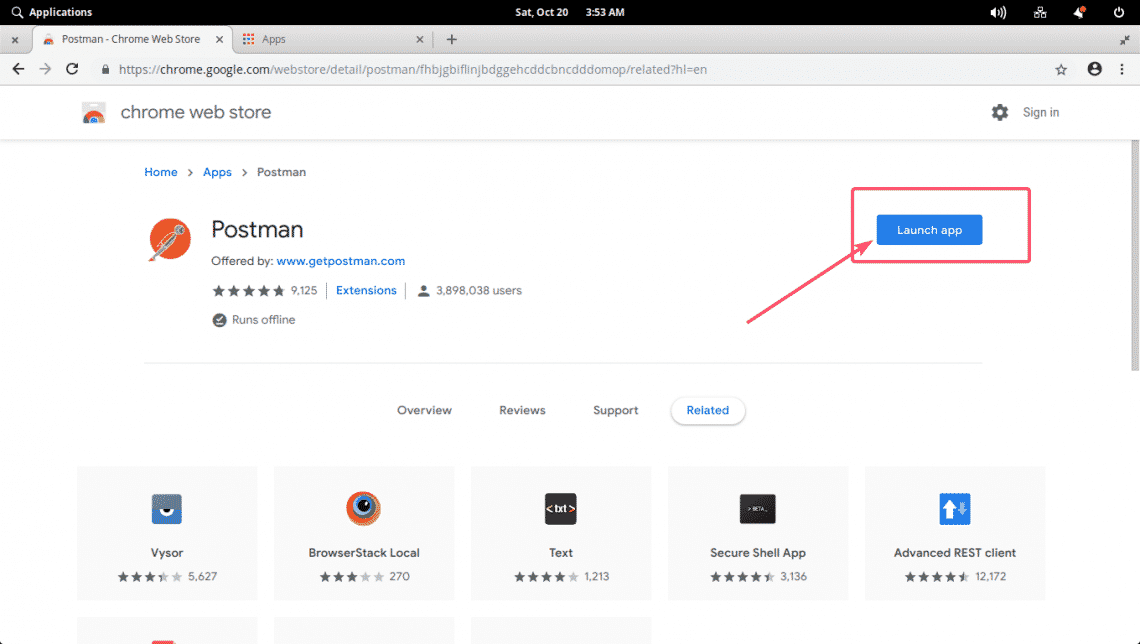
Postman should be installed. Now you can click on Launch app to start Postman.
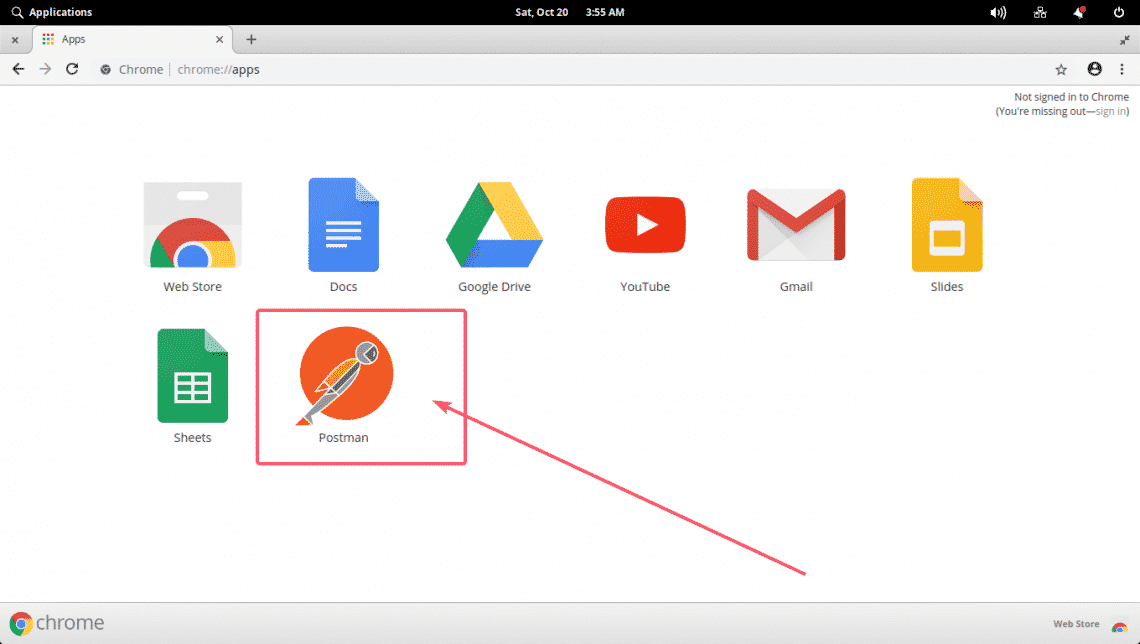
Or, you can click on Apps.
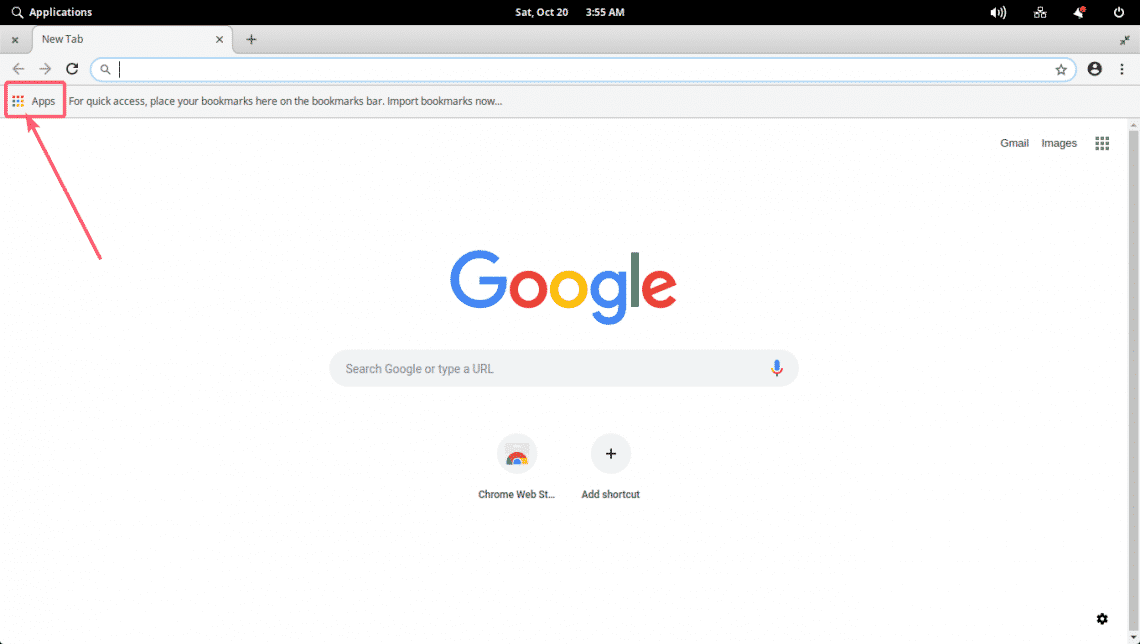
And start Postman from there.
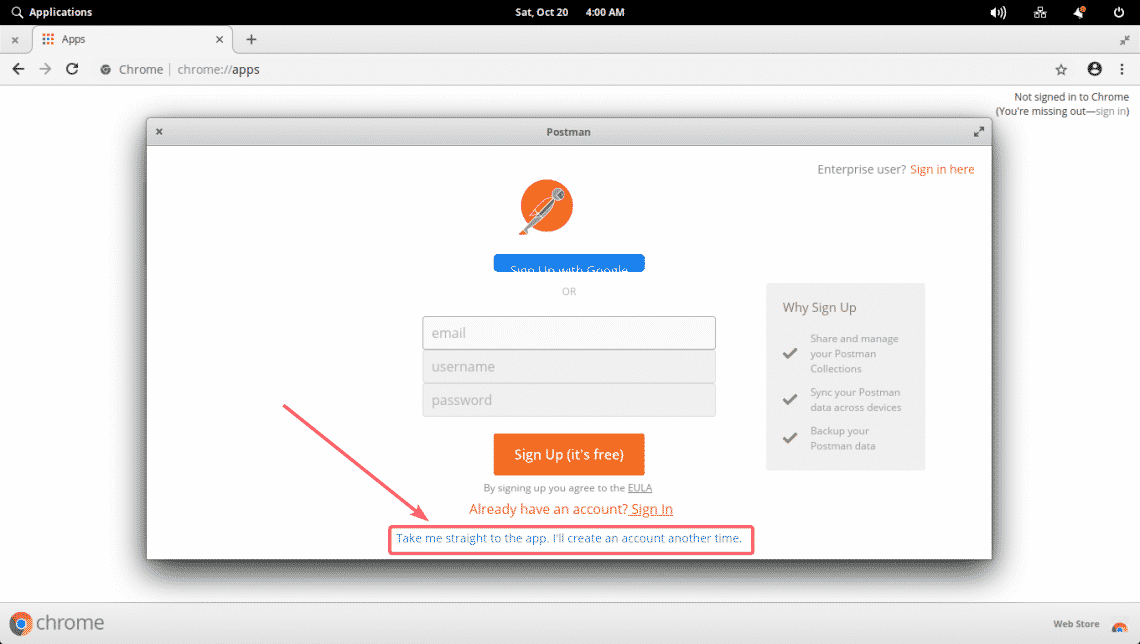
If you open Postman for the first time, you should see the following window. Click on the link as marked in the screenshot below if you don’t have an account or you don’t want to login.
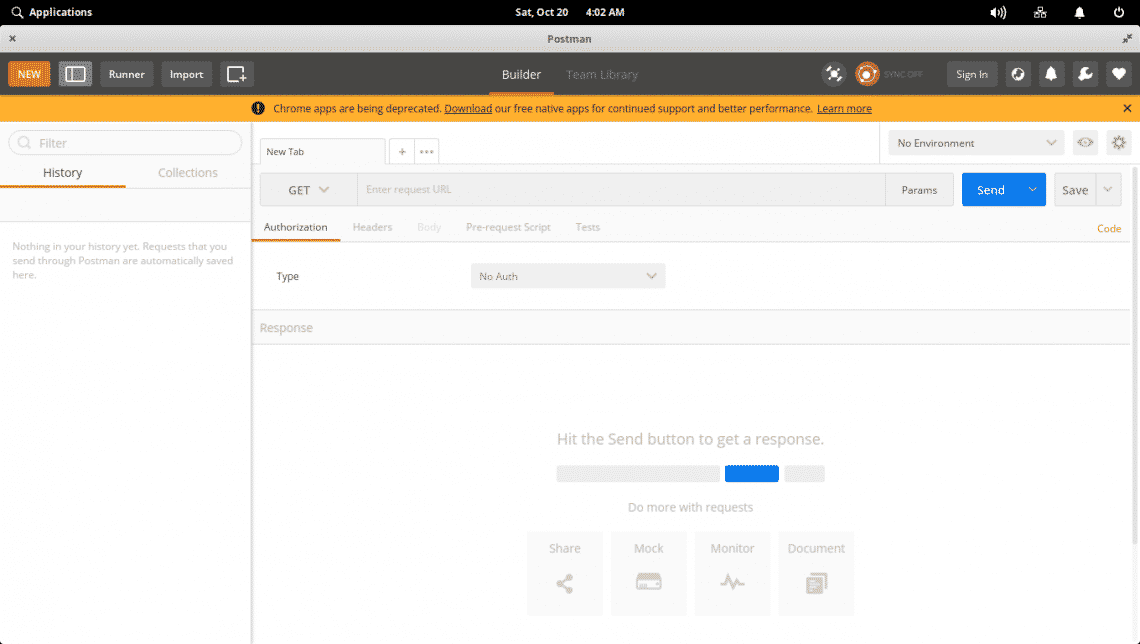
Postman should start.

Postman main window:
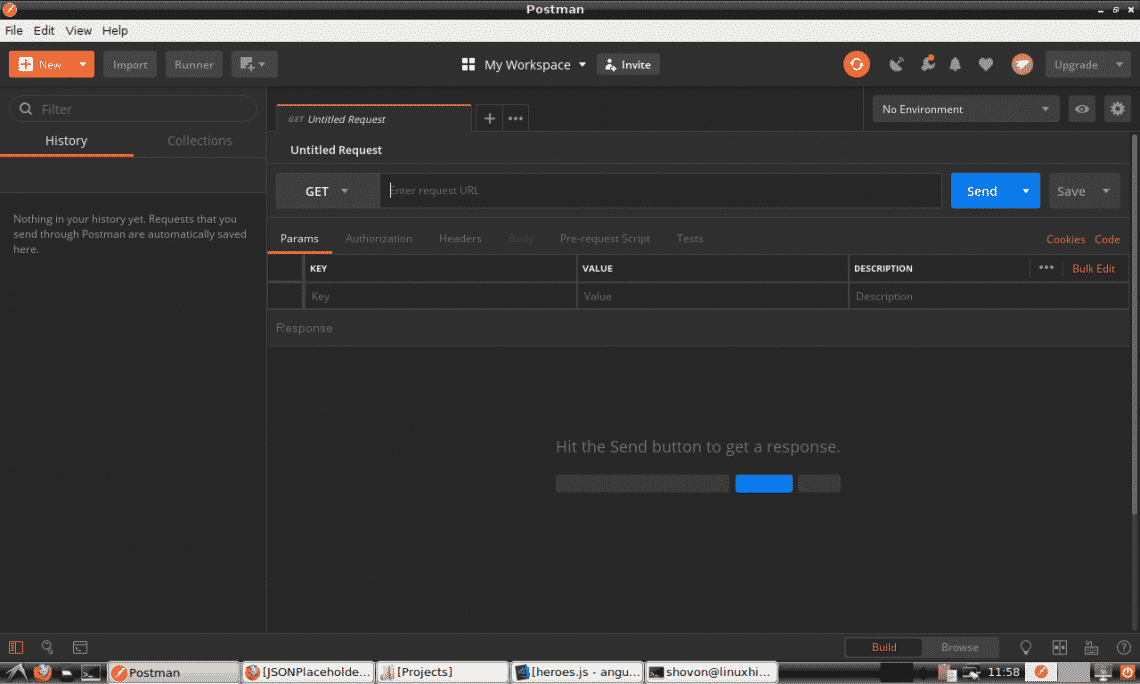
You can also install Postman natively on Linux. It is out of the scope of this article. So, I am not able to show it in here.
Setting Up a Test API Server:
I’ve written a API using Node.js which I will be using in this article to show you how to use Postman to test APIs. If you want to follow along, you can just clone my GitHub repository angular-hero-api and run the same API server as I am.
Clone my GitHub repository with the following command:

Now, navigate to the angular-hero-api/ directory:

Now, install all the required node modules:

Finally, start the API server with the following command:
As you can see, the API server is running on port 4242.

Basics of Postman:
First, open Postman and it should look something like this.
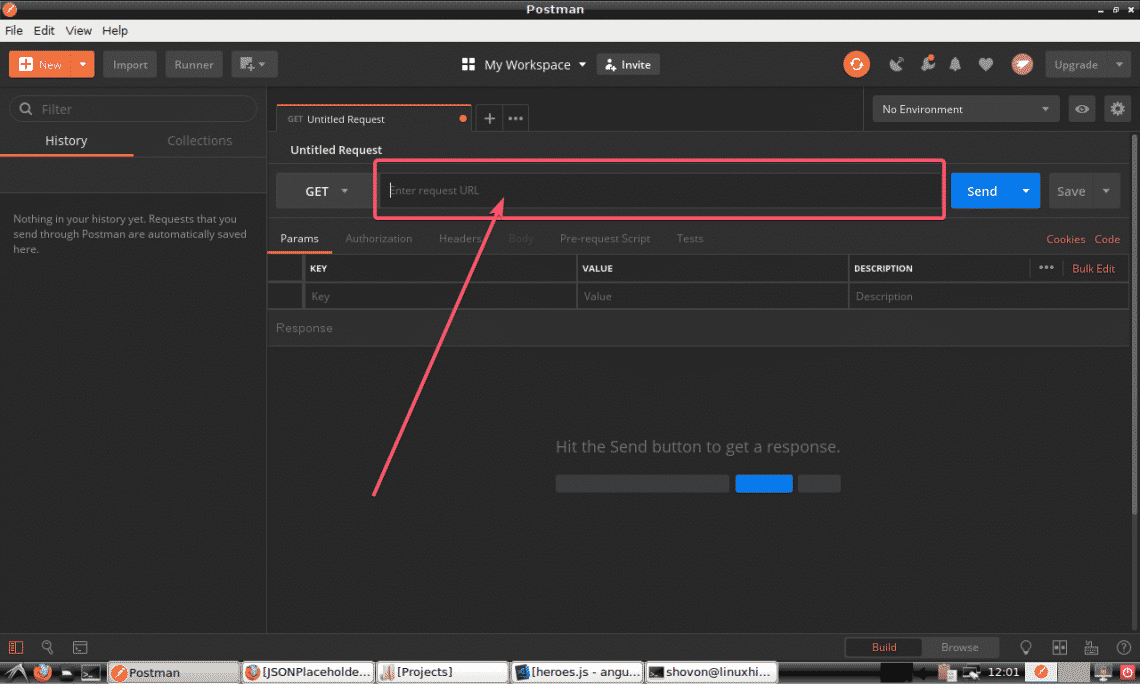
You can type in the URL of your API endpoint in the marked section of the screenshot below.
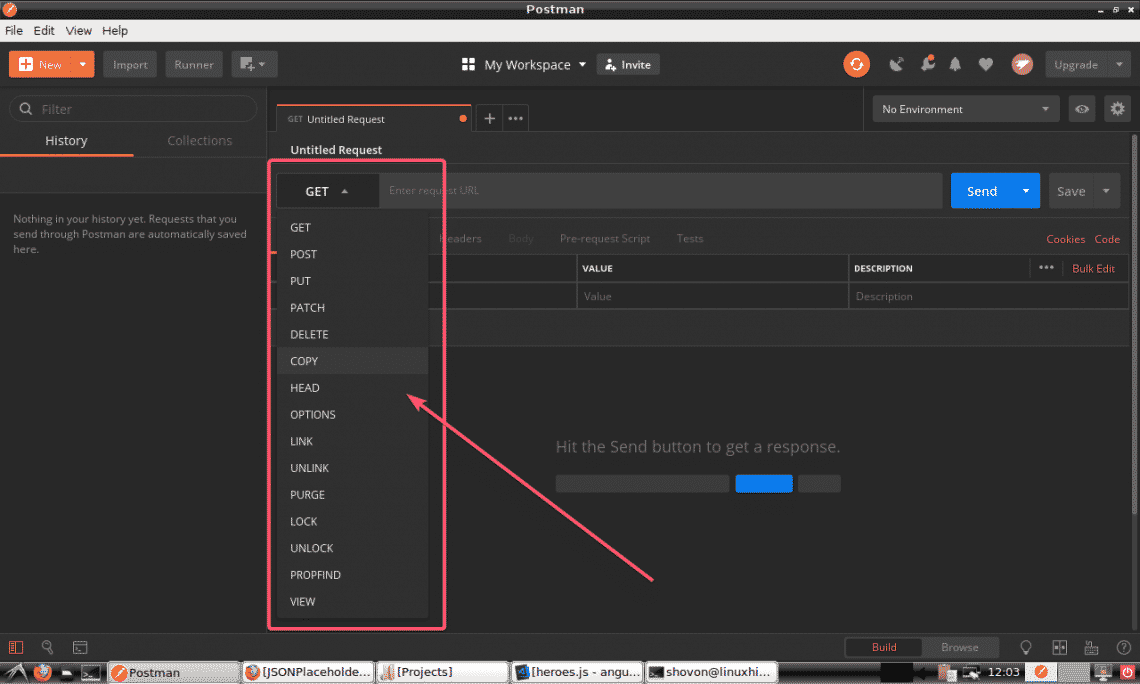
You can select the request method (such as GET, POST, PUT etc) from the drop down menu as marked in the screenshot below.
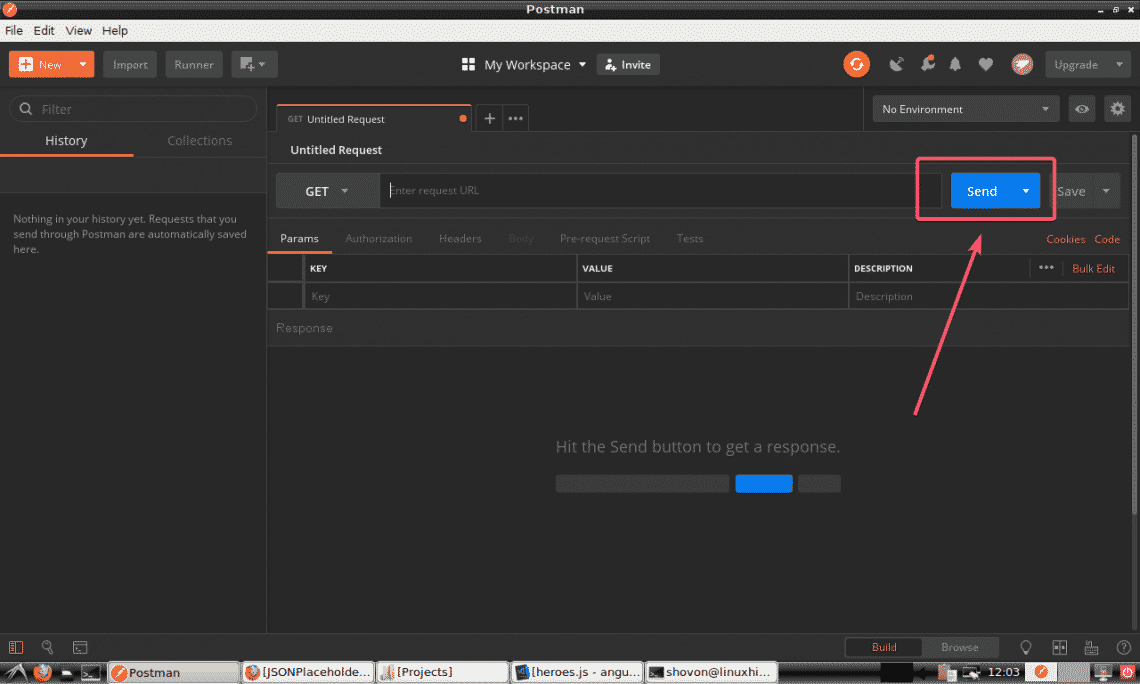
Once, you’re done, click on Send to send your API request. The result should be displayed.
You will see how everything works in the next section of this article.
Using Postman to Test REST APIs:
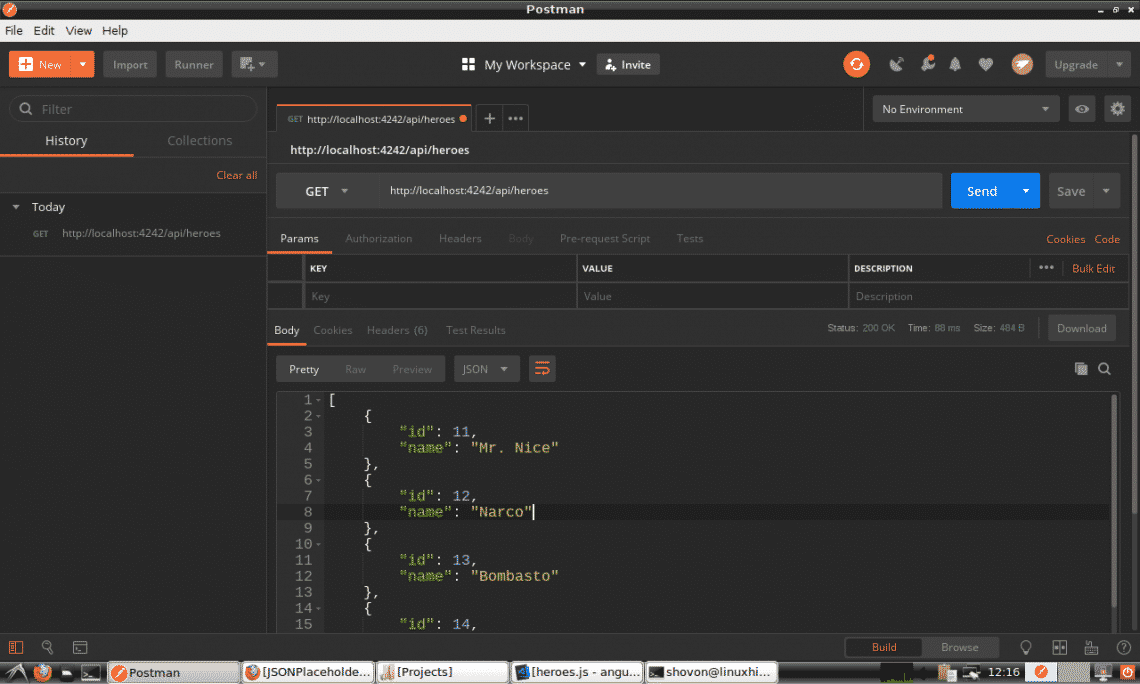
If you want to perform a GET request on your API, type in the URL of your API endpoint, set the method to GET, and finally click on Send.
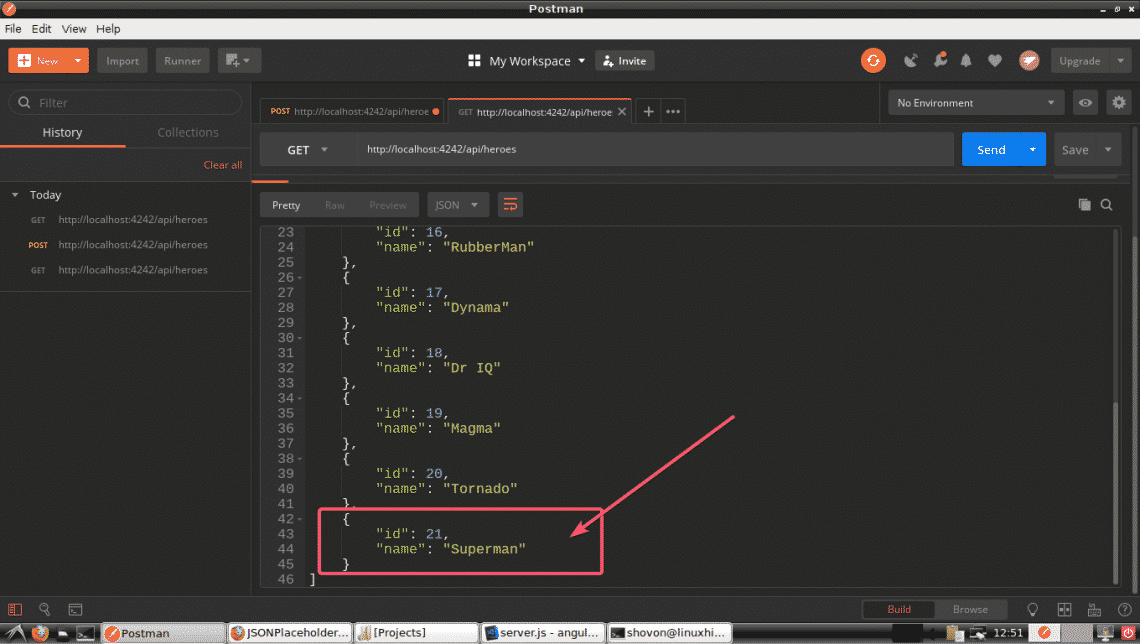
For example, to get a list of all the heroes in the database, do a GET request to the API server’s /api/heroes endpoint. Once you press Send, the output should be displayed in JSON format as you can see in the screenshot below.
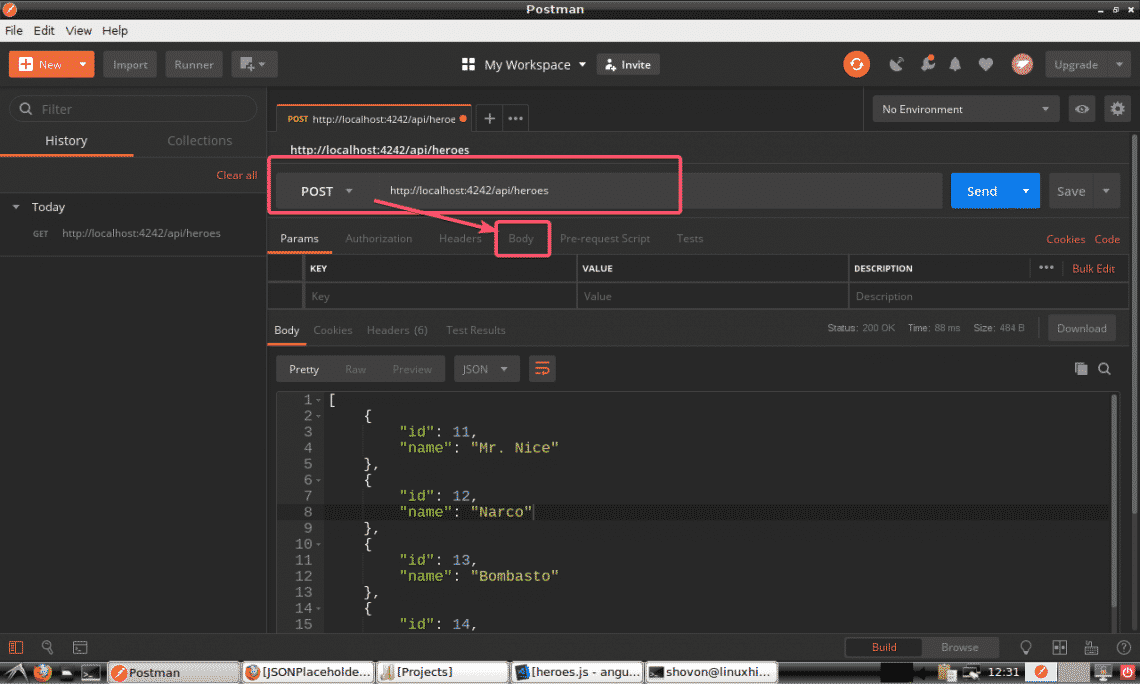
You can also do a POST request on your API server using Postman. I set up my API server in a way that it creates a new Hero on POST request. To create a new hero, set method to POST and the API endpoint to /api/heroes; Then, click on Body as marked in the screenshot below.
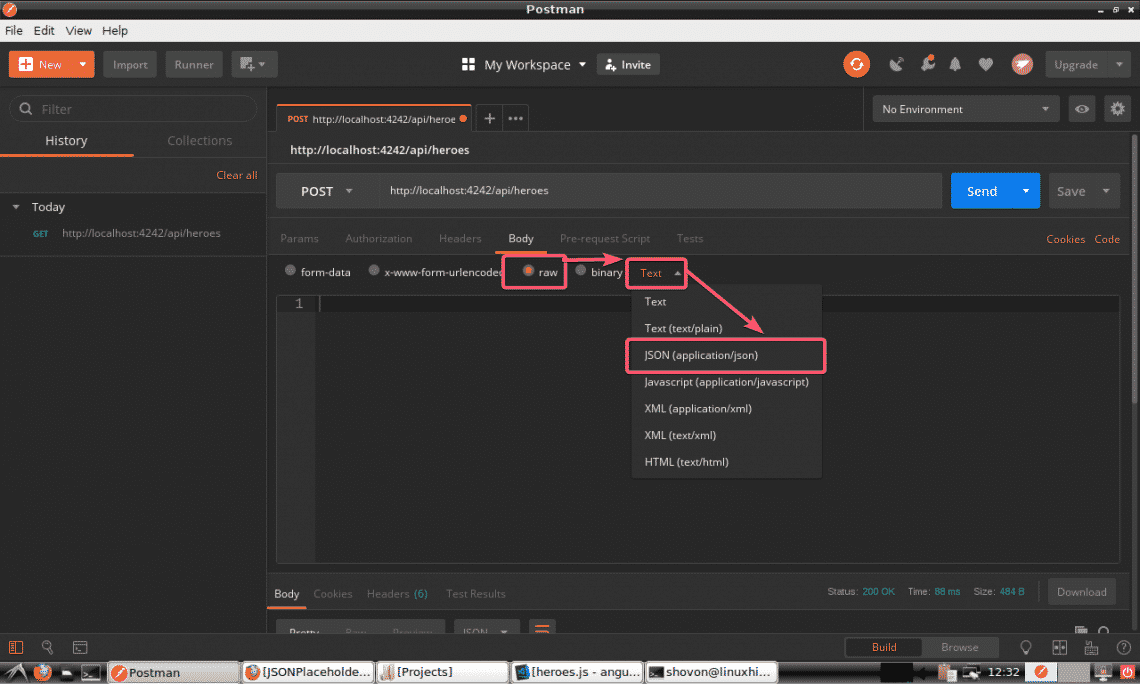
Now, click on raw and select JSON (application/json) from the type drop down menu as marked in the screenshot below.
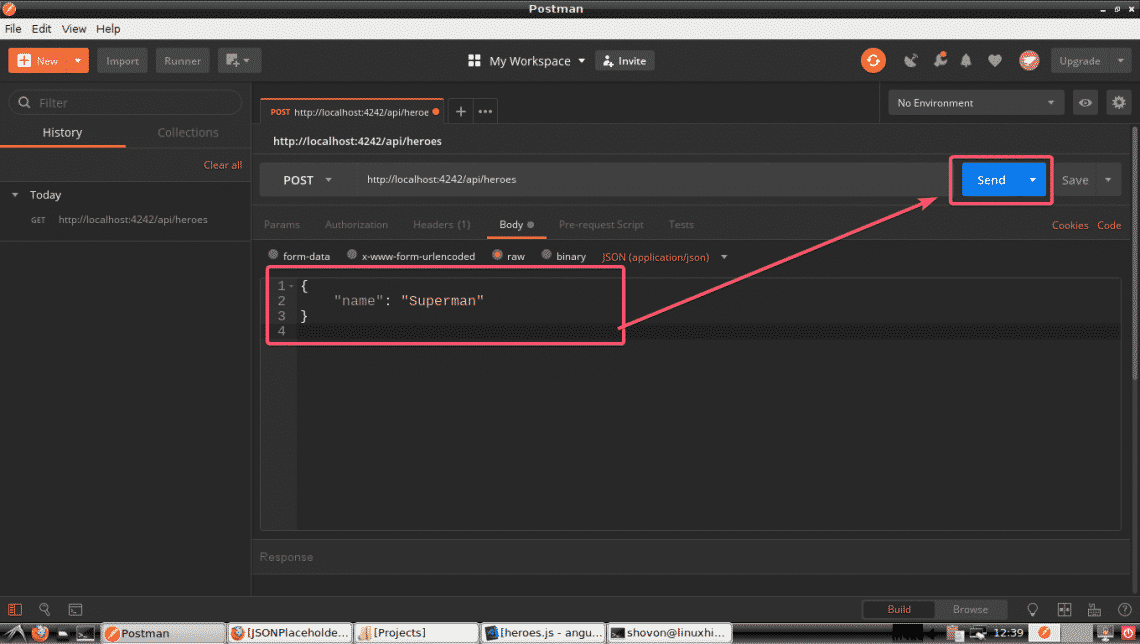
Finally, type in the information of the Hero you want to insert in JSON format and click on Send.
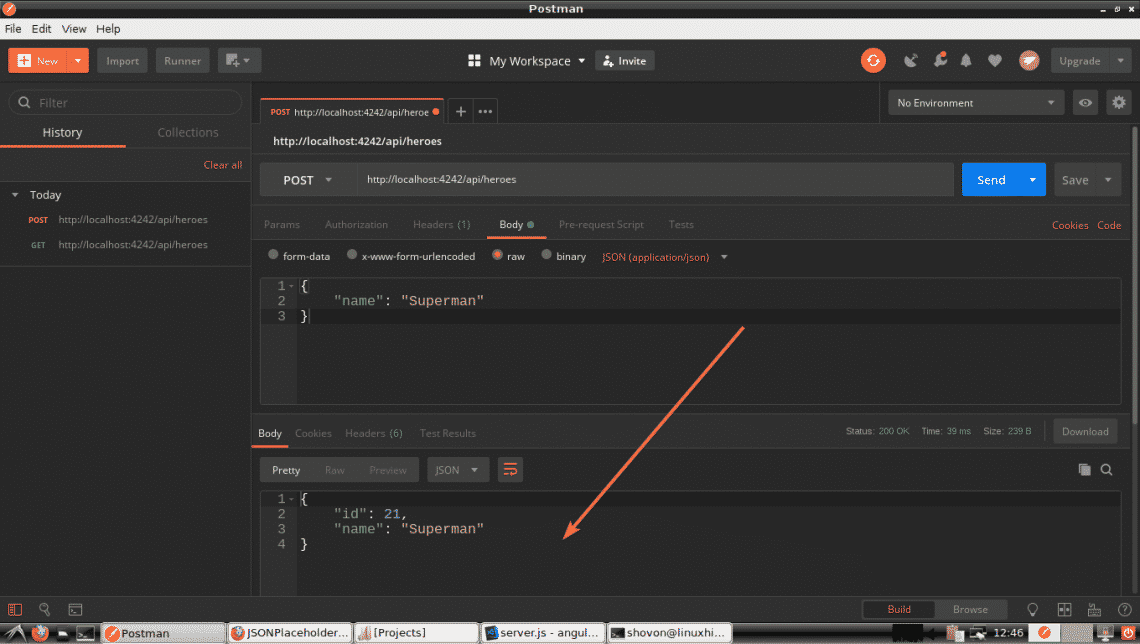
As you can see, the Hero is inserted with the id 21.
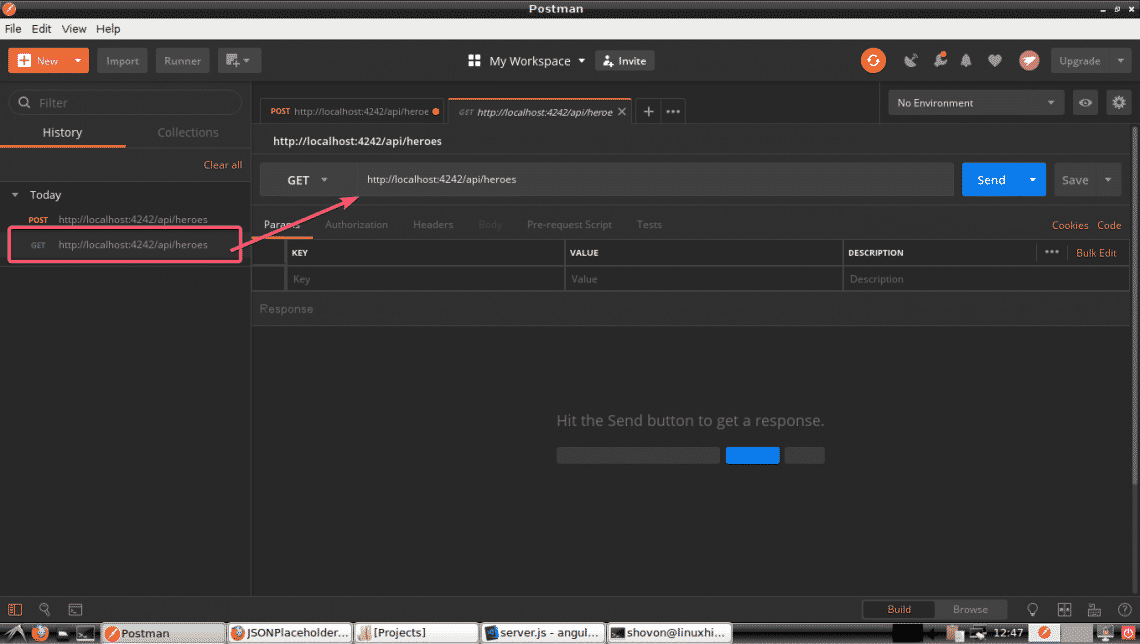
All you API requests you make is saved in the history of Postman. To use a API request from the history, just click on it and then click on Send.
As you can see, the API request to list all the Heroes we did earlier is listed in the History. Once you click on it, it should open in a new tab. Finally, click on Send.
As, you can see, all the Heroes are listed including our new Hero.
You can also delete a Hero from the list using the DELETE method on the /api/hero/<id> endpoint. Here, <id> is the id of the hero you want to delete.
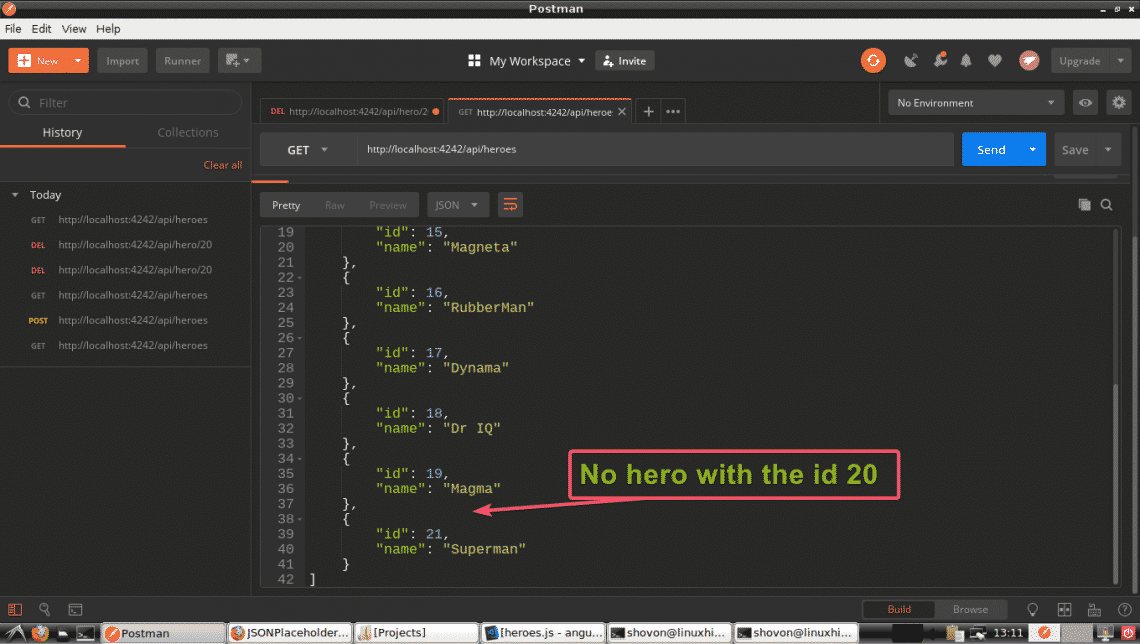
So, let’s say, you want to remove the Hero with the id 20. So the API endpoint is /api/hero/20 and the method is DELETE. As you can see, a success message is returned. The Hero should be deleted.

As you can see, the Hero with the id 20 is deleted.
Earlier, I showed you how to send information in JSON format to the API server. Here, I am going to show you how send information in URL encoded format. When you submit an HTML form to the server, this is the format used by default.
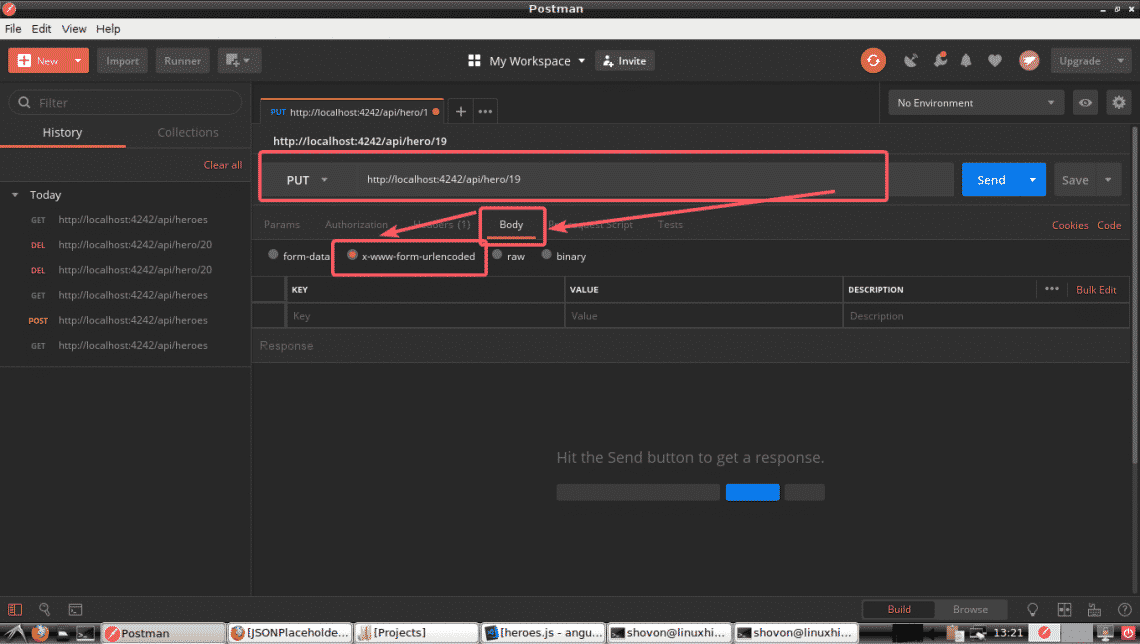
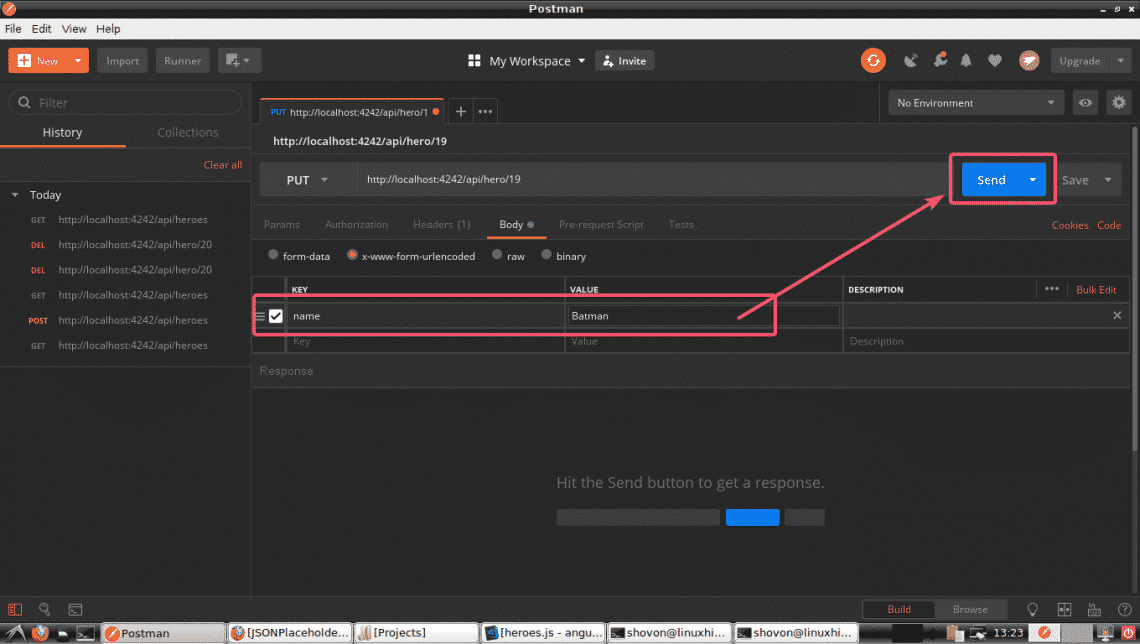
Let’s say, you want to update a Hero in API the server. To do that, you have to use the PATCH method on /api/hero/<id> endpoint as this is what I configured in my API server. Here, the <id> is the id of the Hero that you want to update.
For example, let’s change the name of the hero with the id 19 from Magma to Batman. So, the API endpoint should be /api/hero/19 and the method should be PATCH. Now, click on Body and also select x-www-form-urlencoded as marked in the screenshot below.
Now, set the key to name and value to Batman as marked in the screenshot below. Finally, click on Send.
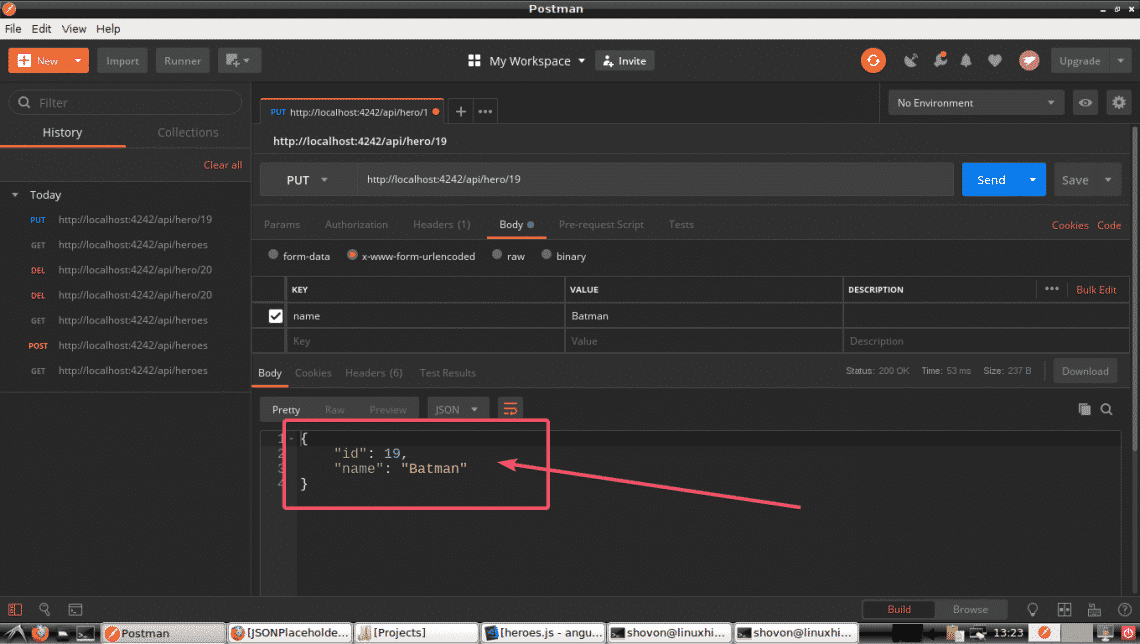
As you can see, the updated data is displayed. Which means the update operation is successful.
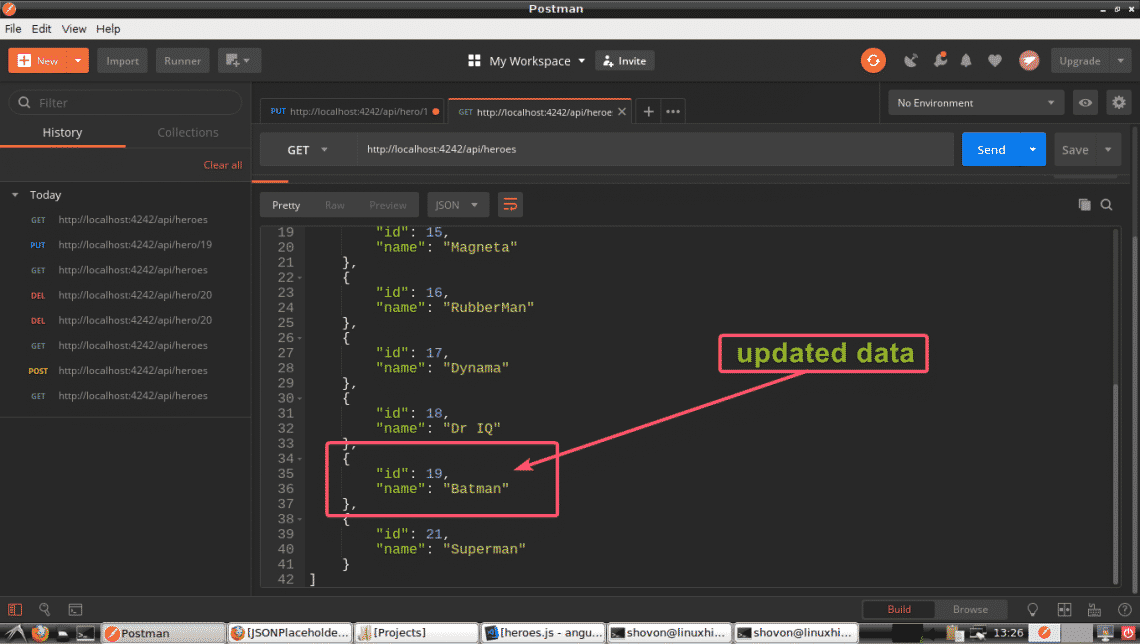
If you list all the heroes again, you should see the updated data as you can see in the screenshot below.
So, That’s the basics of Postman. Postman has tons of features and options which you can use to make your life as an API developer easy. Thank you for reading this article. Have fun with your Postman!