-
-
a cute logo owo
-
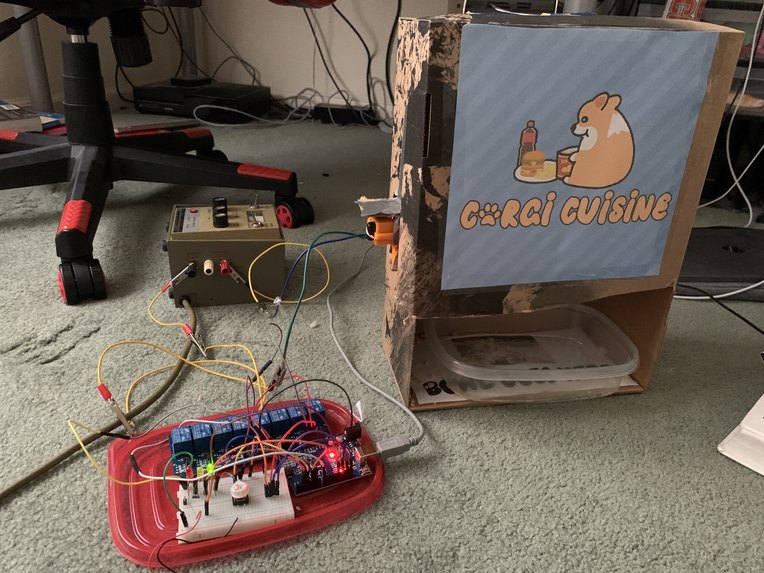
our whole creation!
-
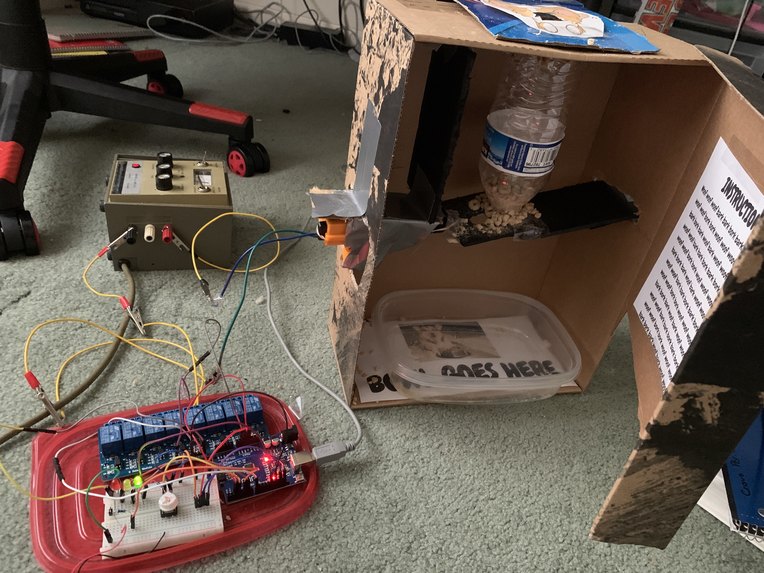
inside view
-
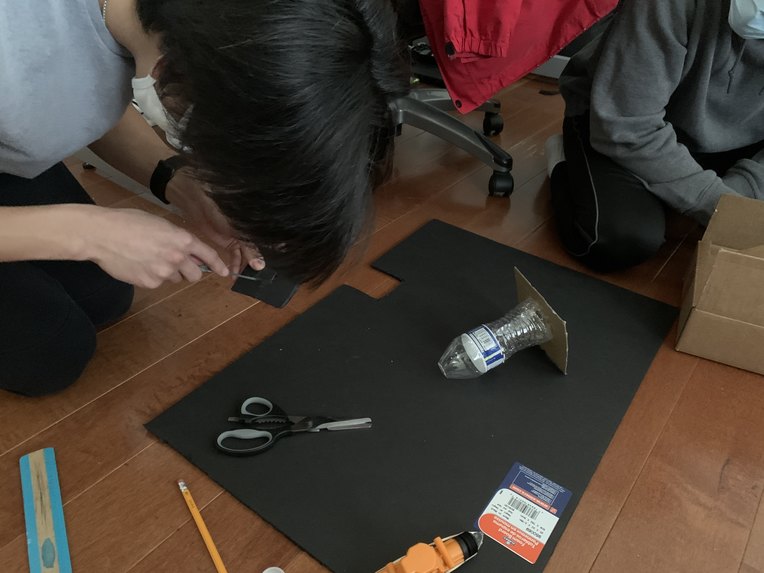
working on the build together! with a mask!
-
first design draft
-

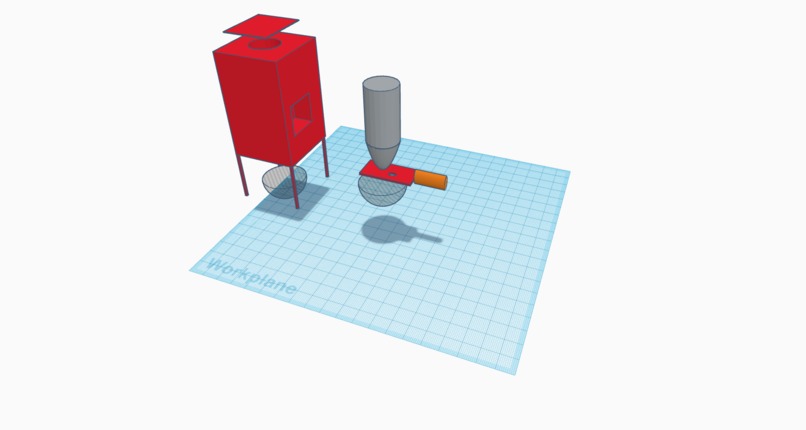
final model design


Inspiration
Wanting to push ourselves out of our comfort zones, we decided to try to do a hardware hack. One of us found an Arduino lying around, so we decided to learn some of the basics of electronics, and make a simple creation, like a dog feeder. After doing some basic research on Arduinos and tinkering with it's virtual simulation, we were really interested in the interface and wanted to learn more. In fact, we don't plan on stopping our Arduino journey and hope that this is the just the start. We also wanted to make an Arduino project to help dogs to go along with the Corgi theme. That is when we were inspired to create our very own dog feeder.
What it does
Allows a dog feeder to fill a bowl with food at the simple press of a button. The button press sends a signal through the Arduino and wiring to push an actuator. This would push the platform and allow food to fall through the designated hole to act as the feeder. In addition, we did extra customizations to make it more appealing to Corgis, such as playing fun tunes whenever a button is pressed, having light up LEDs, and a nice corgi logo on the front so there's always a Corgi friend there eating with you.
How we built it
Materials: Arduino Uno, 3 LED Lights, 1 Push Button, Breadboard, 8 Relay Module, Mini-Linear Actuator, Piezoelectronic Speaker, Jumpers, Alligator Clips, Power Supply, A LOT of Duct tape Cardboard and Hot Glue. Software: TinkerCAD, Arduino IDE. We first started by learning all the material, we mainly used a lot of YouTube tutorials and Codeacademy. Then we used the knowledge we gained to begin drafting out our ideas in TinkerCAD. After that, in person we worked together to bring our design to reality, crafting cardboard and tape into our own physical smart pet feeder. Finally, when we all got back home, we worked together to code and add functionality to the Arduino, so it would all work.
Challenges we ran into
Our biggest challenge by far was the amount of material we had to learn; prior to this none of us have ever made a hardware project before, touched C++, or even looked at a circuit schematic. It was a pretty steep learning curve, and we spent most of our time probably learning the materials than actually using them to build things. Eventually when it came time to build, we had another issue: one of us had the Arduino, and the other person had the building materials. With the long-distance issue, we resorted to using TinkerCAD, before realizing how bad it was when we tried to drag a DC Motor in and it corrupted our whole sketch. We then decided (of course in a COVID safe way) to meet up and collaborate together in person. When we were in person together, things weren't much easier, the person who's laptop we were using was unable to connect to the Arduino, so we were left with our time together to only build the actual hardware. We then quickly realized when beginning to actually build it, that we were missing around a fourth of the items. A seriously detrimental missing item was a servomotor, we only had a really weak DC motor and a mini-linear actuator. With the little materials we had, we redesigned our hack around our materials, and threw together our cardboard creation. We probably should've taken in account actual numerical measurements, because approximations only made more problems, like when we hot-glued the actuator too low. Later when we all went home, we were left to begin our coding, and were thrown against the amazing, Arduino IDE. Randomly out of nowhere, our COM Port would just get clogged and we would have to reboot our computers to fix it. Then we were faced with more mechanical issues, such as incompatible pieces like our digital screen; it turned out to be too outdated and only worked on older boards. Despite these many challenges, we quickly adapted to each one, and were able to successfully pull off our hack in the end.
Accomplishments that we're proud of
Coming in with practically no experience with C++ and Hardware, we're really proud that we were able to learn all of it and not only create a nice functional final product, but also with a better understanding of electronics and more. Being able to take our vision and paper design and make a reality was truly something to be happy about. Finally, being able to be adaptable and overcome all of our challenges was also corgitastic.
What we learned
We learned A LOT:
- The basics of C++
- Arduino
- Electronics (circuitry, wiring, parts, etc)
- Parts of a hardware project
- How to 3D Design and create sketches in TinkerCAD
- To use more accurate measurements so we don't screw up cutting cardboard and putting it together Not only did we take away a lot of new information from these experiences but we also learned to quickly adapt and learn under rapidly changing conditions.
What's next for CorgiCuisine
Although this is only a prototype, some ideas we have for the future include:
- a more stable contraption for the actuator for longevity and stability
- more sensors, including a motion sensor in place of our button for a COVID friendly food dispenser
- A water dispenser on the right side to keep our corgi happy and hydrated
- a better container for food, such as a plastic cylindrical container instead of a water bottle (our corgi deserved the best quality cuisine!)
- a digital LCD screen to display time and updates
- a timer to dispense food automatically (3x a day) in the event the owner is not present


Log in or sign up for Devpost to join the conversation.