

PS7 Tutorial: Jade Coloring feat. HSM Cast
I've been inspired once again to type out a tutorial. This time though, I've got a different type of coloring - Jade Coloring. FIXED!
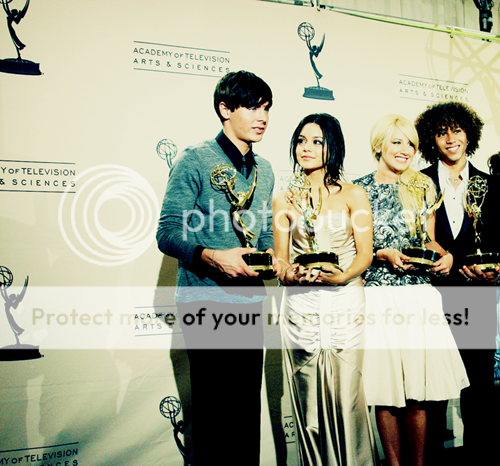
Turn this: into this:
and later into this:
Turn this:
 into this:
and later into this:

And we're just going to jump right into it.
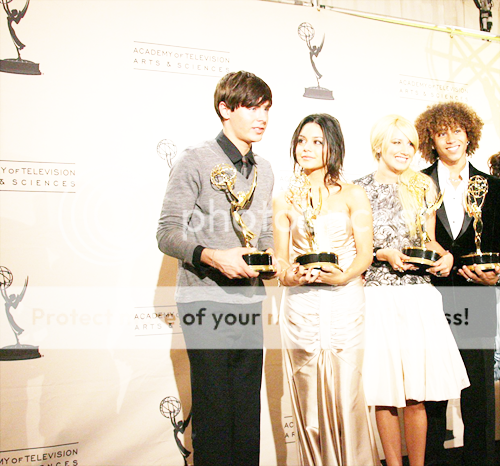
Prep: Choose a picture. It really doesn't matter the darkness of it, since you can compensate with screen layers, so any one would be good. I choose this one from zefron.com. Important! Do not crop your picture! Just move it to the position you like. I just moved to where Monique and Lucas were cut off, so it has a point of interest. Go ahead and auto-contrast (Image-Adjustments-Auto Contrast).
Step One
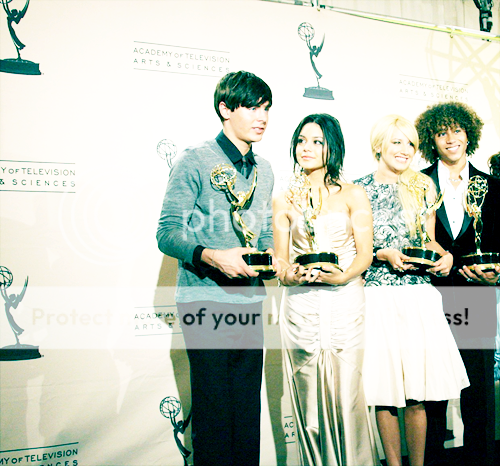
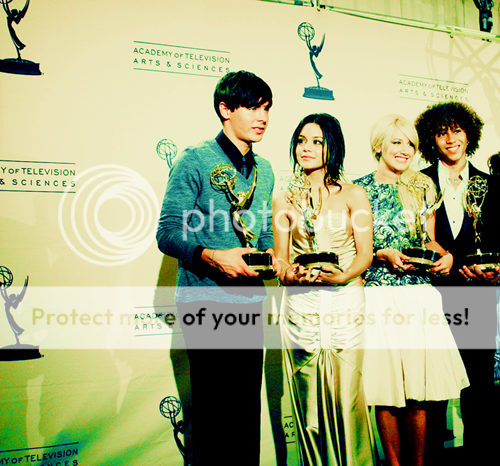
Duplicate it twice and set both to SCREEN. If your image is extra dark, make more screen layers, if it's too bright, only do one screen layer.
Step Two
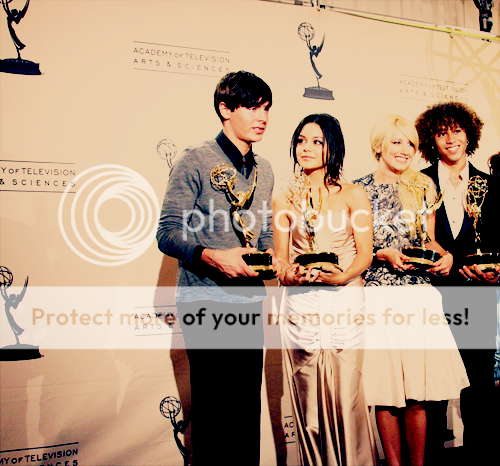
Add some color layers into it. This is the fun part :D
Layer - New Fill Layer - Solid Color
#6CEDF9 - Color Burn - 100%
#EA8CBF - Color Burn - 100%
#EBD0AF - Multiply - 100%
Adjust these to your liking because not ever picture will be the same.

Step Three
Duplicate your original base image and bring it up to the top. Set it to Soft Light.
Step Four
Runs from step three. DO NOT MERGE. MERGING=BAD. COPY MERGE=GOOD.
Select - All
Edit - Copy Merged. Edit - Paste.
Step Five
Here comes another fun part - playing with variations. Duplicate the new base image (the copy merged one) two times. Make sure the first duplicated image is the layer you're on. Now, go to Image - Adjustments - Variations. Make sure your ticker is placed like this:

For the first variation layer - click on CYAN once. You should get something like this:
Step Six
Go up to your second copied image and back into the variations tool. This time, move your ticker up one tick. Add in RED once to this image. Say OK and place it on SATURATION. It doesn't look like anything, but trust me, we'll get there.
Next step within the step - Copy Merge again (Select - All. Edit - Copy Merge. Edit - Paste). Now go to Image - Adjustments - Hue/Saturation. Move up your saturation ticker - I placed mine on 35. This is what I got:
Step Seven
Duplicate the image yet again. DESATURATE it (Ctrl + Shift+ U). Set this on COLOR BURN @ 60%.
Step Eight
Copy merge yet again. Can you tell that I love that feature? So much better than just merging because then you can go back. Okay, onward we go.
Duplicate it again. Run a GAUSSIAN BLUR (Filter - Blur - Gaussian Blur.) I placed my blur @ 2.3 and set it to SOFT LIGHT.
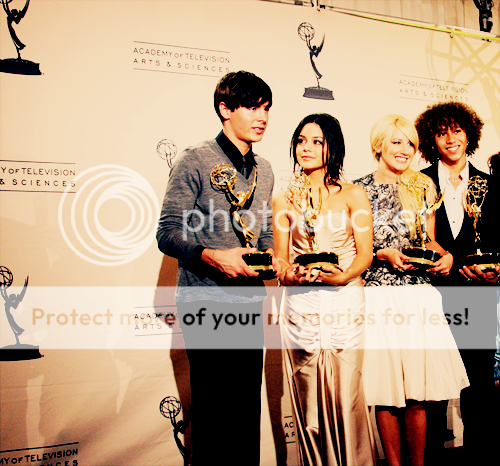
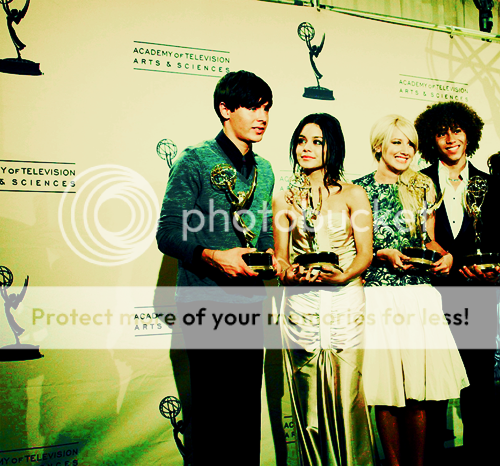
This should be your result (or something like it):
This concludes the coloring part.
========================================
The header part - Just duplicate the image again (once you've copy-merged it again) and flip it horizontally and vertically (Edit - Free Transform).
Add some text and you're done. Viola!
Any questions, please ask. Enjoy :-D
Prep: Choose a picture. It really doesn't matter the darkness of it, since you can compensate with screen layers, so any one would be good. I choose this one from zefron.com. Important! Do not crop your picture! Just move it to the position you like. I just moved to where Monique and Lucas were cut off, so it has a point of interest. Go ahead and auto-contrast (Image-Adjustments-Auto Contrast).
Step One
Duplicate it twice and set both to SCREEN. If your image is extra dark, make more screen layers, if it's too bright, only do one screen layer.
Step Two
Add some color layers into it. This is the fun part :D
Layer - New Fill Layer - Solid Color
#6CEDF9 - Color Burn - 100%
#EA8CBF - Color Burn - 100%
#EBD0AF - Multiply - 100%
Adjust these to your liking because not ever picture will be the same.


Step Three
Duplicate your original base image and bring it up to the top. Set it to Soft Light.
Step Four
Runs from step three. DO NOT MERGE. MERGING=BAD. COPY MERGE=GOOD.
Select - All
Edit - Copy Merged. Edit - Paste.
Step Five
Here comes another fun part - playing with variations. Duplicate the new base image (the copy merged one) two times. Make sure the first duplicated image is the layer you're on. Now, go to Image - Adjustments - Variations. Make sure your ticker is placed like this:
For the first variation layer - click on CYAN once. You should get something like this:
Step Six
Go up to your second copied image and back into the variations tool. This time, move your ticker up one tick. Add in RED once to this image. Say OK and place it on SATURATION. It doesn't look like anything, but trust me, we'll get there.
Next step within the step - Copy Merge again (Select - All. Edit - Copy Merge. Edit - Paste). Now go to Image - Adjustments - Hue/Saturation. Move up your saturation ticker - I placed mine on 35. This is what I got:
Step Seven
Duplicate the image yet again. DESATURATE it (Ctrl + Shift+ U). Set this on COLOR BURN @ 60%.
Step Eight
Copy merge yet again. Can you tell that I love that feature? So much better than just merging because then you can go back. Okay, onward we go.
Duplicate it again. Run a GAUSSIAN BLUR (Filter - Blur - Gaussian Blur.) I placed my blur @ 2.3 and set it to SOFT LIGHT.
This should be your result (or something like it):
This concludes the coloring part.
========================================
The header part - Just duplicate the image again (once you've copy-merged it again) and flip it horizontally and vertically (Edit - Free Transform).
Add some text and you're done. Viola!
Any questions, please ask. Enjoy :-D