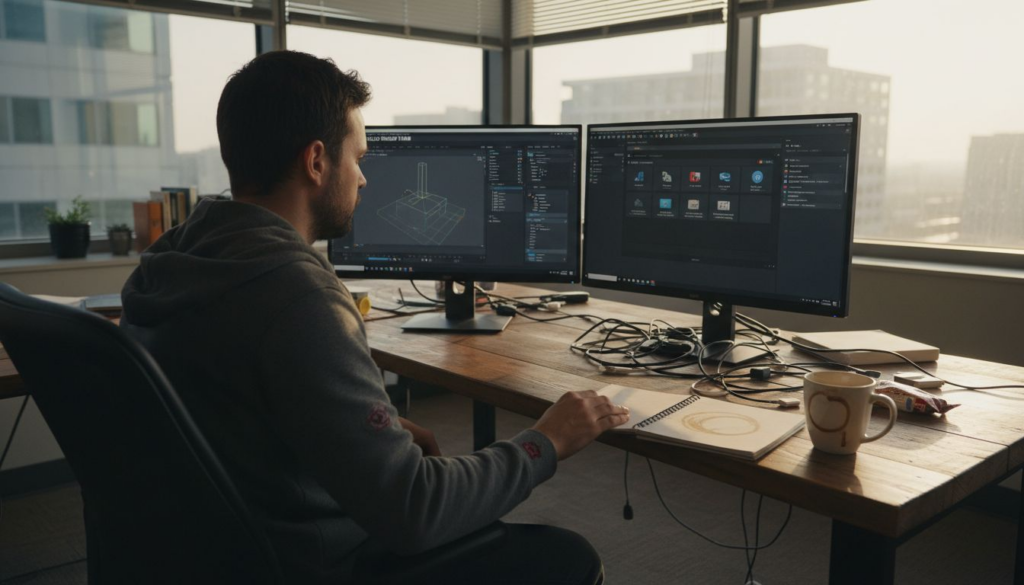
Launching a high-performance cloud desktop for 3D rendering is rarely as simple as ticking a few boxes. Central European studios and animators often discover their boldest ideas bottlenecked by mismatched hardware or sluggish remote access, stalling creativity and deadlines alike. This guide explains how to select the right GPU, optimize VRAM, streamline storage, and protect your projects so your next render gets the speed, security, and support your team expects.
Quick Summary
| Key Insight | Explanation |
|---|---|
| 1. Assess Your Project Needs | Determine the specific rendering requirements, including GPU, VRAM, CPU, and system RAM needed for your project complexity. |
| 2. Configure Cloud Instance Accurately | Match the cloud instance specifications to documented requirements to avoid performance issues and unnecessary costs. |
| 3. Update GPU Drivers Before Use | Install the latest GPU drivers to ensure optimal performance and compatibility with rendering software. |
| 4. Run Performance Benchmarks | Test rendering capabilities and document metrics to ensure efficiency and identify potential bottlenecks. |
| 5. Implement Strong Security Measures | Activate firewalls, antivirus software, and disk encryption to protect your project’s data and maintain secure access. |
Step 1: Prepare Cloud Desktop Requirements
Before you launch your cloud desktop, you need to understand what your rendering workload actually demands. This step clarifies the specifications your virtual machine should have so you can avoid underpowered setups that waste time and money.
Start by assessing your project requirements honestly. Are you rendering individual frames or long animations? Do you need real-time viewport feedback or batch processing? The answers determine whether you need a beefy multi-GPU configuration or a modest single-GPU setup.
Define your core hardware needs using these categories:
- GPU selection: For Blender Cycles and similar engines, you’ll need GPUs that support CUDA, OptiX, or HIP backends depending on your preferred brand (NVIDIA, AMD, or Intel)
- VRAM requirements: Professional rendering typically needs 24GB to 48GB of GPU memory for complex scenes with high-resolution textures and global illumination
- CPU cores: Aim for at least 8 cores for preprocessing, scene management, and non-GPU tasks running alongside rendering
- System RAM: Cloud desktops should have 64GB to 128GB of system memory for smooth operation with large projects
Consider the software you actually use. Maya, 3ds Max, Blender, and Cinema 4D each have specific optimization paths. If you’re using multiple applications, your cloud desktop needs enough resources to handle context switching without performance degradation.
This table compares rendering software by their GPU backend options and main usages:
| Software | GPU Backend Support | Typical Use Case |
|---|---|---|
| Blender | CUDA, OptiX, HIP, oneAPI | Animation and VFX |
| 3ds Max | CUDA, OptiX | Architectural, VFX |
| Maya | CUDA, OptiX (Arnold) | Film, Animation |
| Cinema 4D | CUDA, OpenCL | Motion Graphics |
| KeyShot | CUDA | Product Visualization |

Think about data pipelines too. High-performance rendering means nothing if transferring your project files takes hours. You’ll need adequate network bandwidth and local SSD storage for caching assets during render jobs.
Here’s a summary comparing hardware components and their impact on cloud rendering performance:
| Component | Role in Rendering | Business Impact |
|---|---|---|
| GPU | Handles ray tracing, image processing | Directly affects render speed and realism |
| VRAM | Stores textures and assets | Enables high-detail scenes, reduces crashes |
| CPU | Manages non-GPU tasks, preprocessing | Improves stability and multitasking |
| System RAM | Runs projects, prevents bottlenecks | Handles large files smoothly |
| Network | Transfers assets to and from cloud | Reduces downtime, speeds up collaboration |
| SSD Storage | Caches assets for fast access | Prevents delays, supports real-time edits |
Your cloud desktop specifications should match your longest, most complex project, not your average one—this ensures you never hit a resource ceiling mid-production.
Document your requirements in a simple spreadsheet: project resolution, frame count, software tools, expected render time targets, and any real-time collaboration needs. This becomes your specification sheet when configuring your cloud instance.
Pro tip: Start with a test instance matching your minimum requirements, then scale up after running a test render. This approach saves money on over-provisioning while confirming your estimates are realistic for Central European project timelines.
Step 2: Deploy Dedicated Cloud Desktop Instance
Now that you’ve defined your specifications, it’s time to actually spin up your cloud desktop. This step walks you through launching a dedicated instance configured for your rendering workload without unnecessary complexity.
Begin by accessing your cloud provider’s dashboard. You’ll need to select your region first, ideally choosing a data center geographically close to your team in Central Europe for lower latency. This matters when you’re transferring large project files or collaborating in real time.
Configure your instance with these essential steps:
- Select your operating system – Choose Windows or Linux based on your software requirements (most rendering studios use Windows for compatibility with industry standard tools)
- Specify CPU and memory allocations – Input the core count and RAM you documented earlier, ensuring your instance matches your specification sheet exactly
- Choose GPU options – Select the GPU model and quantity that align with your VRAM and processing requirements
- Configure storage – Allocate sufficient SSD space for your operating system, software installations, and project caching
When specifying CPU and memory requirements, avoid over-provisioning unnecessary resources that inflate your monthly costs. Your estimates from Step 1 should guide these choices precisely.
Handle networking carefully. Decide whether your desktop needs public internet access for downloading assets or if a private network connection suits your workflow better. For security-conscious studios, private networking isolates your rendering infrastructure from external threats.
Review your configuration summary before clicking deploy. Double-check that GPU count, CPU cores, RAM, and storage all match your documented requirements.
Your first instance deployment is a test run—expect to adjust specifications after your initial test render completes and you see actual performance metrics.
Once deployed, your desktop spins up within minutes. You’ll receive connection credentials (IP address, username, password) that grant you remote access to your new machine.
Pro tip: Enable automated backups immediately after deployment, then run a small test render to verify GPU acceleration works correctly before transferring your full production pipeline to the cloud.
Step 3: Configure Rendering Software and Drivers
Your cloud desktop is running, but it won’t render efficiently until you properly configure the GPU drivers and rendering software. This step ensures your hardware acceleration works at full capacity so you actually see the performance gains you’re paying for.
Start by updating your GPU drivers immediately. Outdated drivers are performance killers and create compatibility issues with your rendering engines. Visit the manufacturer’s website (NVIDIA, AMD, or Intel) and download the latest drivers compatible with your GPU model and operating system.
After driver installation completes, restart your desktop. This step matters more than most people realize because drivers need a clean boot to fully initialize with your hardware.
Now configure your rendering software to use GPU acceleration. The process varies by application:

- Blender Cycles: Open preferences, navigate to System, then select your GPU in Compute Devices (CUDA, OptiX, HIP, or oneAPI depending on your GPU brand)
- 3ds Max: Access Render Setup, enable GPU rendering in your chosen engine, and verify your GPU appears in the device list
- Maya: Configure Arnold or your preferred renderer to recognize and utilize your GPU
- Cinema 4D and KeyShot: Enable GPU rendering in preferences and assign your graphics card as the primary compute device
When enabling GPU device types, verify that your software recognizes the GPU correctly. A quick test render of a simple scene should complete significantly faster than CPU rendering alone.
Test your configuration with a small project first. Render a single frame or short animation to confirm GPU acceleration is active. Watch your GPU utilization in system monitoring tools—you should see near 100% usage during rendering.
Proper driver and software configuration can mean the difference between rendering times that save you money and bottlenecks that waste both time and computational resources.
If GPU rendering doesn’t activate or shows errors, check that your driver version matches your rendering software’s requirements and that you’ve selected the correct compute backend.
Pro tip: Create a standardized test scene (a simple sphere with reflective materials and lighting) that you render on every new cloud desktop setup—this benchmarks performance and catches configuration problems before you start real production work.
Step 4: Verify Performance and Security Settings
With your cloud desktop configured, you need to verify that both performance optimization and security protections are working correctly. This step ensures your rendering infrastructure operates at full efficiency while protecting your valuable project files and intellectual property.
Begin by running a comprehensive performance benchmark. Render a moderate complexity scene and monitor system metrics using built-in Windows Task Manager or Linux utilities. Track GPU utilization, CPU load, memory consumption, and rendering frame times.
Document these baseline metrics for comparison:
- GPU utilization should consistently exceed 95% during rendering tasks
- Memory usage should remain stable without sudden spikes or slowdowns
- CPU load should reflect your project demands without unnecessary overhead
- Render time should align with your Step 1 estimates or improve upon them
If any metric falls below expectations, revisit your driver configuration or rendering software settings from Step 3.
Now focus on security verification. Cloud security best practices emphasize protecting data at rest and in transit. Enable Windows Defender or your Linux firewall immediately to block unauthorized access attempts.
Verify these critical security controls are active:
- Firewall enabled with inbound rules restricting access to necessary ports only
- Antivirus software running and updated with current virus definitions
- Remote desktop settings secured with strong passwords (minimum 16 characters) and two-factor authentication if available
- Disk encryption enabled to protect project files if the physical server is ever compromised
Test your remote connection security by attempting to connect from outside your usual network. This validates that your access controls work as intended.
Strong security protections and optimized performance aren’t competing goals—they work together to create a cloud desktop that’s both fast and trustworthy.
Review your cloud provider’s security dashboard to confirm backup settings are active. Your rendered outputs and project files deserve automatic protection against accidental loss.
Pro tip: Schedule a monthly performance audit where you render the same benchmark scene and compare results—performance degradation over time signals driver updates or system drift that needs attention before it impacts production work.
Unlock Seamless High-Performance Rendering with MaxCloudON
Setting up a cloud desktop for demanding rendering tasks can feel overwhelming when you face challenges like matching GPU specs, balancing VRAM needs, and securing your environment effectively. If you want to avoid costly guesswork and ensure your configurations deliver consistent speed and security for your complex projects, you are not alone. This tutorial highlights the importance of dedicated hardware resources, proper software tuning, and secure remote access — all areas where MaxCloudON excels.
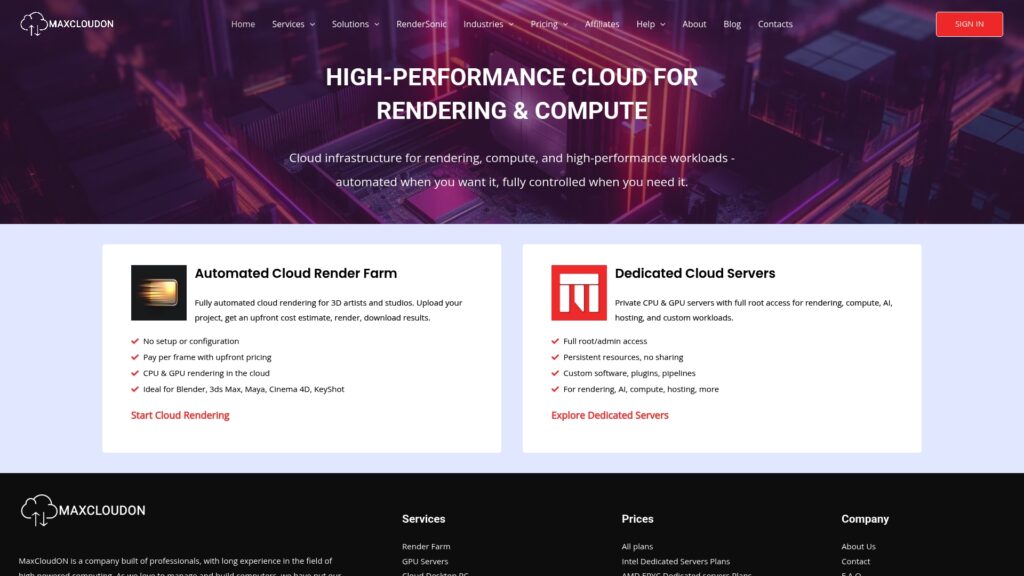
Explore how MaxCloudON’s dedicated cloud desktops and powerful Cinema 4D solutions provide guaranteed GPU acceleration, flexible scaling, and robust security designed to meet your highest rendering demands. Whether you are running Blender, Maya, or KeyShot, we offer instant deployment with full admin control to customize your environment precisely. Dive deeper into our expert insights and tips with the Tutorials collection or get started right away at MaxCloudON. Take control of your rendering workflow today and experience the performance your projects deserve.