Unlock powerful features to grow our business!
Get The PRO 🚀

The "Progress Bar" feature of the FancyPost plugin allows you to easily add visual progress indicators to various features of any product. This helps users quickly understand a product, which can contribute to your business's growth.
With the Progress Bar, you can drag the block into your content, set the progress level, and choose your colors. It's a simple way to enhance your posts and provide clear, visual updates that can help improve your business by keeping users informed.
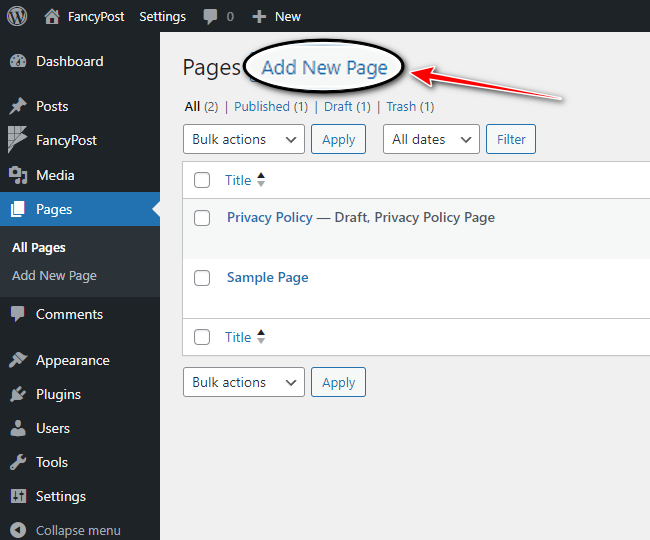
Step 01: First, go to your WordPress website dashboard and search for "Progress Bar".
Step 02: Now, click on the "+" icon on the right side, type "Progress Bar" in the search box, and click on the search icon.

Step 03: Next, we'll discuss how the "Progress Bar" works. Click on "Progress Bar" from all the blocks.

Step 04: After clicking on "Progress Bar", you will see a block with a Progress Bar like the picture below. From this block, you can display various features of your product along with qualification numbers, which will be nicely shown through the Progress Bar.

Step 05: Use the "+" plus icon in the bottom right corner to add as many products as you like.

Step 06: For customization, go to "Progress Bar Block Settings". Here, you can easily use options like "Section Max Width", "Bar Height", "Progress Bar Color", and "Progress Color" to beautifully arrange the Progress Bar block.

Step 07: Finally, after customizing your "Progress Bar", click the "Save" button.

This simple guide helps you effectively use the Progress Bar feature to enhance your WordPress posts and keep your users informed with visual progress updates.
We bring you the most affordable WordPress development and customization services, provided by our expert developers to craft your site.


Stay updated with all our freshly Solutions, News, Service Updates, Tricks & Deals!
Stay updated with all our freshly Solutions, News, Service Updates, Tricks & Deals!