Browsershot
One tool I've been using for this purpose is Spatie's Browsershot, a fantastic wrapper around Puppeteer, the Node.js library for controlling Chrome. It's incredibly user-friendly, especially during local development. Just run npm i -g puppeteer and you're good to go.
However, things change when you want to deploy Browsershot on your production server. As I've recently migrated all my side projects to Docker containers, I aim to keep them as small as possible. While it's technically feasible to install NodeJS, Puppeteer, and Chromium in my primary application container, it feels messy and would significantly increase its size by several hundred megabytes. Additionally, it contradicts the fundamental concept of Docker containers: having one service per container.
In my quest for an optimal Chromium container, I stumbled upon Zenika's alpine-chrom, which strives to be the smallest option available—excellent! Unfortunately, using this container as a remote instance for Browsershot still necessitates the installation of NodeJS and Puppeteer in my primary application container, which is not my preferred approach.
A new container
That's when I decided to construct a new container based on alpine-chrome. This container contains a simple NodeJS application that listens for Browsershot requests, forwards them to Puppeteer, and returns the results. By adopting this approach, I can maintain a compact main image and achieve clean separation.
Admittedly, in theory, it would be more ideal to create a separate container solely for the NodeJS component and leave the alpine-chrome container untouched. However, I opted for an all-in-one solution without the complexity of managing multiple containers. Besides, since Chromium is initiated and terminated by Puppeteer rather than running continuously as a service, it aligns with my "one service per container" rule.
This approach was heavily inspired by Stefan's sidecar-browsershot, which replaces the callBrowser method of Browsershot with an AWS Lambda function. In my case, I employed a similar strategy to call the NodeJS server in my new container.
To use this setup, simply start the container and instruct Browsershot to utilize it as the endpoint:
use pwaio\BrowsershotAio\BrowsershotAio;

BrowsershotAio::setEndpoint('http://chrome:3000');

// if you do not want to create a shared volume for your containers
$data = BrowsershotAio::url('https://example.com')->base64Screenshot();

// an image will be saved (needs a shared volume)
BrowsershotAio::url('https://example.com')->save($pathToImage);

// a pdf will be saved (needs a shared volume)
BrowsershotAio::url('https://example.com')->save('example.pdf');
You can find the source code and some usage details (though I wouldn't call it documentation) for browsershot-aio on GitHub.
(Note: I am currently using this container in one of my projects, and it works well. However, I cannot guarantee its compatibility in your specific setup. Also, please be aware that the Node server lacks authentication, so avoid exposing it to the public internet.)
]]>At first I checked, how big my images are! docker images gives us a nice list of all image and their sizes:
pwaldhauer@plomp cms % docker images
REPOSITORY                   TAG       IMAGE ID       CREATED         SIZE
r.knspr.space/cms            latest    53da37711c85   4 hours ago     253MB
ghcr.io/pwaldhauer/logsock   latest    97ed14d3b5a8   2 days ago      234MB
r.knspr.space/speiseplaner   latest    7f9f68620494   2 weeks ago     289MB
Seems like most of my Image are around 250 megabytes. Thats quite a bit for some PHP files! Since I’m not here to waste valuable disk space, let’s have a look, what can be done to get the size down.
A docker image consists of multiple layers, each step in the Dockerfile creates a new one. My next step was looking at those layers to see where all the stuff is hidden. You can use docker history image-name to get a list of layers.
pwaldhauer@plomp cms % docker history r.knspr.space/cms:latest
IMAGE          CREATED        CREATED BY                                      SIZE      COMMENT
53da37711c85   4 hours ago    ENTRYPOINT ["sh" "/etc/entrypoint.sh"]          0B        buildkit.dockerfile.v0
<missing>      4 hours ago    COPY .docker/entrypoint.sh /etc/entrypoint.s…   82B       buildkit.dockerfile.v0
<missing>      4 hours ago    COPY .docker/php.ini /usr/local/etc/php/conf…   72B       buildkit.dockerfile.v0
<missing>      4 hours ago    COPY .docker/nginx.conf /etc/nginx/nginx.con…   4.3kB     buildkit.dockerfile.v0
<missing>      4 hours ago    WORKDIR /app                                    0B        buildkit.dockerfile.v0
<missing>      4 hours ago    COPY .env.docker /app/.env # buildkit           407B      buildkit.dockerfile.v0
<missing>      4 hours ago    COPY . /app # buildkit                          115MB     buildkit.dockerfile.v0
<missing>      19 hours ago   RUN /bin/sh -c apk add nginx # buildkit         4.1MB     buildkit.dockerfile.v0
<missing>      19 hours ago   RUN /bin/sh -c chmod +x /usr/local/bin/insta…   58.2MB    buildkit.dockerfile.v0
<missing>      2 days ago     ADD https://github.com/mlocati/docker-php-ex…   160kB     buildkit.dockerfile.v0
I deleted some lines of this example output, because its very long. After skimming the list I came to this conclusions:
- The base image (
php:8.2.3-fpm-alpine3.17) I’m using is around 70MB. No chance to optimise something at this level. - Installing some PHP extension adds around 60MB again. I have to take a look if it is possible to do something here, I
do not think that theredis,gdandexifextensions should weight 60MB after compiling. - The real meat lays in the layer that contains all my application code. 115MB of PHP files!
My application code only weights around 500KB, so I turned to the vendor folder. I used du -sch vendor/* | grep -v "/$" | sort -h to find the biggest directories and found some really hefty ones: phpunit, laravel/pint, fakerphp/faker to name few.
My first try was to add the biggest directories to the .dockerignore but, of course, everything explodes, because the composer autoloader needs all those files, even if they are not used anywhere. But the solution is much easier. All those big directories belong to dependencies used just for development, so I can just call composer install --no-dev before building the image and now my image is just 180MB in size! At least a 25 percent reduction.
Actually, if I was building the image in a CI pipeline, I would never have that problem, because I would have used --no-dev from the start. But currently I’m just building locally so that slipped through my fingers.
My local build script now looks like this, and while a bit ugly, it works:
composer install —no-dev
docker build —platform linux/amd64 -t r.knspr.space/cms:latest .
docker push r.knspr.space/cms:latest
composer install
Going deeper
While it is nice to have reduced the size of the image by a 25 percent, it still bugs me that every time I change just one little file, the whole layer containing all the files (still around 40MB) has to be pushed into the registry. For years I just used SFTP upload, or later a git based workflow and those were quite efficient just transferring what has changed. Transferring the big vendor directory on every push is wasteful, so what can we do to prevent it? We need to place it in its own layer!
Unfortunately there is no clean and easy way to do this. Since vendor is in the same directory as the app, resources and all the other things, and Docker does not support any way to exclude files from a COPY command its not possible to do something like that:
COPY --exlude=vendor . /app
COPY vendor ./app/vendor
One way to do it, would be to copy every directory individually:
COPY app /app/app
COPY bootstrap /app/bootstrap

#…
But that would create more than 10 layers, most of them with just some hundred kilobytes of data. That does not feel right. Fortunately I found a interesting piece of advice in the Github issue that wishes for COPY with support for excluding files:
FROM alpine AS scratchpad
WORKDIR /app
COPY --chown=www-data:www-data --chmod=g+r . /app
RUN rm -rf vendor

FROM r.knspr.space/php-fpm

COPY --chown=www-data:www-data --chmod=g+r vendor /app/vendor
COPY --from=scratchpad /app /app

# …
It is using a multi stage build, something I have read multiple times and still don’t really understand to first copy everything to a new image and removing the directory I want to exclude (vendor). In the second stage I just copy vendor into its own layer and add everything else from the first stage. Somehow, it works! Pushing now is a lot faster, because it only transfers around 3MB. While that is still much more than just transferring just some kilobytes for a single file its a good enough tradeoff.
Conclusion
Now my images are smaller and pushing changes is faster, just with some small changes. I hope Docker will implement a COPY --exclude feature sometime, though, the multi layer build makes everything less… simple looking.
GET request. Yes, a GET. You don't even have to Google “PHP curl post request”. Just do something like and you are good to go:
file_get_contents('https://api.telegram.com/botXYZ/message?blah=blubb');
But I always had some concerns because Telegram is a random third party service and although none of my messages contain critical data or personal information, there is no need to send them around the world just to get some push notifications.
I asked my followers on Mastodon if anyone knew of a tool that was similarly easy to use but self-hosted. There were a number of responses and the clear winner was nfty.sh. It is a service with a simple API, an iOS app to receive notifications and the possibility to self-host your own instance. But, maybe you already know what I'm going to say, it didn't spark any joy and I decided to just build it myself. (Also ntfy uses Material UI for its web interface and i just can not stand it)
Of course, I have to admit that Apple releasing support for Web Push Notifications in iOS 16.4 was another reason for implementing it. I always like to try new things and it would be nice if I didn't have to install an app just to get to get push notifications. With Web Push, a simple web app added to your home screen is all you need to receive notifications.
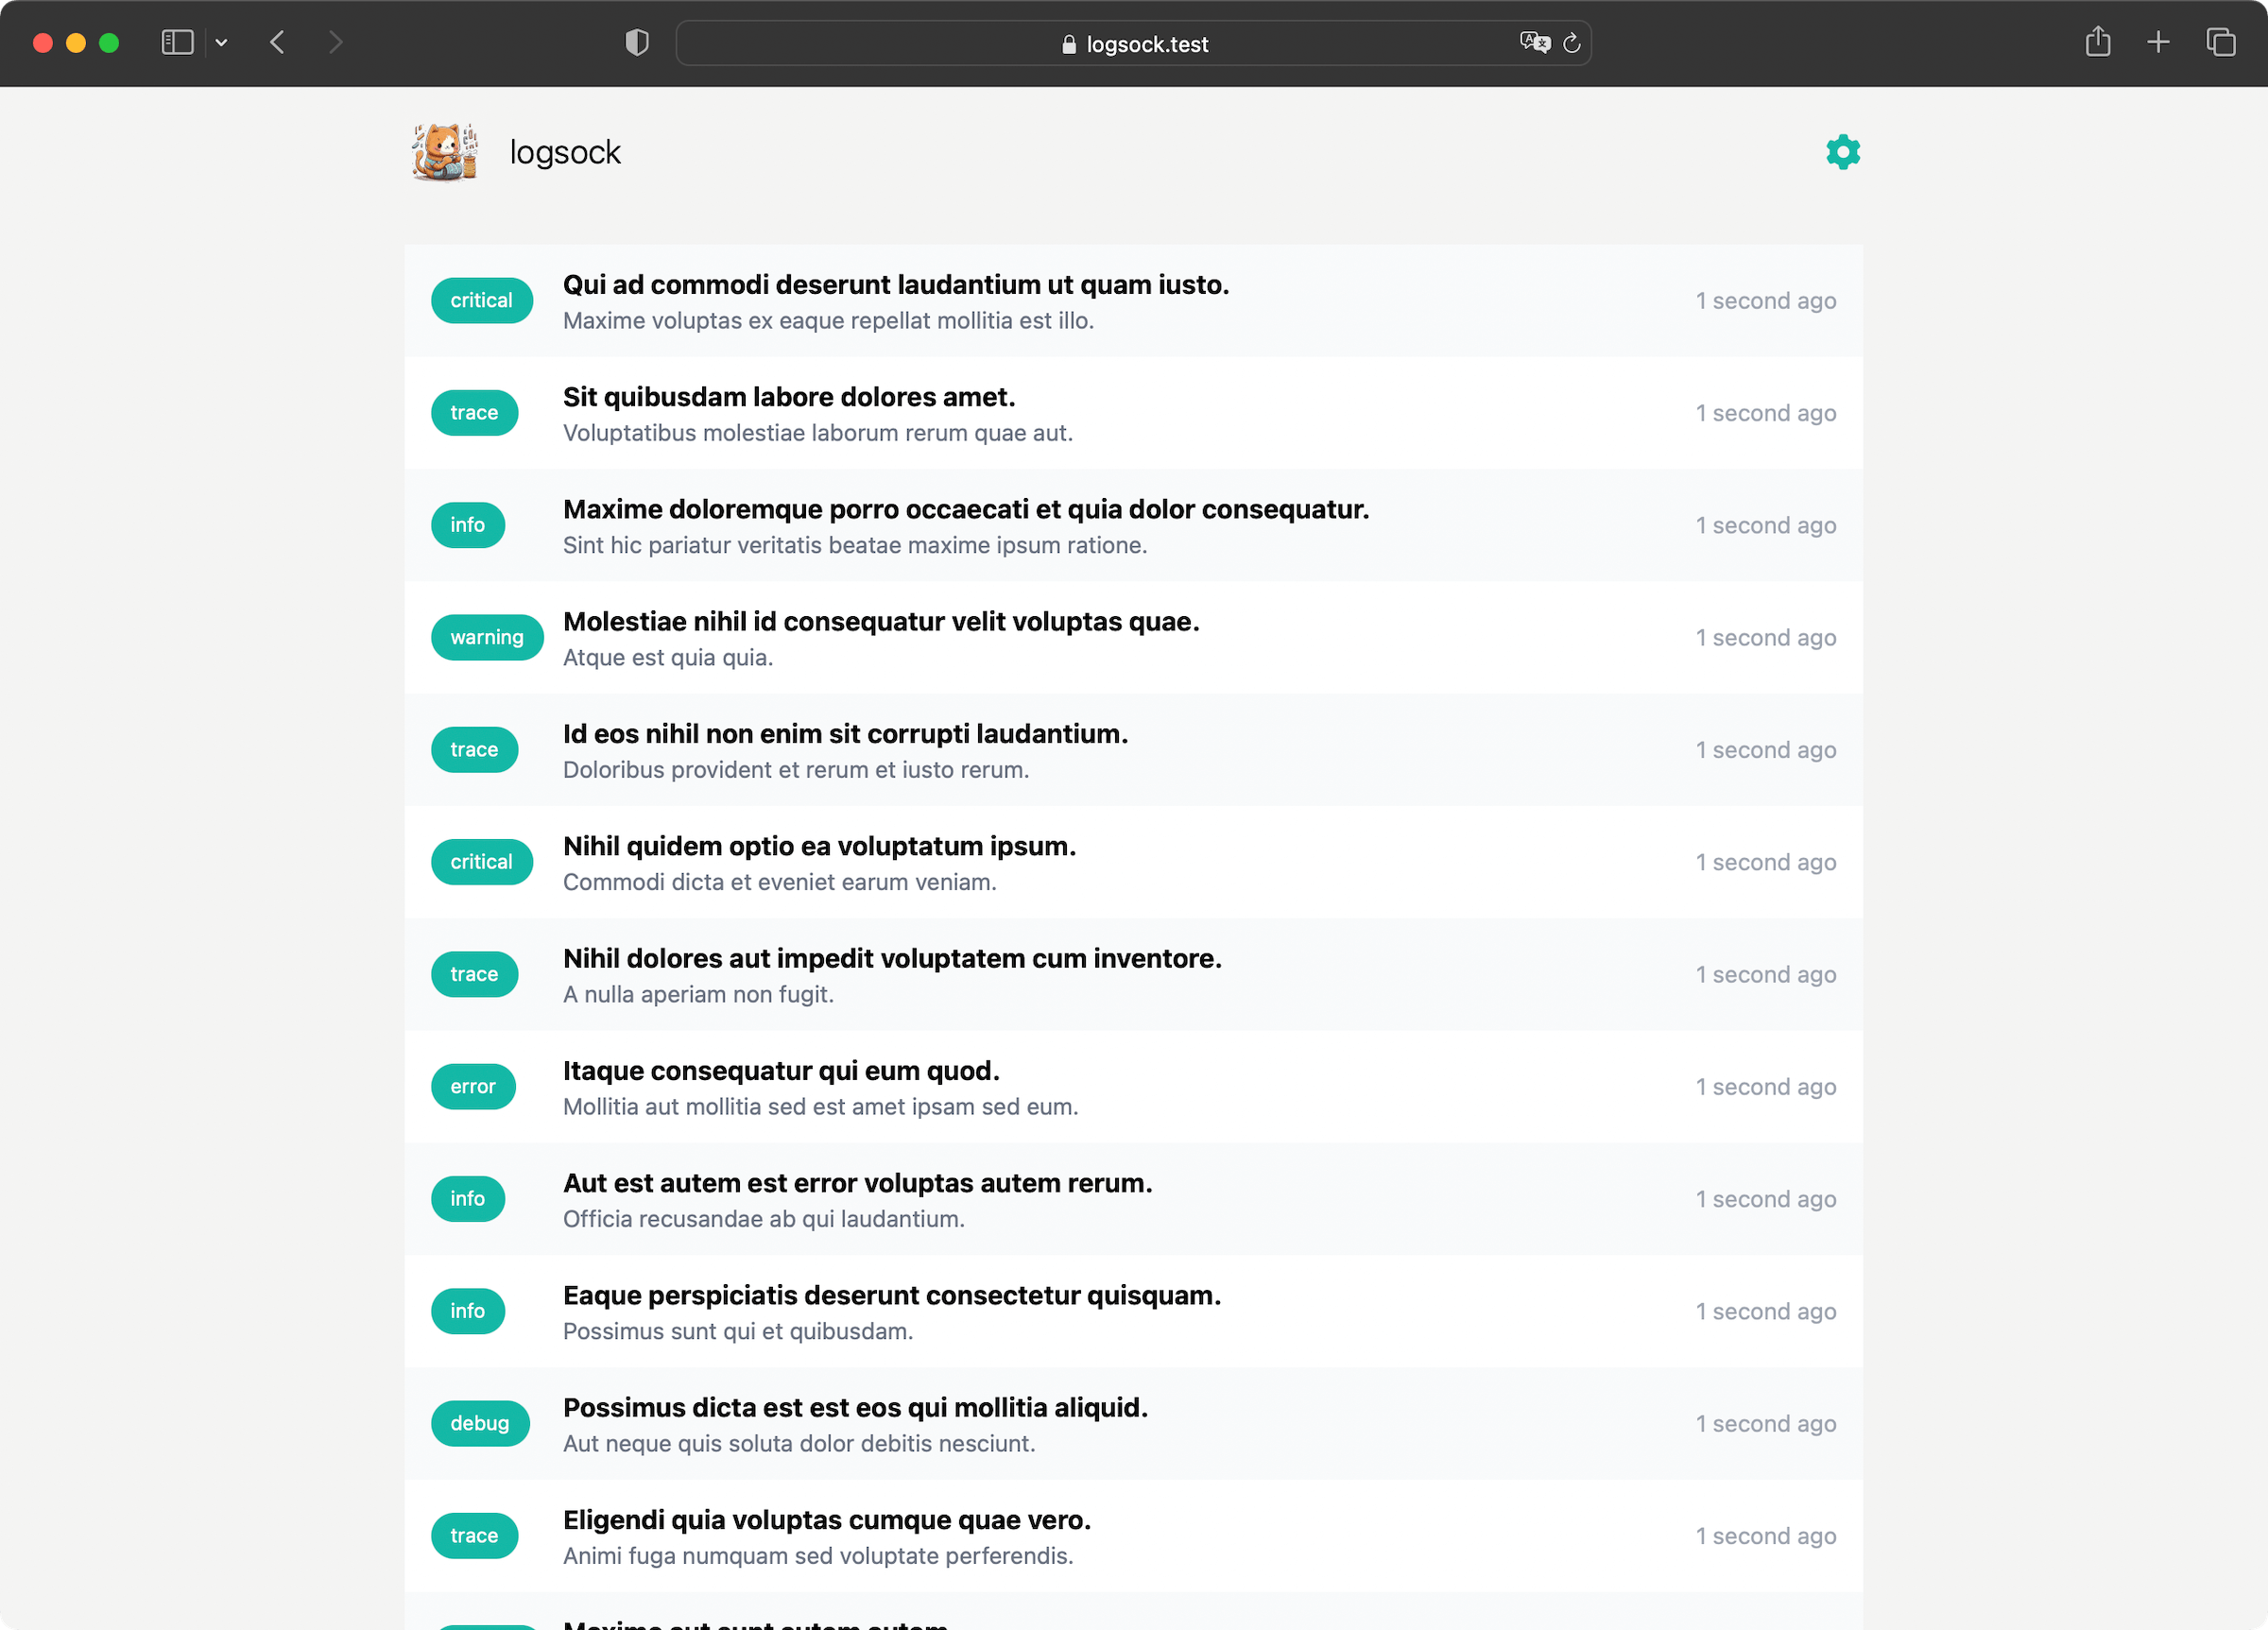
Introducing logsock
I tried to let Midjourney imagine a cat that knits a sock from paper strips and the result is kind of far away from the prompt but it looks cute, so I kept it. The name was just just the first thing that came to my mind thinking about the project.

The feature scope is quite limited. You can send logs via an simple API and see them in a web interface. It does not have search or even pagination, but you can register for push notifications and receive them!
The API is almost as easy as the Telegram one, I just added an additional topic field to be able to filter the logs in the future:
$api_token = '…';
file_get_contents("https://logsock.example.com/api/?_token=$api_token&topic=youtoube-dl&message=Your Video has been downloaded");
Of course, you also can send a POST request with JSON payload and include the token as Authorization header. Everything is possible!
Setup
You can get a copy of the code at Github or just use the Docker image that is provided. A more comprehensive setup guide is included in the README, but it comes down to the following steps:
- Copy the example
docker-compose.yml, create aVAPIDkey pair and start everything up - Create a new user and API key
- Add the application to your Homescreen and register for push notifications
- Send something using the simple API!
curl "https://logsock.example.com/api/?_token=YOUR_API_TOKEN&topic=hello&message=world"
Present and Future
I have been using logsock for weeks now and it just works! Currently I don't have big plans to add a lot of features, maybe the aforementioned search and pagination would be two candidates that are on the short list.
]]>But what would automated tests be without a Continuous Integration system to run them. Currently I use Forgejo as a git server and actually they added a built-in CI system in the latest version, but it is still marked as 🚨 experimental 🚨 and the installation instructions had more than three sentences, so I was too lazy to deal with it.
But since I need my CI system now, I looked for alternatives and found Woodpecker CI. The installation instructions are limited to “copy this docker-compose.yml and adjust three values”. That's right up my alley!
However, I didn't want to throw Woodpecker on my public VM, which has only a few CPU cores, when I have 16 cores to spare on my homelab server. So I created a new VM on it and started Woodpecker with docker-compose up -d, after I adjusted the configuration to make it connect to my Forgejo instance.
Surely, I could have put it on my existing Docker server where everything else is, but I'm always a little worried about services that want access to the Docker socket. I don't want it to break anything.
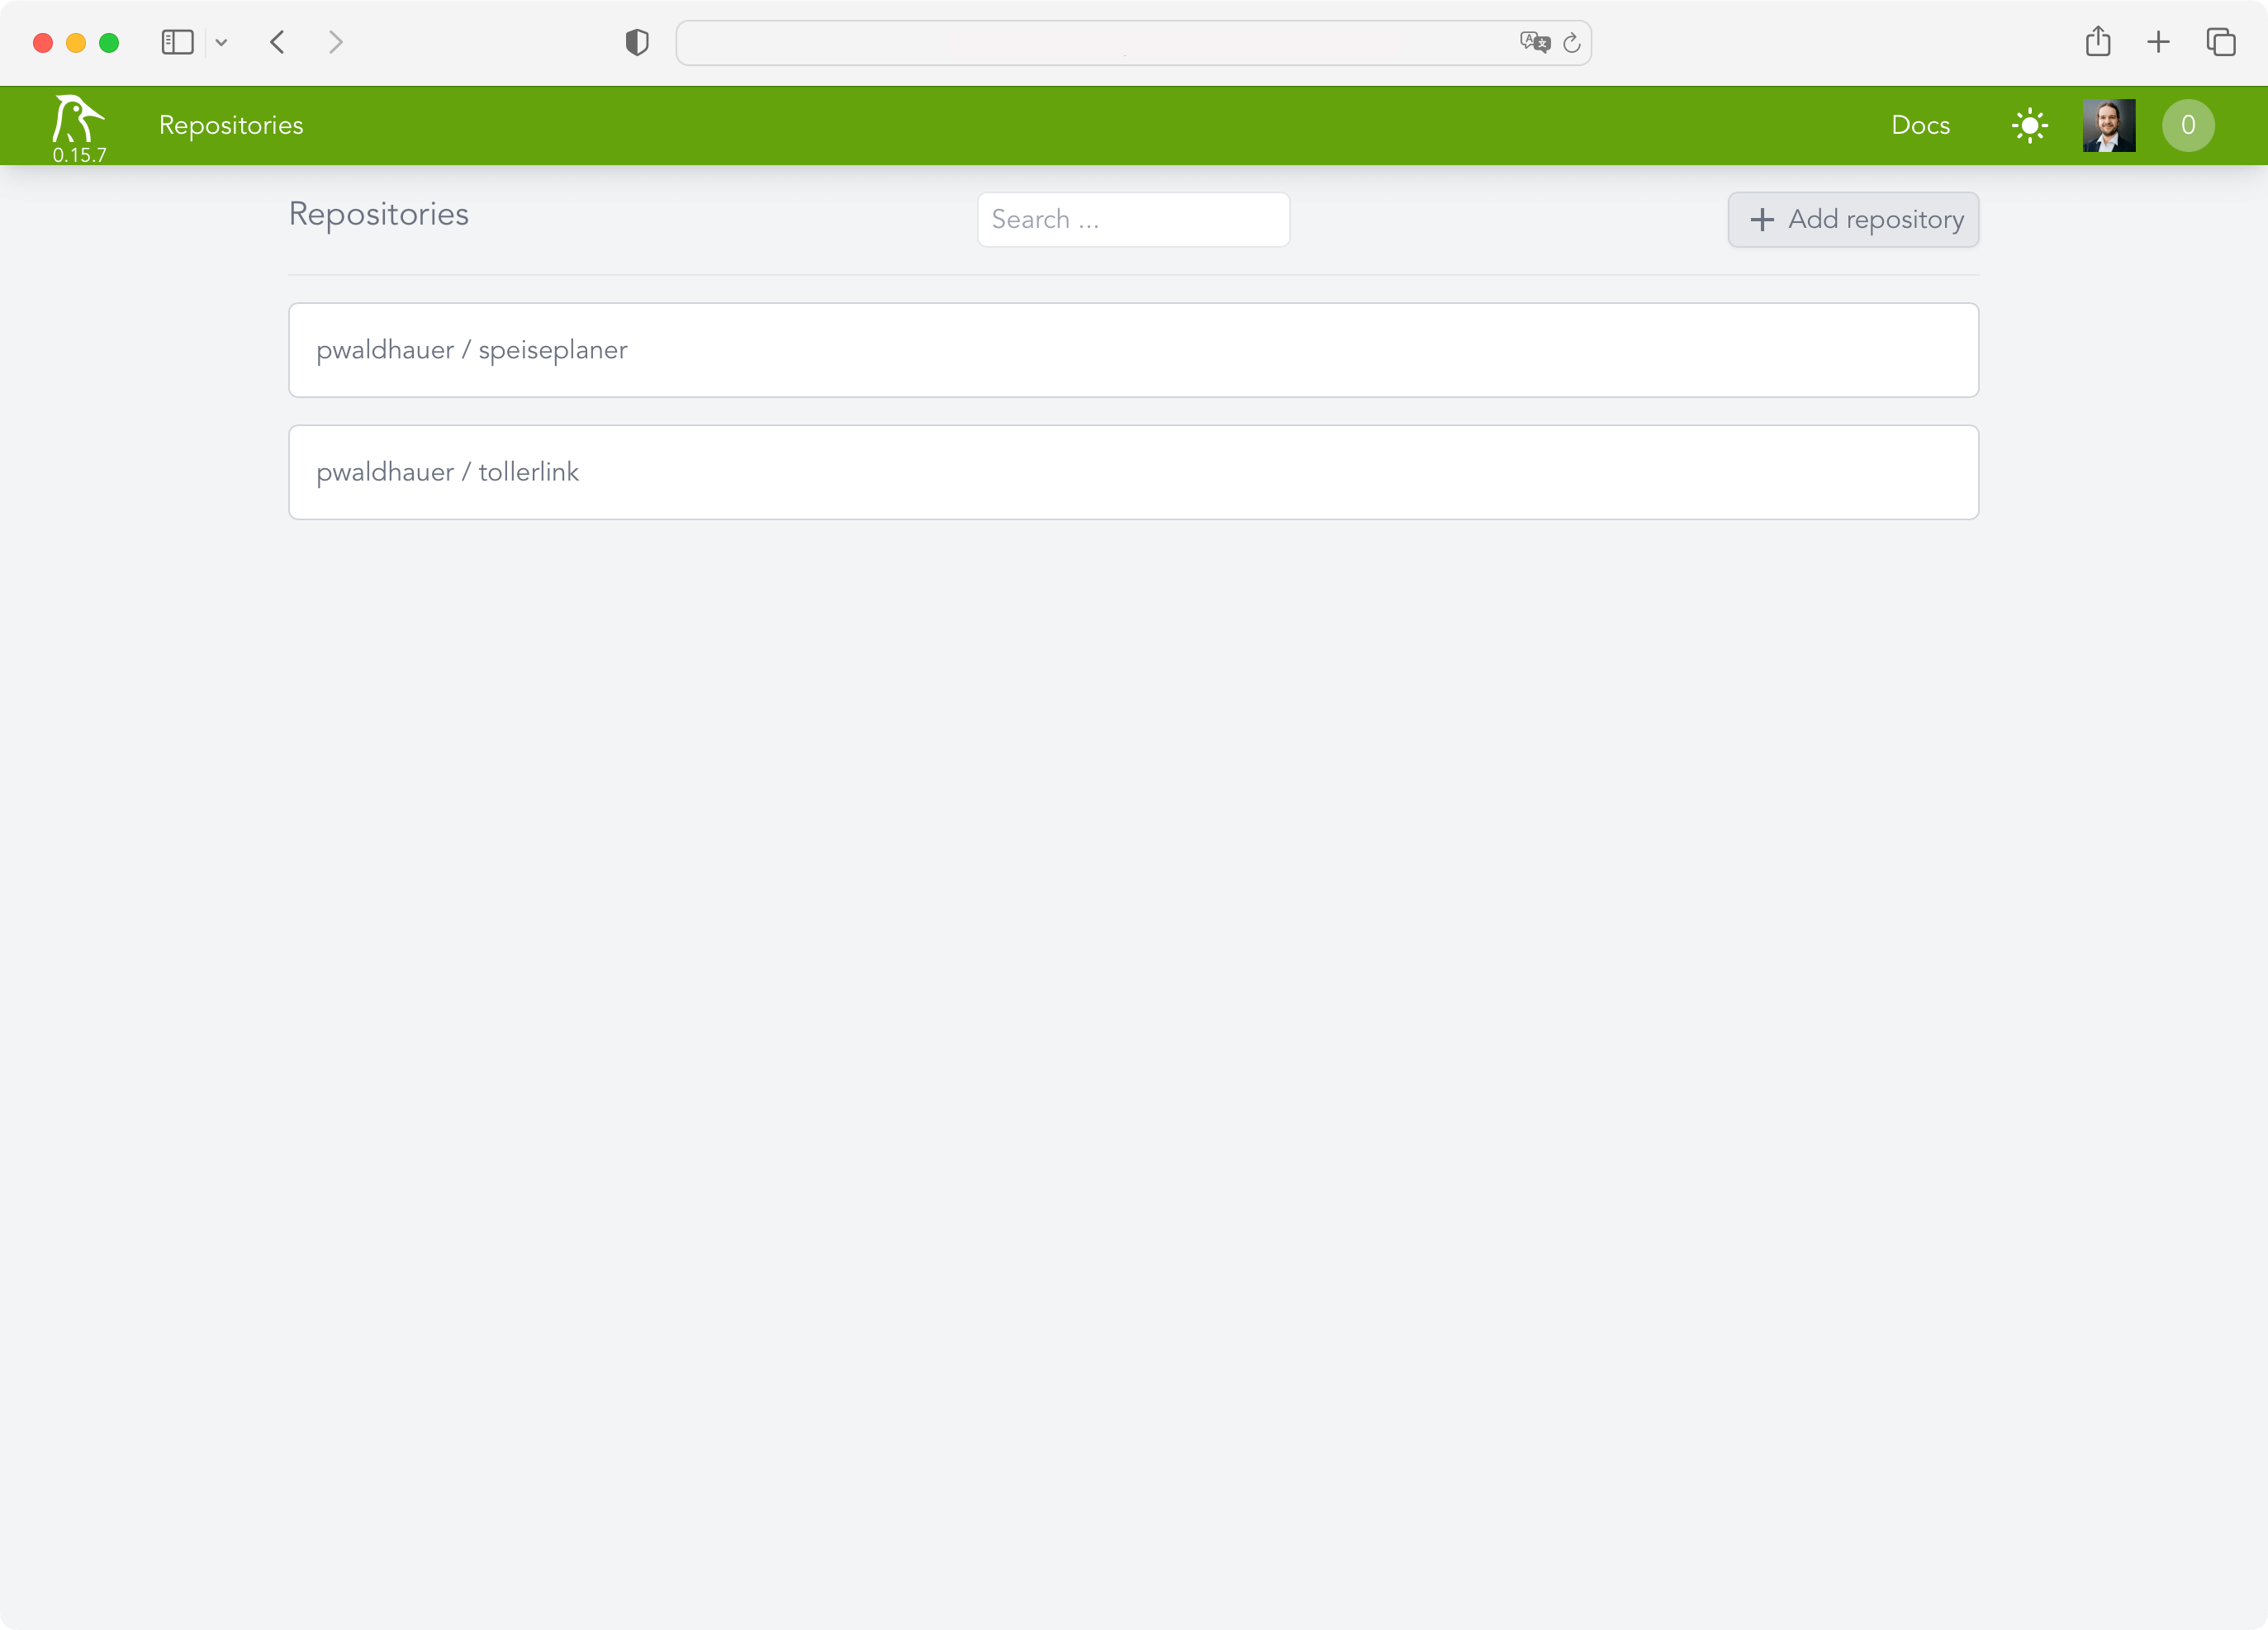
Woodpecker does not have its own user accounts but uses OAuth. Conveniently, you can just use the OAuth provider from Forgejo, for example, which all worked wonderfully. After a few seconds I was able to add my first projects.
Now I just had to create and commit a .woodpecker.yml with all the pipeline steps. Unfortunately one thing still did not work: Woodpecker was not informed about new commits. While it automatically created a webhook in Forgejo, it, of course, used the internal IP of the VM as the hostname, which Forgejo could not reach, because it's not installed in my homelab. So I quickly installed Tailscale and extended my ACL:
"acls": [
[…],
{
"action": "accept",
"src": ["public-projects"],
"dst": ["woodpecker:80"],
},
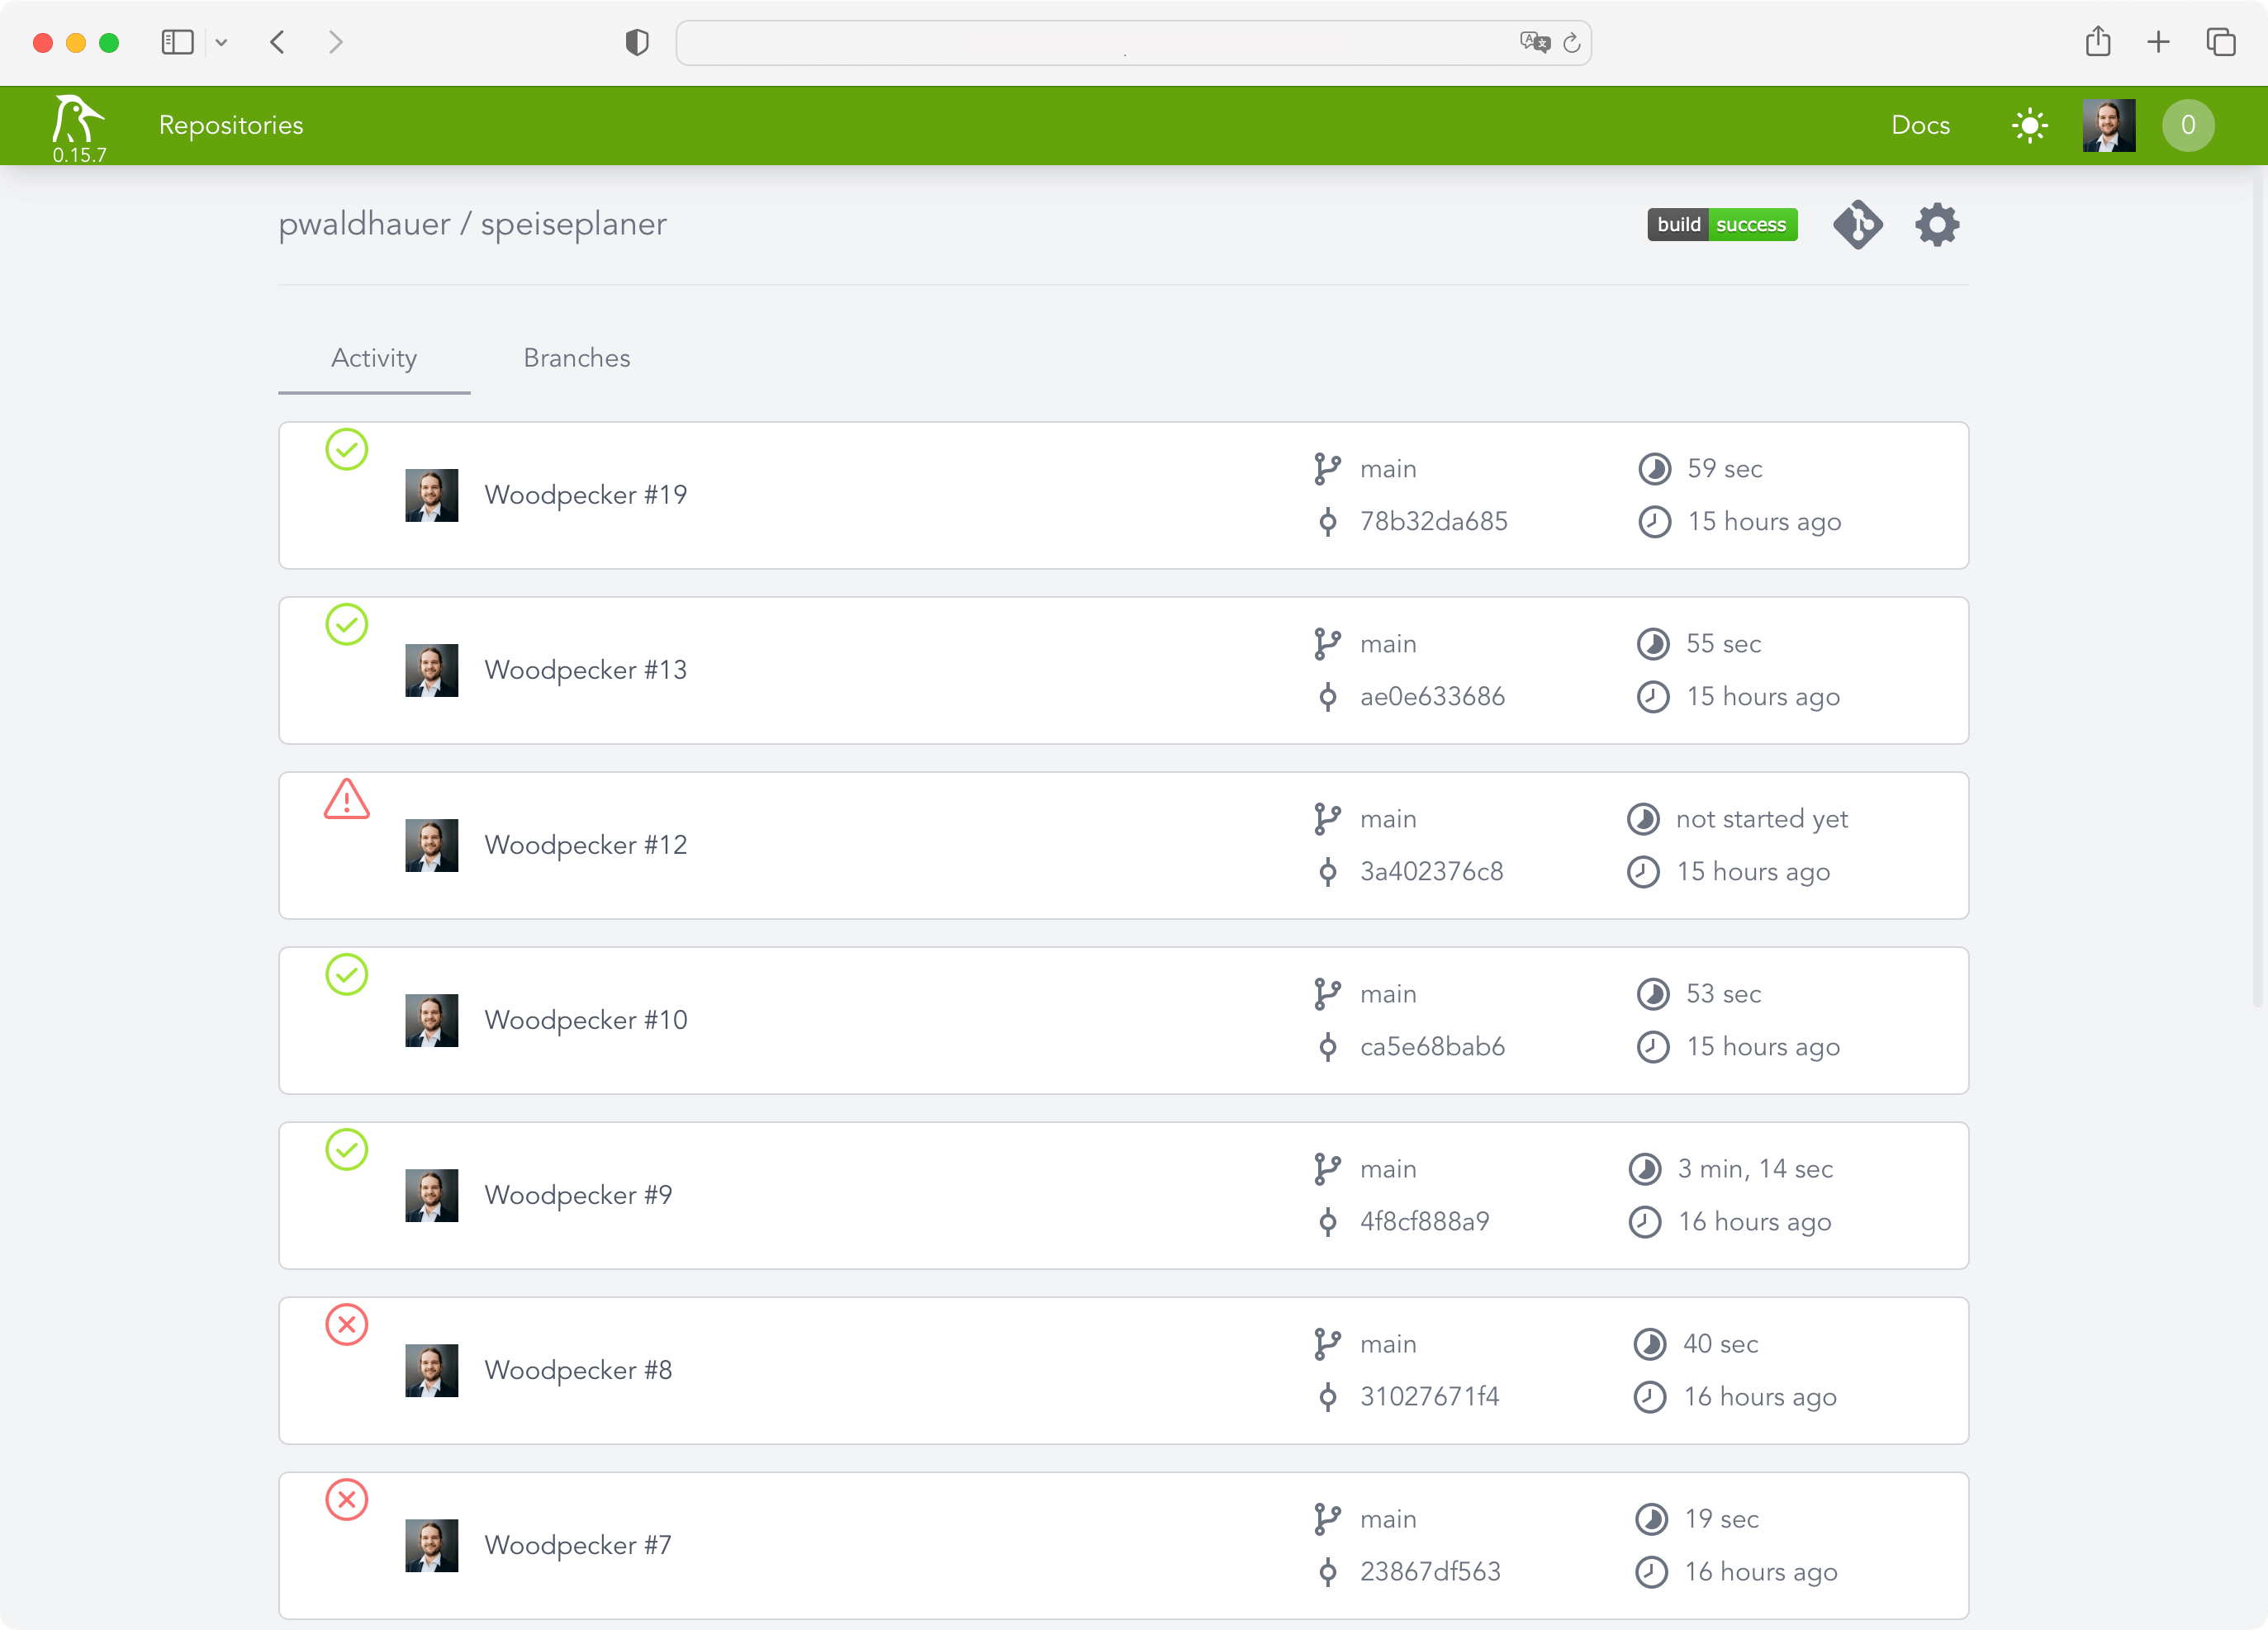
]After adjusting the URL in the webhook to use the Tailscale IP, everything worked. It needed only fifteen commits with the
title “Fixing Woodpecker” until my tests ran through. I ended up with the following configuration:
pipeline:
test:
image: lorisleiva/laravel-docker:8.2
commands:
- npm install
- npm run build
- composer install
- cp .env.example .env
- php artisan key:generate
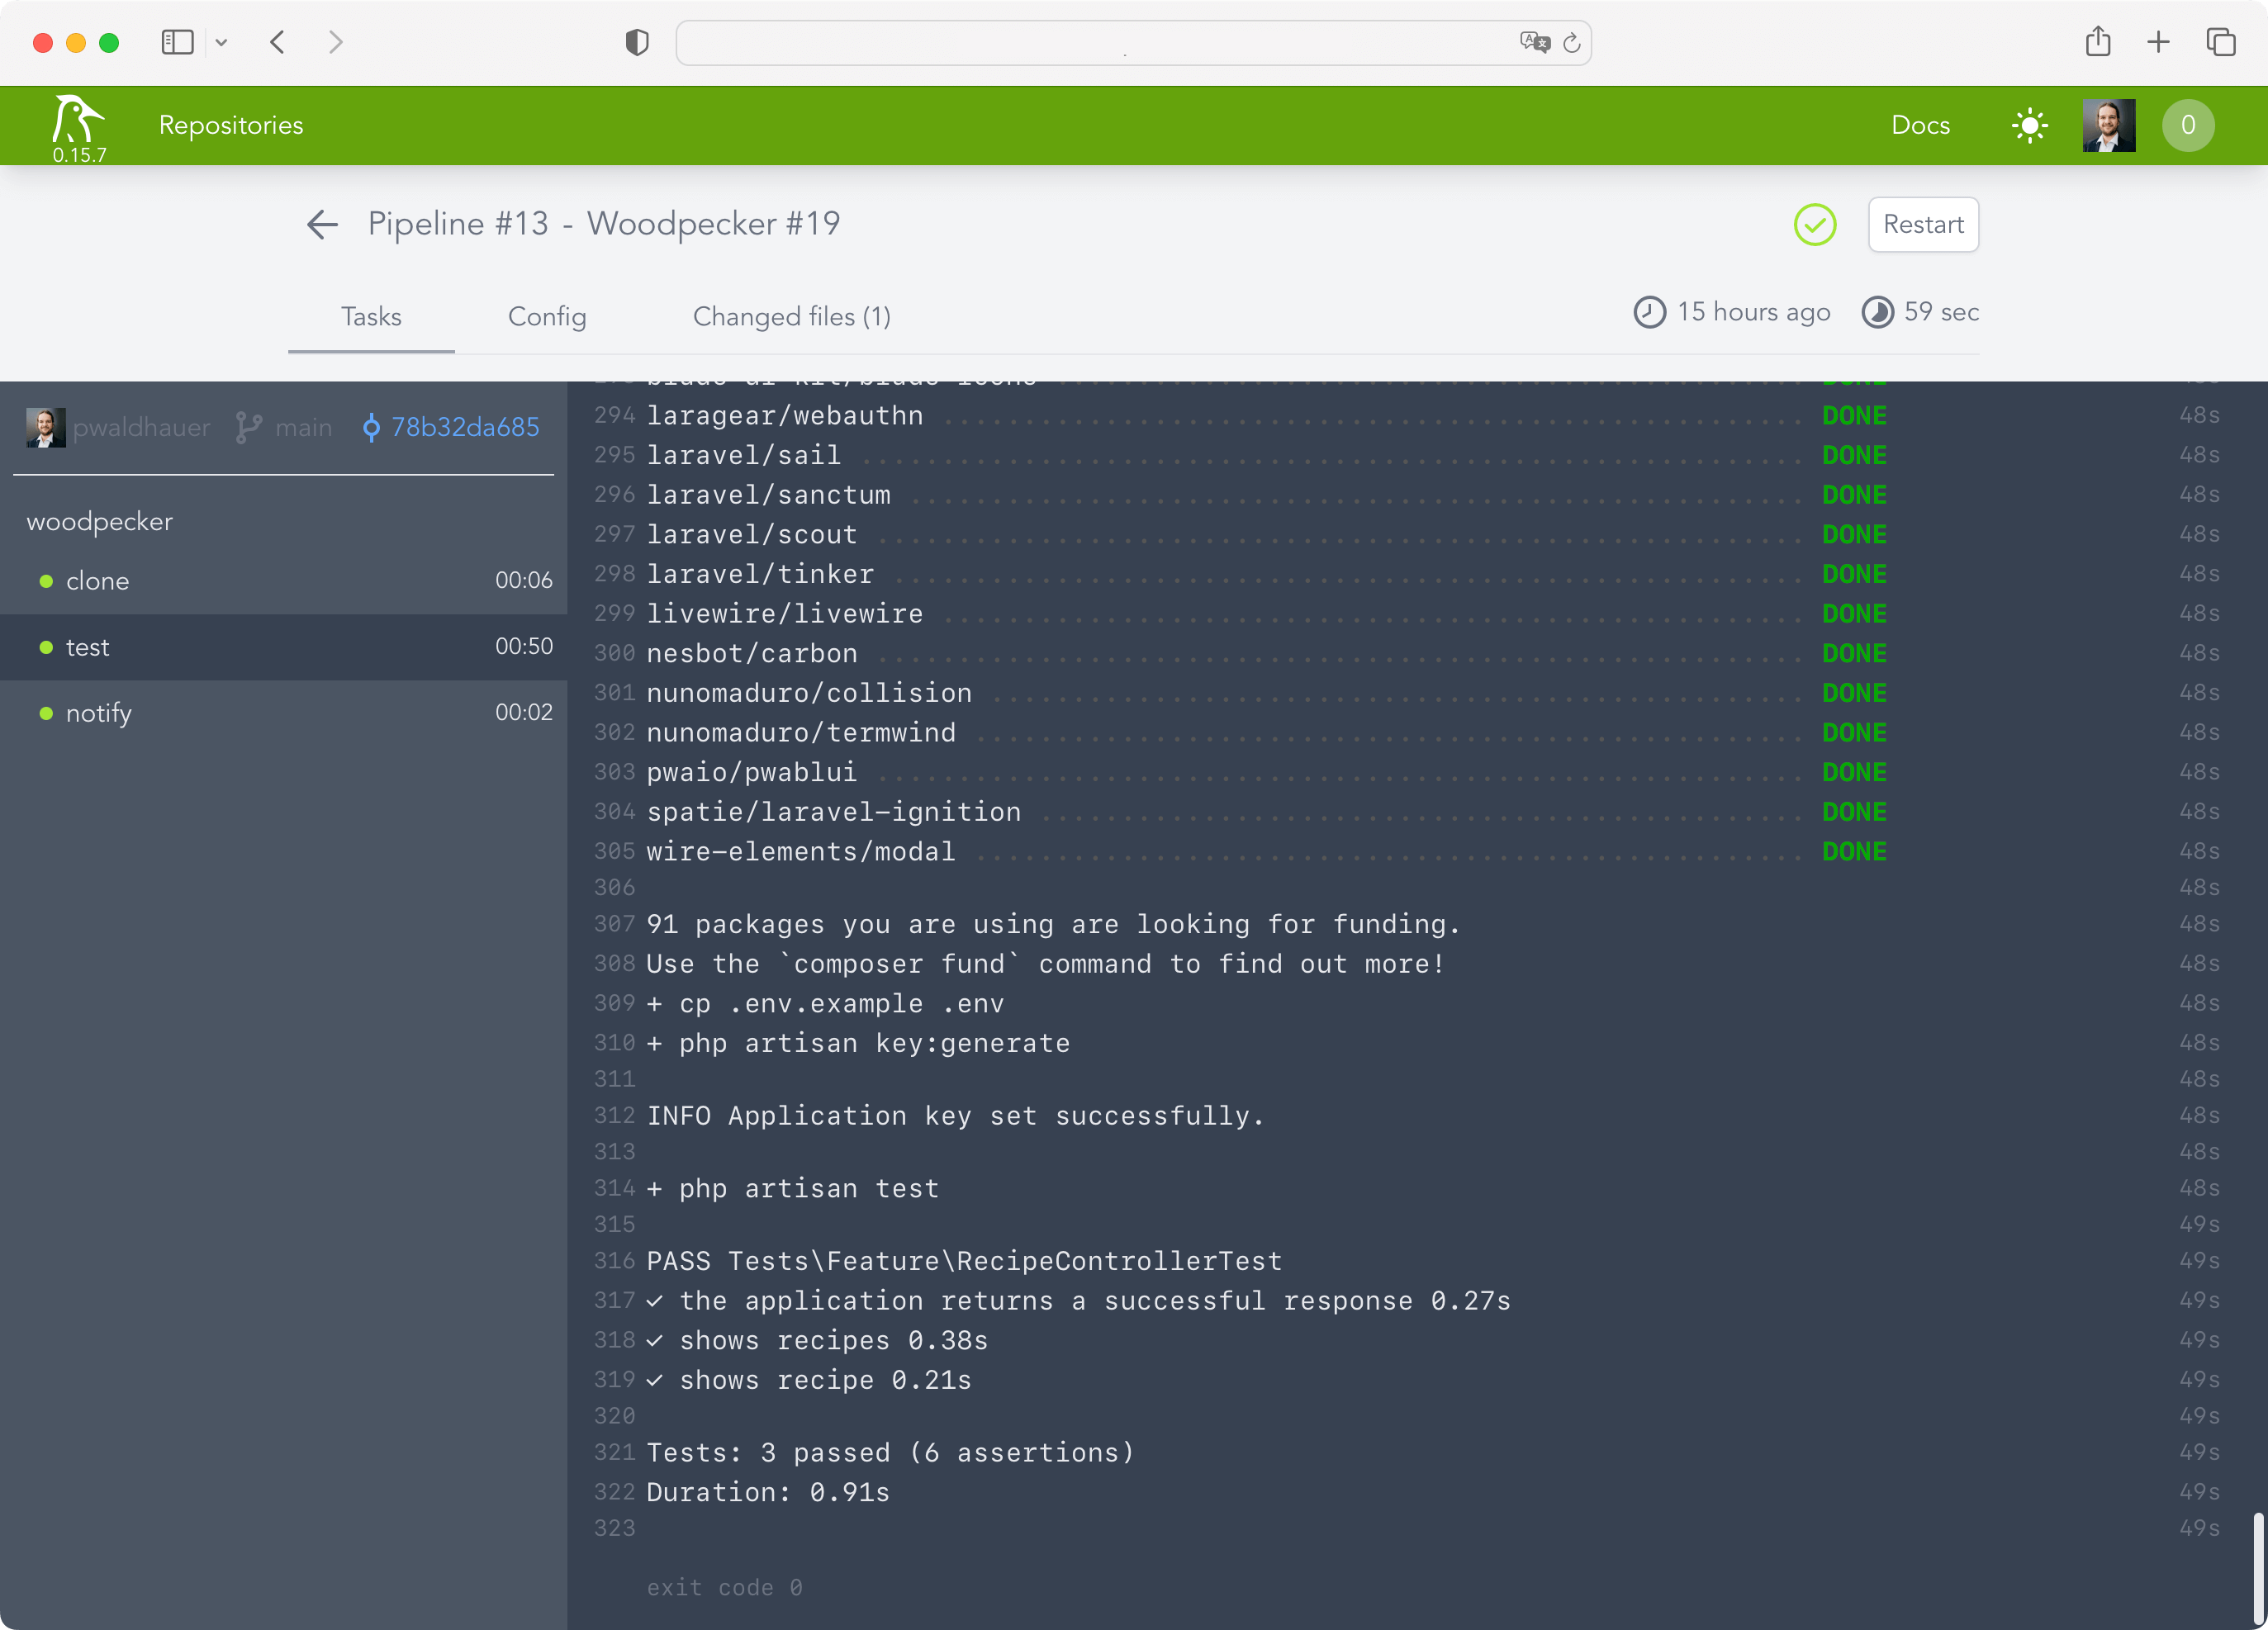
- php artisan testWhat's interesting here, is that I have to install all the frontend stuff because Laravel is so deeply intertwined with Vite that it won't work if the frontend assets aren't built. Phew! But oh well, that's just the way it is.
After the pipeline was running, of course I wanted to be notified when something happens. To achieve this, Woodpecker has plugins that can be incorporated into the pipeline directly. I decided to use the Webhook plugin to send me a notification via my own push notification tool. The url parameter is obtained from a secret that is managed by Woodpecker, as it includes the authentication token.
notify:
image: plugins/webhook
settings:
urls:
from_secret: NOTIFYURL
content_type: application/json
template: |
{
"topic": "woodpecker",
"message": "Build of {{ repo.owner }}/ {{ repo.name }} has status {{ build.status }}. "
}Actually, caching of node_modules and vendor folders would be part of a good CI configuration but the plugin I found didn't work. For my use case this is enough for now and I don't want to invest too much time in Woodpecker, because I'll surely switch to Forgejo Actions once it's not experimental anymore – simply because it is a copy of Github Actions and so I have to learn one less Yaml dialect.
My conclusion: Woodpecker CI is set up super fast and works very well for my limited use case. I needed a maximum of one hour for the entire setup (with 10 minutes just for setting up the new VM, I should finally make a copyable snapshot instead of clicking through the Debian installation every time).
Overall, however, the product still seems very new and not polished at all corners, I am curious how it will develop in the future.
]]>To accomplish this, you just need to use the docker save and docker load commands.
# After building your image, use docker save to save it to a tar file
docker save your-image:latest > saved-image.tar

# On the destination server, use docker load to load the image from the tar file
docker load < saved-image.tar
This is a simple way to move docker images from one machine to another, but it has some drawbacks. First of all, it is quite slow, because you always have to transfer the whole image. I guess you could use gzip to compress the tarball before transferring it, but pushing and pulling from the registry is much faster, because it only transfers the layers of the Docker image that have changed.
So, should you spend hours waiting for file uploads using this method, or should you just start the registry Docker image and quickly add some .htaccess Basic auth, which should not take more than five minutes? I guess the latter is the better choice.
Or you just use the build-in registry of your Gitea instance, but that would have been too easy.
]]>- First of all you need VAPID Keys, that's just a keypair you can generate yourself, you don't have to register anywhere, like for push notifications for Apple App Store Apps. I won't link to any of those shady sites where you can do that in a web form. You can do it via OpenSSL.
- A service worker. That is some JavaScript that a page can register and which the browser can run in the background, even if the page is not open. This is essential, because the service worker gets the notification from the system and then has to make sure that and how it is displayed. Here is a sample implementation. Actually, that is the first time I need to use one on those!
- A bit of JavaScript that registers the service worker and handles the registration for push notifications. On iOS, the important thing here is that the request for permissions happens in an
onclickhandler and not directly when the page is opened - A backend that stores the endpoints and tokens obtained from the browser.
- The app must be installed on the homescreen and needs a
manifest.json. I usedstandalonefor thedisplayfield in the manifest. - A backend component to send pushes. For PHP I used the minishlik/web-push library.
Done! If you know how it works, it's quite easy, right?
]]>