How to segment web push notification recipients
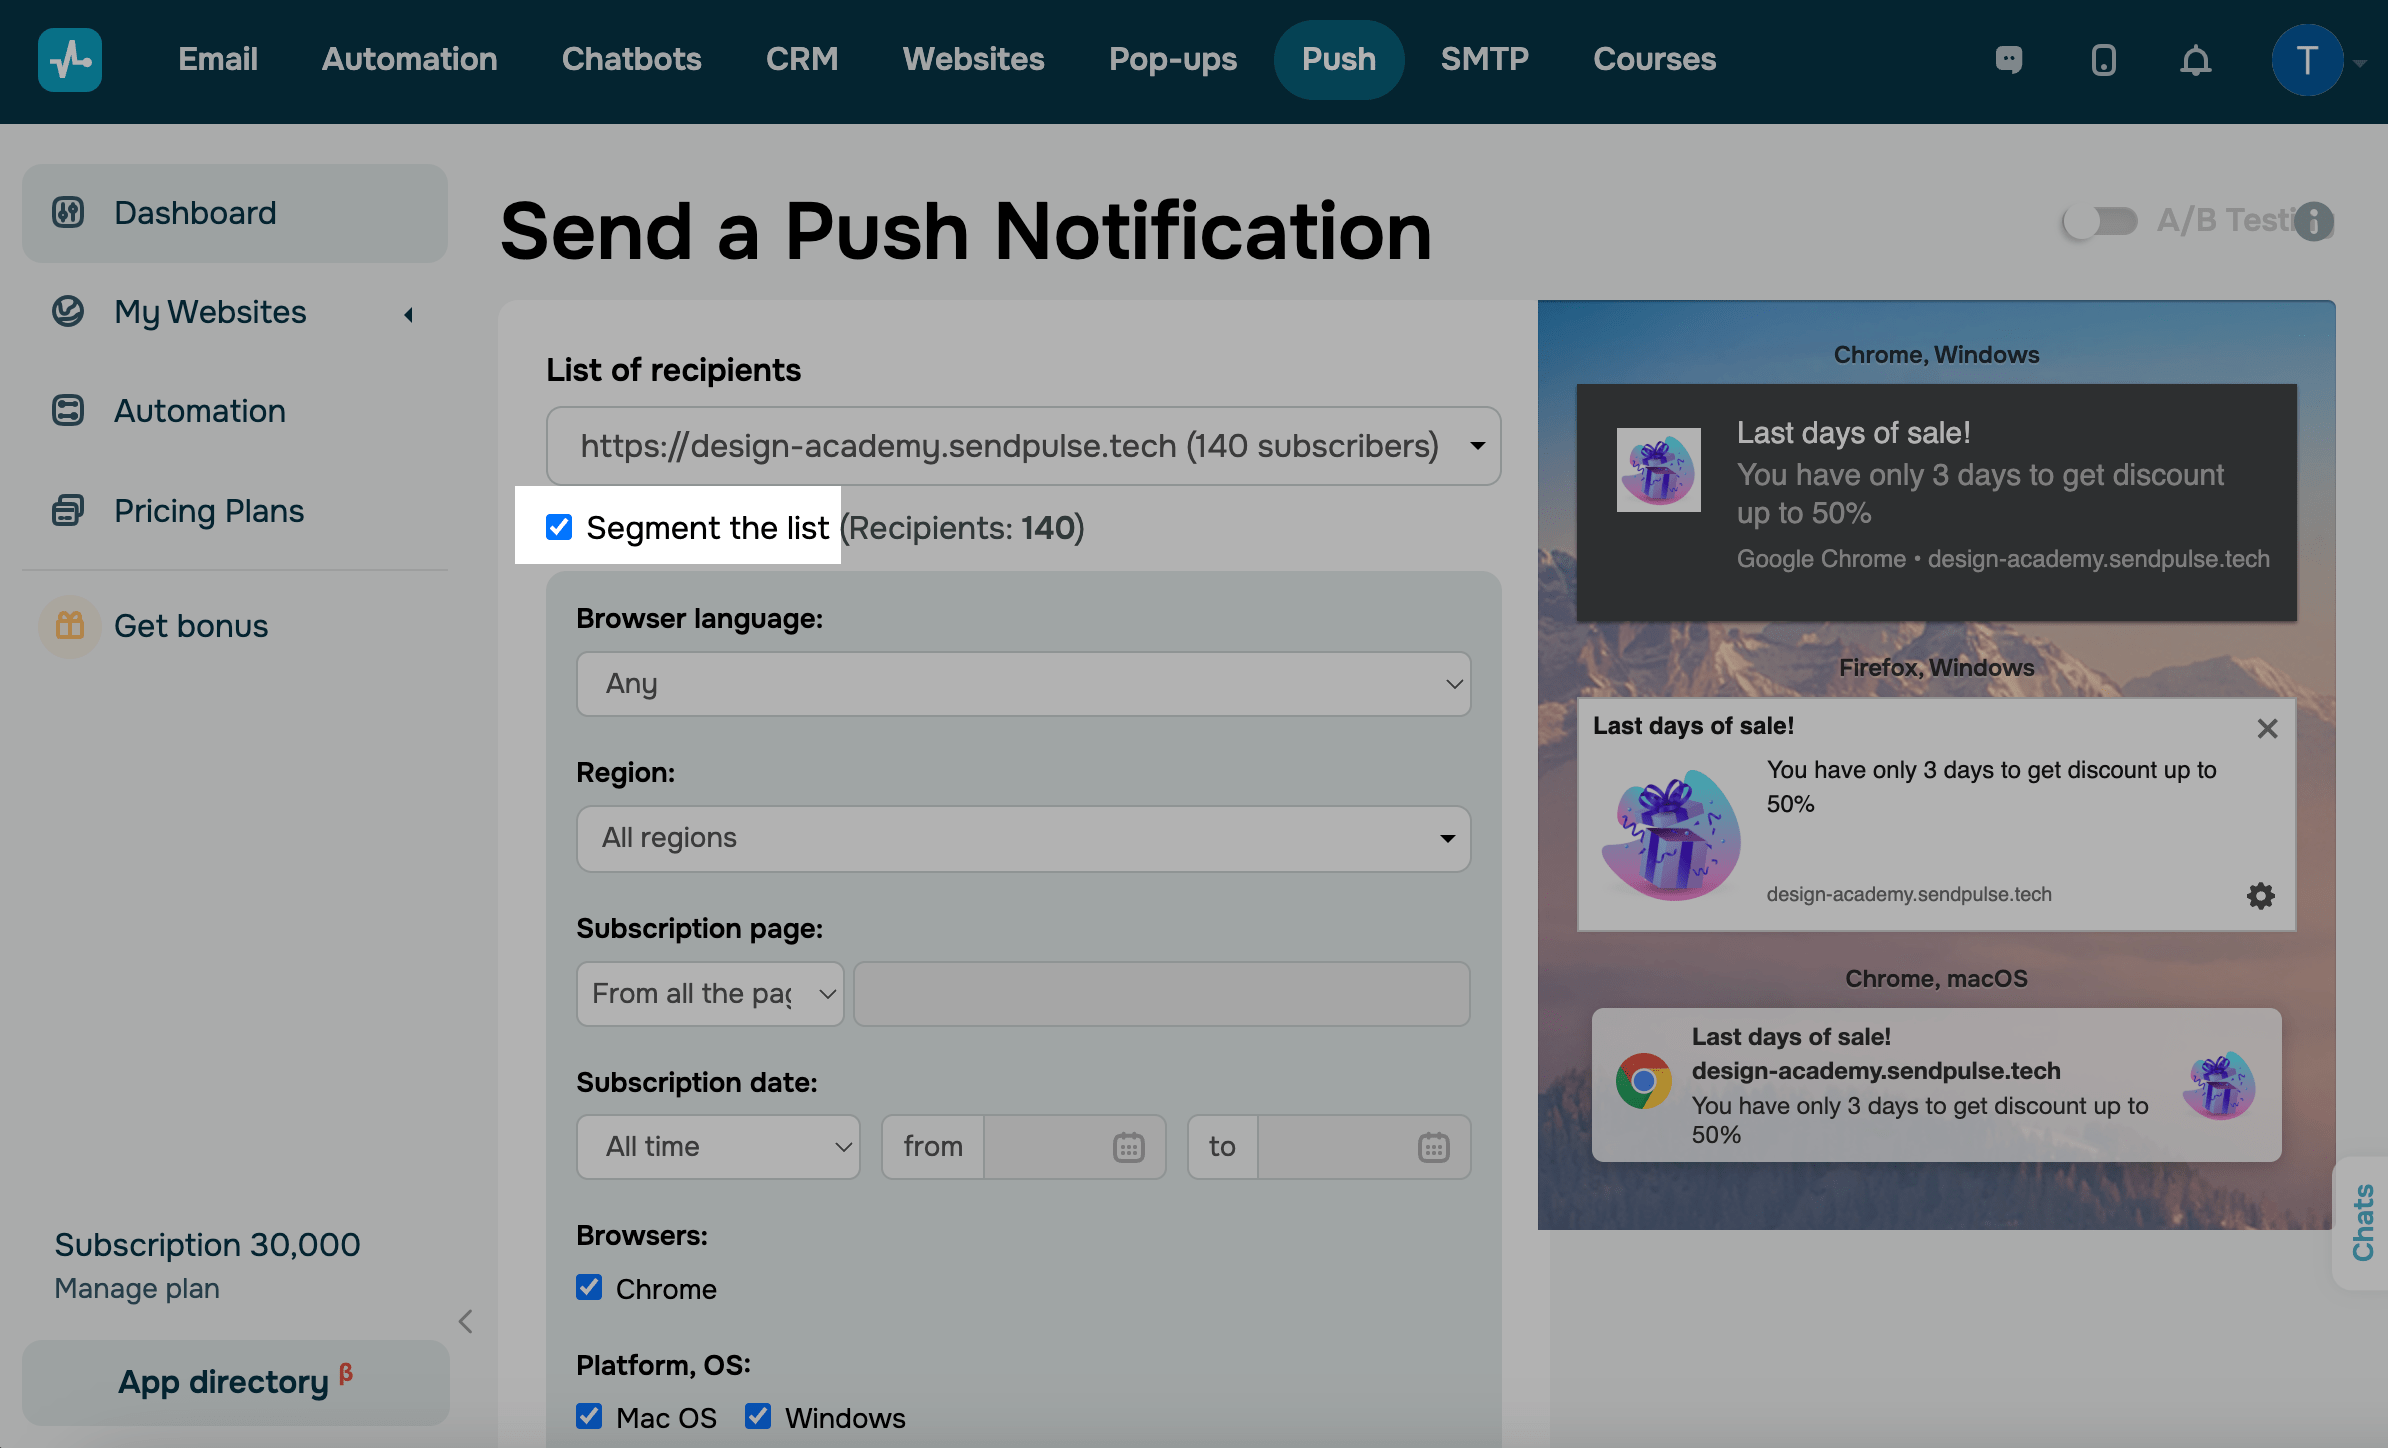
You can segment your list when you have more than 5 subscribers. To segment your recipient base before sending a push notification, check the box next to the Segment list option:
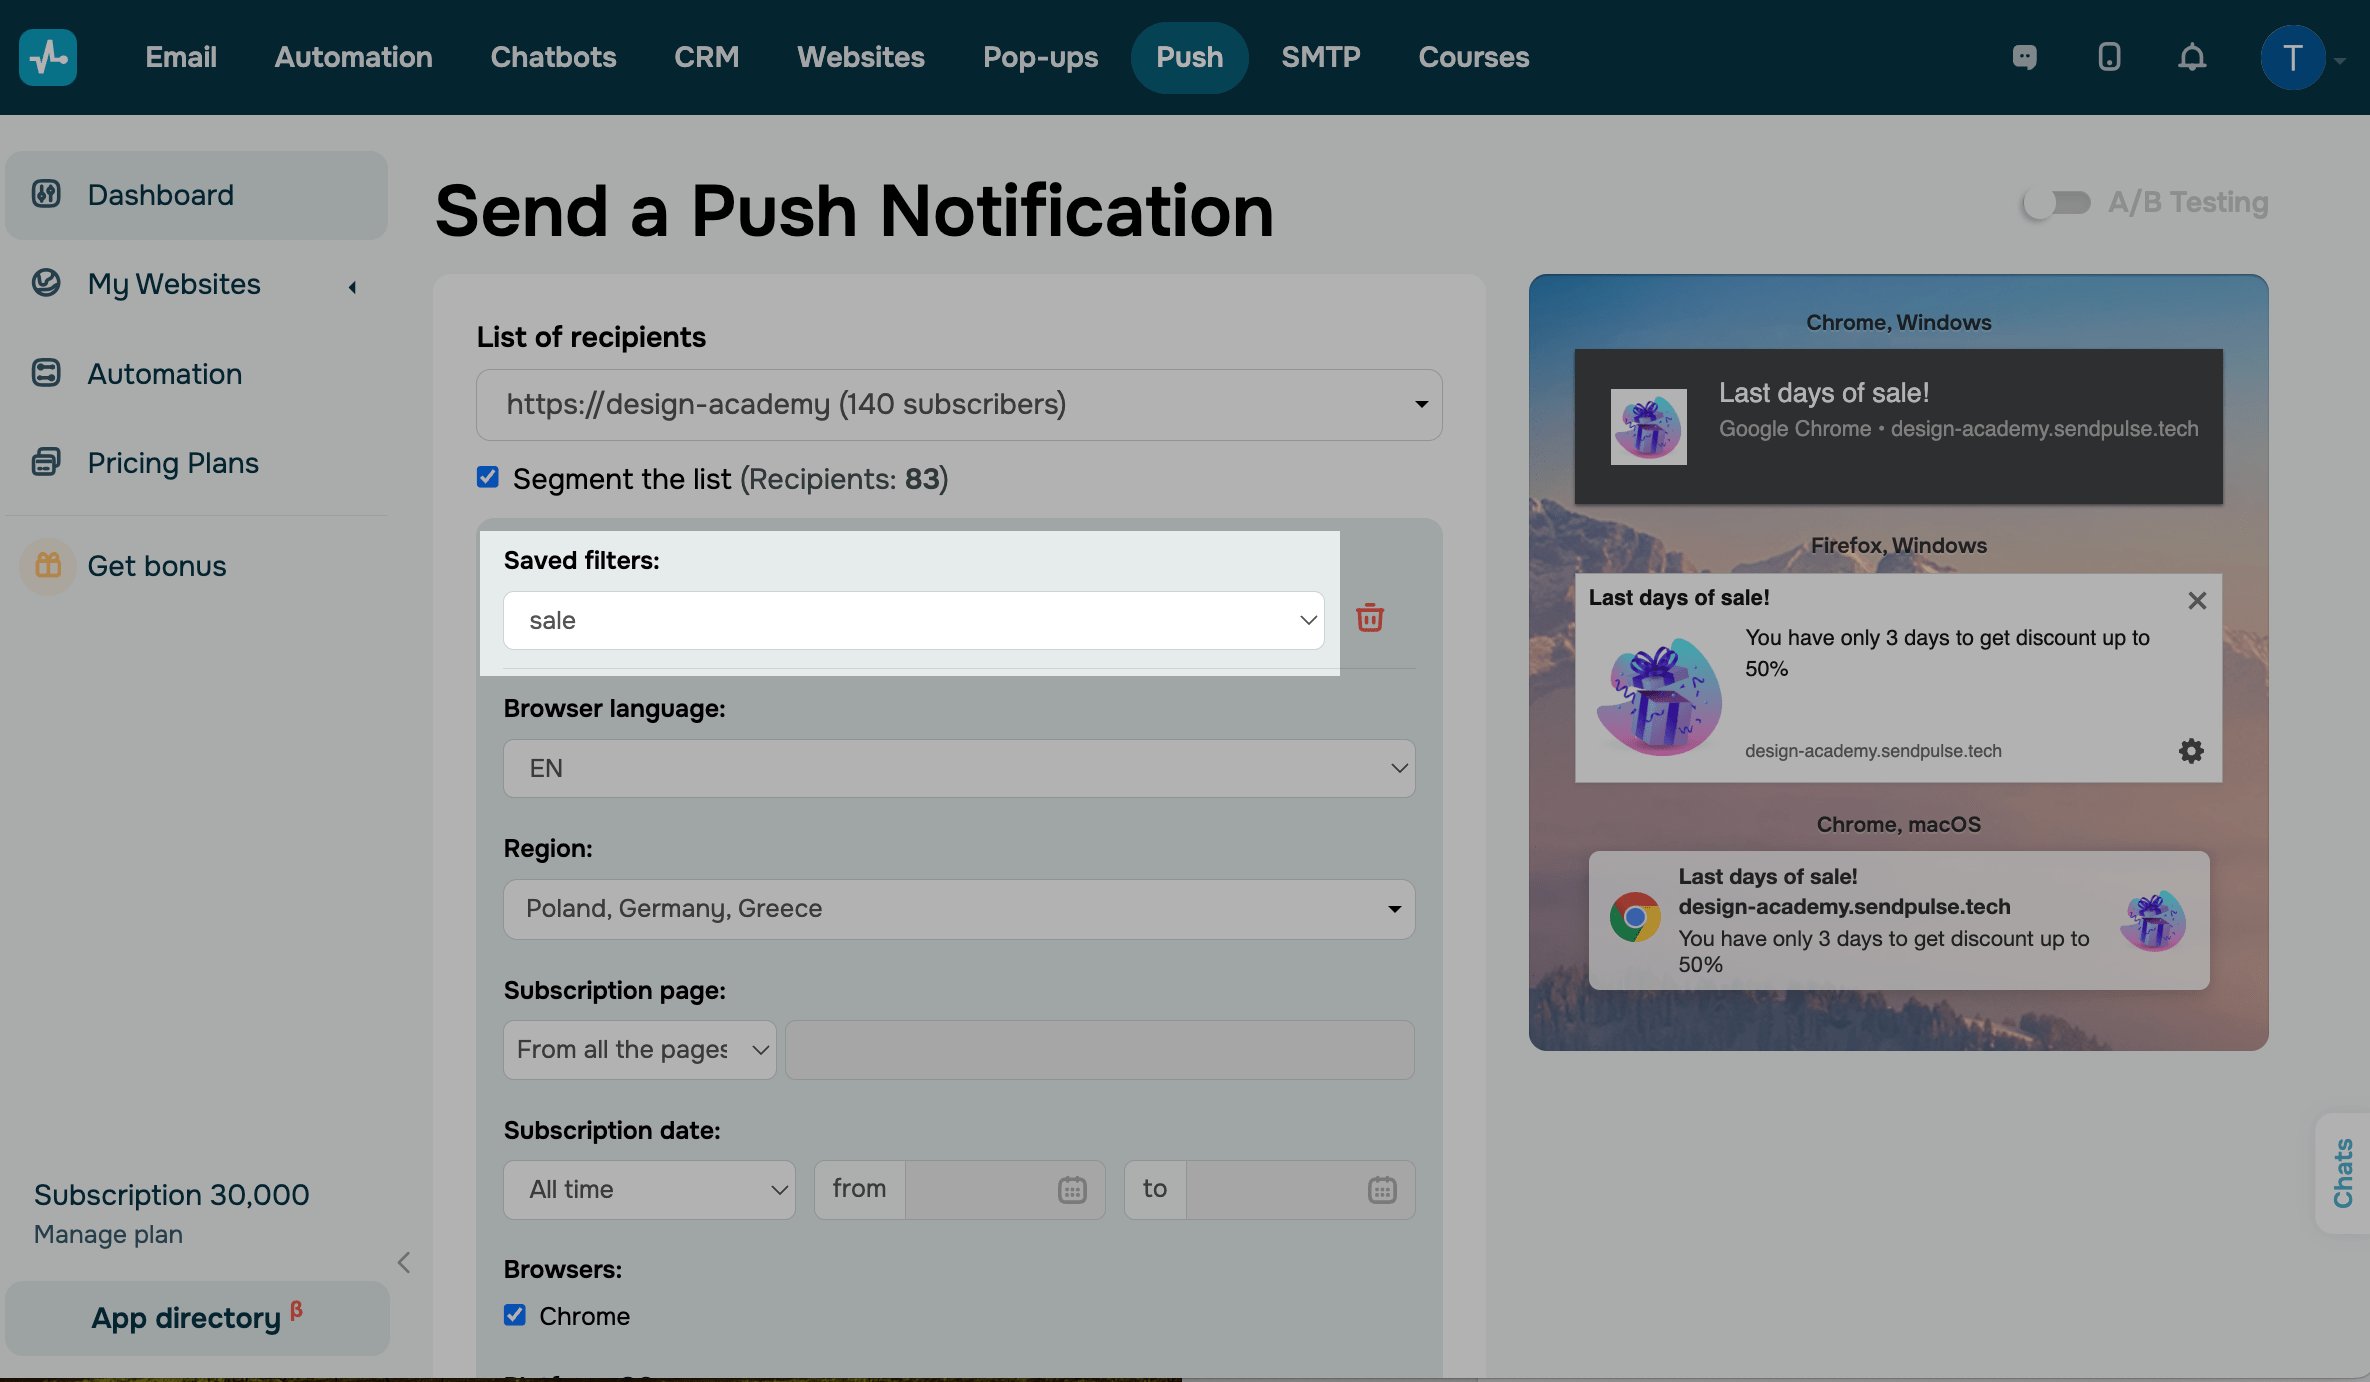
You can use a previously saved filter or select new criteria.
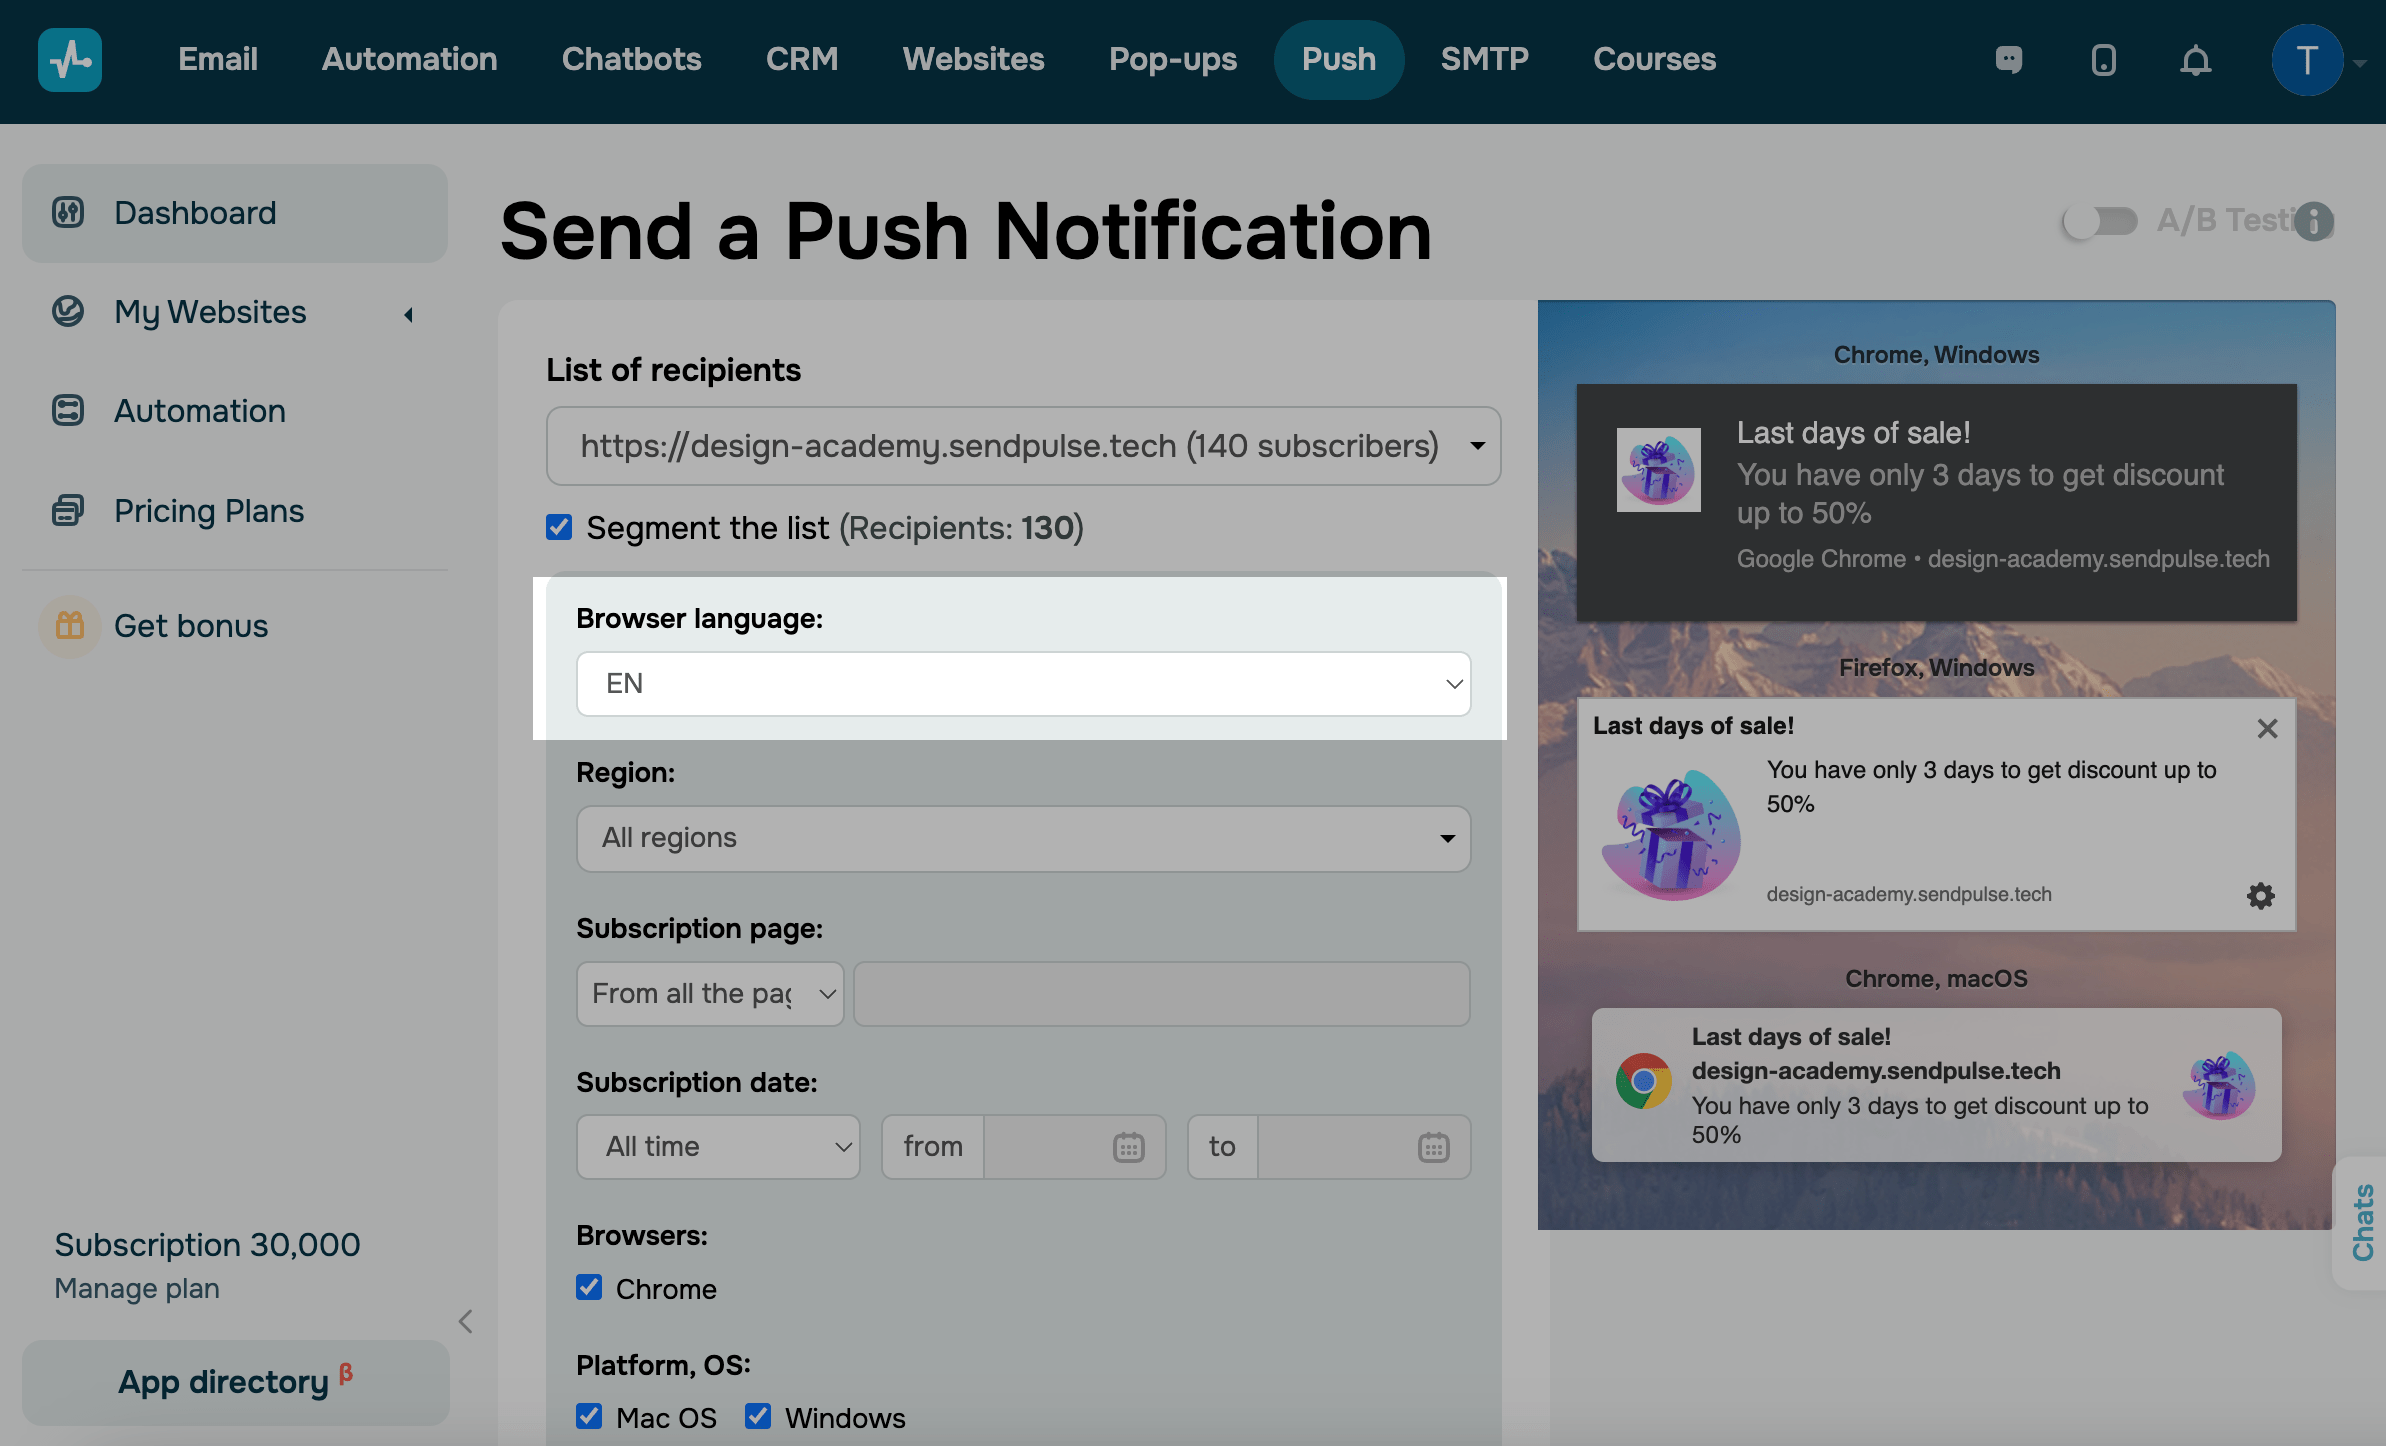
The following criteria are available for segmenting push notifications with SendPulse:
Browser language
Select the browser language of your recipients to send multilingual campaigns.
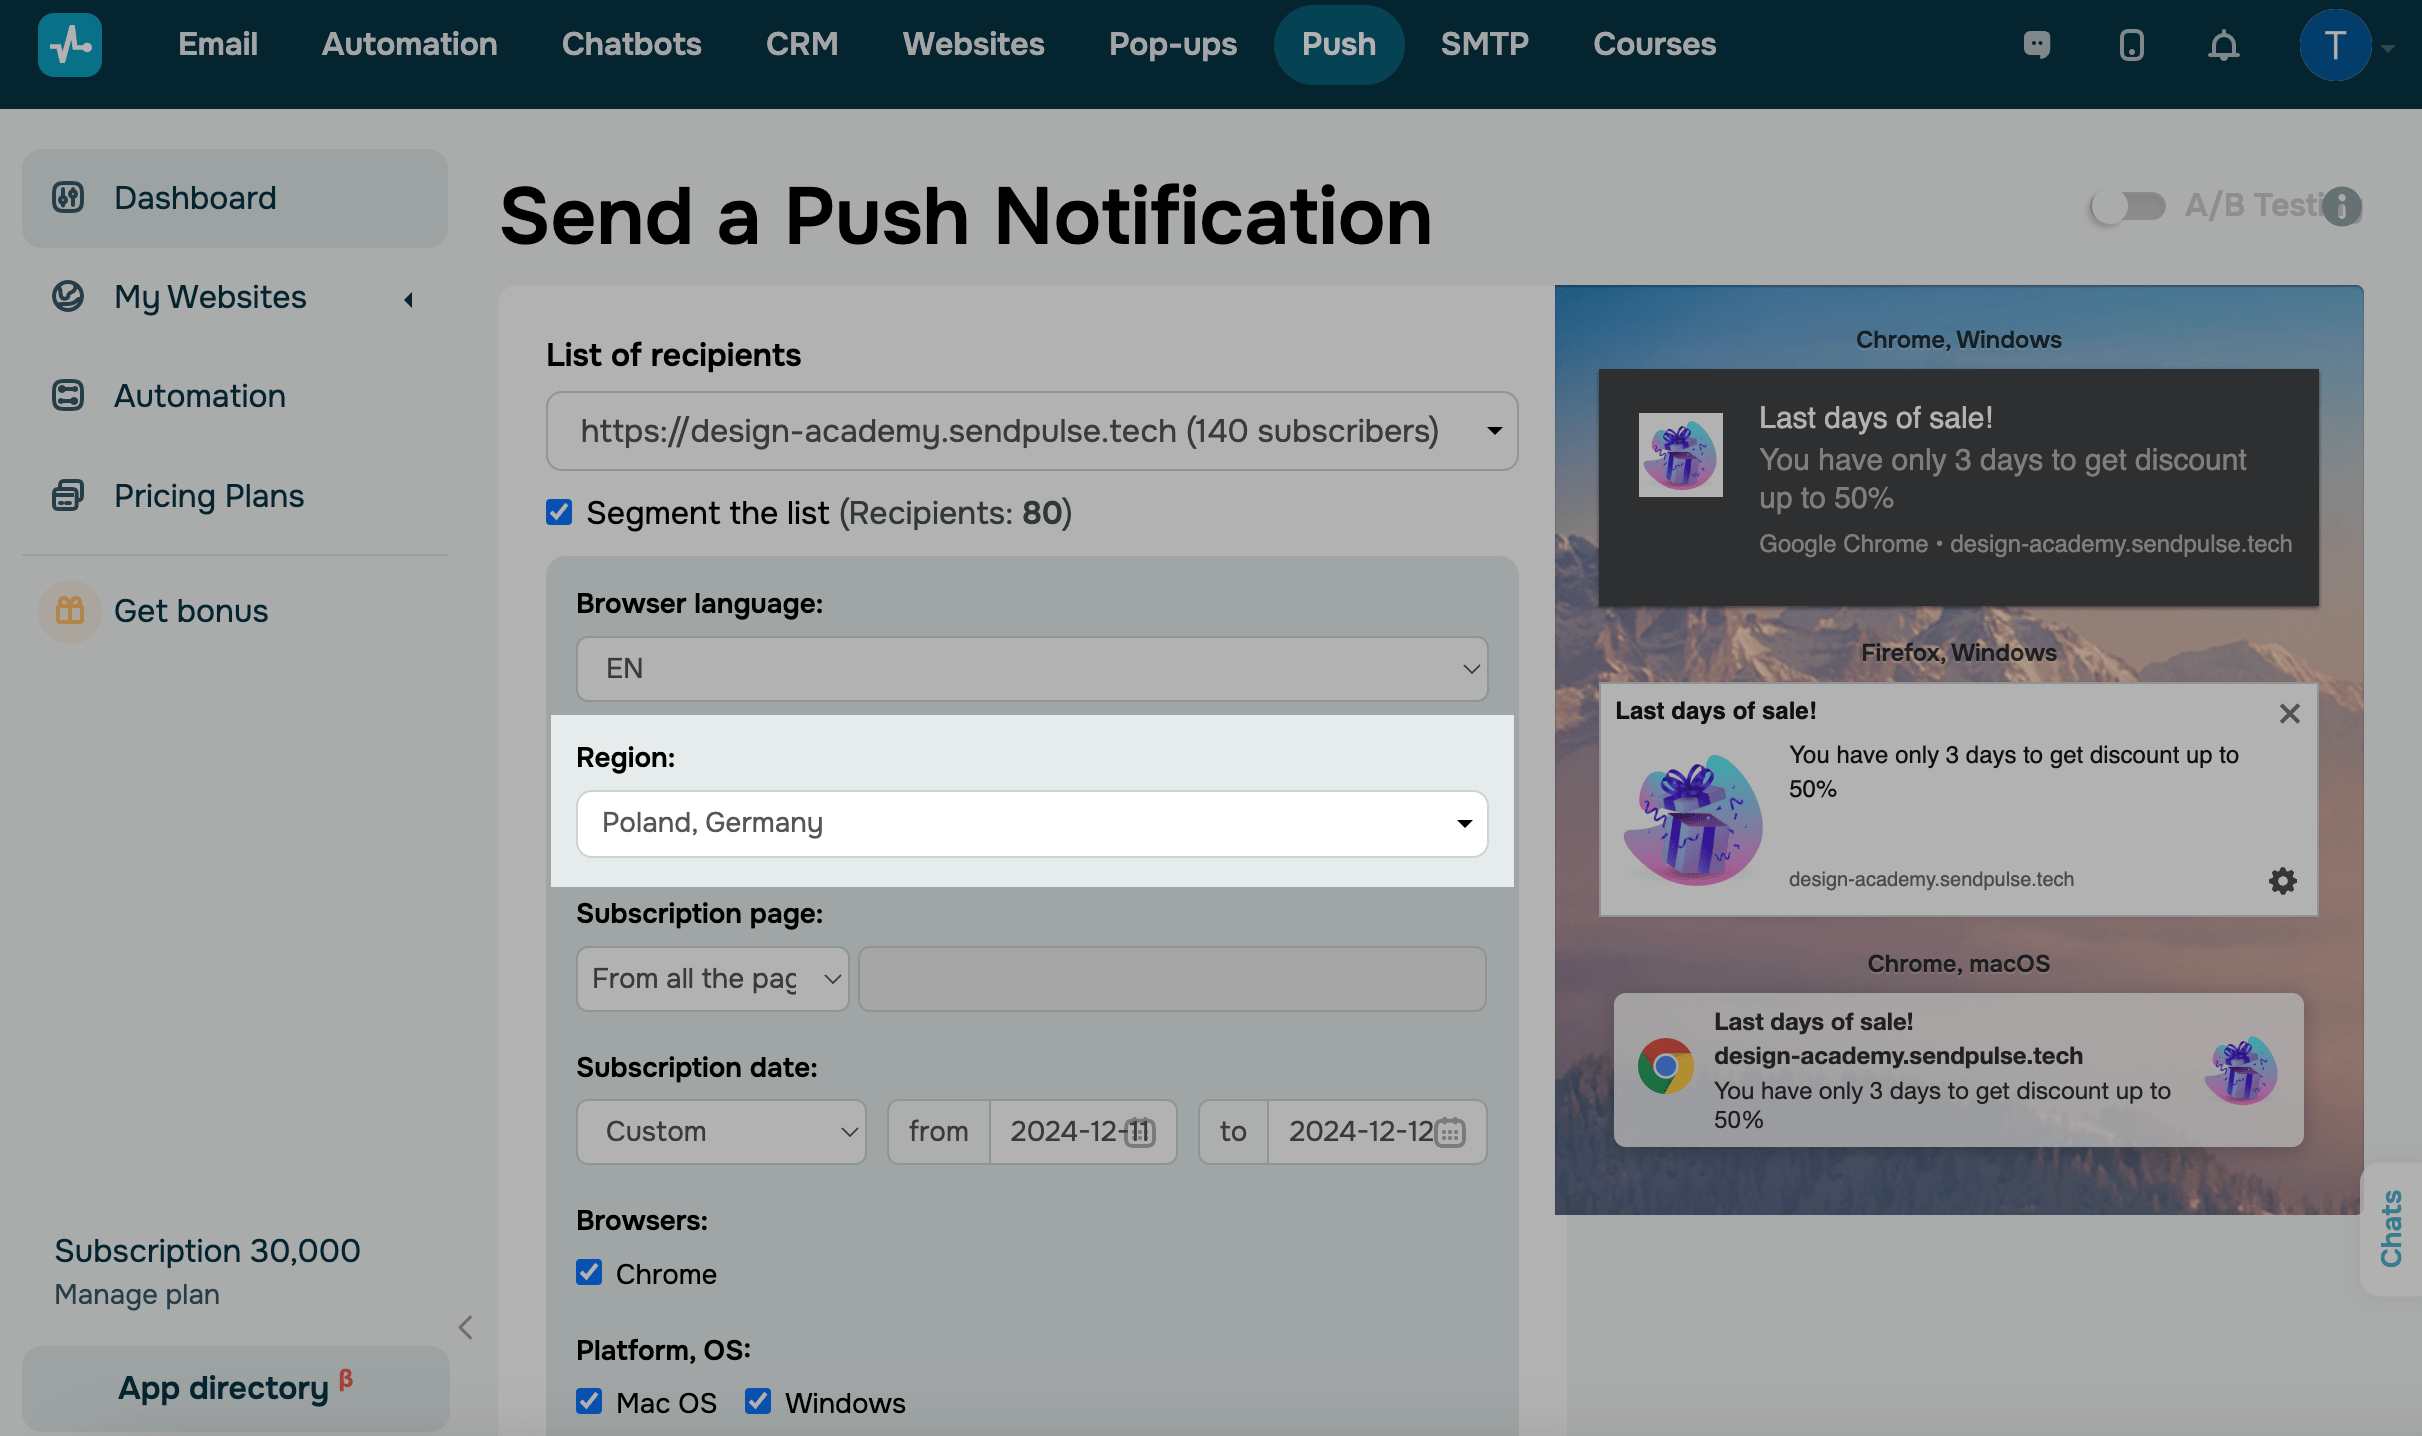
Region and city
The service provides opportunities for geographic segmentation. For segmentation by country, choose the required country in the drop-down list Region. Then in the next drop-down list choose the desired city or cities.
If you choose to send notifications to several countries at the same time, then the selection of cities will not be available.
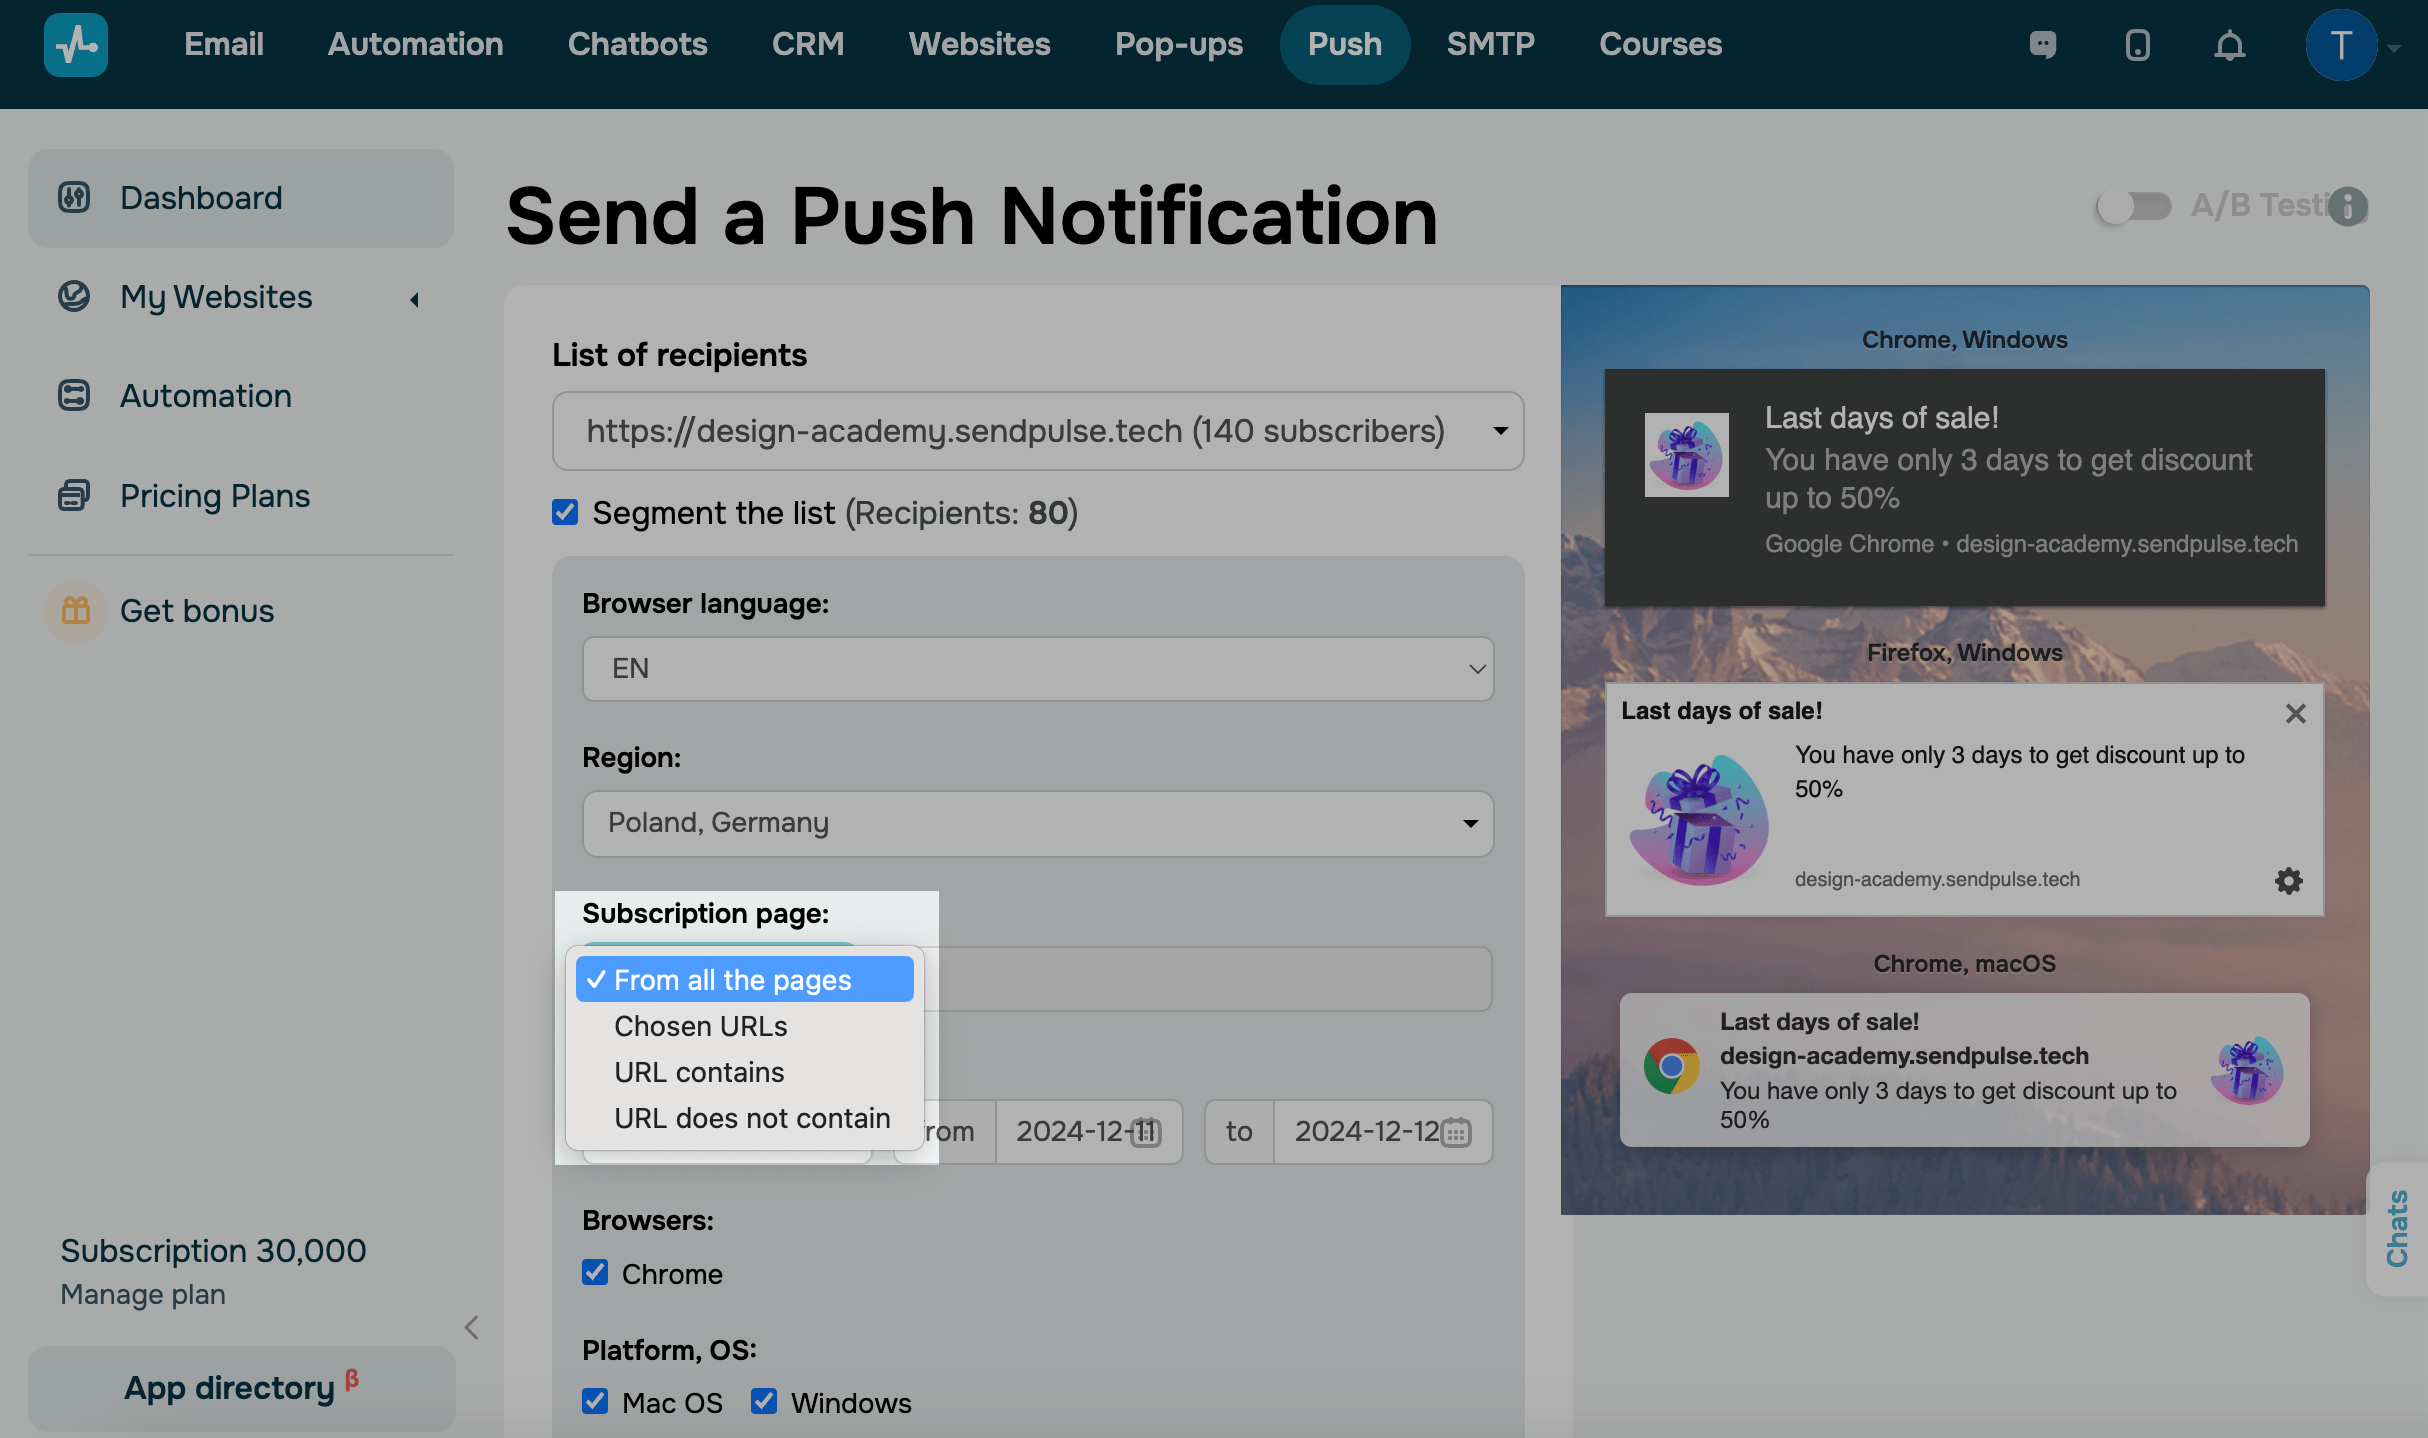
Subscription page
Select a condition and enter the URL of the subscription page or part of it.
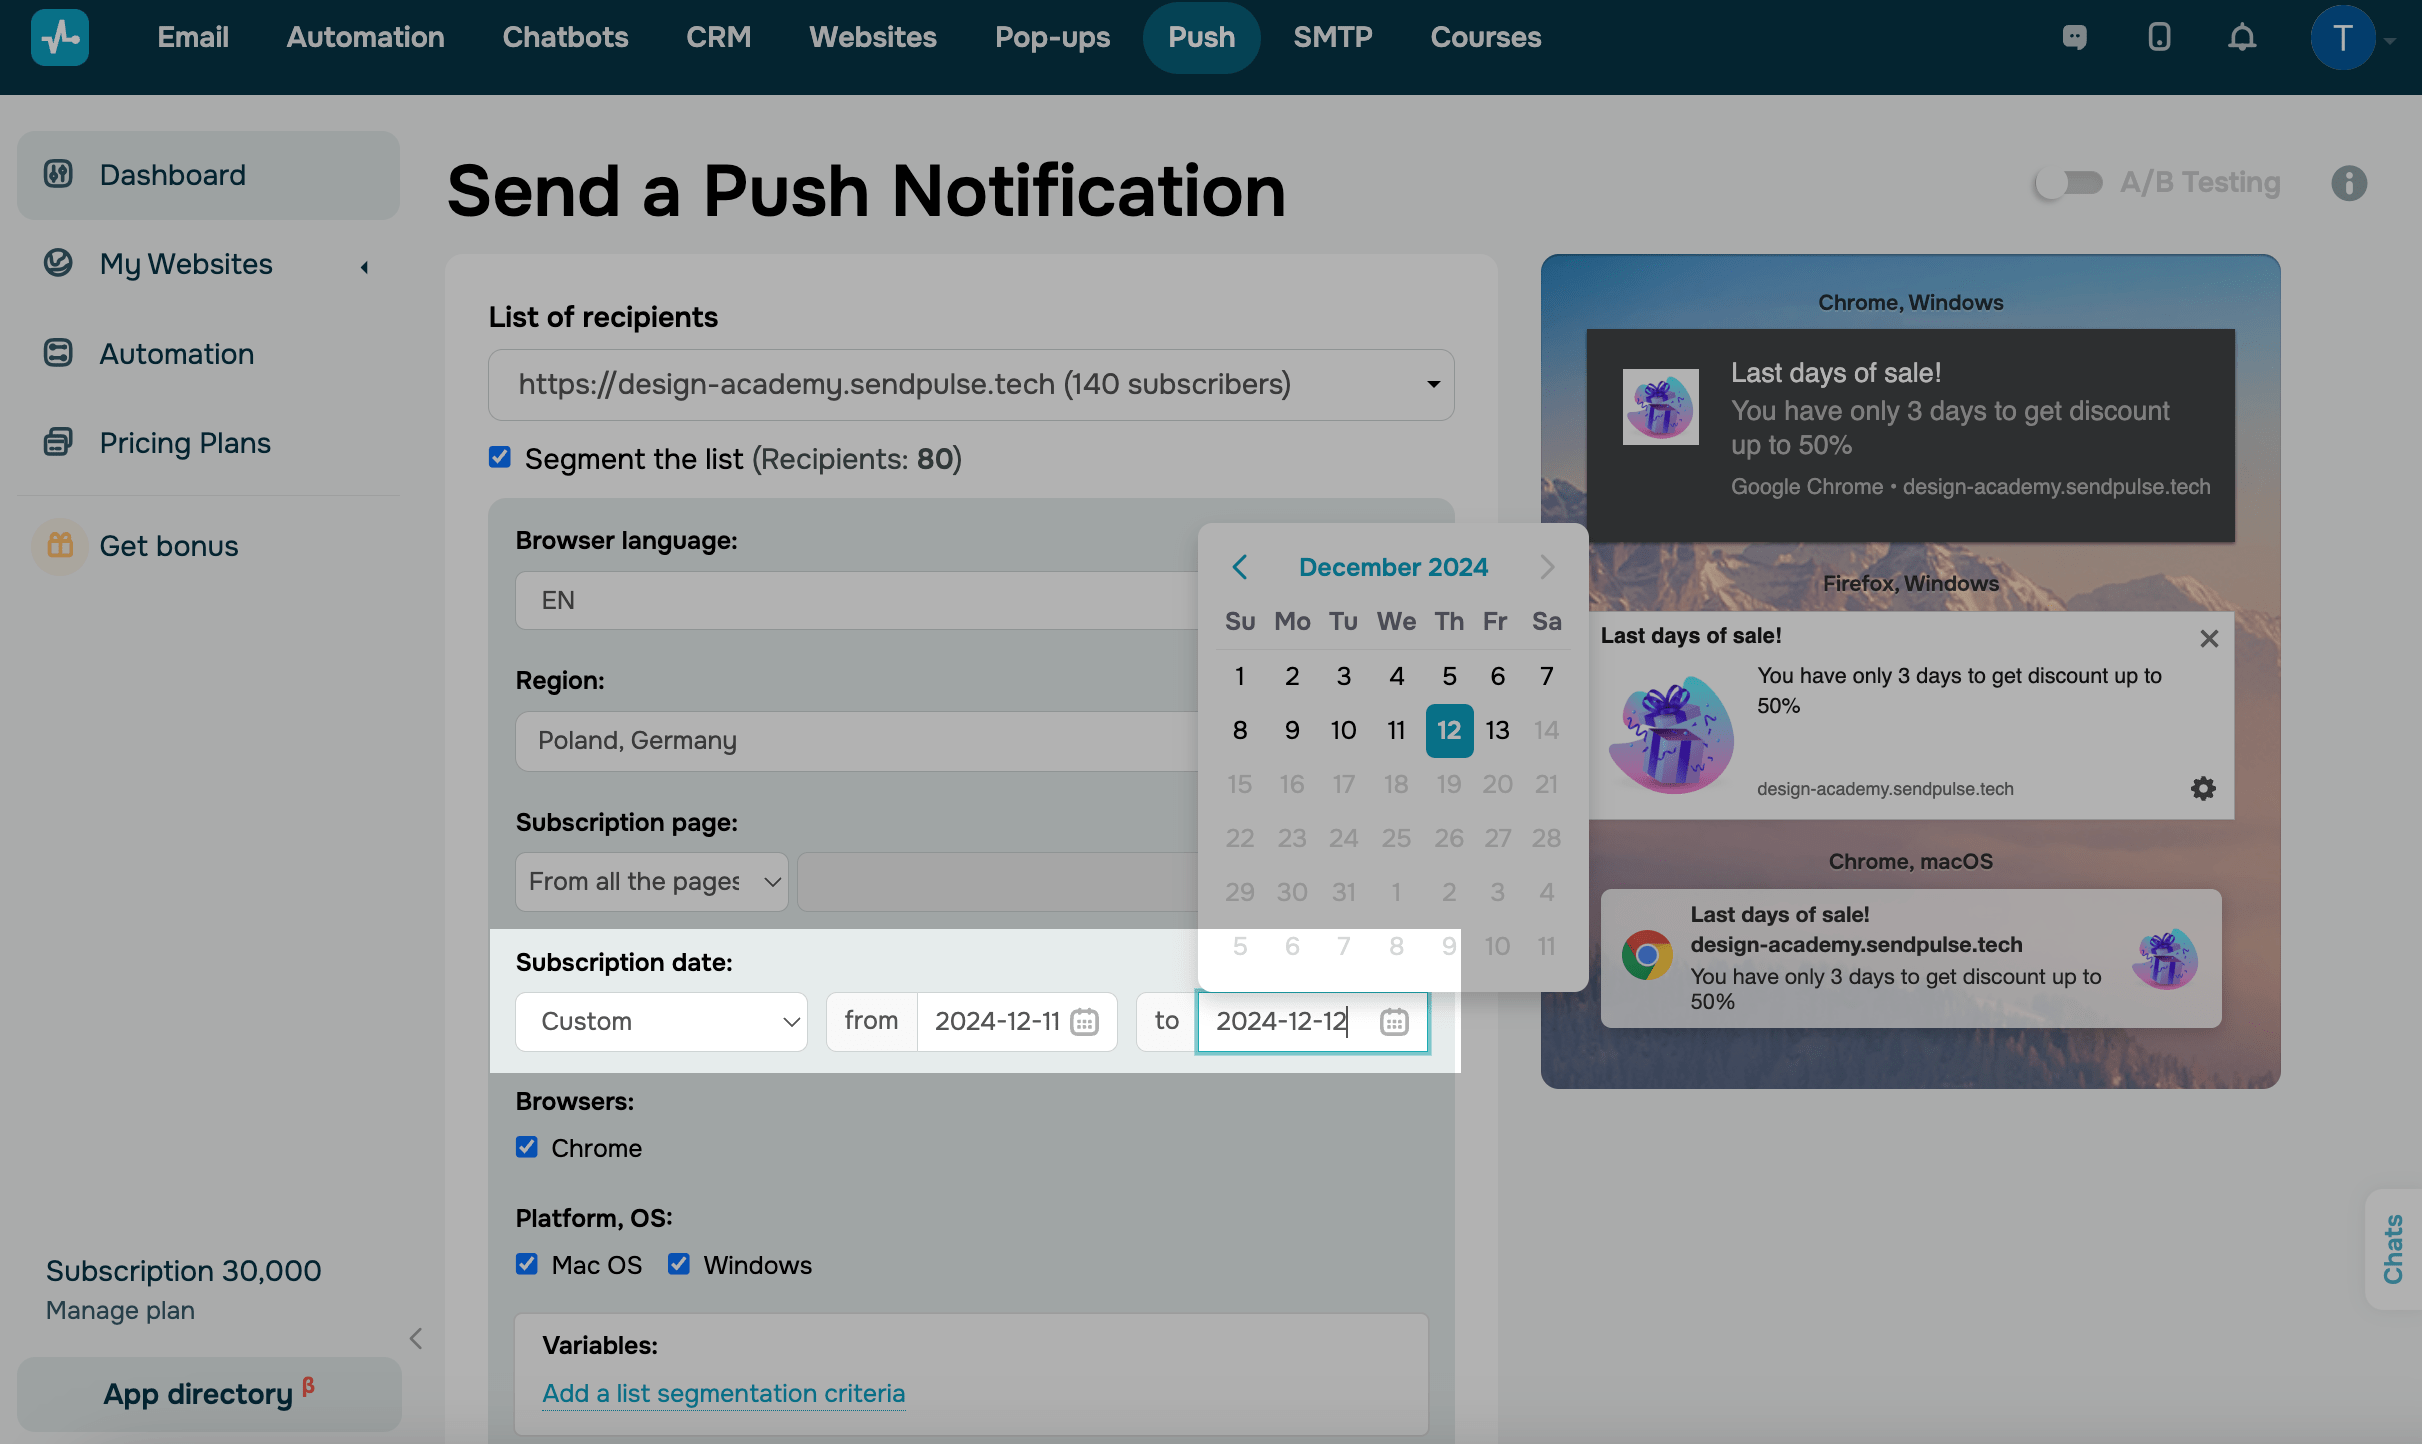
Subscription date
Select a subscription time period.
Browser and platform
Web push notifications look different on different platforms, you can choose your own design for each of them.

Variables
You can also collect data according to your criteria and transfer it to variables. You can use the data you collect to segment recipients. For example, you can segment recipients by customer ID or industry.
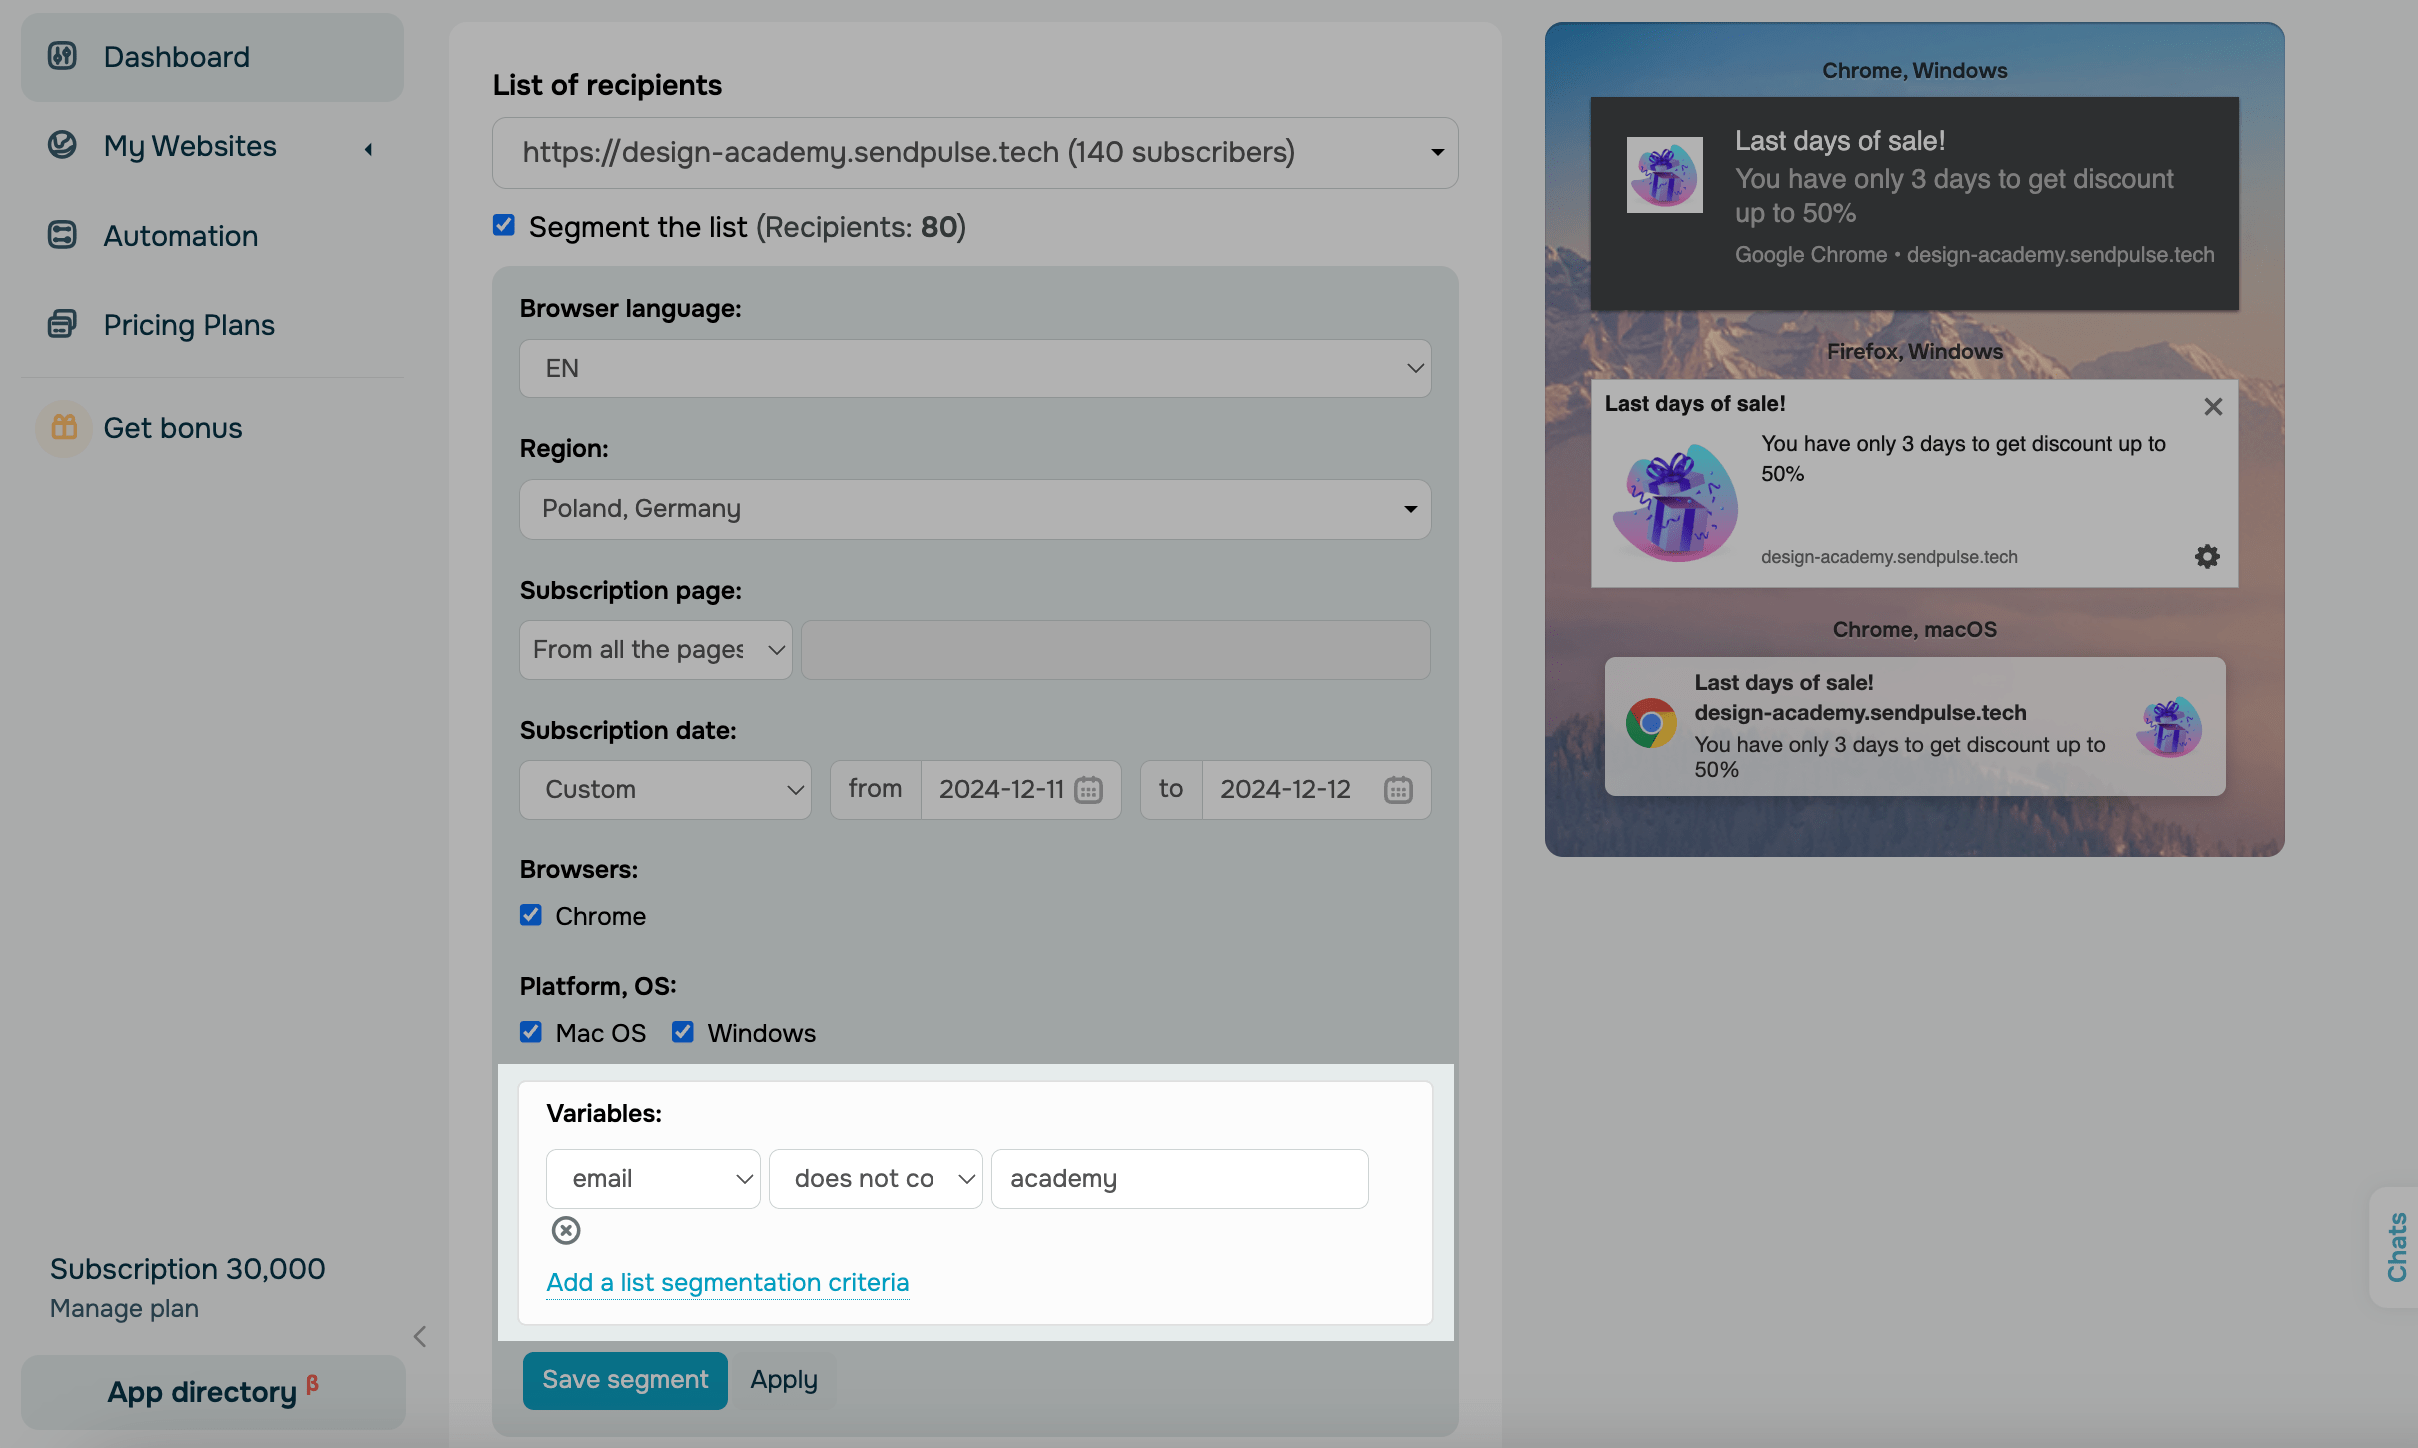
The segment selected using filters can be saved for future use. This segment will appear in the Saved Filters drop-down menu.
 Last Updated: 11.01.2024


or