Creating a Subdomain in cPanel
With subdomains like blog.mysite.com, you can expand your site without buying new domains. Learn how to create them in cPanel with this article.
Subdomains are large subsections of websites and have URLs that look like:
blog.example.net
If you own the domain mysite.com, you can have as many subdomains as you want. You can even create a whole new website on a subdomain without buying a new domain name. Creating subdomains is useful if you want to have an online store, blog, or forum.
- Log into your cPanel account. If you don’t have a cPanel account, see Creating a cPanel User Account.
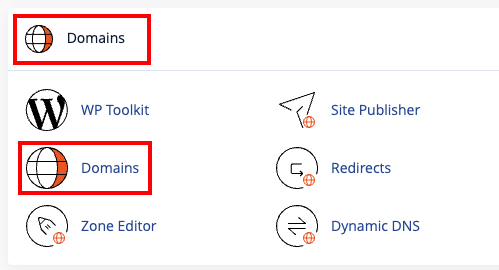
- Scroll down to the Domains section and click on Domains.

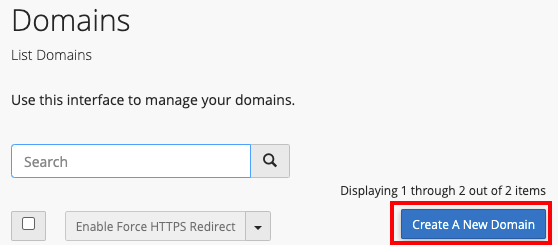
- Click on Create a New Domain.
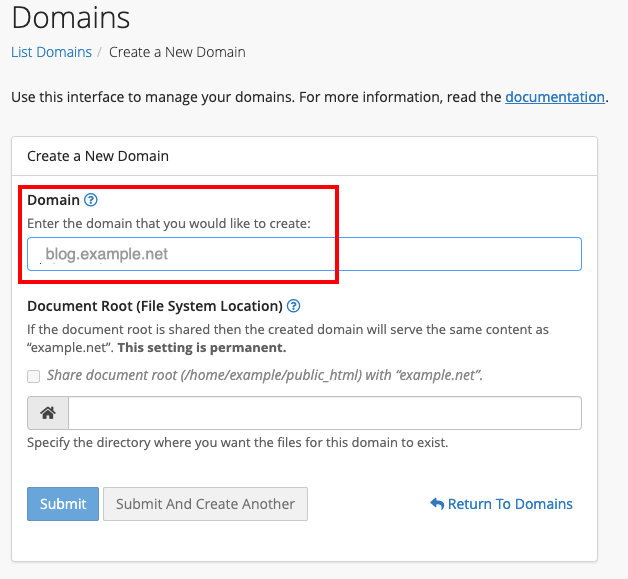
- Decide what you want your subdomain to be and type it into the Domain name field. For example, to create the subdomain “blog”, enter the name blog.example.net.
- Make sure the box next to “Share document root” is unchecked. If it is checked, the subdomain will show the same content as the main domain.
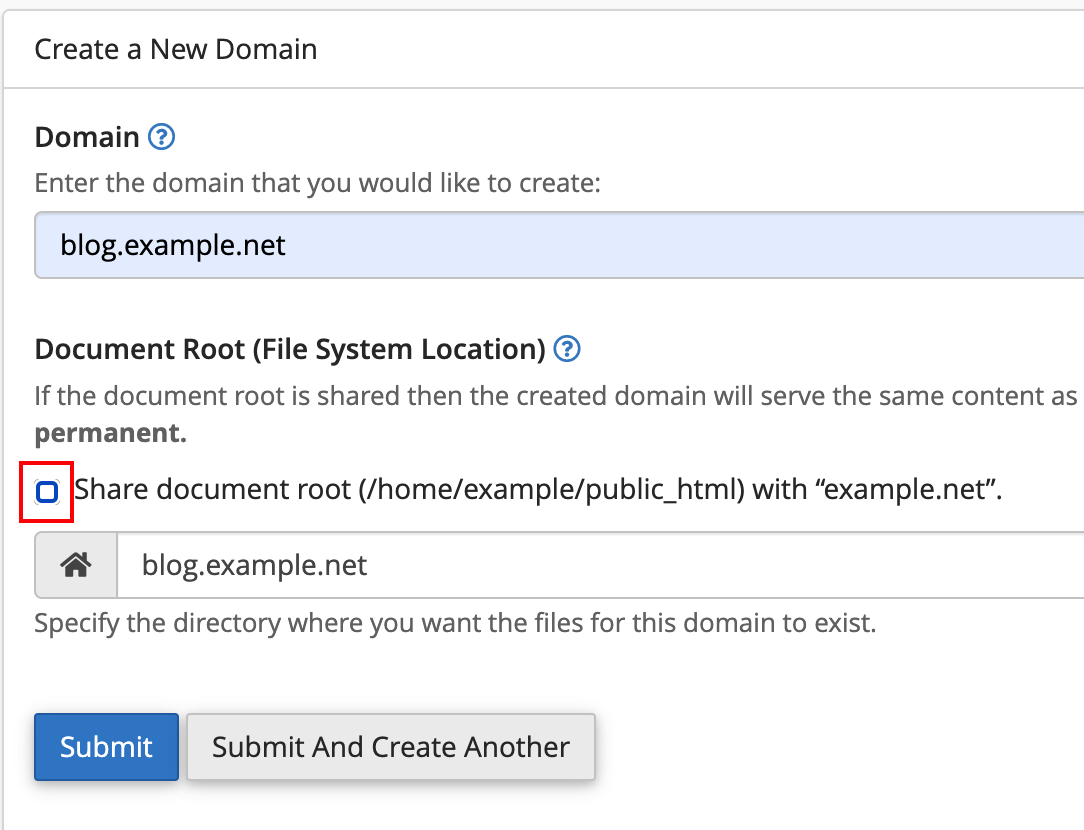
- Click Submit. You’ve created your subdomain!
Tip: |
| Subdomains are just like regular domains: DNS must be set up before anyone can view your subdomain. Every subdomain needs its own A record. Learn how by reading Adding and Editing DNS Records. |