What Is Focus Peaking and How to Use It
VIEWBUG · Guide

Focus Peaking: What It Is and How to Use It for Sharper Photos

Learn what focus peaking is in photography, how it works on mirrorless and DSLR cameras, and how to use it to nail manual focus every time.

Sign up Now →

Quick Answer

Learn what focus peaking is in photography, how it works on mirrorless and DSLR cameras, and how to use it to nail manual focus every time.

Last Updated: August 2026 · Written by ViewBug Editorial Team

What Is Focus Peaking?

Focus peaking is a camera feature that highlights the edges of in-focus areas on the live view screen or electronic viewfinder using a colored overlay — typically red, white, or yellow. As you rotate the focus ring, the colored highlights shift to show which parts of the scene are currently in sharp focus.

Focus peaking is primarily a manual focus aid. When you manually focus a lens, focus peaking overlays a shimmer of color on the sharpest edges in the frame, giving you real-time visual feedback without needing to zoom into the image. It's especially useful when shooting with vintage lenses adapted to mirrorless cameras, in video where continuous autofocus is problematic, or in any situation requiring precise manual focus control.

The feature is most common on mirrorless cameras (Sony, Fujifilm, Panasonic, OM System) and video-capable cameras with electronic viewfinders. Some higher-end DSLRs include focus peaking in live view mode. It is not available through the optical viewfinder of a DSLR — only on electronic displays.

Key Takeaways

  • Focus peaking highlights in-focus edges with a colored overlay in real time
  • It's a manual focus aid — most useful with vintage or adapted lenses
  • Available on mirrorless cameras and in live view mode on some DSLRs

How Focus Peaking Works

Edge Detection

Focus peaking uses edge detection algorithms to identify high-contrast transitions in the frame — the boundaries between sharp detail and background. Edges with the highest contrast (indicating sharpest focus) are highlighted. As you turn the focus ring and the focal plane shifts, the highlighted edges shift with it, showing you exactly where focus sits in real time.

Peaking Color and Sensitivity

Most cameras let you choose the peaking color (red, white, yellow, blue) and sensitivity level (low, medium, high). High sensitivity highlights more edges but can be overly aggressive, highlighting slightly out-of-focus areas. Low sensitivity is more selective, only highlighting the sharpest areas. Start with medium sensitivity and a color that contrasts well against your scene — red for green/natural scenes, white for studio or dark scenes.

Limitations

Focus peaking is a visual indicator, not a guarantee of sharpness. In very low contrast scenes (flat gray walls, smooth skin), peaking has few edges to highlight and becomes unreliable. In very high contrast scenes, nearly everything may look highlighted even if only a narrow plane is truly sharp. Combine focus peaking with focus magnification (zooming into a portion of the live view) for critical sharpness verification.

Key Takeaways

  • Peaking detects high-contrast edges — the sharpest areas glow with the chosen color
  • Adjust peaking color to contrast with your scene; adjust sensitivity to avoid false positives
  • Combine with focus magnification for critical sharpness verification

How to Enable Focus Peaking on Your Camera

Sony Cameras

Menu → Camera Settings → Focus Assist → Peaking Display → On. Set Peaking Level (Low/Mid/High) and Peaking Color (Red/Yellow/White). Focus peaking activates in MF (Manual Focus) mode and also in DMF (Direct Manual Focus) mode during autofocus override.

Fujifilm Cameras

Menu → AF/MF Setting → MF Assist → Focus Peak Highlight → On. Choose the highlight color. Fujifilm also offers a split-image rangefinder assist alongside peaking.

Panasonic/Lumix Cameras

Menu → Custom → Focus Peaking → On. Set the detection level and display color. Panasonic's peaking works in both MF and AFC/AFS modes when overriding focus manually.

Canon Mirrorless (R Series)

Menu → AF → MF Peaking Settings → Peaking → Enable. Select Level (Low/High) and Color (Red/Yellow/Blue). Available in manual focus mode in the electronic viewfinder and rear LCD.

Nikon Mirrorless (Z Series)

Menu → Custom Settings → a: Autofocus → Focus Peaking → Focus Peaking Display → On. Choose the threshold (high/low) and highlight color.

Key Takeaways

  • Sony: Menu → Camera Settings → Focus Assist → Peaking Display
  • Fujifilm: Menu → AF/MF Setting → MF Assist → Focus Peak Highlight
  • All brands: look in the AF/MF custom settings menu — it's a standard mirrorless feature

Using Focus Peaking Effectively

For Vintage and Adapted Lenses

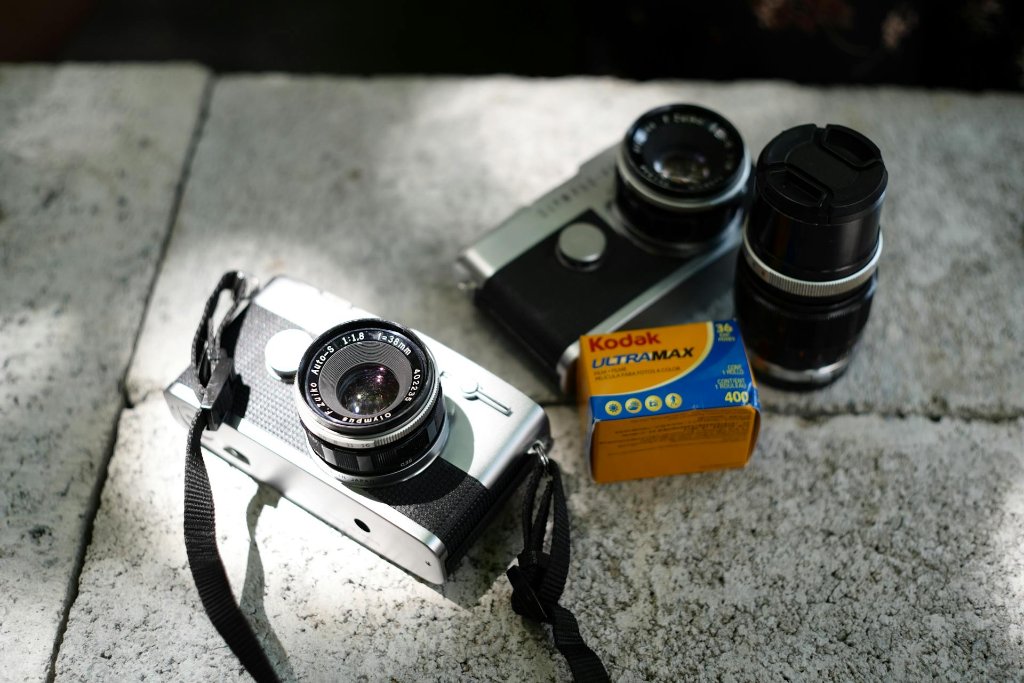
Focus peaking is transformative when using adapted vintage lenses (Leica M lenses, old Nikon or Canon glass) on mirrorless bodies. These lenses have no electronic communication with the camera body, so the camera cannot autofocus them. Focus peaking gives you real-time focus confirmation that would otherwise require guessing or zooming in to check every frame.

For Video

Continuous autofocus during video can hunt or breathe (visible focus shifts). Manual focus with peaking gives smooth, intentional focus pulls. Focus peaking is used by videographers to confirm that a moving subject stays in the sharp zone during a tracking shot.

Workflow Tip: Peak + Magnify

Use focus peaking for fast approximate focus, then press the focus magnification button (usually the AF-ON button or a custom button) to zoom into a portion of the frame at 5.9x or 11.7x for pixel-level verification. Peak first for speed, magnify for precision.

Key Takeaways

  • Best use case: adapted vintage lenses on mirrorless cameras — peaking replaces autofocus
  • For video: manual focus with peaking prevents autofocus hunting and breathing
  • Workflow: peak for speed, magnify for critical precision

Frequently Asked Questions

Related Resources

Continue your photography education with these guides:

The 500 Rule for Astrophotography Explained: Master Star Photography

The 500 Rule for Astrophotography Explained: Master Star Photography

Learn the 500 rule for astrophotography—calculate the maximum shutter speed for sharp star images and avoid star trails.

Read guide
Best Settings for Drone Photography at Sunset

Best Settings for Drone Photography at Sunset

Learn the best drone camera settings for sunset photography — exposure, white balance, ND filters, drone positioning, and how to capture stunning aerial sunset images.

Read guide
Film vs Digital Photography: Which Is Right for You

Film vs Digital Photography: Which Is Right for You

Compare film vs digital photography across cost, image quality, workflow, and creative experience to decide which format best fits your style and goals.

Read guide
DJI Mini Photography Tips: Get Professional Results

DJI Mini Photography Tips: Get Professional Results

Get professional-quality photos from your DJI Mini drone with expert tips on camera settings, composition, lighting, and flight techniques.

Read guide
Lightroom vs Snapseed for Mobile Editing

Lightroom vs Snapseed for Mobile Editing

Compare Lightroom Mobile vs Snapseed for mobile photo editing — features, ease of use, RAW support, presets, and which app is best for different types of photographers.

Read guide

Ready to enter?

Browse open contests on VIEWBUG and submit your best work today.