Installing an SSL Certificate in Plesk
An SSL certificate isn't required on your website, but once you've added an SSL certificate, your site will be secure if you want to add secure login capabilities or ecommerce. Before you try to install an SSL certificate, make sure you've generated your CSR, ordered your SSL certificate, and verified your SSL certificate. Once these steps are completed, you can proceed to installing your SSL certificate on your server. This article will walk you through installing an SSL certificate on your domain.
An SSL certificate isn’t required on your website, but once you’ve added an SSL certificate, your site will be secure if you want to add secure login capabilities or ecommerce. If you haven’t read What Is an SSL Certificate?, check that out first to decide if an SSL certificate is right for you. Before you try to install an SSL certificate, make sure you’ve:
Once you’ve completed those steps, this article will walk you through installing an SSL certificate on your domain.
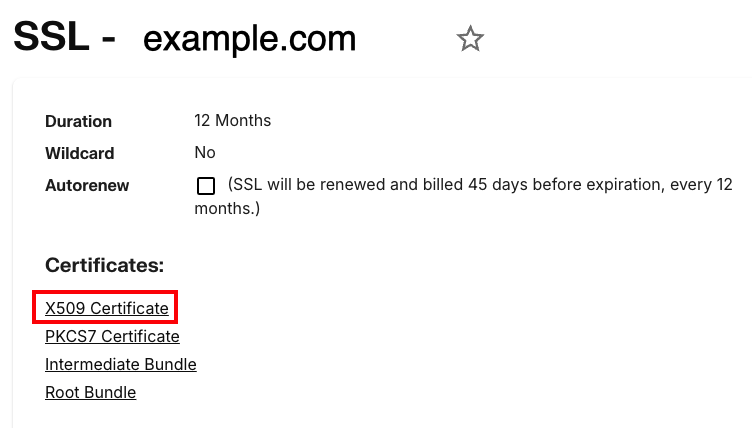
- In your Liquid Web account, go to the SSL Certificates Dashboard, find the name of the domain for which you need the SSL details. Click on X509 Certificate under Certificates. Text should appear that looks very similar to your CSR. Copy this text. It might be easiest to paste it into a plaintext text editor for now.
- Now, log into Plesk.
- In the left navigation menu, click Websites & Domains. (If you use Service Provider view, click on Domains and select the domain you need.)
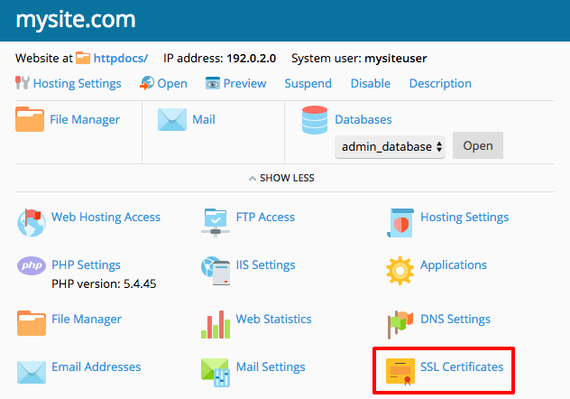
- Click on SSL Certificates for the domain where you’re installing the SSL certificate.

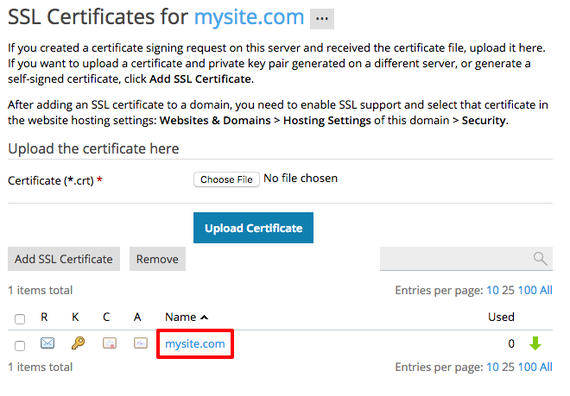
- Click on the certificate name that matches the certificate you just ordered.

- Scroll down to Upload the certificate as text. Paste the X509 certificate you copied from your Liquid Web account in the Certificate (*.crt) field. Then paste the intermediate bundle and root bundle in the CA certificate (*-ca.crt) field. Paste these two certificates right after each other, without any extra line breaks.

- Click Upload Certificate.

Enabling an SSL Certificate
- In the left navigation menu, click Websites & Domains. (If you use Service Provider view, click on Domains and select the domain you need.)
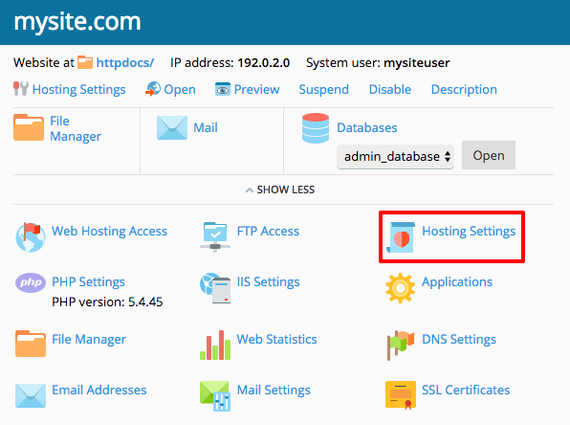
- Click on Hosting Settings.

- Find the Security section. Check the box next to SSL support.

- Using the Certificate dropdown menu, choose the certificate you want to use. This is where naming your certificates based on the date and domain name really comes in handy!

- Click OK or Apply to save your settings.