Creating a Subdomain in Plesk
A subdomain shares your domain, but adds a third-level domain and can function like a whole separate website. Subdomains have domain names that look like blog.mysite.com. Plesk manages each subdomain as if it were its own website. You can create a completely different look and feel on a subdomain. Creating subdomains is useful if you want to have an online store, blog, or forum. You can create as many subdomains as you want on a main domain.
A subdomain shares your domain, but adds a third-level domain and can function like a whole separate website. Subdomains have domain names that look like:
blog.mysite.com
Plesk manages each subdomain as if it were its own website. You can create a completely different look and feel on a subdomain. Creating subdomains is useful if you want to have an online store, blog, or forum. You can create as many subdomains as you want on a main domain.
- Log into Plesk. If you have never logged into Plesk, read Getting Started with Plesk.
- If you are in the Power User View, click on Websites and Domains, then select Add Subdomain at the top of the page. If you are using the Service Provider View, click Domains, then select Add Subdomain at the top of the page.
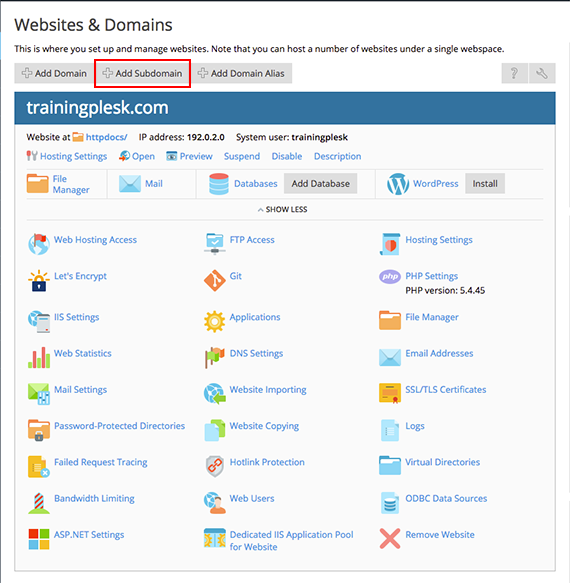
- Choose a Subdomain Name and confirm the Parent Domain from the dropdown menu. The Document Root will auto-populate. This is where you’ll find all your subdomain’s files.

- Click OK to create your subdomain.
Your subdomain will appear in your domain list in the Websites & Domains section of Plesk. Now that you know how to create subdomains, you can learn how to install programs like content management systems (CMSs) to help you develop your website (check out Installing Applications in Plesk to get started).