Creating an IP Pool for Your Cloud VPS
Reserve IP Addresses for your VPS with an IP Pool for consistent addressing during resizing or creating multiple instances.
Note: |
| All pricing has been taken out of this article as prices are subject to change. Contact our Solutions team for current pricing for IP Pools. |
You can reserve a set of IP Addresses for your VPS by creating an IP Pool. This will help when you resize your Cloud VPS and need to keep the same IP Address, or if you’re creating multiple instances on the same account. Let’s walk through the steps to create your IP Pool.
Note: |
| You cannot assign your primary IP address to two servers. When upgrading, you must destroy the original server before assigning that IP address to the new server. This will mean that you will have some downtime as you destroy the old server and create the new one. Choose a low traffic time to minimize impact on your users. |
- To create an IP pool, log into your Liquid Web Account.
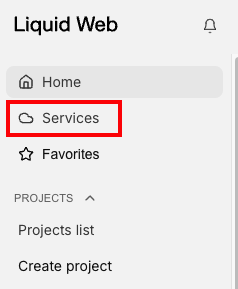
- Click on the Services button above the menu on the left hand side of the page.

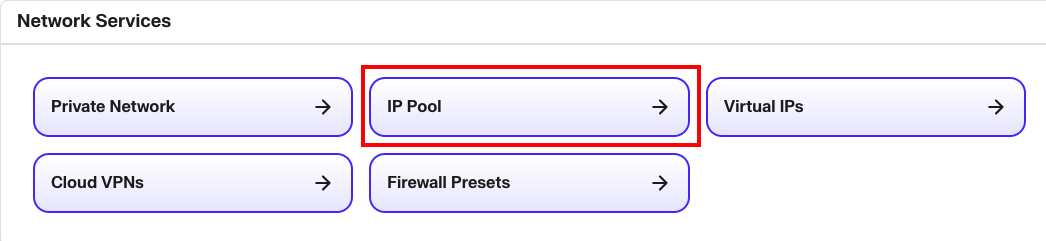
- This will open the Services List page. Click IP Pool in the Network Services area.

- Click Create New to add additional IP addresses to your IP Pool.

- Use the Plus or Minus signs to adjust the number of additional IPs you want to add to the IP Pool.
(NOTE: You are only allowed to add up to 8 IP addresses to an IP Pool.)

- Click Create IP Pool to add IP addresses to the IP Pool. A pop-up will appear allowing you to confirm your request and indicating the new charges associated with your additional IP addresses. Once you confirm the IP Pool creation, your IP Pool will be created and a pop-up will appear to notify you.