Getting Started with Plesk
What is Plesk?
Plesk is a customer control Panel that is designed to simplify many of the more detailed aspects of Web Hosting. It allows for ease of use and access for creating sites, ftp users and sites, databases, and email users.
It also has many of the more in-depth features of IIS implemented in the Control Panel for ease of use and access. These include, SSL Setup, ASP/PHP Settings, etc. Plesk also provides integration with many of the most commonly used web applications such as Joomla and WordPress.
Plesk was designed to integrate into the operating system and website publishing services on the servers it is installed on. That is why it is imperative that you make sure any changes you are making are done within the Plesk Control Panel itself to ensure there is no conflict with the changes.
Ordering your server automatically creates a Plesk administrator account for your server. You can manage multiple websites from your Plesk Control Panel and even create additional Plesk accounts. This way, you can manage who has access to specific domains.
Logging into Plesk for the First Time
Before you log into Plesk for the first time, we recommend you register your website domain name (if you need help registering your domain name, see our article Registering a Domain Name (Main URL). If you already have a domain registered, you’re ready to get started. You can log into Plesk easily through your Liquid Web account.
- Log into your Liquid Web account.
- Click My Servers in the left hand menu.

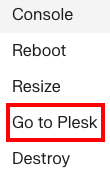
- Click on the three dot menu to the right of the server’s name.

- Click Go to Plesk to launch a Plesk login window in a new tab.

Tip:
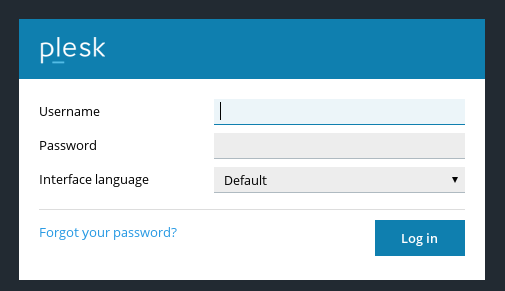
You will see a warning saying the connection is untrusted. This is because Plesk has its own self-signed SSL certificate. Your connection is still secure. This is covered in Troubleshooting: Your Connection Is Not Private/Secure/Trusted. - Enter your Plesk Username and Password. The username for your Plesk administrator account is usually “admin” and the password is your main server password. (For a very small number of Linux servers, the Plesk username may be “root.”)

- Create your first domain by filling out the Website Information. First, enter your Domain Name (your server hostname will automatically populate).
Domain Registration
Adding a domain to Plesk is not the same as registering a domain name. You need to register your domain name in your Liquid Web account or with another registrar before your website will appear. We recommend you register your domain name first and then complete your Plesk configuration.
- Choose a Username for the domain-specific account and then choose and confirm a Password. Then click OK. You can grant this user specific access to Plesk later if you’d like.
- Plesk will load and you’re ready to start managing your website.


Tip: |
You can also log into Plesk by going directly to the login screen from your browser. Go to:https://yourip:8443 Remember to change “yourip” to your server IP address. If you aren’t sure what your IP address is, it’s easy to check.
|
Useful Plesk Concepts
Plesk has incredible flexibility to arrange your websites and domains and to manage multiple users and permissions. At first, it can seem like a lot of settings! Learning a few key Plesk concepts will make it much easier to customize Plesk.
User
Plesk uses users to set permissions. This means you, as the Plesk administrator, can create users to work on server level tasks, on certain subscriptions, on certain domains, and even only be able to access email. Your main Plesk account is a Plesk administrator account. You can control all other accounts using your Plesk administrator account. For more information about users, see Adding a User in Plesk.
Subscription and Webspaces
Subscriptions and webspaces are ways for Plesk to control permissions. As the Plesk administrator, you can place multiple domains in one webspace or subscription and then give a user access. The user can work on specific websites without having access to any other websites or server settings.
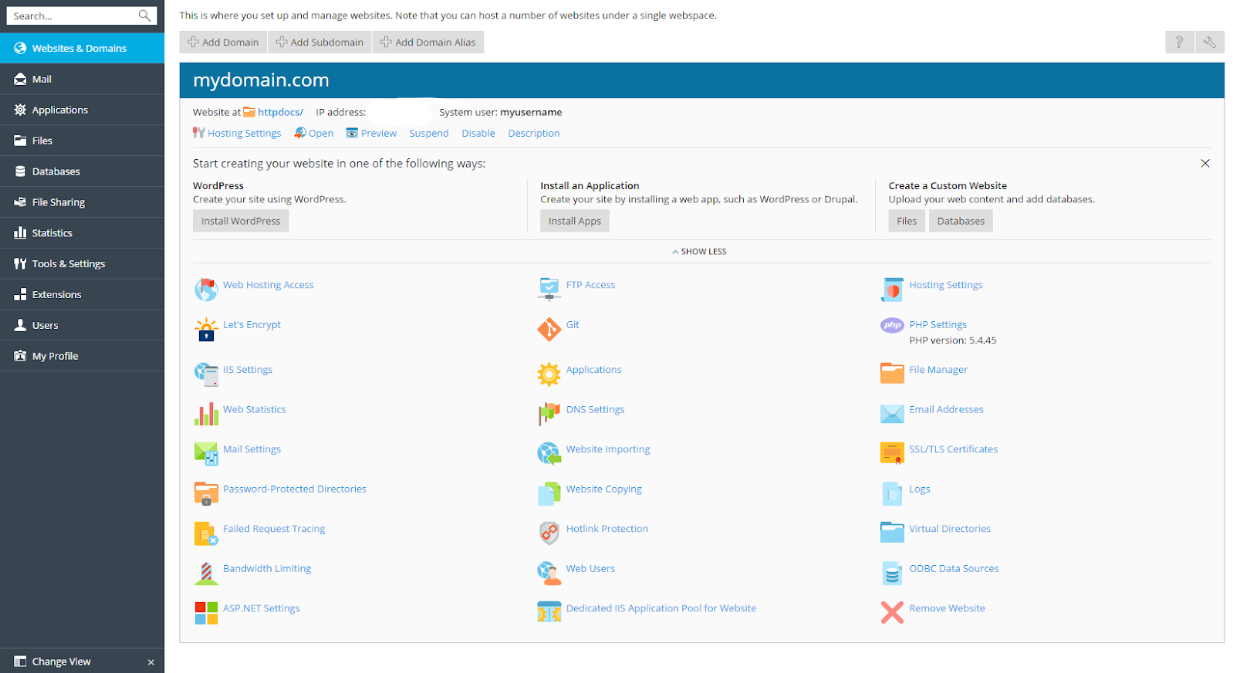
Plesk Main Screen
This is where you will do all your site management, everything from creating new domains, email addresses, and databases to installing applications like WordPress.
Plesk Views
Plesk has two different default views: Power User view and Service Provider view. The main difference is navigation. Each view has a different left navigation sidebar. Power User view is designed for Plesk users who only have a few websites to manage. Service Provider view is designed for users who manage a lot of sites or sell web services to clients.
Which view you use is completely dependent on your personal taste. You can even create a custom view. The first time you log into Plesk, Power User view is the view you’ll see. To change your view:
- Click on Tools & Settings in the left navigation sidebar.
- Under Plesk Appearance, click on Interface Management.
- Then, choose your interface: Power User or Service Provider.
Hosting Settings
Many of the most important details of your site (such as the domain name, document root location, etc.) can be found under Hosting Settings. You can also identify what versions of .net or PHP that are being used by the site, as well as enabling SSL support and web statistics.


Applications
The Applications portion of Plesk allows for the easy installation of web applications like WordPress, Joomla, Drupal, and more! For more information about installing applications in Plesk, see Installing Applications in Plesk.

SSL/TLS Certificates
The SSL/TLS Certificates section in Plesk is where you will go to generate a Certificate Request (CSR) for ordering an SSL and where you will eventually upload your completed SSL certificate. For more information about SSLs in Plesk, see our articles Generating an SSL Certificate Signing Request (CSR) in Plesk and Installing an SSL Certificate in Plesk.

FTP Access
The FTP Access section in Plesk allows you to create and manage FTP users and permissions for your domain. For more information about FTP access in Plesk, see Uploading Files Using FTP in Plesk and Creating FTP Users.

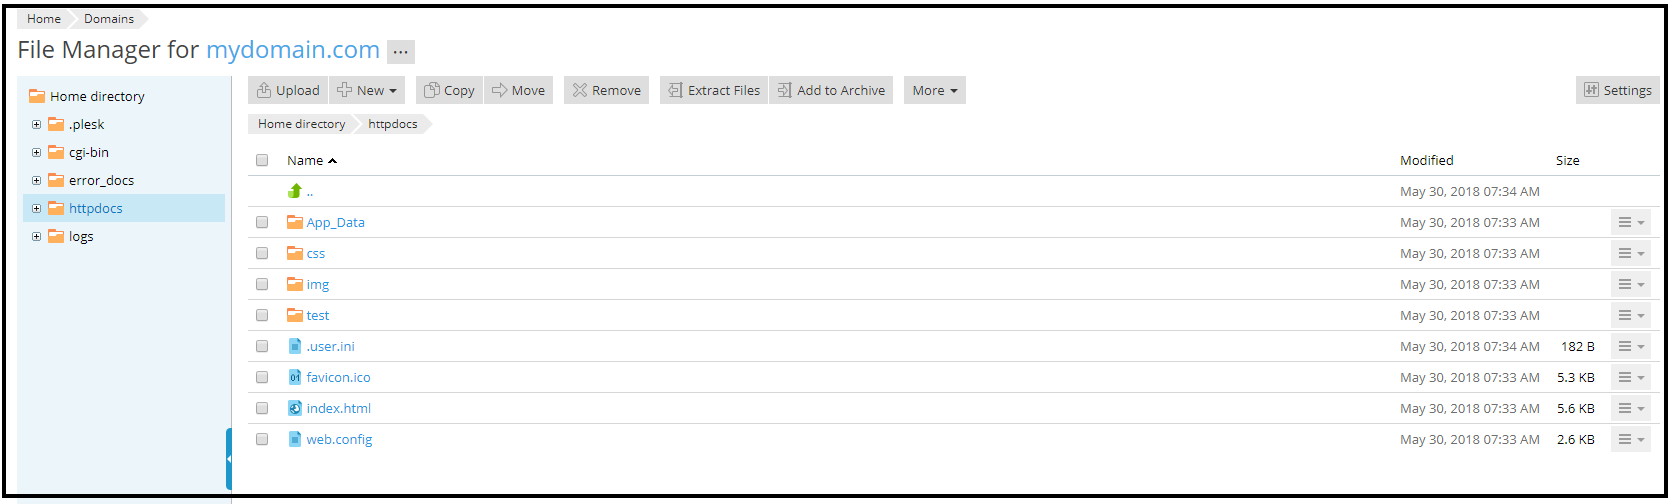
File Manager
The File Manager is another way to upload, edit, and review files for your site. This is the best place to modify permissions on files and folders. For more information about the File Manager, see Using the File Manager in Plesk.
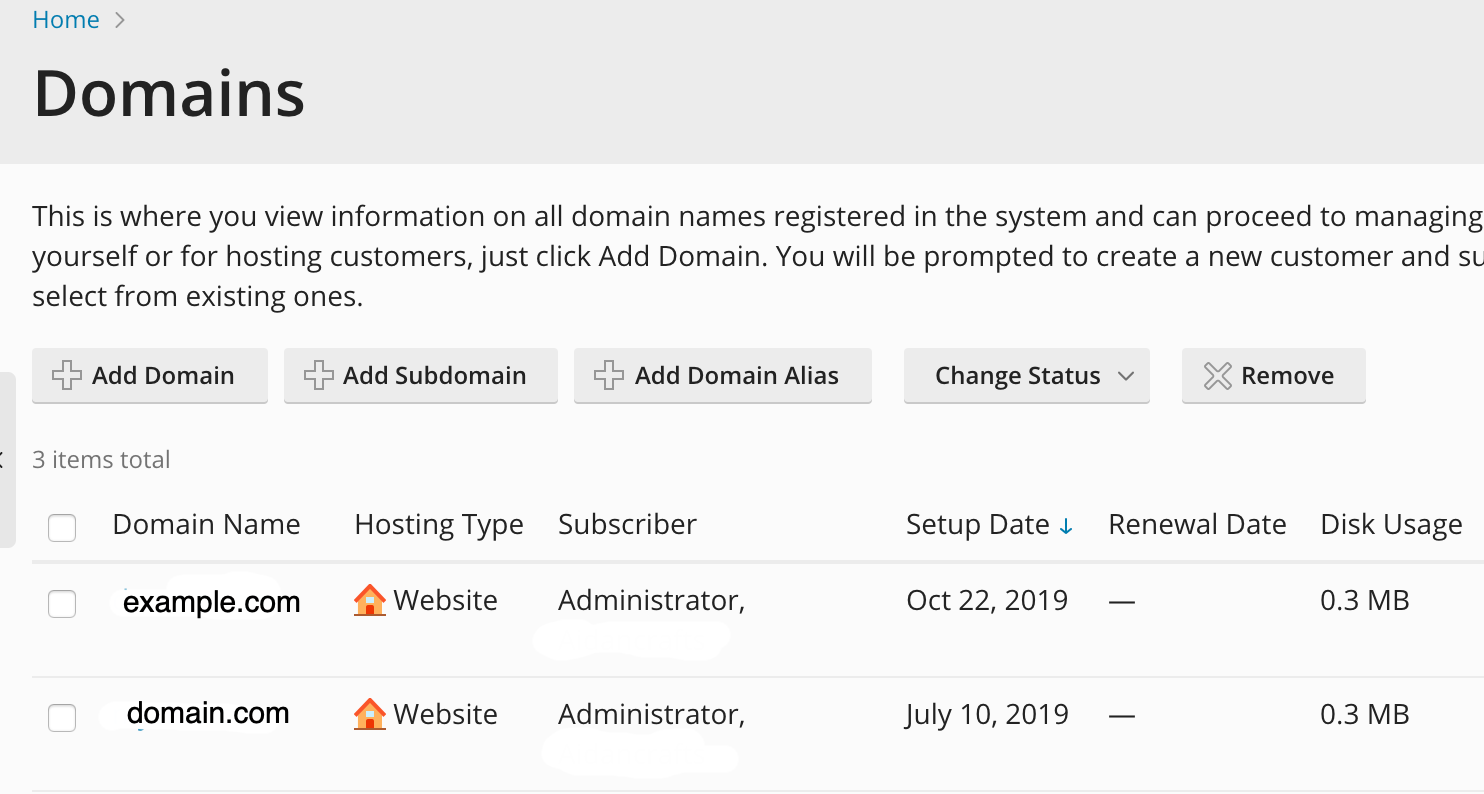
Finding Disk Usage
While this may not be an issue when you first start using your server, you’ll likely need to find disk usage statistics to help you manage the disk usage on your server at some point. Plesk makes finding disk usage easy. Just login to Plesk, then browse to the Domains portion of the control panel. You’ll get a list of all the domains on the server, including details of the disk usage for each domain, which can help you identify problem domains for further investigation.
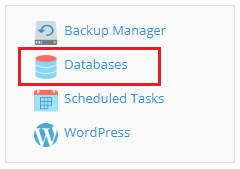
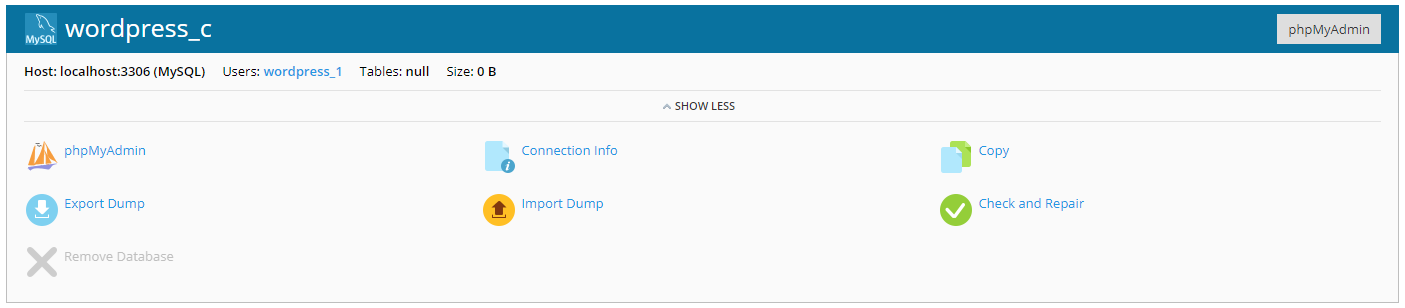
Databases
Located in the Upper Right corner of the domain screen, the Databases link will allow you to create and manage databases and database users. For more information about databases in Plesk, see Creating a Database in Plesk and Creating a Database User in Plesk.
IIS Settings
You can use the IIS Settings portion of Plesk to set some commonly used IIS features like setting the default document or adding a new MIME Type.

Once you’ve logged into Plesk, the number of options can be overwhelming. There are a few areas of Plesk that are useful right when you’re getting started with web hosting: