Installing Joomla with cPanel
Effortlessly manage your website's appearance and content with Joomla, easily installed on your domain through Liquid Web's cPanel and Softaculous Apps Installer. Walk through setup, including the first administrator account.
Joomla is a content management system (CMS) that manages your website’s look and content. If you aren’t familiar with CMSes, check out What Is a Content Management System (CMS)? before installing Joomla to make sure Joomla is the right CMS for you.
Installing Joomla on your domain is simple at Liquid Web. The Softaculous Apps Installer in cPanel installs packages so you don’t have to download them and install them manually. Softaculous walks you through installing Joomla, choosing some basic settings, and setting up your first administrator account.
- Log into your domain’s cPanel account. If your domain doesn’t have a cPanel account, read Creating a cPanel User Account first.
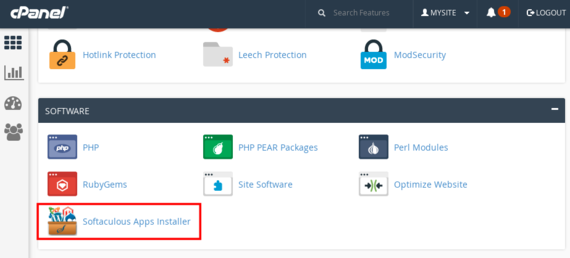
- On the home page of cPanel, scroll down to Software and click on Softaculous Apps Installer.

- Use the search bar to search for “Joomla” or click on Portals/CMS in the left navigation.
- Click on Joomla and then click on Install Now.

- Choose what Version of Joomla to install. We recommend the latest version to keep your site secure.
- If you have installed an SSL certificate on the domain where you’re installing Joomla, choose https:// or https://www. in the Choose Protocol field.
- Make sure your domain is correct (you can choose to install on a subdomain), and decide which Directory to use for Joomla. This determines the URL used to see your Joomla site. The default is mysite.com/joomla30.
Tip:
To install Joomla on mysite.com (instead of mysite.com/wp), leave the In Directory field blank.

- Under Site Settings, choose your Site Name and Site Description. You can change this at any time.

- Choose Your Database Settings. This is Joomla’s version of a default theme. Every Sample Data theme is set up like a blog.
- None: The most basic theme with a menu and an admin login box.
- Blog English: This theme creates a basic blog format.
- Brochure English: This theme is similar to a blog, but only shows one post on the home page. There’s also a text sidebar.
- Default English: This theme is similar to the brochure theme, but the sidebar has links instead of text.
- Learn Joomla English: This theme also looks like a blog, but the sample articles explain how Joomla works.
- Test English: This is a developer-focused blog theme that has lists of different Joomla pages.

- Create your Admin Account. This is how you’ll start making changes and editing your site. Enter a Username and Password and an Admin Email you will check for Joomla notifications.
Password Security:
We recommend choosing a unique username (not “admin”) and choosing a strong password. If someone discovers your password, they have control over your whole site. See our article Best Practice: Creating a Secure Password for tips on creating your password. 
- Choose your preferred Language.
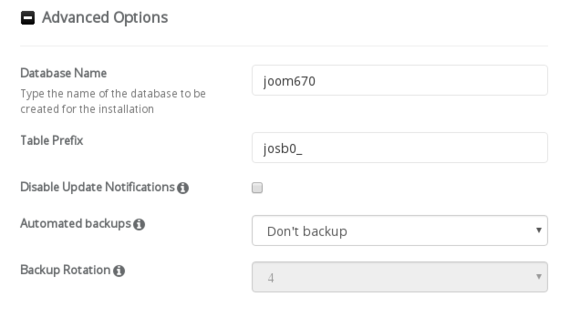
- In Advanced Options, you can choose a Database Name and other options. These can be changed at any time. You can also choose to create automated backups.

- Click Install.
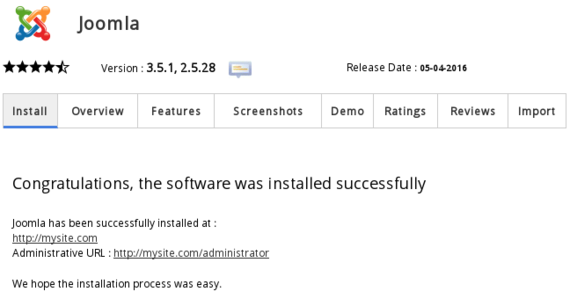
- Once you have installed Joomla, Softaculous will confirm the installation URL and admin page URL.

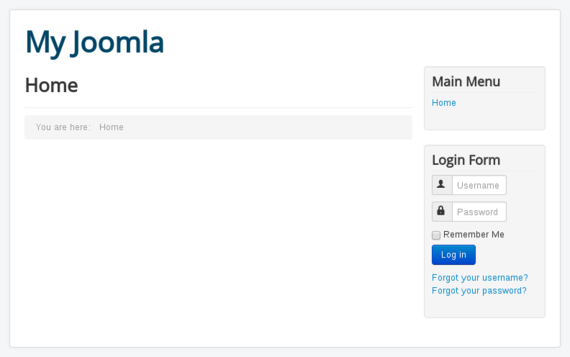
- Click on the installation URL to make sure Joomla is installed.

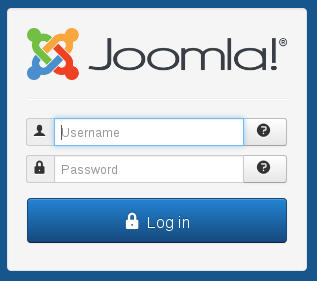
- Click on the admin URL and try to log in using the username and password you created during installation.


You’ve successfully installed Joomla on your domain. Now you can start exploring how to develop your site and create content!