Managing Bandwidth for Your Cloud VPS
Liquid Web monitors outgoing bandwidth from your server as a way to manage resource usage (incoming traffic is not monitored or limited). While the default settings are generally appropriate for most servers, if you anticipate higher than usual traffic on your site, you may want to consider increasing the quota of outgoing traffic.
Liquid Web monitors outgoing bandwidth from your server as a way to manage resource usage (incoming traffic is not monitored or limited). When someone downloads content from your server, that is considered outgoing traffic and may be limited, depending on the service tier you are using. While the default settings are generally appropriate for most servers, if you anticipate higher than usual traffic on your site, you may want to consider increasing the quota of outgoing traffic, rather than paying overage charges. You can make these changes directly in your Liquid Web account portal.
NOTE: |
| These directions only apply to Cloud VPS servers. To adjust the bandwidth on dedicated servers, please contact our Support Team. |
- Log into your Liquid Web account.
- Click on the My Servers link the left menu.

- Click on the name of the server you want to adjust to open the server details page.
- Click on the Networking tab to see detailed networking information.

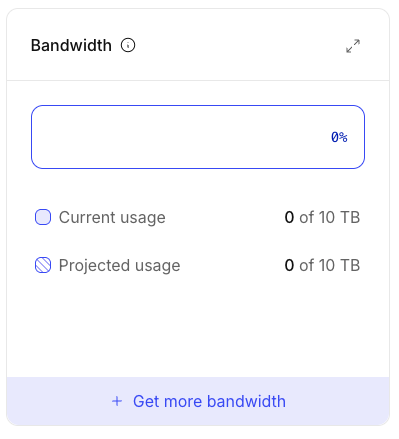
- The Bandwidth block is shows your current and projected usage. Click Get more bandwidth if you need to increase the bandwidth available to the server.

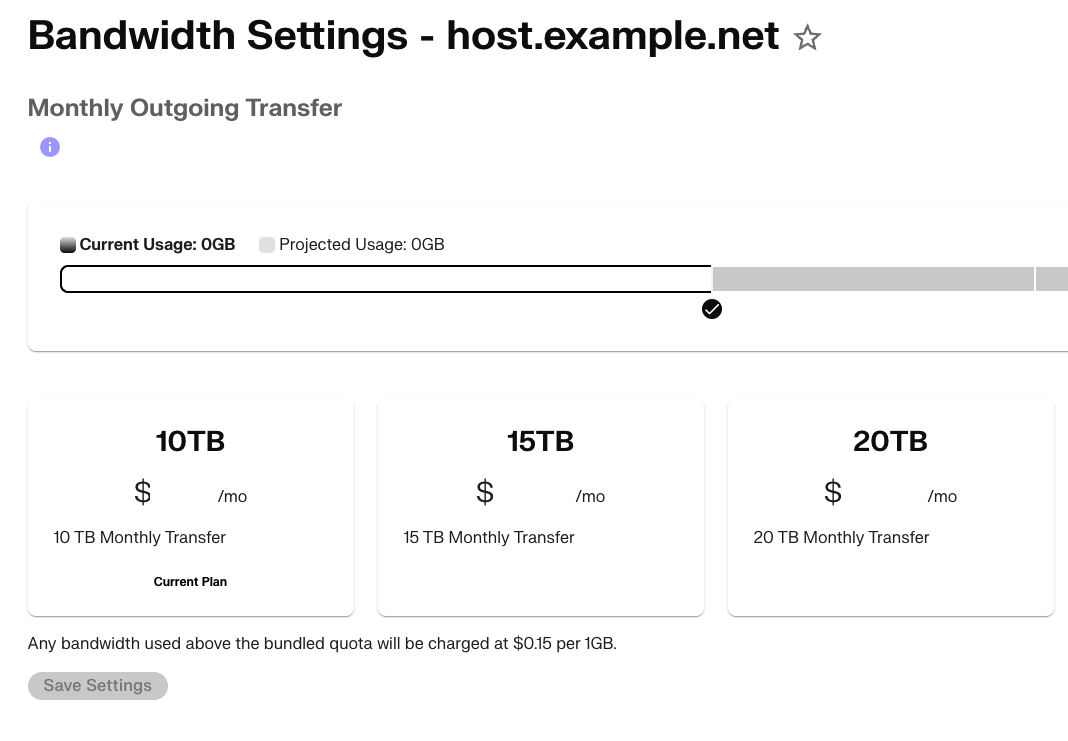
- This opens the Bandwidth settings page. Here, you can see your current plan as well as other plan options. Select the plan that best fits your expected usage. Click Save settings to save changes.