-
-
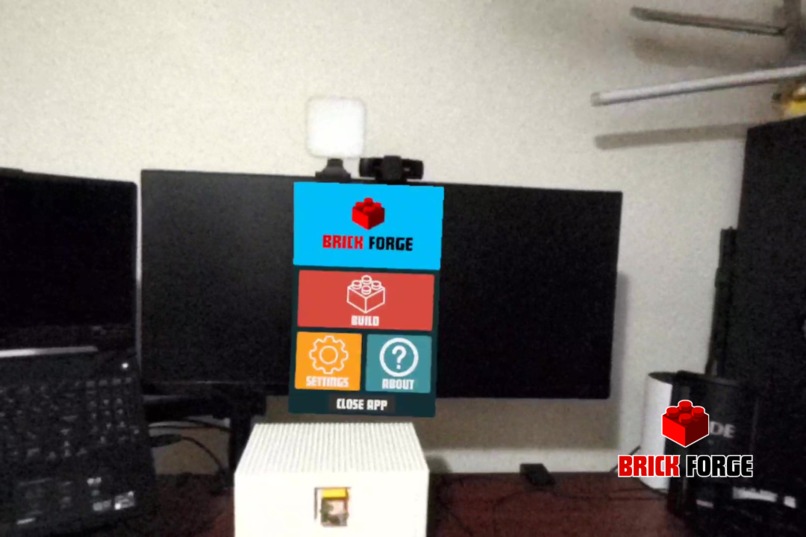
Brick Forge main menu
-
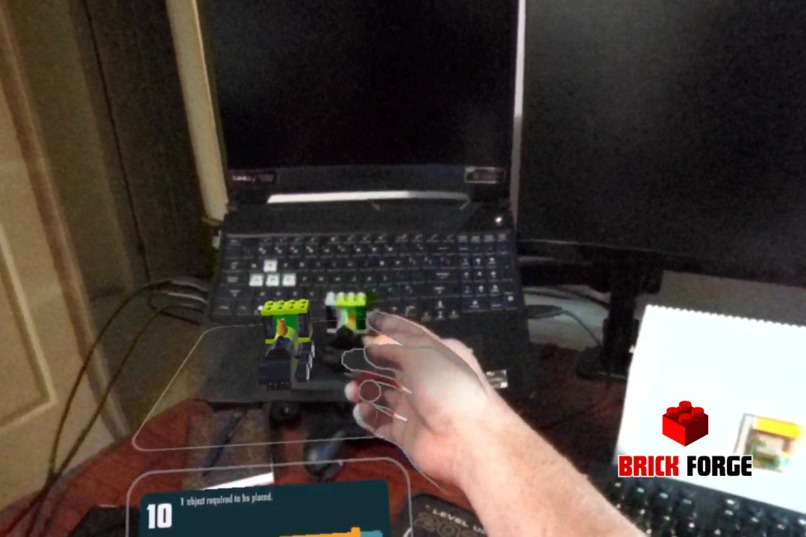
Comparison of build to instructions
-
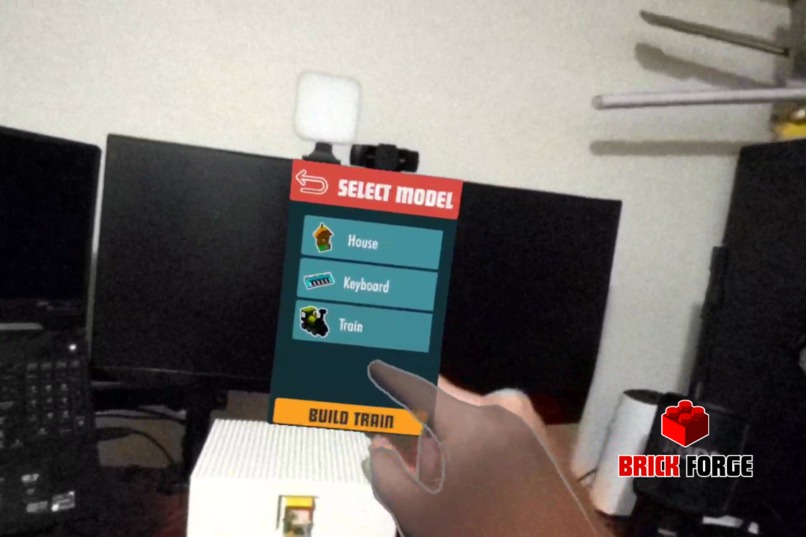
Selecting the model instructions
-
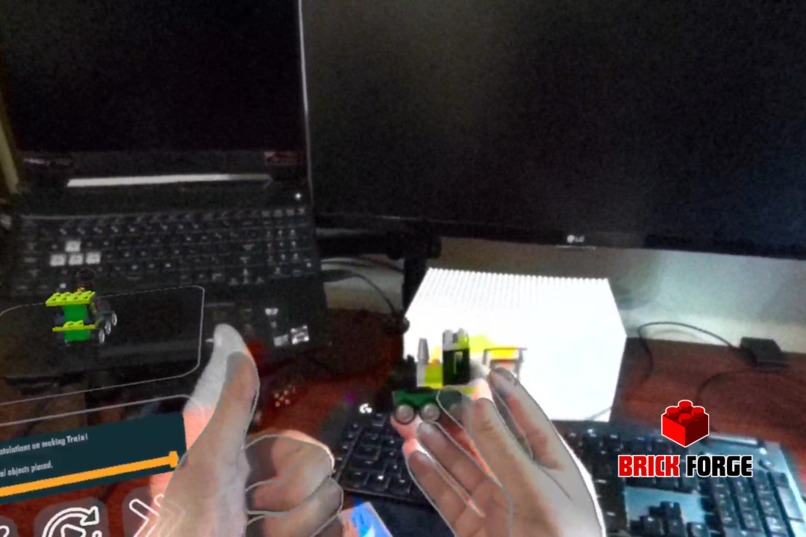
Completed build
-
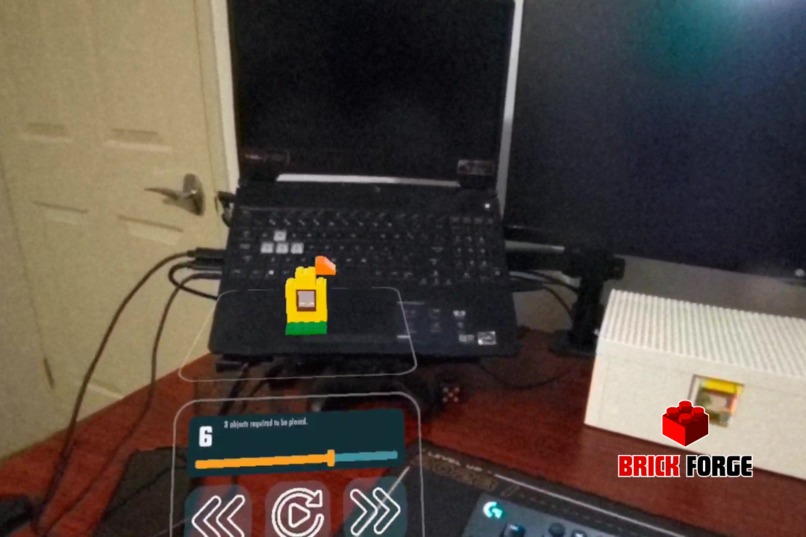
Partial way through instructions


Inspiration
Brick Forge was inspired from the idea of having easily accessible instructions on hand that do not require a physical space and are easy to refer to. While I was a tradesman maintaining mechanical equipment, I thought "How handy it would be to have a schematic on hand to help understand how to disassemble and reassemble it". Making use of the passthrough feature allowing a Mixed Reality (MR) experience, and the introduction of Visual Positioning Systems (VPS) I can envision a lot of use of these interactions in the future as technology advances. As much fun as it would have been to use an engine for the example, I thought building bricks would be something more people could relate to.
What it does
Brick Forge leverages the passthrough feature, allowing you see virtual instructions overlaid on the real world. These instructions can be anchored in place, so if you ever need to leave your project half done and come back the instructions will be in the same location you left it, rather than follow you around. Users can move through each step of the instructions followed with an animation of the step, those animations can be replayed as needed, when the model is completed you get a review of the full model.
All interactions in the app are developed with hands in mind, controllers are not needed.
How I built it
Planning
Starting with a brainstorm session, I sat down, opened a Miro board and dumped any ideas that came into my head. I then discussed those ideas with those around me who would listen to see if they peaked any interest. After deciding on Brick Forge I sat down and decided what the key components of the experience were, chose a color theme, and mapped out a simple user journey to build to. I then set up a Kanban of tasks that needed to be done to complete the full build, starting with basic proof of concepts for each feature.
Development
Starting with a new Unity project, I installed the Meta packages for XR Interaction and XR Simulator. Using the meta building blocks (for the first time) to get interactions and passthrough working in the scene made development a lot quicker. Once I had Passthrough and interactive buttons working with my hands. I then went and fleshed out the process based on the user journey, mapped out in the planning stage. Taking advantage of scriptable objects for the model and each step, allowed easy scalability of the number of steps and move parts around to make the animation easier to follow. If I had an idea I thought was neat and could be implemented I threw it on the Miro board for later reference (if I got time).
For the brick models I used Blender to create the bricks and then assembled the final model with those bricks. When the model was complete, I exported it as a fbx from blender and imported it into Unity, once the model was imported I broke it down into the scriptable objects steps for the instructions.
The UI icons were made using Canva and then imported in unity as sprites. Design of the interface was done in Unity.
Sound files were sourced from freesound, making sure to note what the sound was licensed under.
Once the base user journey was complete then I looked at anchoring the instructions in place using Spatial Anchors, taking advantage of the Spatial Anchor Core building block for saving and loading the anchor. With the anchor in place and saving I could spend time fleshing out each feature and making it a more enjoyable user experience.
Testing:
After every feature was implemented I uploaded the app to my quest and followed the user journey to test to make sure that nothing was broken. Any issues encountered got tracked in another area on the Miro board to make sure I would not forget about them. Once the app was in a more polished state I tried breaking the user interactions to make sure I covered most edge cases.
Challenges I ran into
- Using the XR Simulator with hands, I didn’t realise the simulator was based on controllers. It was useful to test the interactions though.
- Getting spatial anchors working in the Unity Preview - I kept getting an error that anchors weren’t loading, even though they were saving. Worked fine in the device build though.
- Aligning the instructions UI to the spatial anchor, needed a bit of tinkering to understand how to relate an object to a spatial anchor to get the location.
- User journey after instructions were completed, when the user finished the instructions there was no real direction on where to go next.
Accomplishments that I’m proud of
- Getting spatial anchors working (first time using them), when the spatial anchor worked I was impressed at how accurate it was and what possibilities could lie ahead with this technology.
- Sequential Animation of the model instructions and the ability to go to the next step without the animations finishing.
- Utilising the built in menu button for hand gestures to open the menu.
- Adding the ability to save and update the location of the spatial anchor.
- Triggering a function when a user resets their view.
What I learned
- The usefulness of the Meta Building Blocks to add in VR functionality and how much quicker they make development.
- How to implement spatial anchors, how amazing they are and how useful they will be as VPS and XR technology evolves.
- Learned more about customising the meta interaction toolkit and getting the most out of the framework.
What's Next for Brick Forge
Enhanced Interaction and Usability
- Additional Controls: Implement controls for rotating and zooming into models, enhancing user interaction with virtual objects.
- Voice Commands: Enable voice-controlled actions to streamline user interactions, making the building process more accessible and hands-free.
- Drag-and-Drop Building: Introduce a touch compatible drag-and-drop feature for a more intuitive in app building experience.
Augmented and Virtual Reality Enhancements
- Spatial Model Display: Use spatial anchors to display built models around the room, blending virtual creations with the physical space.
- Real-Time Collaboration: Develop a multi-user mode for collaborative real-time building, enhancing the social aspect of Brick Forge.
Personalisation and Learning Tools
- Adaptive Difficulty Levels: Tailor the complexity of models and instructions based on user expertise to accommodate all skill levels.
- Customisation Options: Enable users to personalise models with various colours and textures, allowing for creative expression within the app.
Community and Engagement
- Unlockable Content and Achievements: Introduce rewards and achievements that encourage continued engagement and challenge users.
- Community Building Tools: Create a platform for users to contribute to a model catalogue, fostering a community around creation and innovation.
Advanced Features and Integration
- Progress Saving and Step Review: Implement functionality to save progress and revisit specific steps, enhancing the learning experience.
- Extended Industry Applications: Explore similar uses beyond hobbyist building, such as educational tools, professional training simulations, and more.
Credits
Project Lead - Matthew Aisthorpe:
- Role: Developer and Designer
- Contributions: Designed the user interface, models and developed the VR application.
Sounds downloaded from Freesound:
- Open_Program_A by Beetlemuse -- https://freesound.org/s/614898/ -- License: Creative Commons 0
- Close_Program_A by Beetlemuse -- https://freesound.org/s/614897/ -- License: Creative Commons 0
- Easy Going Music Loop by Seth_Makes_Sounds -- https://freesound.org/s/691837/ -- License: Creative Commons 0
- Completed.wav by Kenneth_Cooney -- https://freesound.org/s/609336/ -- License: Creative Commons 0
- LEGO Sound FX by rioforce -- https://freesound.org/p/14369/ -- License: Creative Commons 0


Log in or sign up for Devpost to join the conversation.