Zapier is an online platform that helps you automate workflows. You can connect the apps and the services you use for the automation. Get automated booking forms submitted information through Zapier webhook. This is an easy and simple step. Let’s see how you can connect Zapier with TimeTics.
Note: You need TimeTics Pro to get the Zapier integration feature.
How to Integrate Zapier with TimeTics
Follow all the steps described below to integrate Zapier with TimeTics.
Get Webhook URL
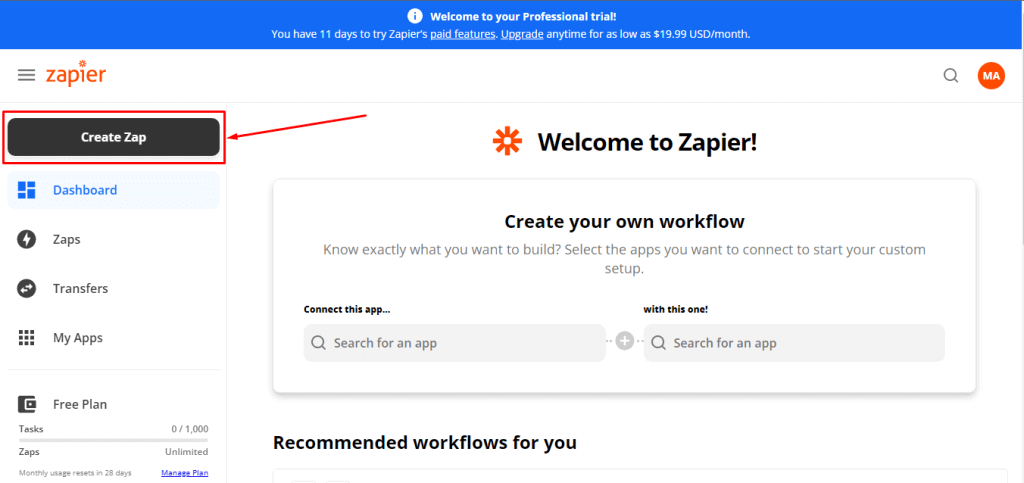
Step 01: Go to https://zapier.com. If you are a new user, create a Zapier account manually and login to the system. You can also log in with Google, Facebook or Microsoft accounts.

Step 02: Click on “Make A ZAP” from the left side top area. It will drive you to the next screen.
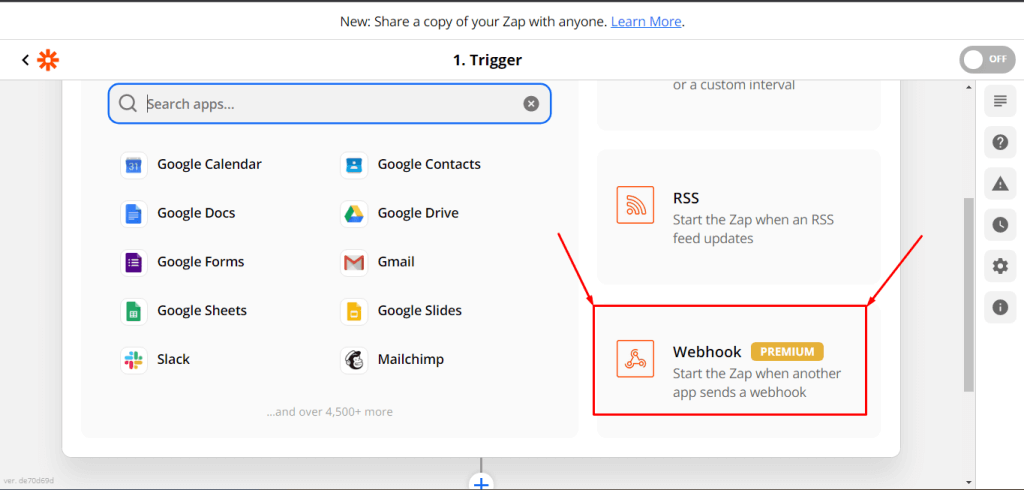
Step 03: Click on Webhook
Step 04: Click on the Trigger Event from and the Drop-down will show up. Then select the “Catch Row Hook”. Now Click on “Continue”.
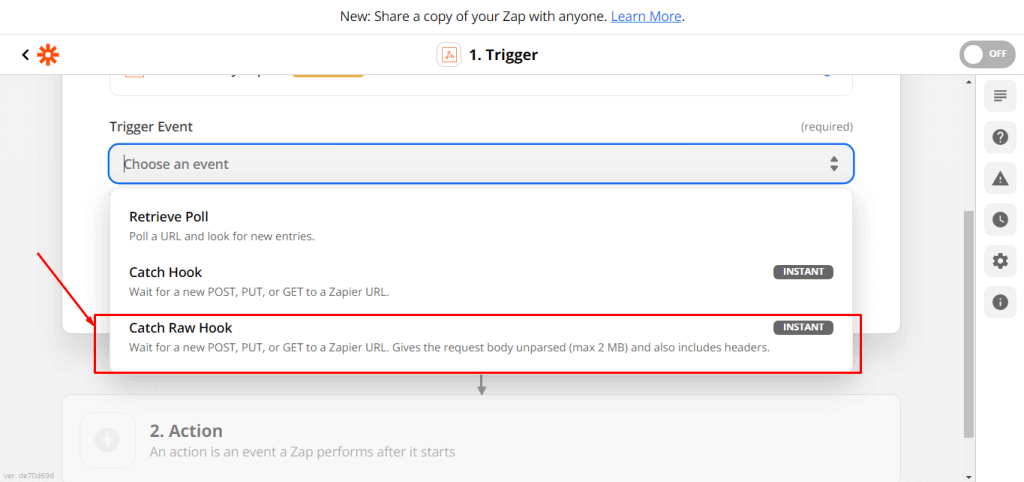
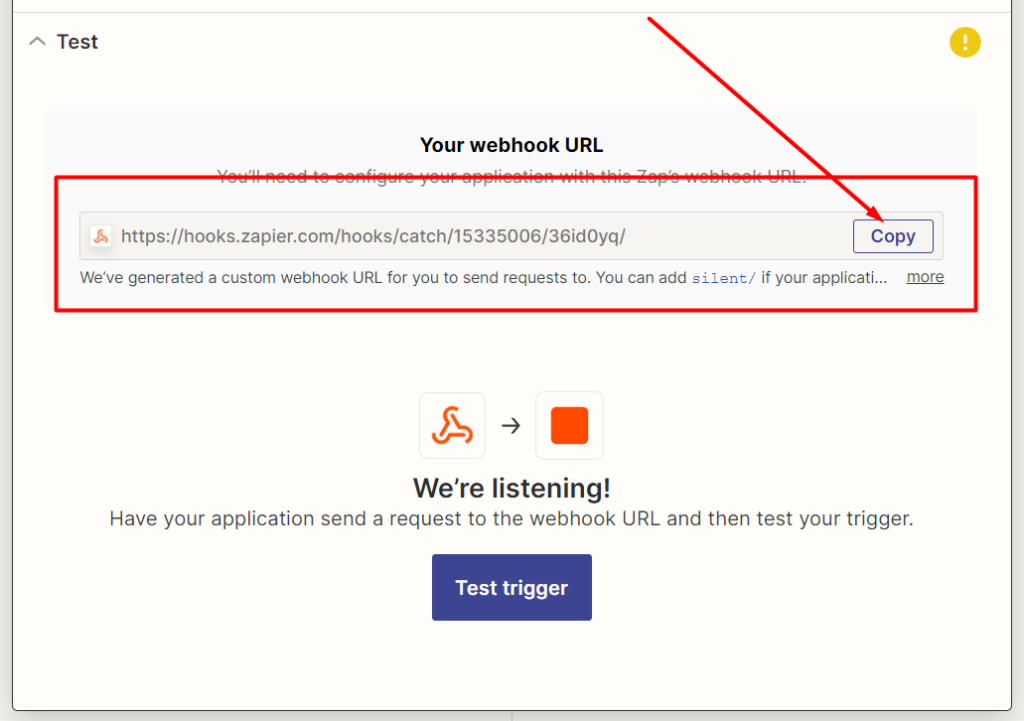
Step 05: Click on Continue and it will drive you to the final stage of this settings. You will see the webhook link.

Zapier Webhook Setup for TimeTics
You can integrate Zapier for meeting globally and individually.
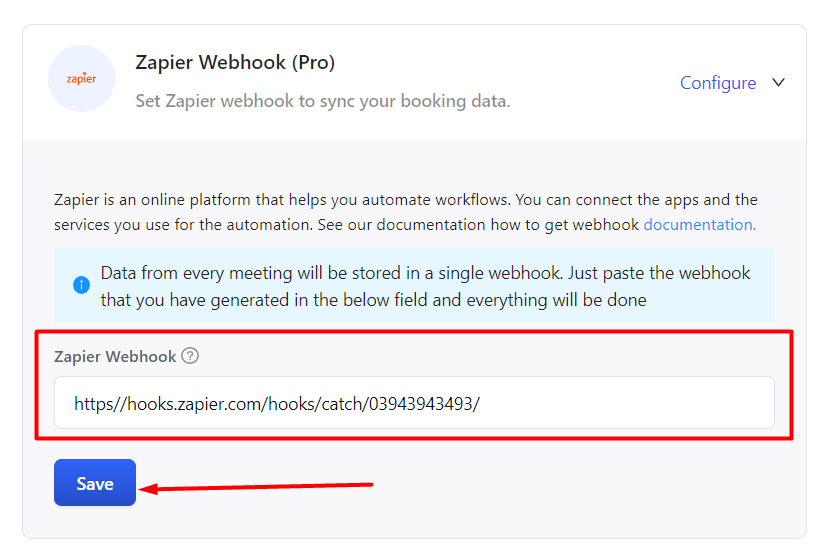
Global Settings
Go to Settings -> Integrations and insert the webhook URL in the Zapier Webhook (Pro) fields. Must save changes.
When you create any meeting, this webhook URL is automatically inserted in this field.
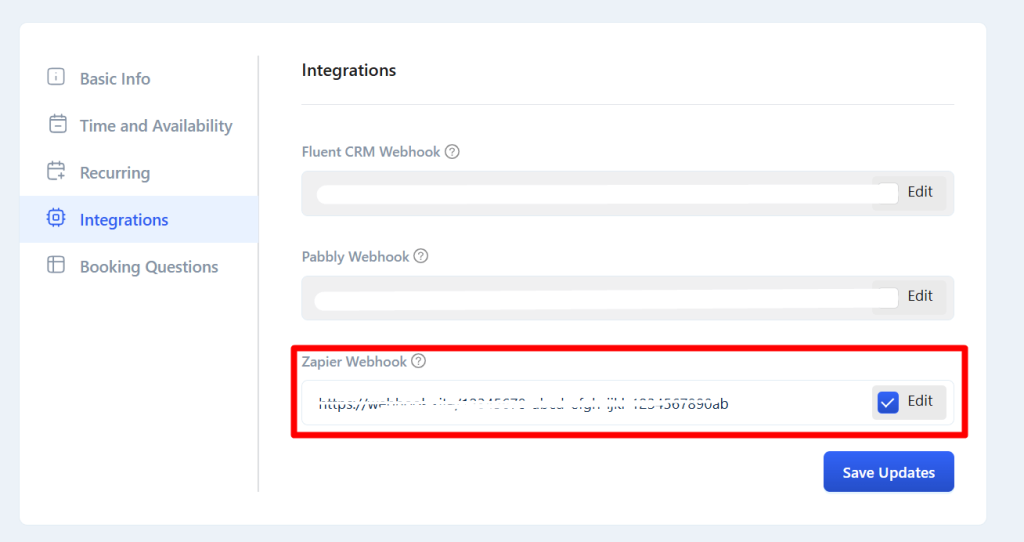
Individual Settings
If you don’t use the global webhook, you can override it from the meeting. Go to the Meeting edit page -> Integration tab -> checkout the Edit option and paste the webhook URL on the Zapier webhook fields. Now, save changes.