You are able to embed a live stream on any page on your website with the shortcode shown below:
Elementor #
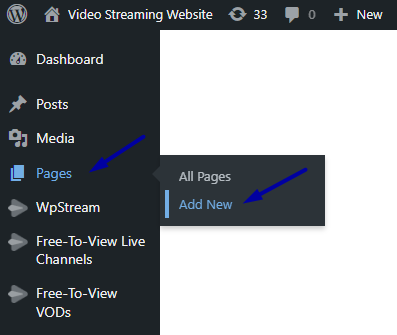
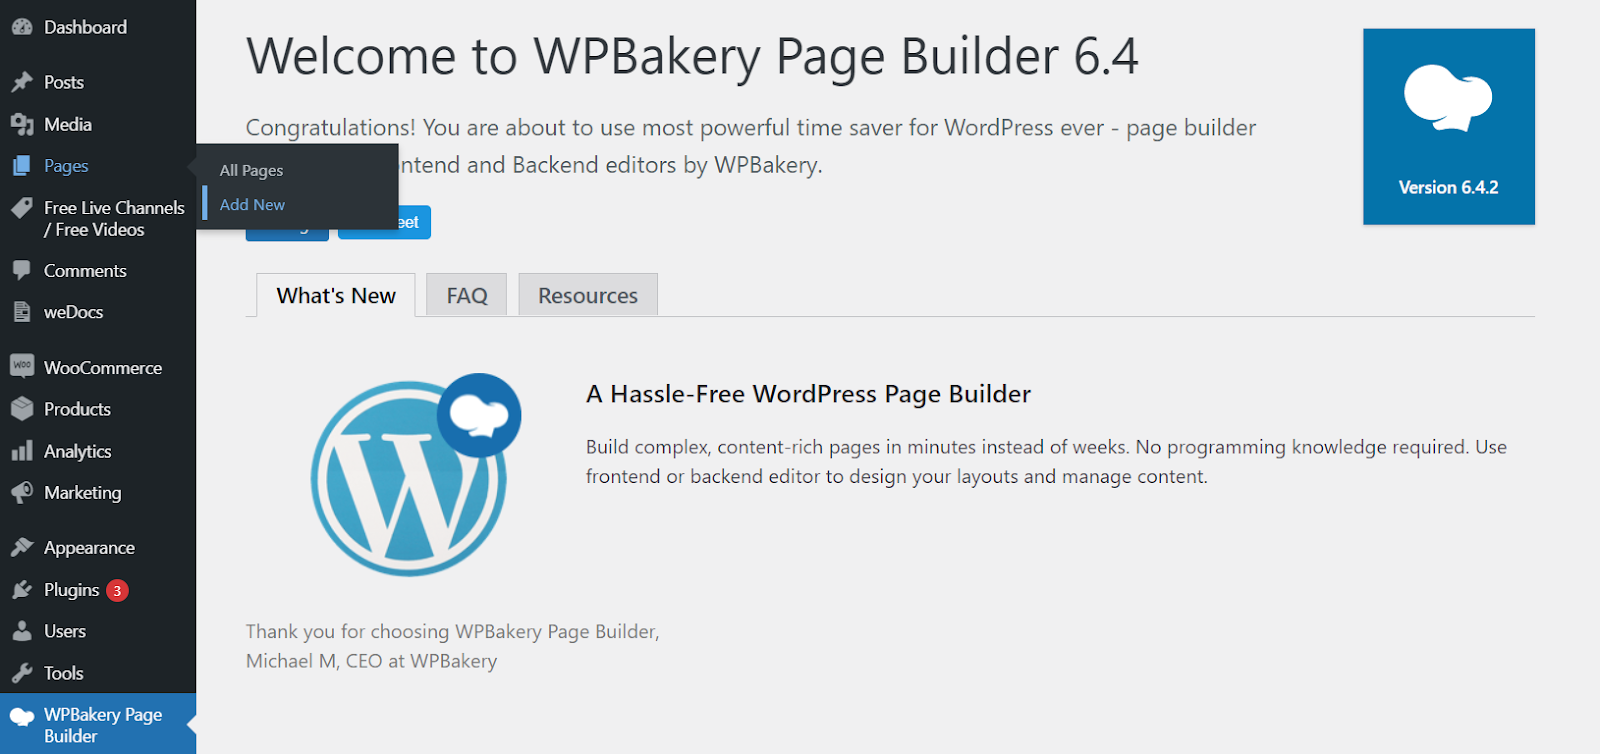
Go to WordPress admin and click on “Pages” and “Add New”
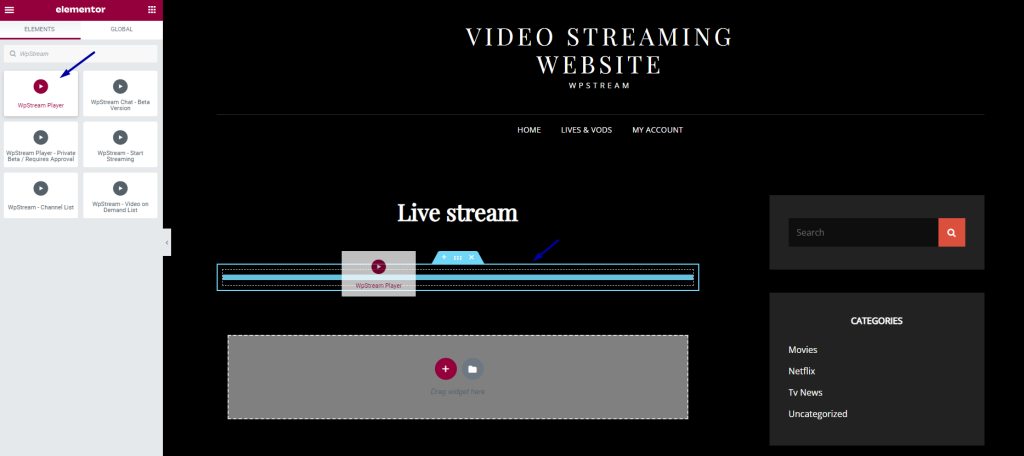
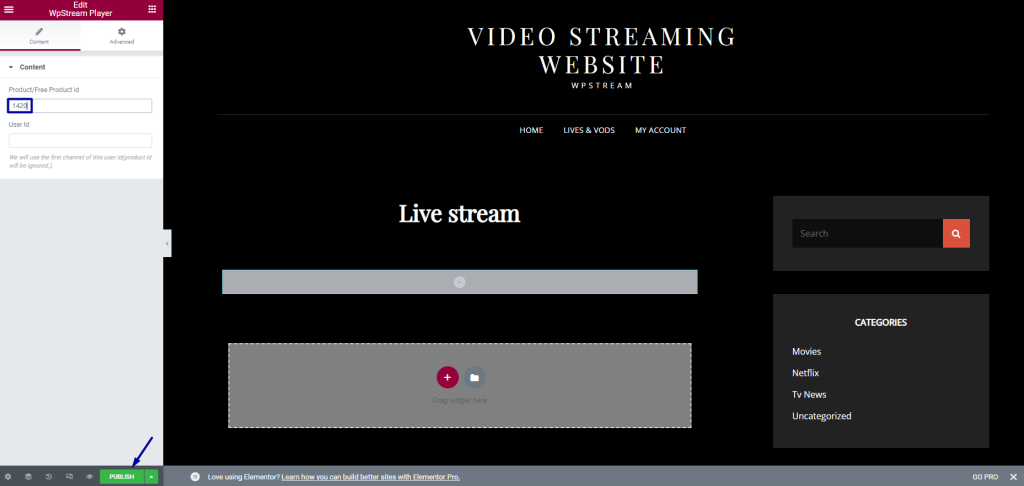
Click on the “+” to add widget, type in “WpStream Player”, and drag it to your page.
Now you will have to add a channel ID
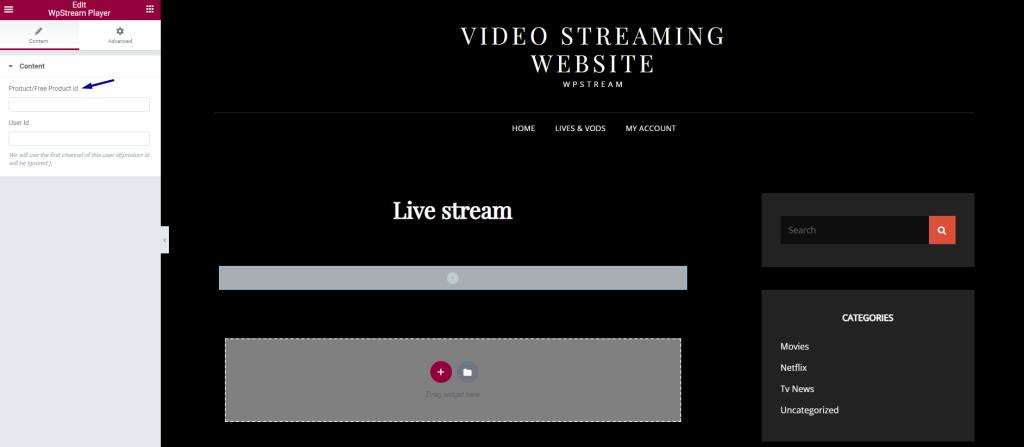
Go to “All Channels” and Create your Free-To-View channel (see here). Your Channel ID will be visible under the title of your channel. Copy the channel ID and paste it into the widget on your page. Publish your page and preview it.
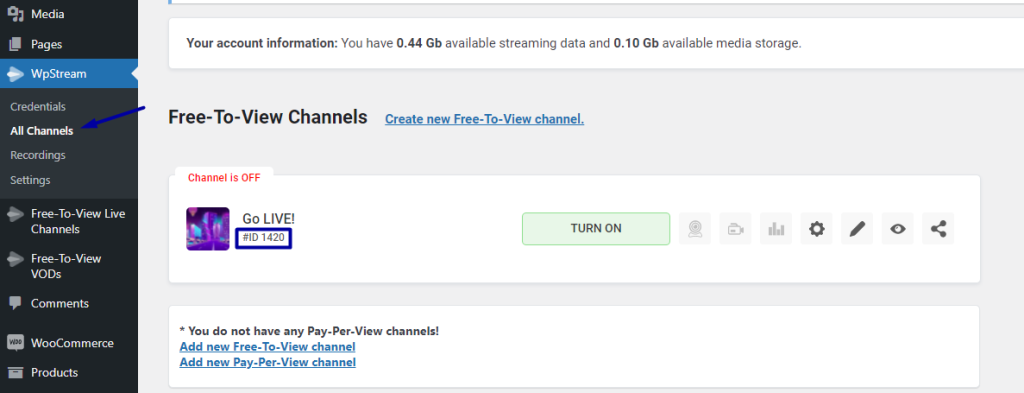
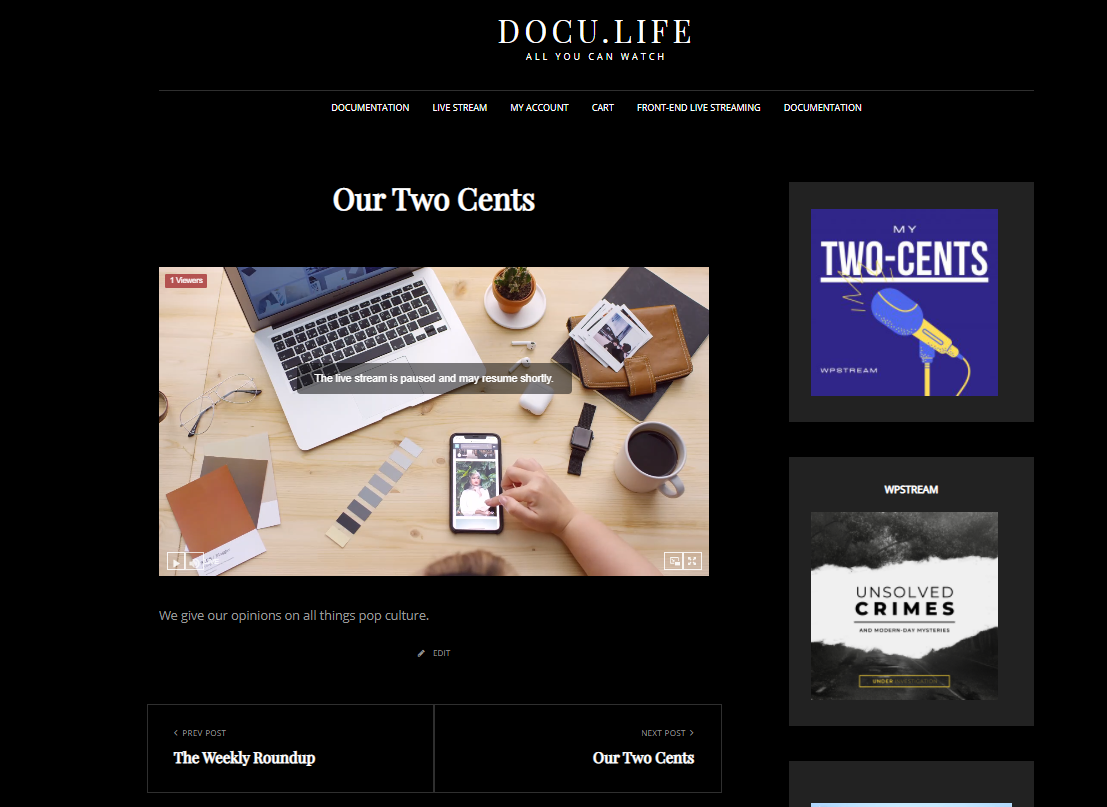
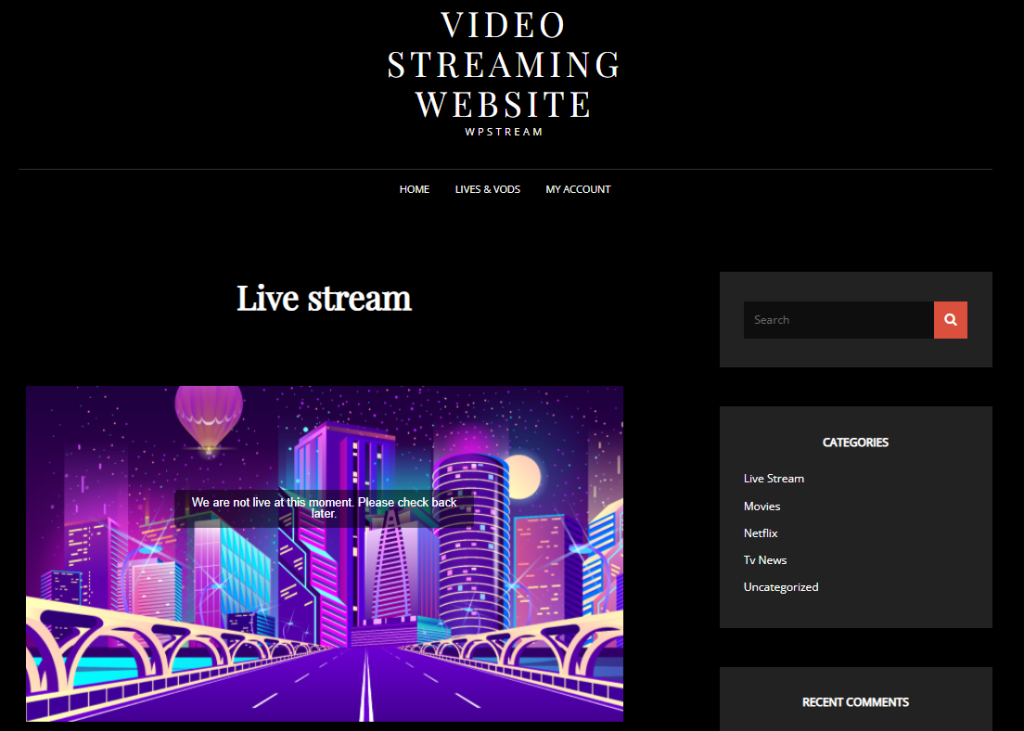
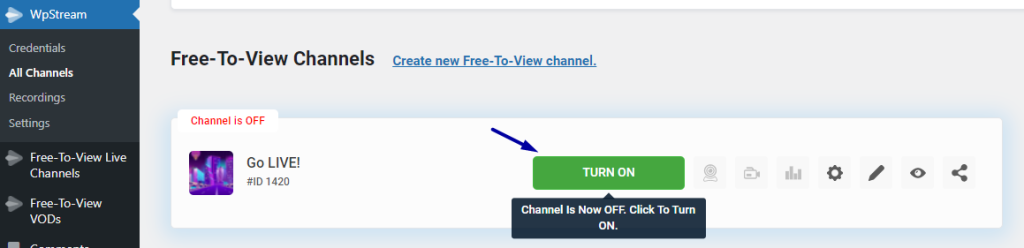
It should look like this if your channel is not Turned ON yet
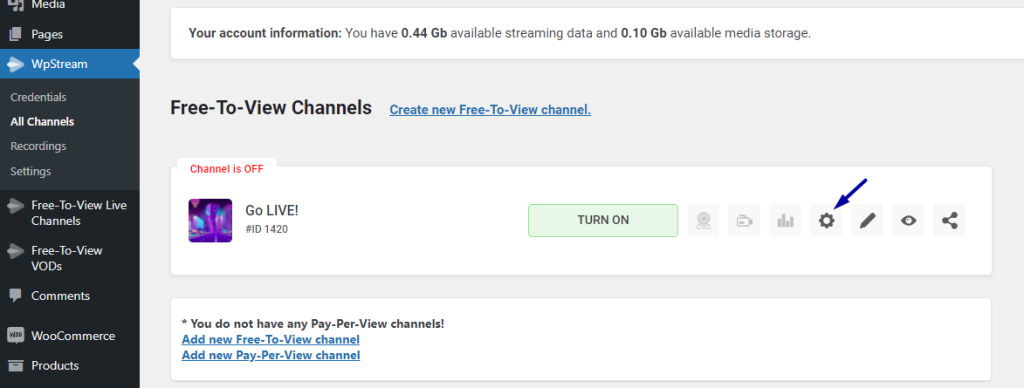
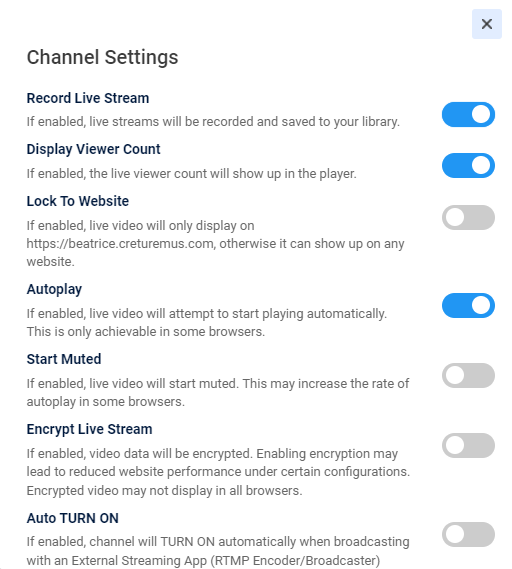
Go back to your channel and you can first check out your “Channel Settings”. You can enable/disable any of the settings below.
Exit the pop up and “TURN ON” your channel. Click on “Go Live With External Streaming App”.

You can pick your streaming App from the drop down. You will find a Server and Stream Key. OBS Studio will be used to demonstrate.
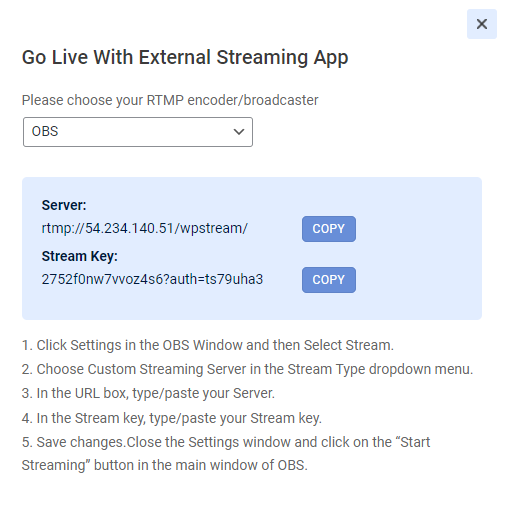
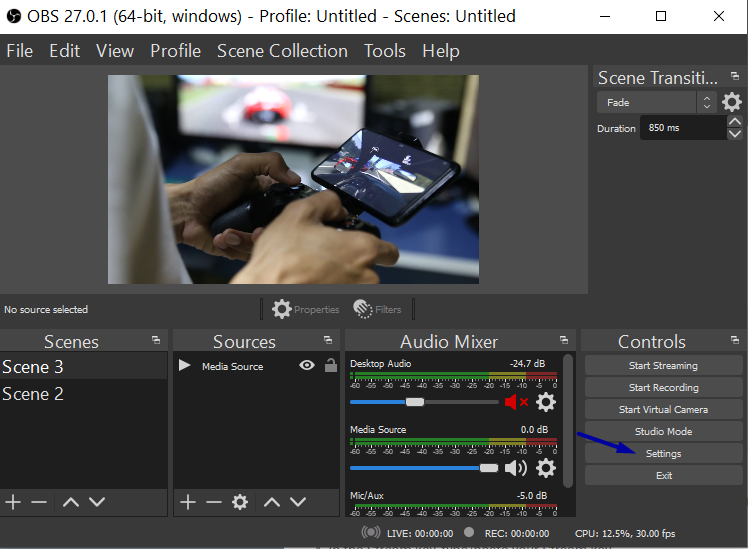
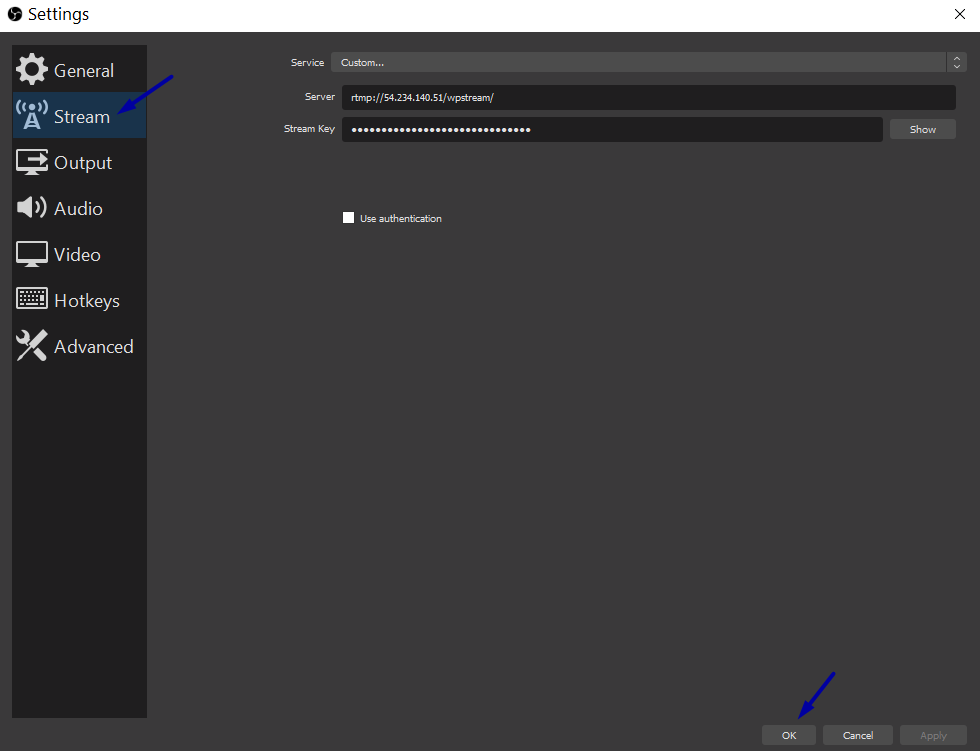
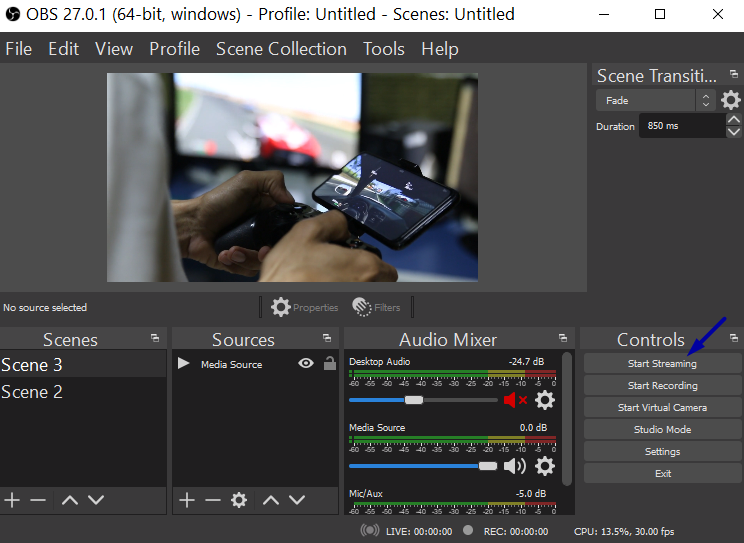
On OBS Studio, click on “Settings” > “Stream” > Paste the Server and Stream Key > “OK” > “Start Streaming”
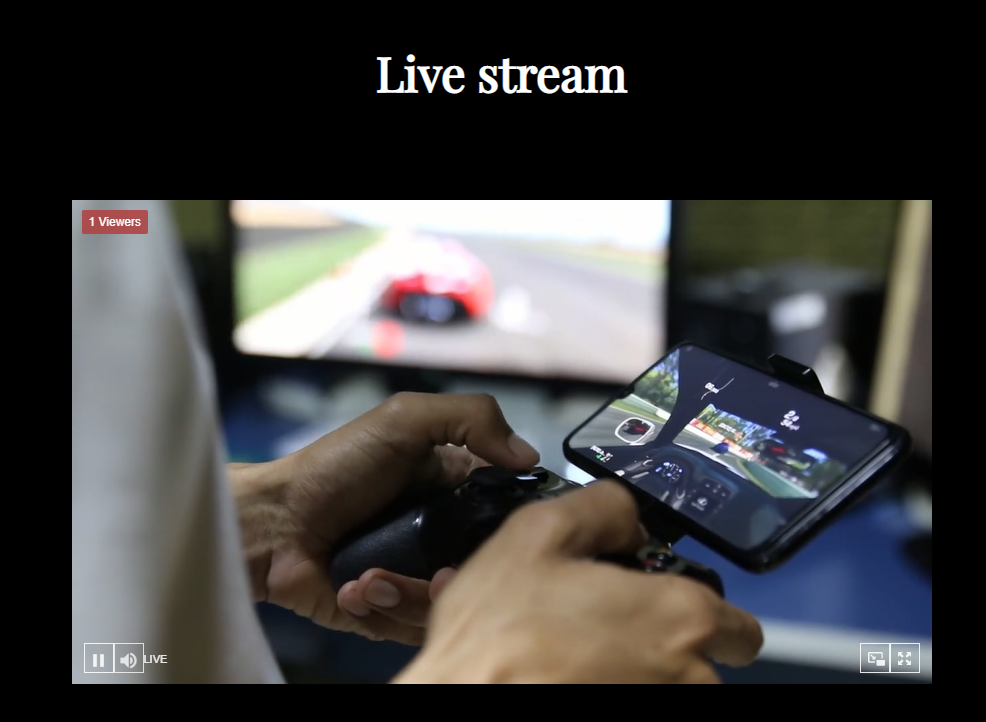
If you go back to your page, you will see that your live stream is now LIVE on the page you added the “WpStream Player” Widget
WPBakery #
- Go to “WpStream Settings” in WordPress admin

- Assign permissions to users (Editor, Author, Contributor, or Subscriber), a free or Pay-Per-View Channel (and its price). Save your changes
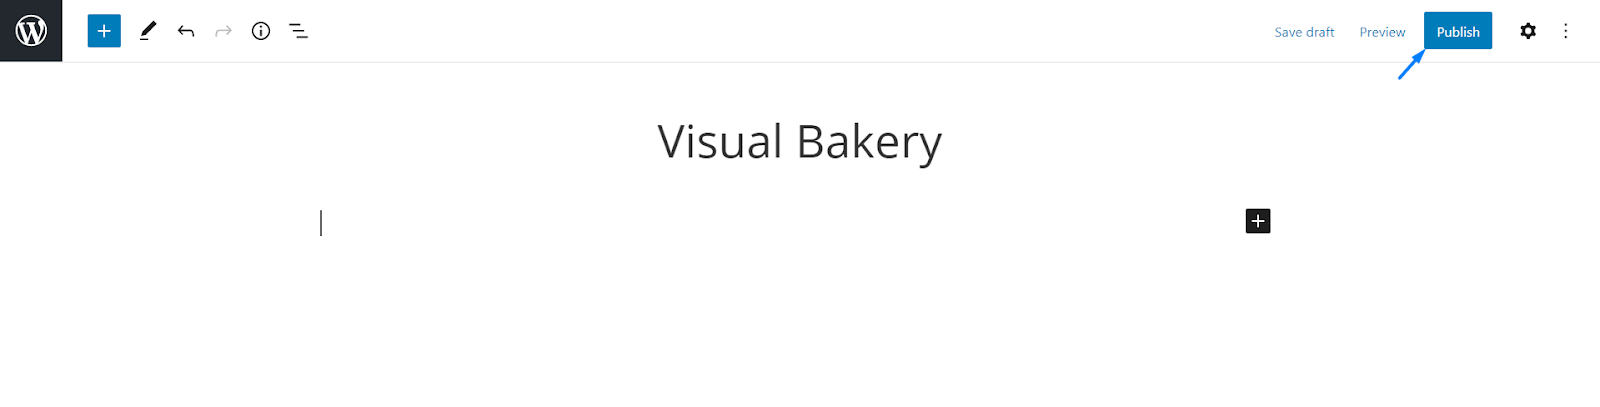
- Go to WordPress admin and click on “Pages” and “Add New”
- Add a title
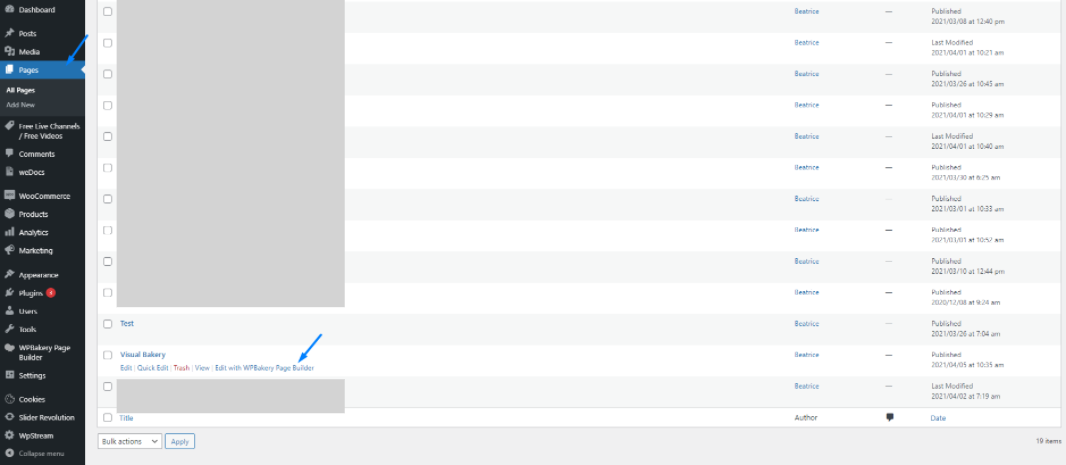
- Go back to your WordPress admin and to “Pages”. Go to the page you just created and click on “Edit with WPBakery Page Builder”
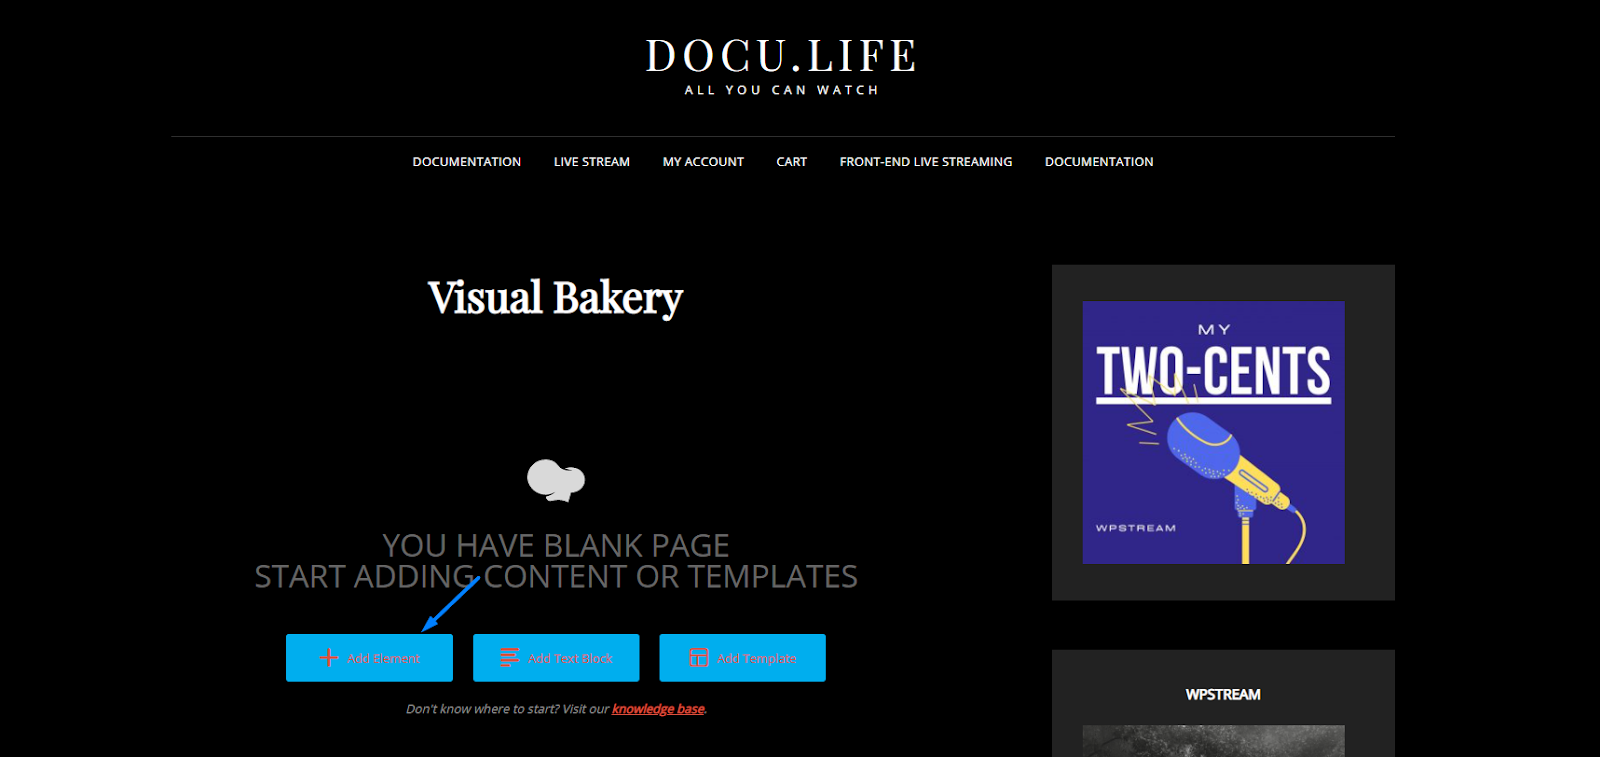
- “Add Element”
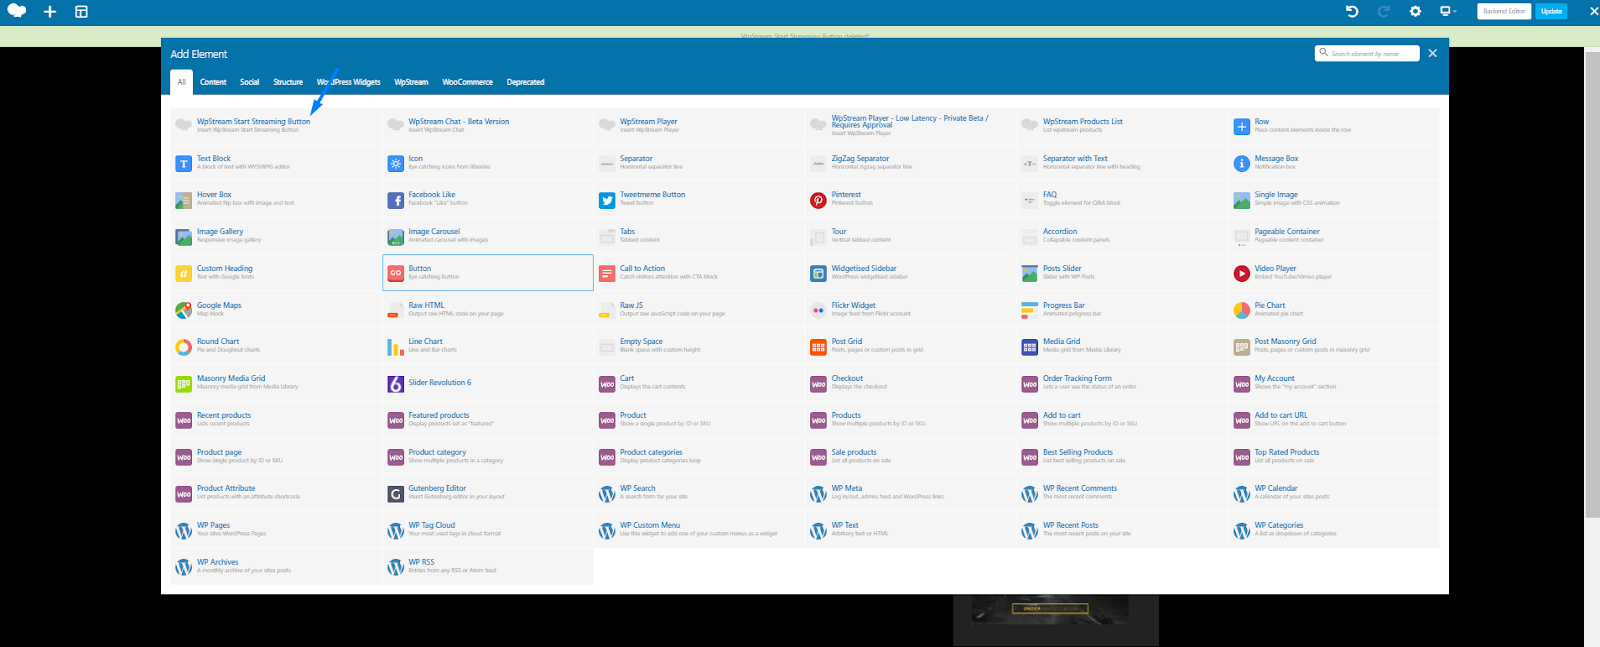
- Look up and click on “WpStream Start Streaming Button”
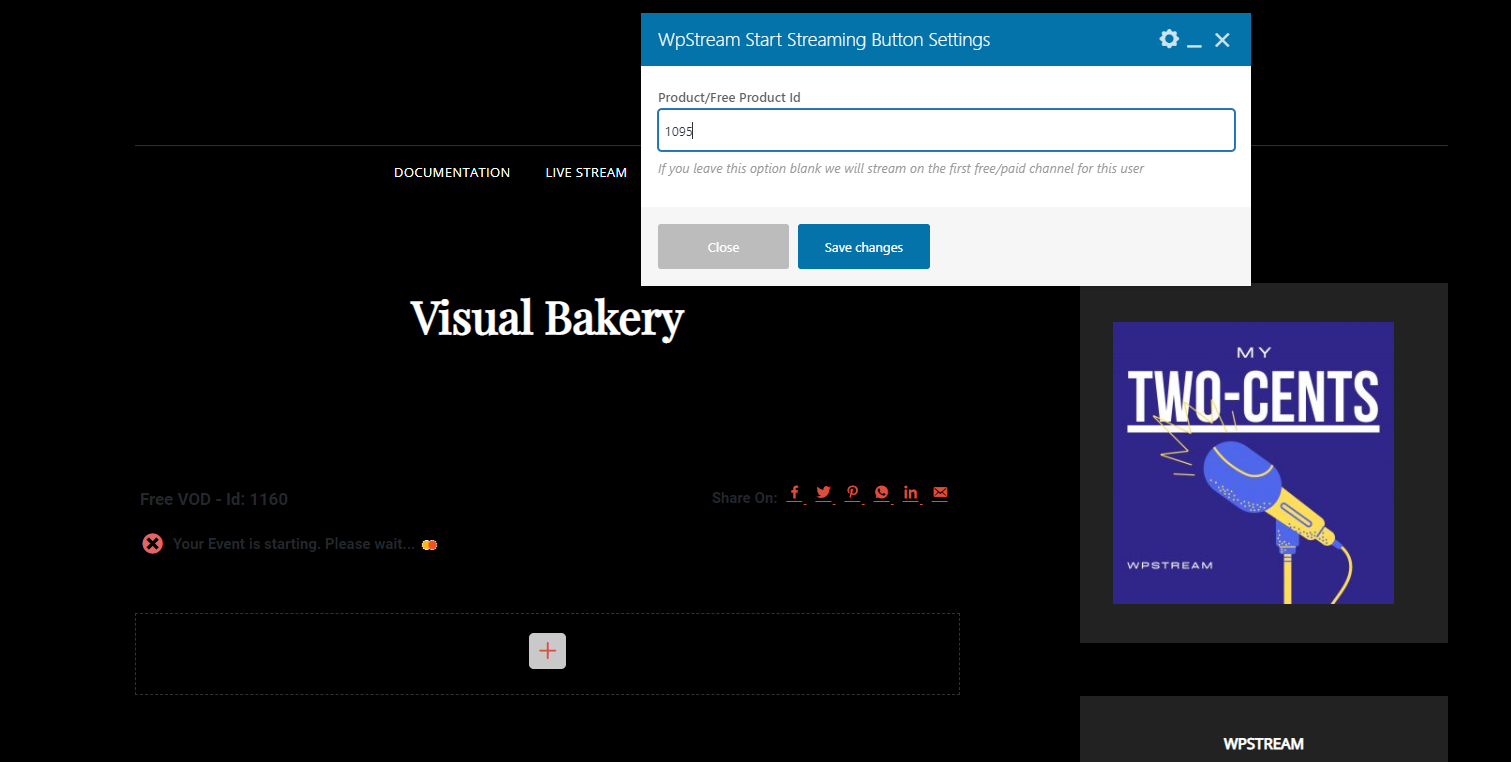
- A pop up window will appear asking for a Product/Channel id.
- If you leave the id blank, the plugin will auto discover the id of the first channel that belongs to the logged user and will automatically use that. If you add an id, the plugin will start broadcasting over that id.
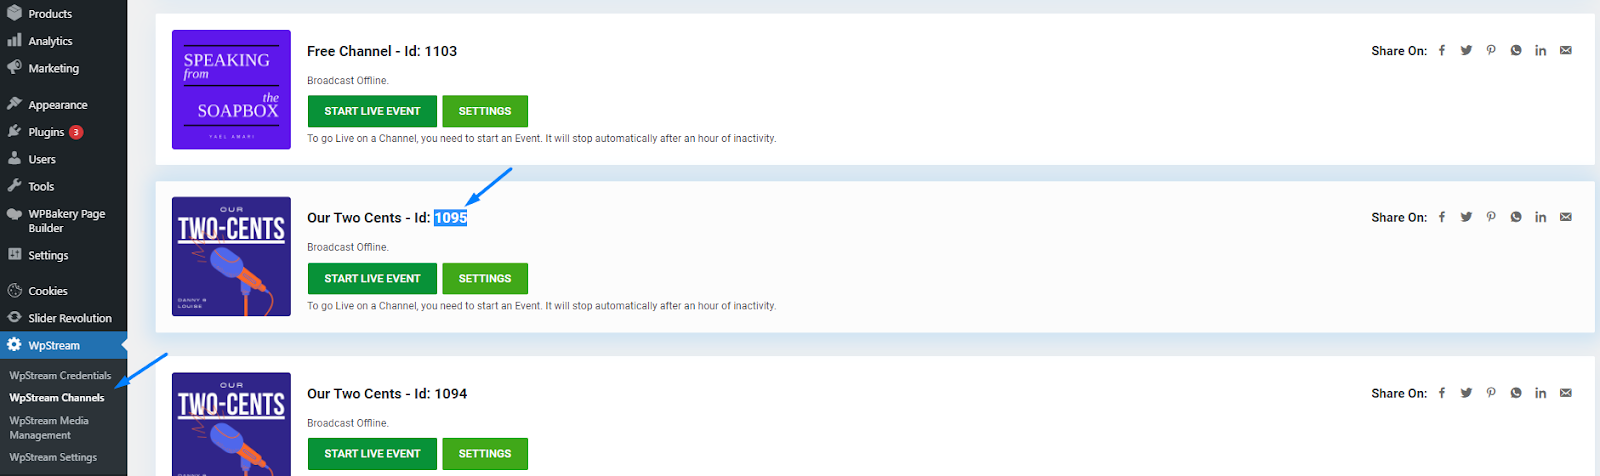
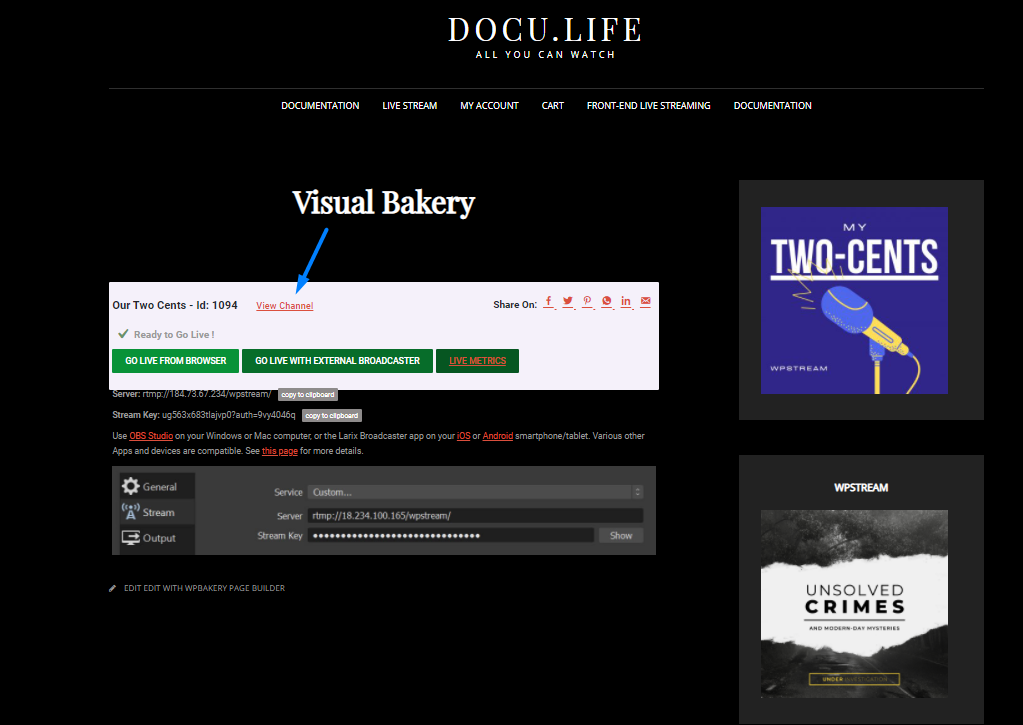
- I will add an existing channel to demonstrate. I got this id by going to “WpStream Channels” and choosing which channel I would like to be used when regular users broadcast on my channel.
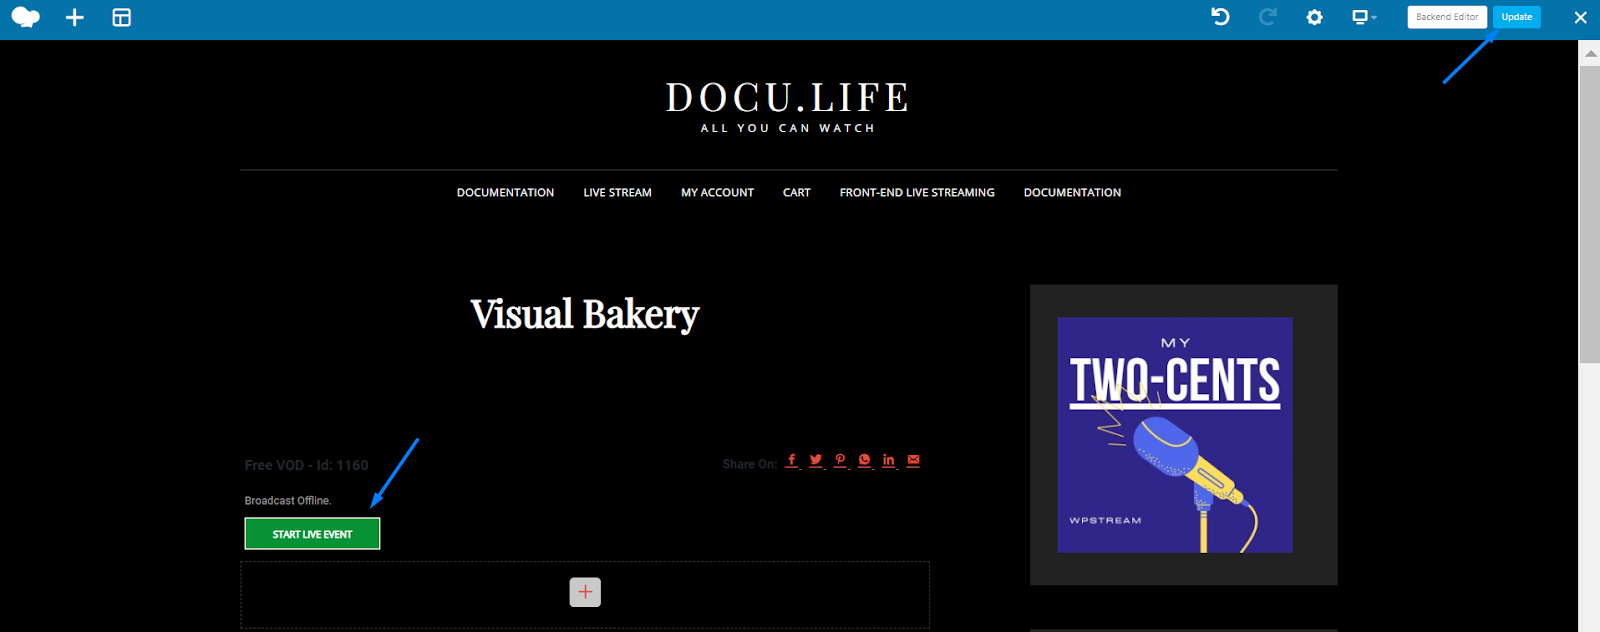
- Once you are ready, save changes. The “Start Live Event” appears. Click on “Update” your page.
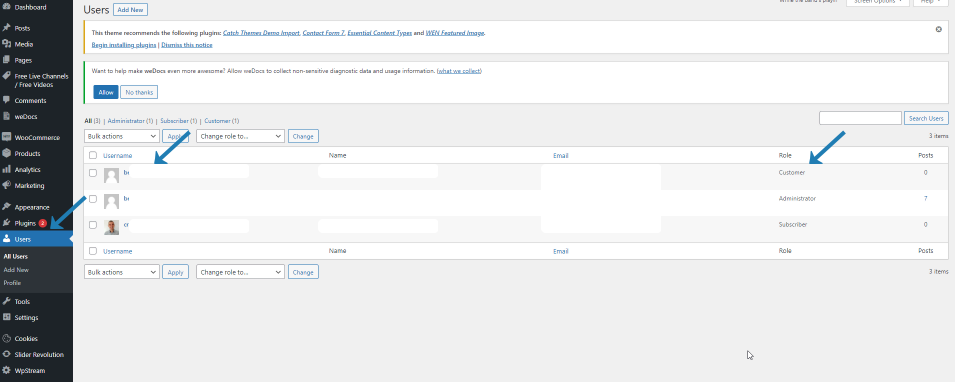
- Now, I have created another account as a “Regular User” to attempt broadcasting on the website
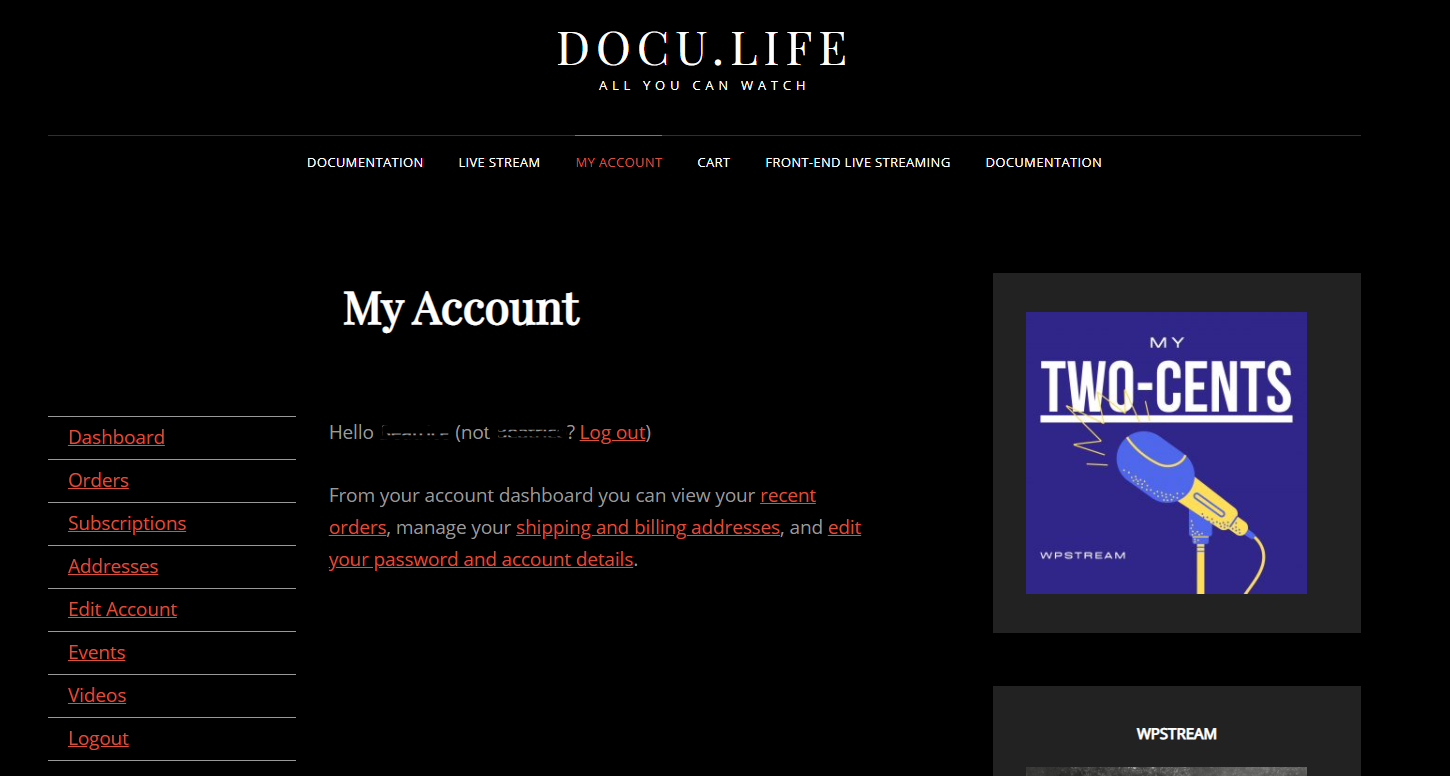
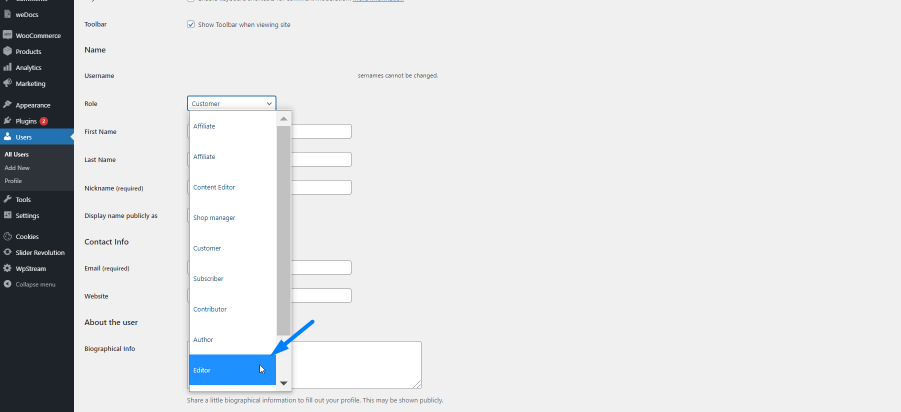
- I will go back to my WordPress admin, go to “Users” and change from “Customer” to “Editor” as I have initially assigned permission to “Editors” in “WpStream Settings”. Save changes
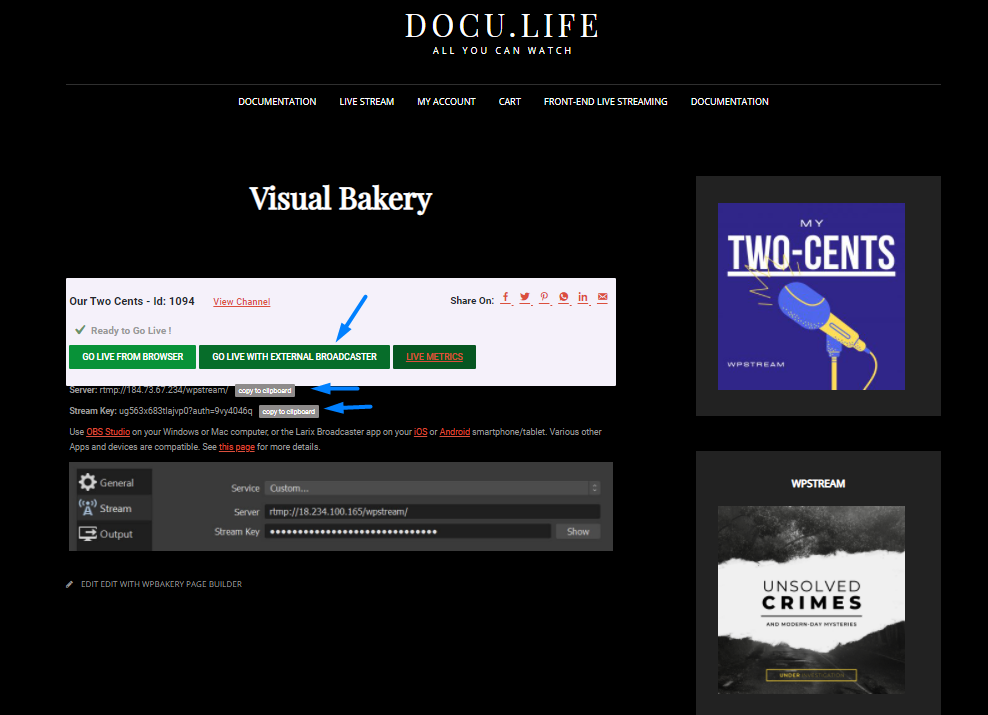
- When a user that you have assigned rights to accesses this page, they will be able to start a broadcast and it will look like this

- Your Editor (Regular user) will be able to broadcast from the browser or using a 3rd Party External Broadcaster. They can also view their live metrics. I will be using OBS Studio to broadcast (External broadcaster)
- Open OBS, Go to Settings
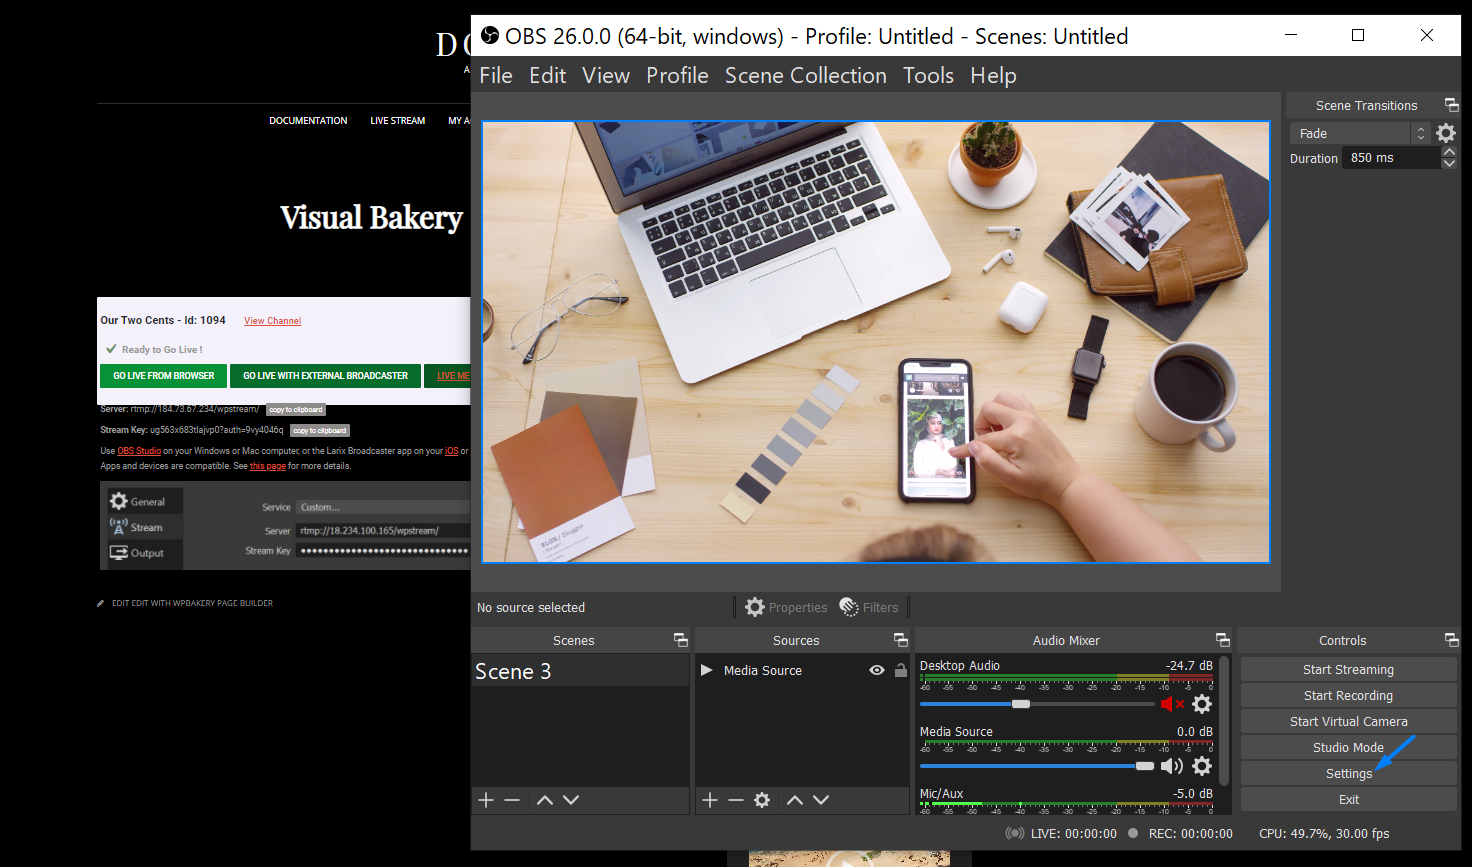
- Go to Stream, add the Server and Stream Key, and click on OK

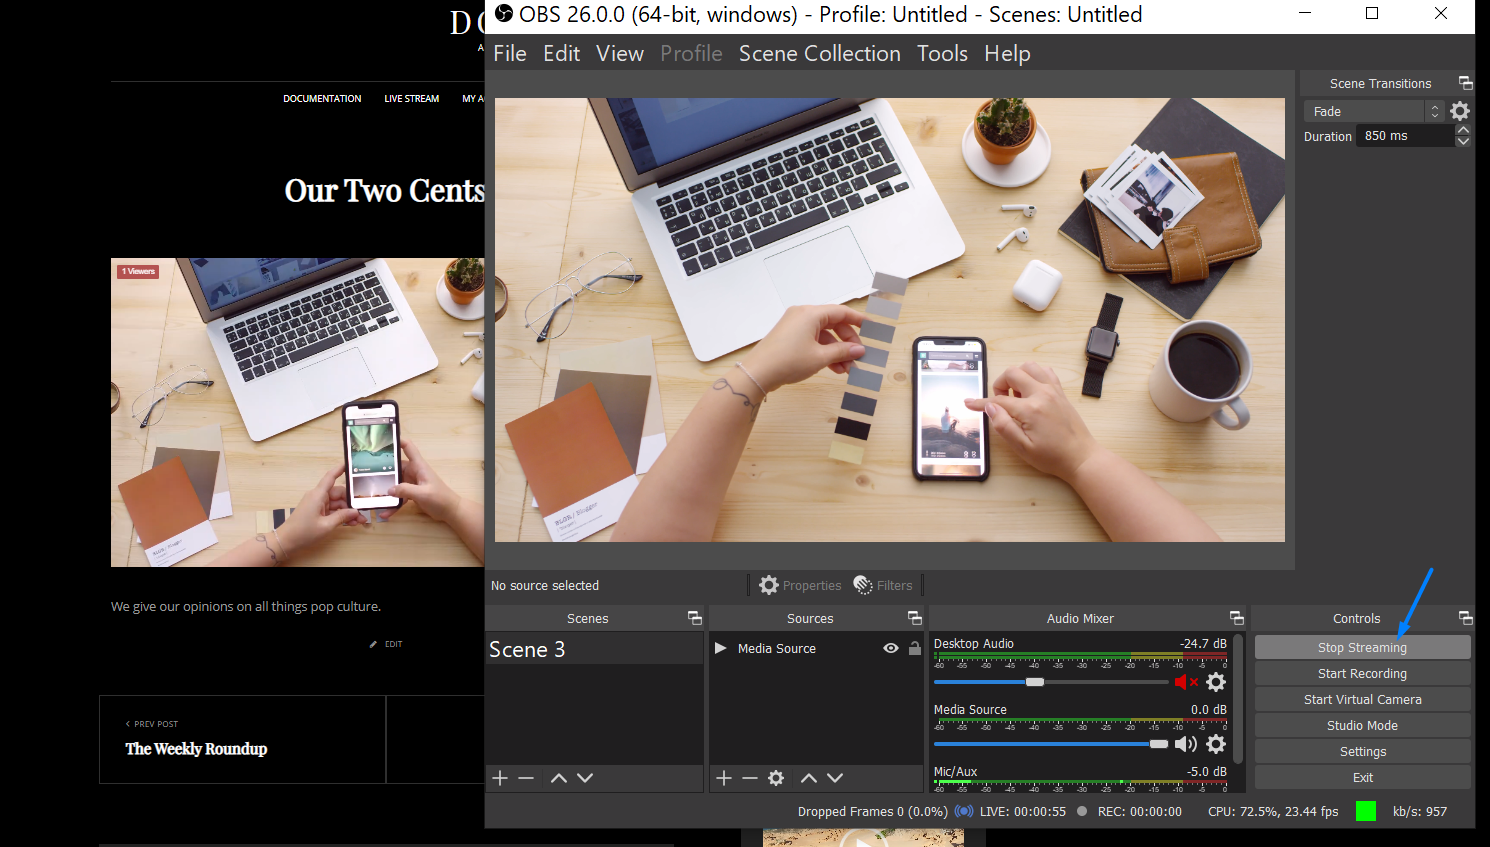
- Start Streaming

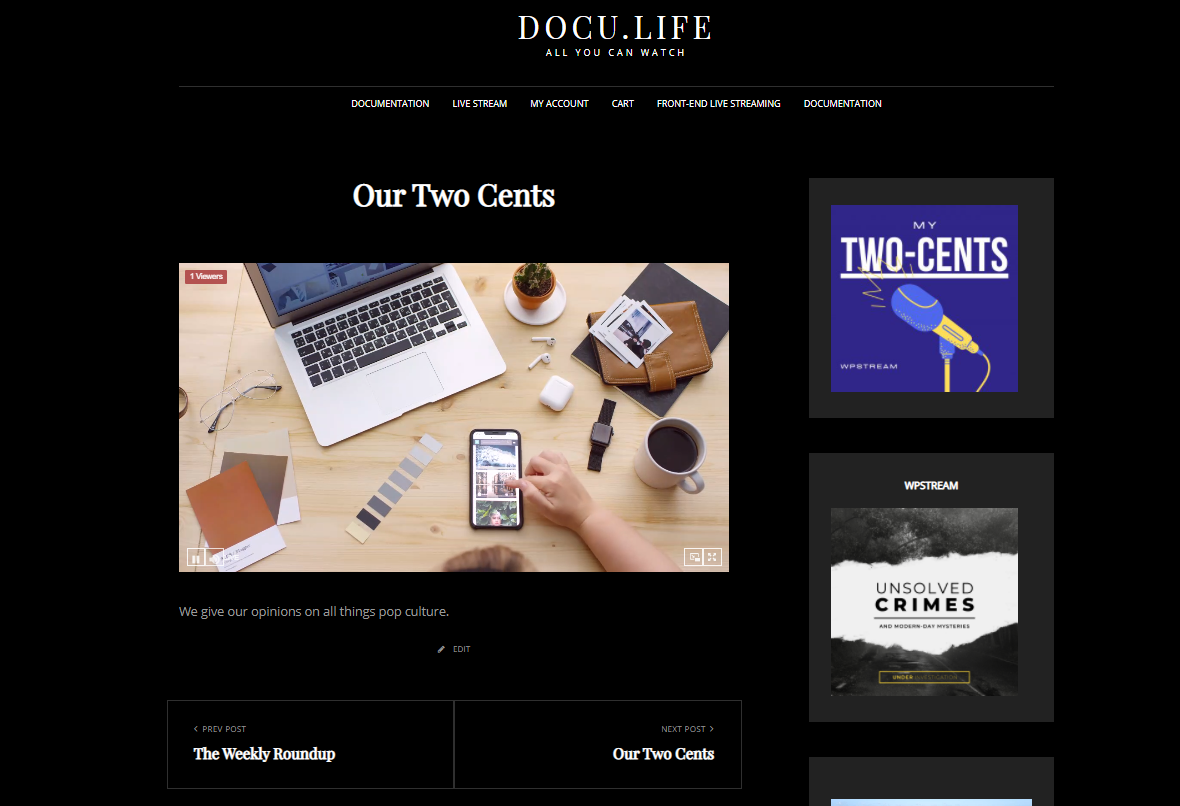
- Go back and click on “View Channel”
- This is how your live stream which is broadcasted by your regular user should look like
- Once they are done broadcasting, they can go back to OBS and click on “Stop Broadcast”
- The live stream will end and this message will appear