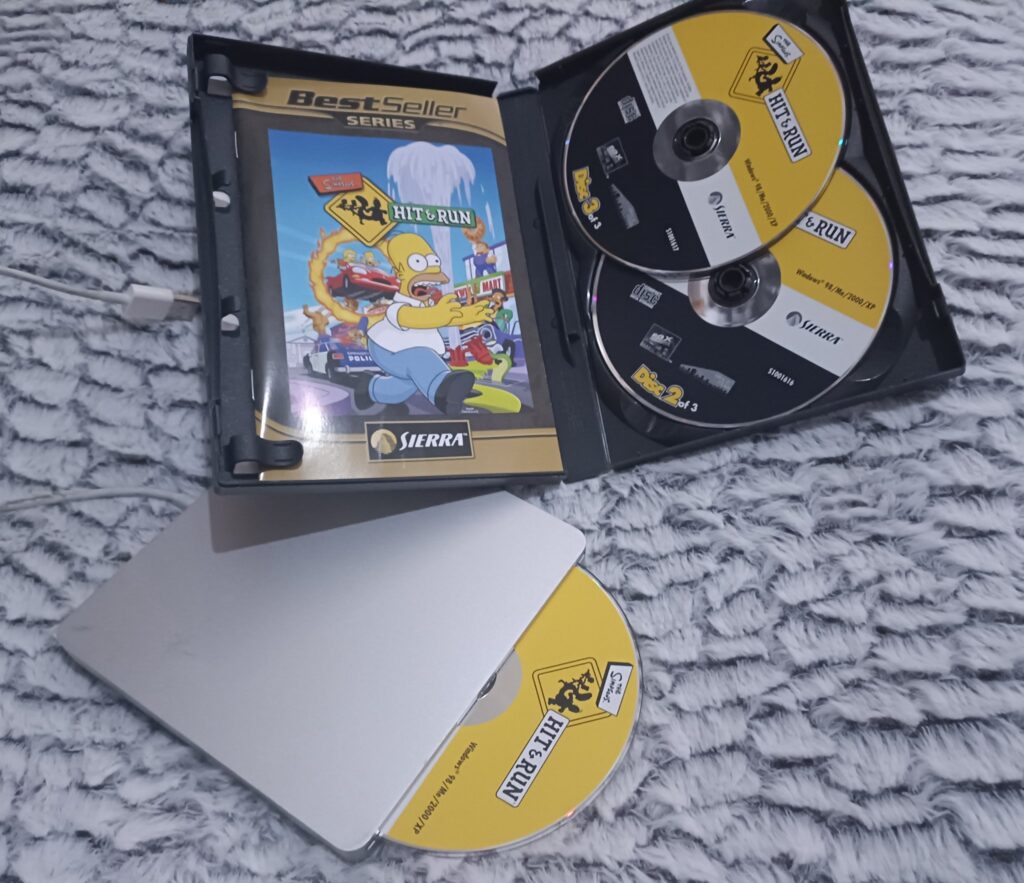
Months ago at the local CeX I had spotted The Simpson’s hit & run for a mere 8GBP. Sweet, I know the game has a massive cult following, and I wanted to try it, but being old and grumpy I wanted to have a physical copy, you know so I could know it only had weird Vivendi spyware on it.
Fun fact! Vevendi bought the call centre I worked at in Miami back in the early 00’s and I had hoped to somehow swing my way to Sierra. Instead I got saddled working with Ticketmaster. Not the fun I wanted.
Anyways flash forward a few decades and yeah, this game is from ’03 back in those good olde days. Wow time flies!
On the home front, I’m not a big fan of Windows 11. As a matter of fact, I hate it. The UI is just obnoxious, and as much fun as WSL is, even it cannot save the horror that is Windows 11’s two things that drive me away from the platform
The absolute braindead notepad
It’s reverse sorting of applications on the ALT-TAB stack
Seriously, the last application I used should be the FIRST on the ALT-TAB stack not the last. WTF. And notepad, what the actual fuck, with AI? I can’t even reliably search & replace without it absolutely trashing a document trying to replace double spaces with single spaces. How can you fuck up notepad? Microsoft found a way. Even better replacing it with the one from Windows 8.1 or launch Windows 10 just completly screws up the OS.
Great job guys!
So I did what anyone else would do, I put aside a hundred pounds a month, and after 6 months I pulled the trigger and got a M4 Mac Mini.
Cyberpunk 2077 over 100FPS!
The good? It’s surprisingly fast for what it is. It actually plays CyberPunk 2077 (there is a native version, you can even hit over 100fps!, or even 72fps with ray tracing – granted I did drop the resolution to 720p, and medium textures, and added in frame generation), Crossover is mostly okay, I can still use SQL Server 4.20, and Word 6 for NT, although Excel has major issues for some reason. Edge & Onedrive work just fine, and shockingly. whisper.cpp using the metal backend & ggml isn’t too horrible:
whisper_model_load: model size    =  538.59 MB
whisper_backend_init_gpu: using Metal backend
ggml_metal_init: allocating
ggml_metal_init: found device: Apple M4
ggml_metal_init: picking default device: Apple M4
ggml_metal_load_library: using embedded metal library
ggml_metal_init: GPU name:   Apple M4
ggml_metal_init: GPU family: MTLGPUFamilyApple9  (1009)
ggml_metal_init: GPU family: MTLGPUFamilyCommon3 (3003)
ggml_metal_init: GPU family: MTLGPUFamilyMetal3  (5001)
Just remember to build with “-DWHISPER_COREML=1” set for Apple hardware.
Input #0, flac, from 'lotr-tape12-sie1.flac':
  Metadata:
    title           : Mount Doom Part 1
    album           : The Lord of the Rings
    artist          : Brian Sibley
    date            : 1981
    genre           : Audio Book
    track           : 23
    encoder         : Lavf58.76.100
  Duration: 00:31:35.63, start: 0.000000, bitrate: 596 kb/s
And the m4 Mac Mini crunched through the 31 minutes in 2:47! You can check the output here:
18.52s user 1.69s system 12% cpu 2:47.64 total
Or the JFK benchmark:
whisper_print_timings:    total time =  1464.12 ms
./medium.sh samples/jfk.wav  0.18s user 0.15s system 22% cpu 1.512 total
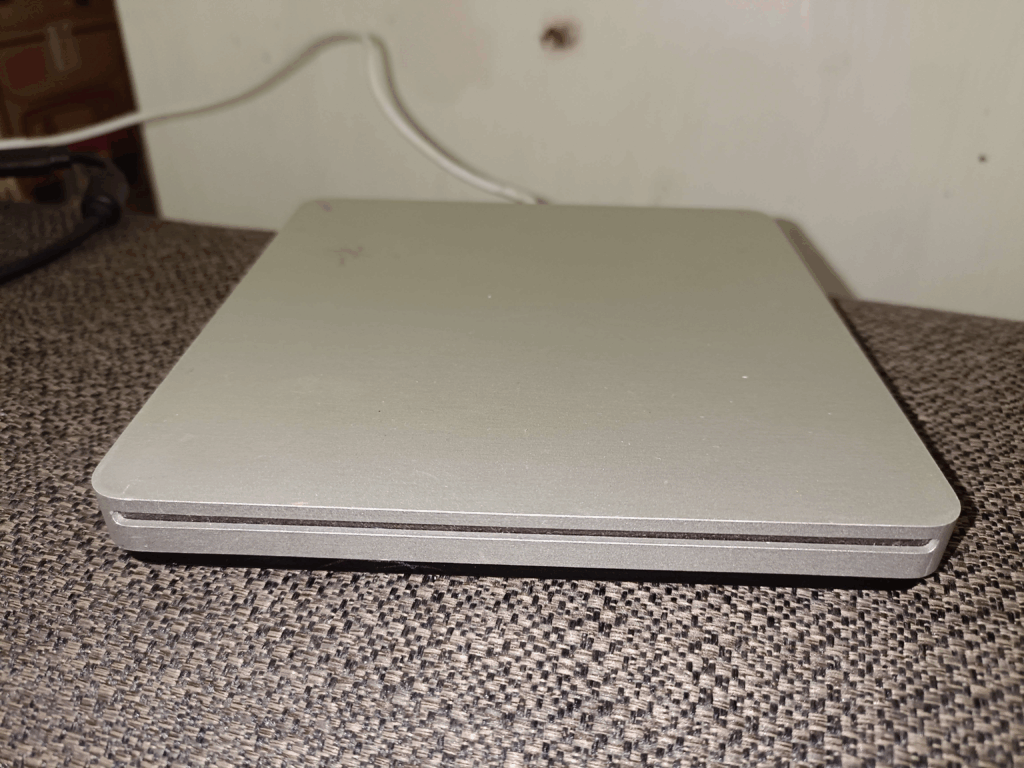
Ok that’s all great, but what about this optical drive?
I picked up an Apple Super Drive A1379 used from CeX, again for a whopping 28GBP. Sure it’s a bit scuffed up and ugly but plugging it into my Windows 11 laptop it shows up right away. Nice
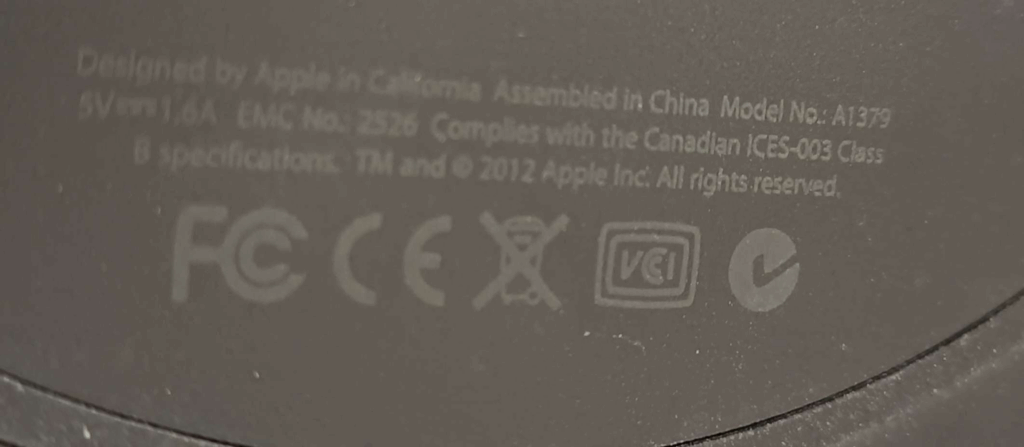
Also let me take a moment to say thanks for basically writing this on the under side of the drive in what may as well have been black in on a black surface. I’ve had to use sunlight & a full flash to get this to show up to verify the model number. And what I suspect is 2 parts of the larger problem, it being an optical drive from 2012.
Model No: A1379
Like seriously could they make it any harder. And yes dropoping support has always been a thing.
Okay, so I still have my Windows 11 laptop, and when connected I cannot insert a disc to save my life. Well to cut the story short, YOU NEED A DRIVER. I kid you not.
The driver, named AppleODDInstaller64.exe is what you are after, and luckily for you, I’ve already gone through the motion of extracting various bootcamp driver packs to find it, and upload it to archive.org.
With the driver loaded, I could then finally just copy the files off the install discs and install into crossover. Of course the default install requires CD1 to be inserted like a key disc, so gamecopyworld to the rescue.
Simpsons Hit & Run on OS X Sequoia 15.6.1 (24G90) / CrossOver Version 25.1.1 (25.1.1.38624)
I have to say that running x86 code through the new rosetta feels pretty snappy. The biggest dissapointment of course is that there is no 32bit support in OS X. Crossover at least maintains that pretty well, although there is no Win16 support. And yes I’ve tried otvdm, and no it doesn’t work.
The funny part is that Hit&Run runs signiicantly faster on the M4 OS X / Crossover setup. That’s unexpected! The annoying part is that although Crossover does support controllers, neither DirectInput or Xinput seem to work. So I’m forced to use keyboard and mouse, which is kind of annoying as I still don’t have a proper desk after moving, and I end up just using bluetooth and my TV to do stuff, as I’m even writing this from my couch.
At least there are some alterantives out there. I know there will be the inevitable cry, what about Linux, and honestly I’d probably go with the Milk-V Titan, and all in on RISC-V. But considering how much more expensive the Titan is than the Jupiter, I’ll be sitting on the sidelines for the first wave to see if the much hoped for 64GB of RAM, and real GPU support actually works. Although I’m glad I got the 16gb model of the Jupiter, I never could get any GPU device recognized so I mostly use it for weird internet edge stuff, as at least if I do get hit with buffer overflows, being RISC-V means default out of the box x86/x86_64 attacks are meaningless.
I don’t get invited to all the cool people events.
I never get to bask in the glory of FOMO Apple glory.
It’ll be 20 years ago the rumors were insane that Apple was going to dump the beloved PowerPC for intel. Darwin (the open-source core to OS X) was publicly available on Intel processors, and the scene was set for one of the most exciting transitions of the time:
The WWDC 2005 announcement
At the 2005 WWDC the bomb was dropped.
The star of the show, of course is that the entire OS X 10.4 Tiger demo was on the intel machine, and for a low price of being invited, belonging to the club & $999 USD you too could be part of the next big FOMO.
So as the big reveal went, not only was OS X on intel now a thing, it “secretly” was always a thing, and had always been the escape hatch from being locked in. And it’s no surprise, it saved NeXT as the i386 “white box” was the cheapest and fastest NeXT ever, just as further transitions to 64 bit then ARM64 would necessitate.
So how does one reasonably acquire one of these mythical beasts, 20 years after the fact? Well basically unless you are a cool kid in the know, you don’t.
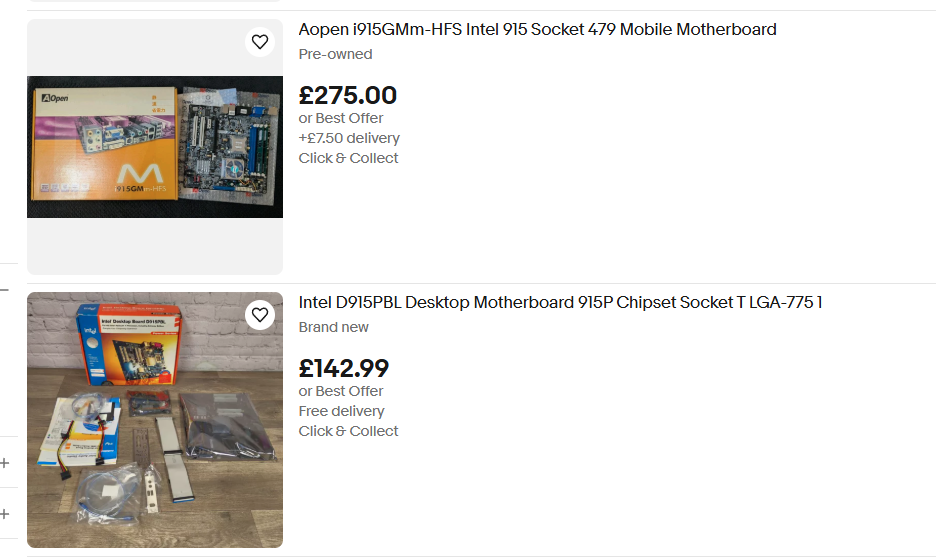
however as mentioned in a few places the ATK was quickly out together with standard parts. And if this sounds like the genesis of the IBM 5150 PC, you’d be right! The star of the show is the late SSE3 enabled Pentium 4 processors and the Intel 915 chipset with onboard GMA 900 video.
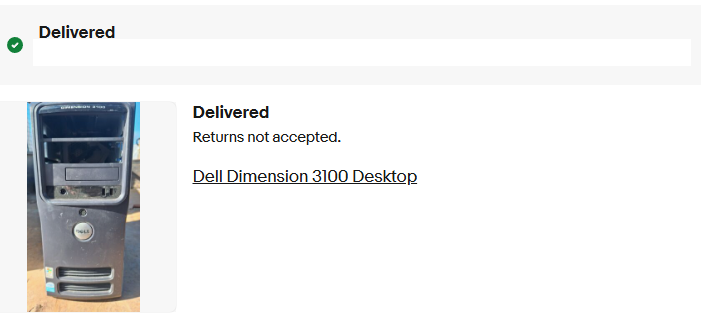
Thankfully intel sold these parts to whomever basically wanted them, so they were sold on a bunch of partner boards, OEM, and even Intel fabricated boards. It may be my fault as typical board/processor/ram setups can be had for £5 in the UK, the magical 915 chipset has jumped these well north of £100. However, from my searching there are a few OEM systems with the needed chips, and that is the Dell Dimension 3100.
She’s ugly, but she works!
Now I know I got lucky as I got mine for £0.99 + £9 shipping! A huge shout out to my patreons for financing stuff like this! The unit was shown in pictures absolutely filthy, missing an optical drive and “untested”. We all know that it’s code for it was tested, it didn’t work, and it wasn’t worth their time to clean up and fix.
Opening the system up, revealed an ancient mechanical SATA disk, a bunch of dust bunnies, and empty memory sockets where the ram should go. Since I had purchased 7 other boards over the last 2 years (yes! Really! 7!!!), I have ample spare ram, gave it 2x512MB sticks, a new cr2032 CMOS battery, and the hard disk failed to spin or detect, but the machine powered up, did the POST test with no issues! I’ve got to say I was super happy so far! I have a £6 SSD I picked up from CeX, so I placed that into the machine, and now for the OS install.
My first choice was to create a Linux bootable USB stick and just copy the deadmoo image to the SSD. Of course, this came with the caveat that the disk is in the VMDK format which needed to convert using Qemu’s qemu-img utility to a raw disk image, then to compress it with gzip, as the Ubuntu install image seems to only understand gzip. I guess the next pro move is to see about a static standalone iSCSI target, or maybe even rsync? I think there is even Qemu network disk protocols by now, so it may be a way to get around the lack of optical media…? Anyways!
The deadmoo image can be decompressed and copied to the hard disk easily! It’s about 2gb compressed and 6GB uncompressed. A reboot, and we’re quickly and semi glitched in as Curtis to their desktop!
there is a pre-installed driver causing issues which drops us back to the fallback SVGA buffer, and I’m happy to report that the artificing you see under emulation is also present on physical hardware. Delete the TPM driver AppleTPMACPI.kext (the root password is ‘bovinity’), and reboot again. This time there won’t be any further glitches in the video, but there is another change to make, the core graphics needs to be replaced with the SSE3 variant so that after yet another reboot again Rosetta is fully working, giving us access to PowerPC applications (that don’t require Altivec! That wouldn’t arrive until 10.4.4 just in time for the public release!). This lets the screen savers run, and important applications like iTunes and Internet Explorer 5 for Max OS X.
As Steve had demo’d it’s pretty amazing at how much just works. You can really get an appreciation at just how truly portable C is, and how LIBC is the real cross platform winner is. The company behind Rosetta transitive, had a bright future ahead of them as you can’t get a better public endorsement that Steve Jobs at a WWDC! SGi had licensed them for Itanium IRIX, and if the other Unix vendors didn’t partner there was also a Linux path. Honestly, I’m surprised SUN didn’t buy them and do the same thing as Apple and jettison the SPARC, as they can sell a LOT more 1u servers, desktops and laptops than giant E10ks, but IBM equally scared and trapped on their AIX / UnixWare Itanium merge Monterey that sold like 5 units, instead bought the company and quickly disappeared the technology.
What a shame for the industry, but x86_64 still is an unstoppable force. Well at least until someone seriously challenges them.
Getting back to OS X, this is meant for developers, and the deadmoo image has X code installed, although I prefer to use the cli tools. This is a weird time in history as many things may support OS X, but they make really bad platform assumptions, and force endian directions breaking the given stance of all OS X is big endian – even though Intel Darwin has been around the entire time.
Ive had good luck with stuff that is much later than vintage 2005, as I’m lazy and it’s 2025. The fun stuff id built were:
SDL 1.15
DOSBox SVN
Qemu 0.10
Classic Cube
ssystem-1.6
I had thought that the performance using GCC 3 would be better than GCC 4 for Qemu, but after a lot of work I’d benched it with DooM v1.1 that V4 is faster.
Ssystem-1.6
Compatibility with OpenGL games is atrocious, but I’m pretty sure by the time 10.4.4 went public compatibility was better, although I doubt contemporary machines did all that well as there is a reason there was a rush to get intel versions out.
Building your own:
Intel 915G/915GV/910GL PCI Accelerated SVGA BIOS
The primary ingredient here is a board with the Intel 910/915 Graphics chips, which limits us to the late Intel Pentium 4 boards, with that terrible integrated video. It’s not the best video chipset in the world, but the only one that 10.4.1 had 3d acceleration for.
Apple Development Platform ADP 2,1
I had found out that the Dell 3100 pre-built tower has the supported chipset & CPU, however it doesn’t have the correct onboard network card.
Intel Desktop Board D915PSY
The Intel LAN boards of the era with the 915 moniker & Pentium 4 should be fine enough.
I don’t know why they are so expensive either.
Although in the recent years these boards have gotten rather expensive. I can’t imagine why, as they absolutely suck for retro gaming as you’d 100% use a GPU, Other than 10.4.1 I can’t imagine why anyone would want a P4/915 combo.
While you could dd a deadmoo image onto 2 disks, then play partition games, it’s far easier to use the converted ISO with 10.4.1 to just boot up and install if that is an option.
If you don’t have a 910/915 based board, you can run this under emulation well enough. The weird graphical glitches you’ll experience are present on real hardware as well.
While not terribly useful, it is an interesting glimpse as at least x86 is available to the masses.
I’d always seen on Windows that Qemu built with GCC 3.4.5 was not only faster, but more stable than GCC 4.x when regarding version 0.10 (I’m not even going to entertain later versions, as this is about old software).
I’ll have to post more, but I’ve basically learned nothing from all my other Pentium 4 / i915 chipset disasters, and now have my 8th system up and running!
by default it has GCC 4.0.0 for i386, and a GCC 3.x for PowerPC building. Natrually, with assumption in hand, how do you build GCC 3 for Intel?
Thankfully, the question was asked on Mac OS X Hints a few decades ago:
And it was saved in the wayback machine, because, preserving the past is hard.
The steps are pretty simple:
$ tar -zxf gcc_os-1819.tar.gz

3. Fix a line that causes it to not compile: in the file gcc_os-1819/gcc/gcc.c, on line 5883, change the line to look like this:

(char ) v[q - vt] = 0;

4. Make a build directory and run configure. I installed my compiler in /opt/gcc3, and I only built the C compiler. This would not work for building C++ or Cocoa applications.
$ mkdir build
$ cd build
$ ../gcc_os-1819/configure --prefix=/opt/gcc3 --enable-languages=c
Which was great except where on earth am I going to find this old GCC?
For the 2-3 people who will be interested in this kind of thing 20 years from now I went ahead and did the single patch, and built binaries and put them on github over at gcc_os-1819_Marklar.
For testing, I’m using a VMDK with MS-DOS 5.00 no config.sys and DooM v1.1 running the timedemo both with no sound. (gametics/realtics)*35=fps. and in this case, demo1 of DooM v1.1 is 1077 gameticks.
GCC 3.5     gcc version 3.5.0 20041003 (Apple Computer, Inc. build 3506)
GCC 4.0     gcc version 4.0.0 (Apple Computer, Inc. build 5026)
no draw (ticks)
GCC 3.5       6/7/7
GCC 4.0       6/7/6
draw-16bit screen depth (ticks)
GCC 3.5       1074/1074/1077
GCC 4.0       948/947/949
And now for the bad news, it turns out that GCC 4.0 is just slightly faster than GCC 3.3
I couldn’t believe it either.
For anyone that cares, DOSbox SVN builds more or less okay on Tiger with some small fix to the MIDI compatibility code (#ifdef stuff, the MIDI works fine!) and it’s timings are for no draw
DOSBox 566/560/565
and drawing on a 32bit screen (16bit is incompatible)
DOSBox 22/26/25
The takeaway is that the CPU is much faster on Qemu, but screen rendering is much faster with DOSBox. DOSBox uses SDL, so let’s go one further, and rebuild Qemu with SDL instead of it’s Cocoa support! So how we doing in the tick department?
GCC 3.5       1005/999/1000
GCC 4.0       885/886/882
The real killer would of course be trying a newer version of GCC. Which I tried several, but Apple had done something really strange to them, where they product self-modifying code by default. And the assembler in 10.4.1 can’t handle that.
unknown section attribute: self_modifying_code
No really, it’s a thing!
Obviously, I updated my cc-tools to 622.9, and guess what?
I tried :
gcc-5247
gcc-5250
gcc-5370
All give the following:
Illegal instruction
Is this some DTK Pentium 4 thing? Or a Tiger 10.4.1 thing?
verbose output for the curious:
Viglen:~/tmp2 jsteve$ gcc -v hi.c -o hi
Using built-in specs.
Target: i686-apple-darwin8.1.0
Configured with: ../gcc-5247/configure --prefix=/opt/gcc-5247 --enable-languages=c
Thread model: posix
gcc version 4.0.1 (Apple Computer, Inc. build 5247)
 /opt/gcc-5247/libexec/gcc/i686-apple-darwin8.1.0/4.0.1/cc1 -quiet -v -D__DYNAMIC__ hi.c -fPIC -quiet -dumpbase hi.c -auxbase hi -version -o /var/tmp//ccq5CJ5D.s
ignoring nonexistent directory "/opt/gcc-5247/lib/gcc/i686-apple-darwin8.1.0/4.0.1/../../../../i686-apple-darwin8.1.0/include"
#include "..." search starts here:
#include <...> search starts here:
 /usr/local/include
 /opt/gcc-5247/include
 /opt/gcc-5247/lib/gcc/i686-apple-darwin8.1.0/4.0.1/include
 /usr/include
 /System/Library/Frameworks
 /Library/Frameworks
End of search list.
GNU C version 4.0.1 (Apple Computer, Inc. build 5247) (i686-apple-darwin8.1.0)
        compiled by GNU C version 4.0.0 (Apple Computer, Inc. build 5026).
GGC heuristics: --param ggc-min-expand=100 --param ggc-min-heapsize=131072
Compiler executable checksum: 8944321fb1b2a413196eb995bbfd7ab0
hi.c: In function 'main':
hi.c:3: warning: return type of 'main' is not 'int'
 as -arch i386 -force_cpusubtype_ALL -o /var/tmp//ccFyDIlr.o /var/tmp//ccq5CJ5D.s
 /opt/gcc-5247/libexec/gcc/i686-apple-darwin8.1.0/4.0.1/collect2 -dynamic -arch i386 -weak_reference_mismatches non-weak -o hi -lcrt1.o /opt/gcc-5247/lib/gcc/i686-apple-darwin8.1.0/4.0.1/crt2.o -L/opt/gcc-5247/lib/gcc/i686-apple-darwin8.1.0/4.0.1 -L/opt/gcc-5247/lib/gcc/i686-apple-darwin8.1.0/4.0.1/../../.. /var/tmp//ccFyDIlr.o -lgcc -lSystem
Viglen:~/tmp2 jsteve$ ./hi
Illegal instruction
I’m not entirely sure.
I need a Snow Leopard machine.
Also DosBox SVN wasn’t too hard to build, and runs great.
(this is a guest post by Antoni Sawicki aka Tenox)
I often need to install a specific / older version of QEMU on a Mac using Homebrew. If you search for how to do it, typical answers are create a local tap, extract some files and other nonsense. Building from sources is equally retarded because configure can’t easily find includes and libraries installed by Homebrew.
This is how to do it in a simplest possible way. Find QEMU Homebrew Formula file on Github. Then click history on the top right corner. Browse for the desired version. Then on the right of the version, click a little icon saying “View code at this point”. It should show you an older version of the same formula. You can click download raw file or copy the URL and use curl to fetch it. Then simply run brew install ~/Downloads/qemu.rb or wherever you saved it. Magic! Hope it helps!
It’s been… a trying year, and unfortunately the nonsensical stuff I had planned to do this year fell through. Sadly all I have is this half baked idea, so I’m sorry but I guess it’s better than nothing?
OS X 10.4.1 / Maklar, a lump of coal
While talking about Mach/XNU and of course how obvious with how ‘easy’ it was to build Darwin 0.3 for i386, I had noticed that the original Marklar 10.4.1 deadmoo image had all up and disappeared from the internet. Obviously, that had to be fixed, and I was able to locate a copy, and upload it to archive.org! (merry christmas?!)
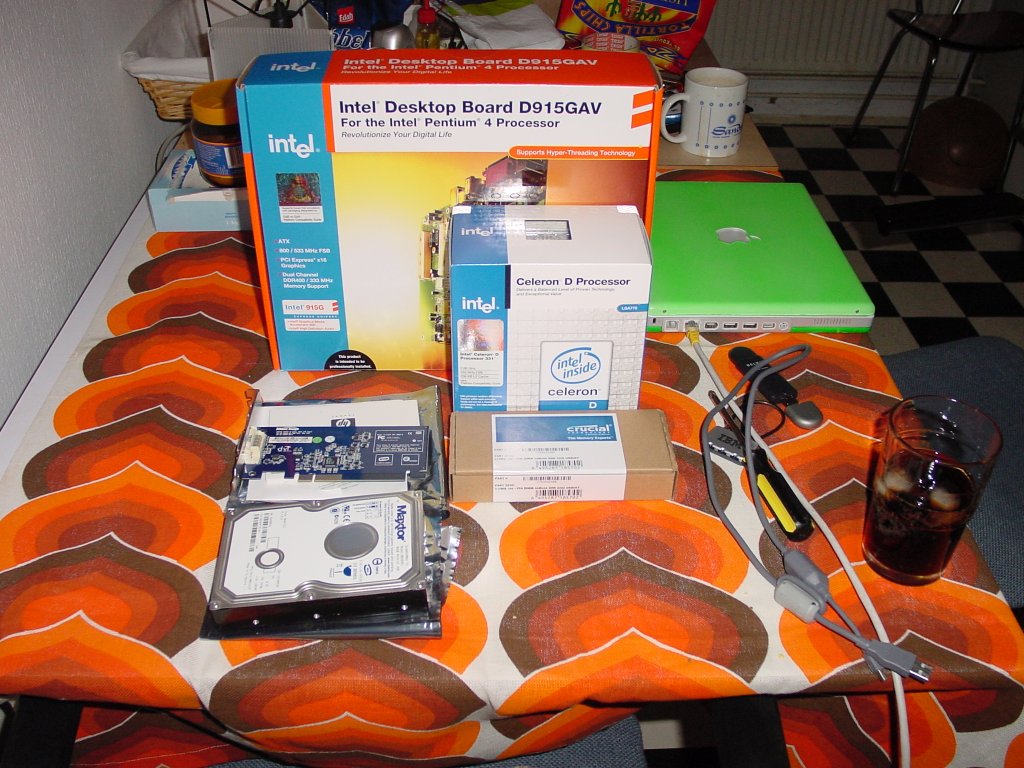
Digging around further lead me to this post on macrumors.com, detailing the hardware that Apple used for the Apple Development Transition Kit, and how it was an Intel D915 Pentium 4 board. Neat! So digging around some more and I find this:
Mark Hoekstra’s setup
An entire setup guide by Mark Hoekstra! (RIP). The big takaway here is that if you want the accelerated graphics for the best Marklar experience you need an Intel board with the 915 chipset. Combing through theretroweb.com, you can find quite a few boards that used this chipset. I didn’t want to spend a lot of pateron money on this, so I thought I could do it on the cheap. I picked up a Dell 4700 motherboard, and some ‘as is’ 915 boards for their CPU’s and RAM.
I really need to get some SATA cables, I had to pull one out of my AMD64 machine to get this thing going. Which leads to the other issue how to boot this thing?!
blurry netboot.xyz
I won’t touch much onto it as I couldn’t get any custom menus working at all so the usefulness is super limited, but I setup netboot.xyz at home, was able to netboot the board, and dd a deadmoo onto the SATA disk I pulled from the G5 iMac.
Fan pinout for some DellsDell 40pin power/IO pinout
On many of these Dell boards there is only one fan jack, so I just made a simple breakout so I could drive some fans & a AIO liquid cooler. Although the dell boards suck when it comes to easy heatsink mounting.
Dell board with fan breakout & something heavy to hold the water block in place
It wasn’t pretty but it did work.
booting up
So yeah it booted up into OS X! It’s super fast. One thing that was always interesting is that running 10.4.1 under VMware or Qemu is that there is a lot of blitting ‘bugs’ that artifacts like crazy. And it does it on real hardware. It was pretty neat to see. Unfortunately there was a long term issus with the board that I didn’t really pay attention to the USB ports.
over-current condition
Even OS X noticed the USB problem
USB in an overcurrent condition.
Since I was using PS/2 peripherals I thought I could just ignore it.
GMA-900
In order for the accelerated video to work you need the Intel 915 chipset with GMA-900 support.
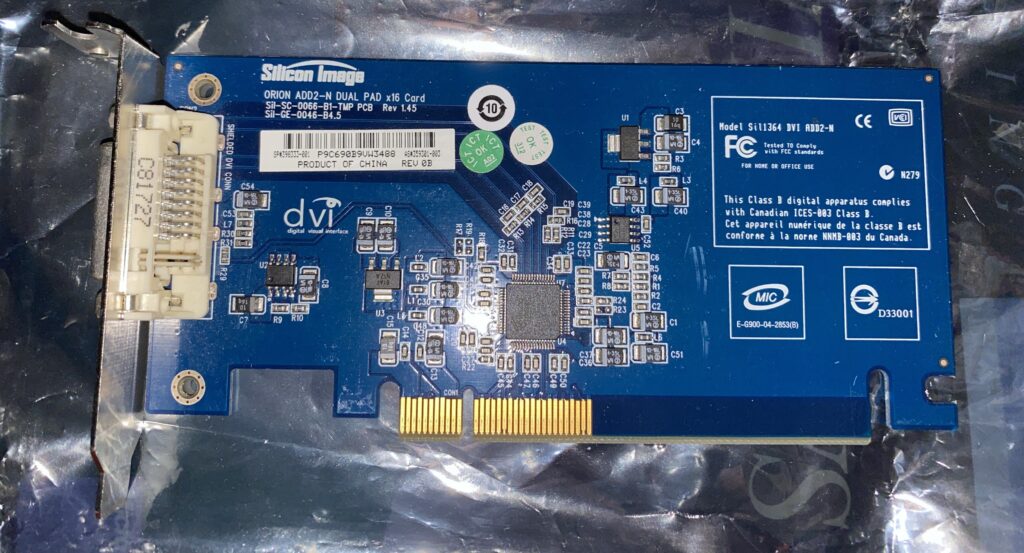
Silicon Image ADD2 card
I do have the PCI-E adapter, the ADD2 card that is apparently needed, but I was copying over some video files and the board suddenly powered off, never to power up again.
Dead boards
So in the end, I just had an hour or so running 10.4.1, and now I have 3 processors, about 4GB of RAM, and a box of dead boards. I did get lucky that the 22 GoodBoyPoints (GBP) did refund me the price of the board. So maybe I’ll tackle it again next year.
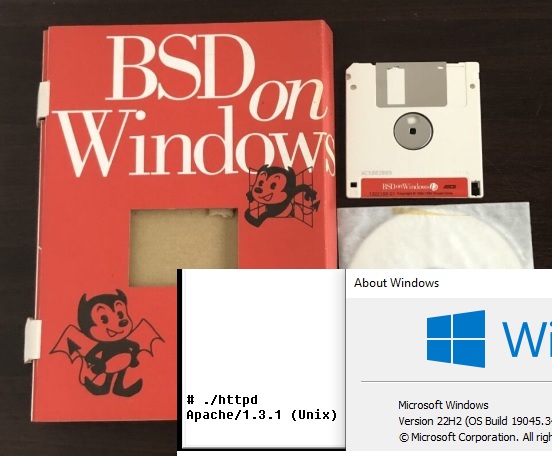
BOW the gift that keeps on giving
In BOW news, the excellent Win16 emulator WineVDM had enough updates where BOW starts to run. And yes my hammering of Apache does in fact run! I can’t imagine what to really put on a page to make it interesting, but behold bow.superglobalmegacorp.com.
Not sure what to say, BOW on WineVDM on Windows 10
I was going to try to do some DOSBox using Trumpet PPP to a Linux VM to give it internet access this way, but WineVDM is far easier to get working. YAY.
That about wraps it up
Sorry if you were expecting anything cohesive or making sense, but sadly it hasn’t. I’m not sure if pursuing the Marklar thing is worth it, although it was cool.
So I got this iMac G5 with a defective display super cheap. Turns out that all these displays fail, so if you find one with a good display it’s either been RMA’d or its going to fail. and quickly.
cheap iMac G5
On the back of the unit there is a video out port, so you can hook up an external monitor, and now you have a chunky G5.. minmaxie.
Sadly the OS was a bit messed up, and had a bunch of user files, and I just wanted to do a fresh install. And the hard disk was LOUD and slow. Naturally I thought I’d install a SSD. I had forgotten what amazing luck I had with the Grandpa G5 back in the day, and did I just get lucky with that?
First I got this super cheap 2-Power SSD.
2-POWER SSD SATA SSD2041A
Of course it didn’t work, nothing shows up at all.
I had this fancy Kingston SSD, surely it’ll work?
Kingston SSDNOW 300 SV300S7A
NOPE, nothing from that either.
So I went ahead and ordered the cheapest Samsung I could find.
Samsung M27PC120HAFU
And yeah, whatever it is the Apple SATA controller does, that annoys all the other brands, the Samsung pulled through.
Sucess with the Samsung PM830 SSD
I did get an iMac G5 10.3 restore CD set, but sadly it didn’t want to work with this iMac. However I did get a deal on a boxed copy of OS X Tiger.
Change the way your Mac works for you
And yeah I was able to do a clean install, and patch it up. I’m still impressed that Apple keeps stuff up like the update servers & all the combined patches. I guess one thing worth mentioning is that the WiFi wouldn’t join the home LAN at all, but the 10.4.11 patch fixed that right up.
I should try some much newer Samsung SSD’s to see if it’s just this one generation, or are they just that much better? Also what about NVMe/SSD bridge?
I thought with this iMac G5, the least I could do is make a quick video of how to do it.
Low effort video
I’ve done the hard work of converting the eMac 9.2 install CD to read-writeable, updating the system folder, then converting that back to a read-only image so the MacOS install can happen.
I just scored a G5 iMac for £20 with a damaged panel. It doesn’t bother me at all as I’m not going to use it for anything serious, I’m just wanting something mainstream.
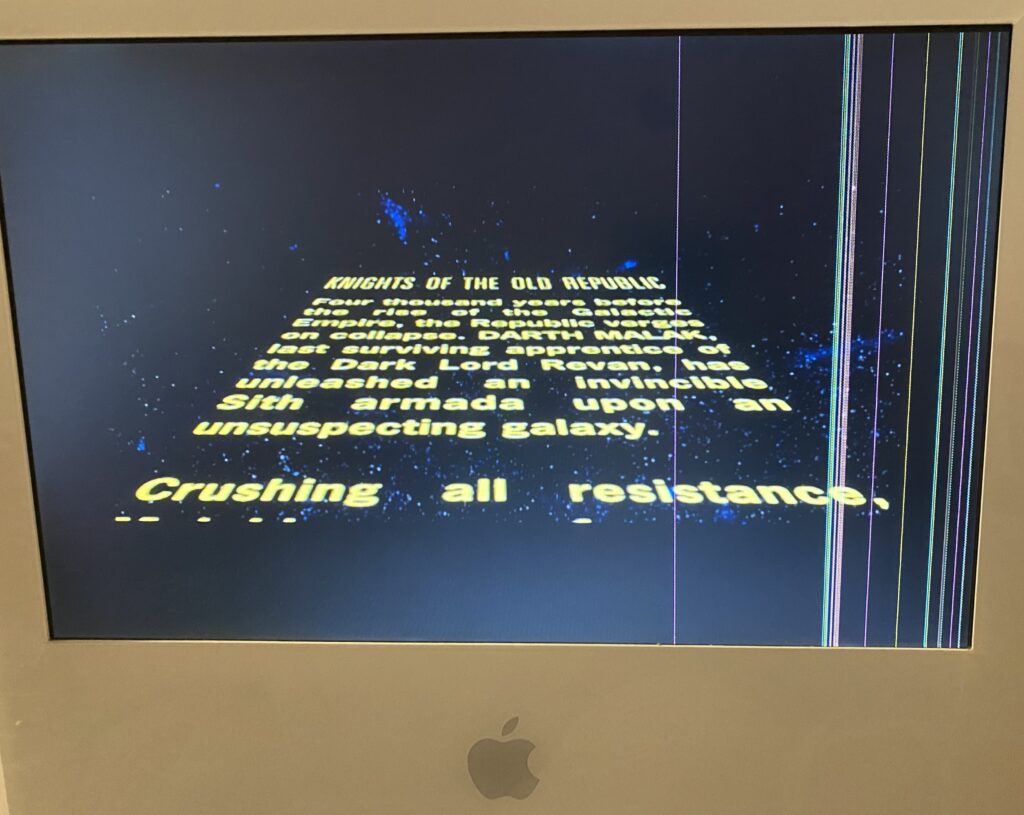
I did want one thing which was KOTOR.
So I looked up eBay, and yeah turns out it’s a collectors thing?
£147!! No way!
I saw this for far less, the Star Wars Mac Pack!
vBut at the flip side had this ominous warning….
Intel only
I thought I’d just try the disc anyway.. nothing to lose?
Universal!?
and yeah, not only is KOTOR is PPC, but yes it does run on OS X 10.4!
PPP KOTOR
granted it’s on steam, gog and of course available for pretty much anything modern. And sure yeah, it was originally PC/Xbox, but for some odd reason I’m feeling nostalgic for that last gen PPC.
Back nearly a decade ago, Apple was going to release a new Mac Pro. And it was goi to be unlike all the other computers, it was going to be compact, and stylish, a jet engine for the mind.
However instead, we got what everyone would know as the trash can.
big brain idea
So at the time i had this idea that I wanted a Xeon workstation in a nice portable form factor. And this little cylinder seemed to fir the bill. But things changed in my life, i was okay being tied down, and a regular Xeon desktop became my goto machine, a desktop would do just fine.
Then years later, an artist id commish to do some stuff was selling their Mac Pro, as they’d gone all in on Hackintosh, and this was my chance to get one on the cheap. As I’m on a business trip at the moment, I thought this would be a good time to test out what I had envisioned as the future of a personal server in a can.
A long while ago, I’d bought a newer/faster/larger flash for the Mac Pro, and it was a simple matter of hitting the Windows key + R and the machine boots up into an internet recovery mode, and will install OS X Mavericks over the wire. Which sounds great, but this is where the fun begins. Since I ordered. a NVMe M.2 module, it of course is too new for the 2013 machine, so I had to use a shim bridging the Mac’s NVMe SSD port to M.2 for my modern flash. And it never fit exactly right, and I kind of screwed it in incorrectly, but it held in place. Obviously flying bumped things around, as I had kind of figured, but I’m getting ahead of myself.
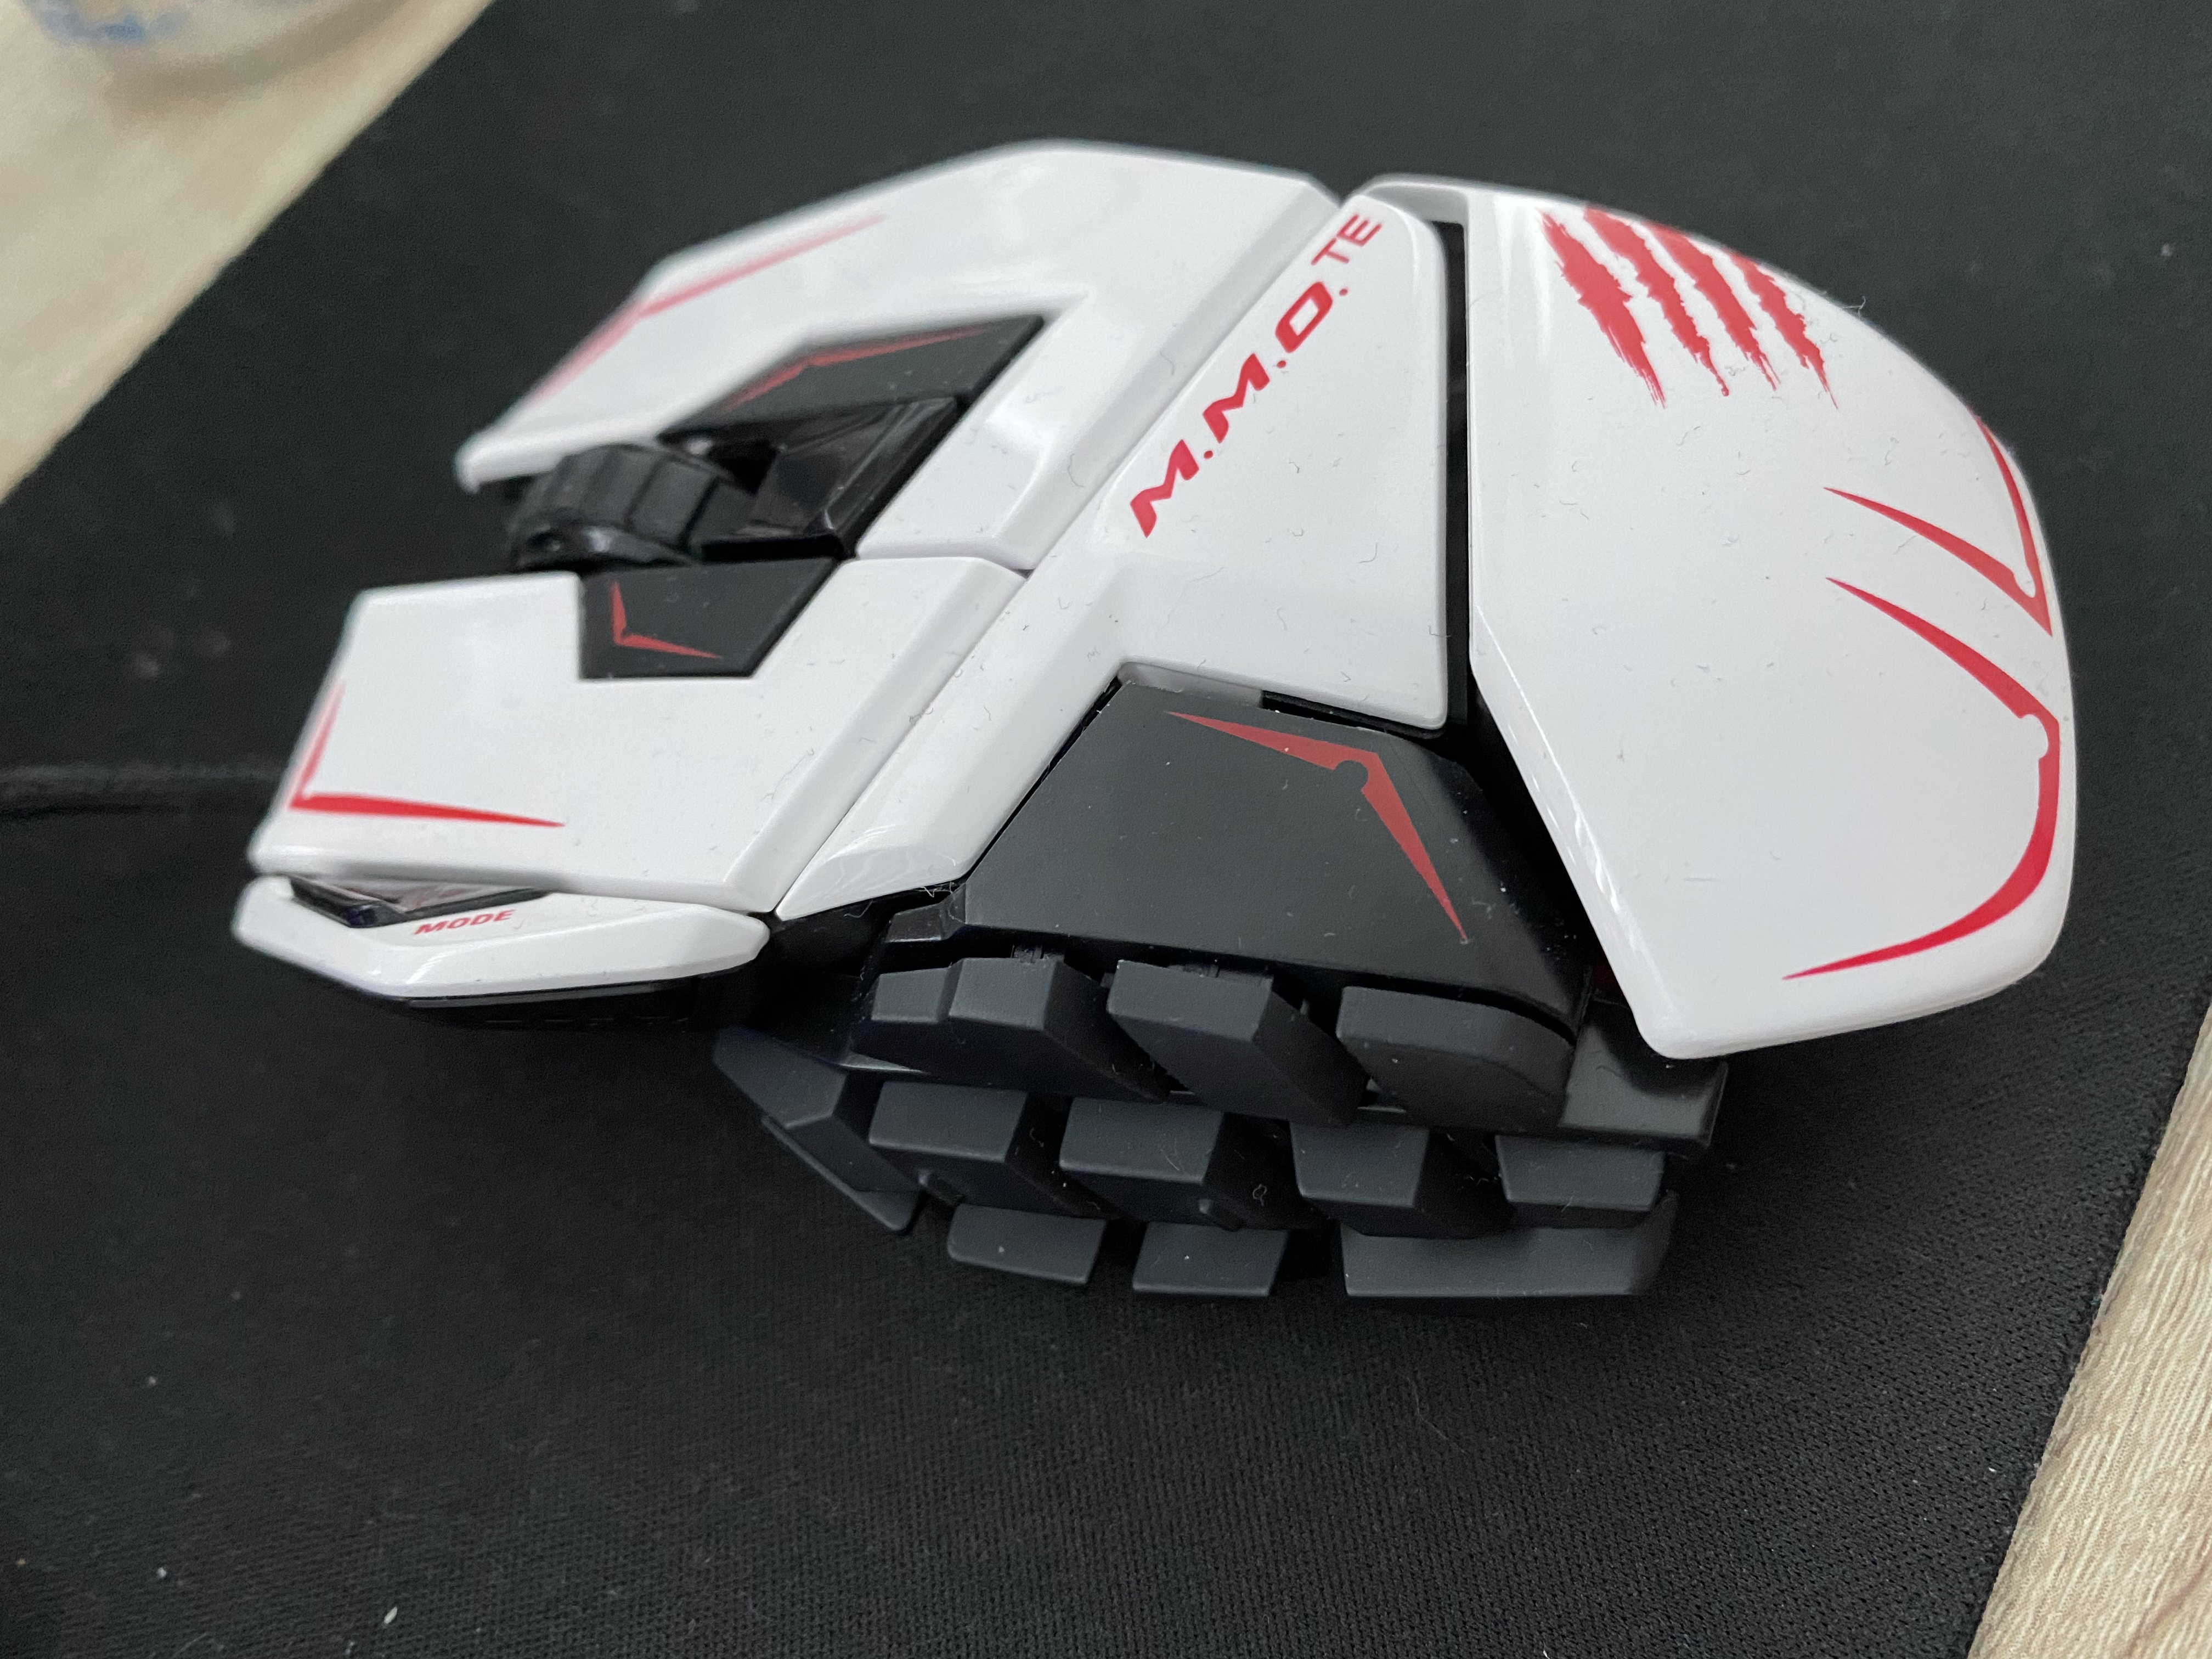
I didn’t take any big peripherals with me, as I figured I’d just get some new stuff, and didn’t worry about it at all. I picked up a View Sonic VX2770 for £45, I got this RED5 Gaming keyboard for £13, and I already had this Mad Catz 43714 mouse NIB with me. I think I paid $200 HKD or so a year ago, but I like the feel of this style of mouse, and was happy to bring it with me. Little did I know…
So after setting up a desk, and the system, it performed like crap. Worse it was locking up again at random times. I already was using Macs Fan Control to set the fan to 100%, and still it was locking up. I had guessed it’d taken a jostle too many, and I reseated the storage. And then on booting it back up I only got the blinking folder. Great, either it was dying, or I’d just killed it.
A quick jump on Amazon, and I found the “Timetec 512GB MAC SSD NVMe PCIe Gen3x4 3D NAND TLC”, which at a whopping £68 seemed like a good idea. And since it was SSD NVMe, it’d just slot into the Mac Pro, and life would be good. Or so I thought.
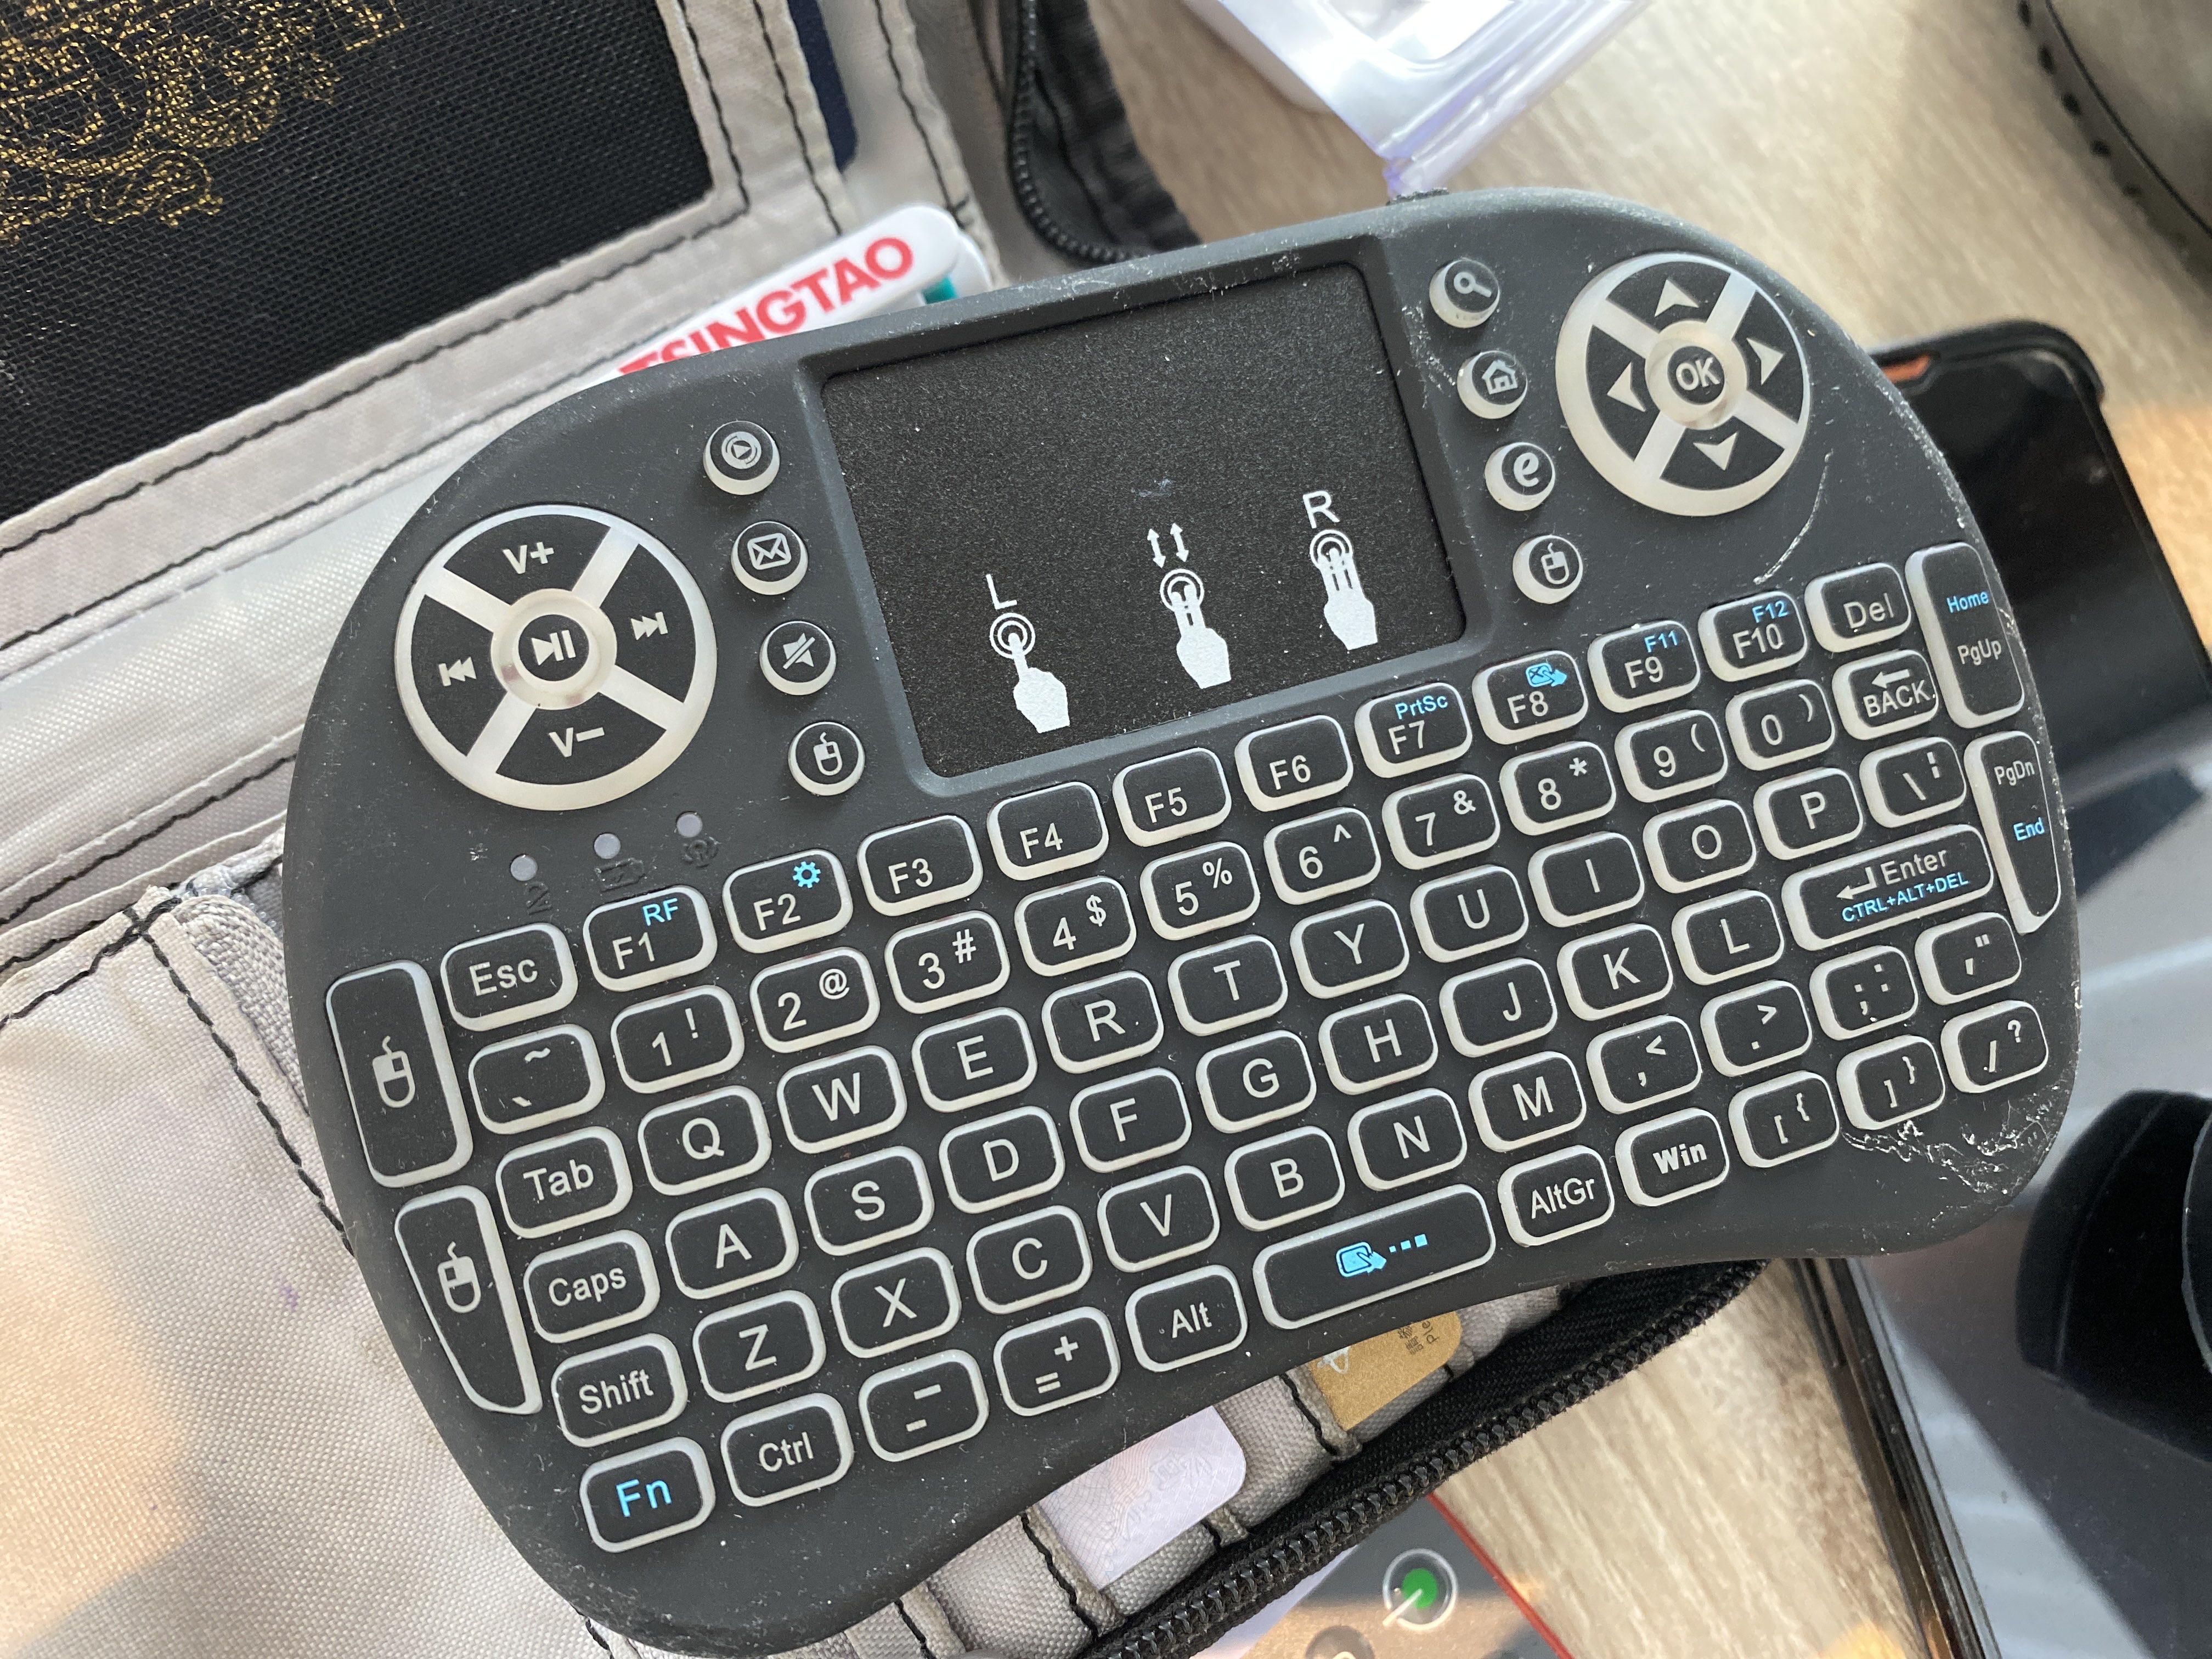
The first problem I ran into is that I couldn’t boot the mac into either diagnostics, or recovery mode. There is something really weird with a UK keyboard on a non UK machine. I think the 2013 (and probably many more) power up as American, and this is some kind of common issue with non American keyboards. Seriously why is the pipe,backslash on the lower row? Quotes is over 2? It’s a mess. And since I got my Mac Pro in Asia, maybe it defaults to Chinese? Japanese? Who knows?!
Crappy keyboard controller
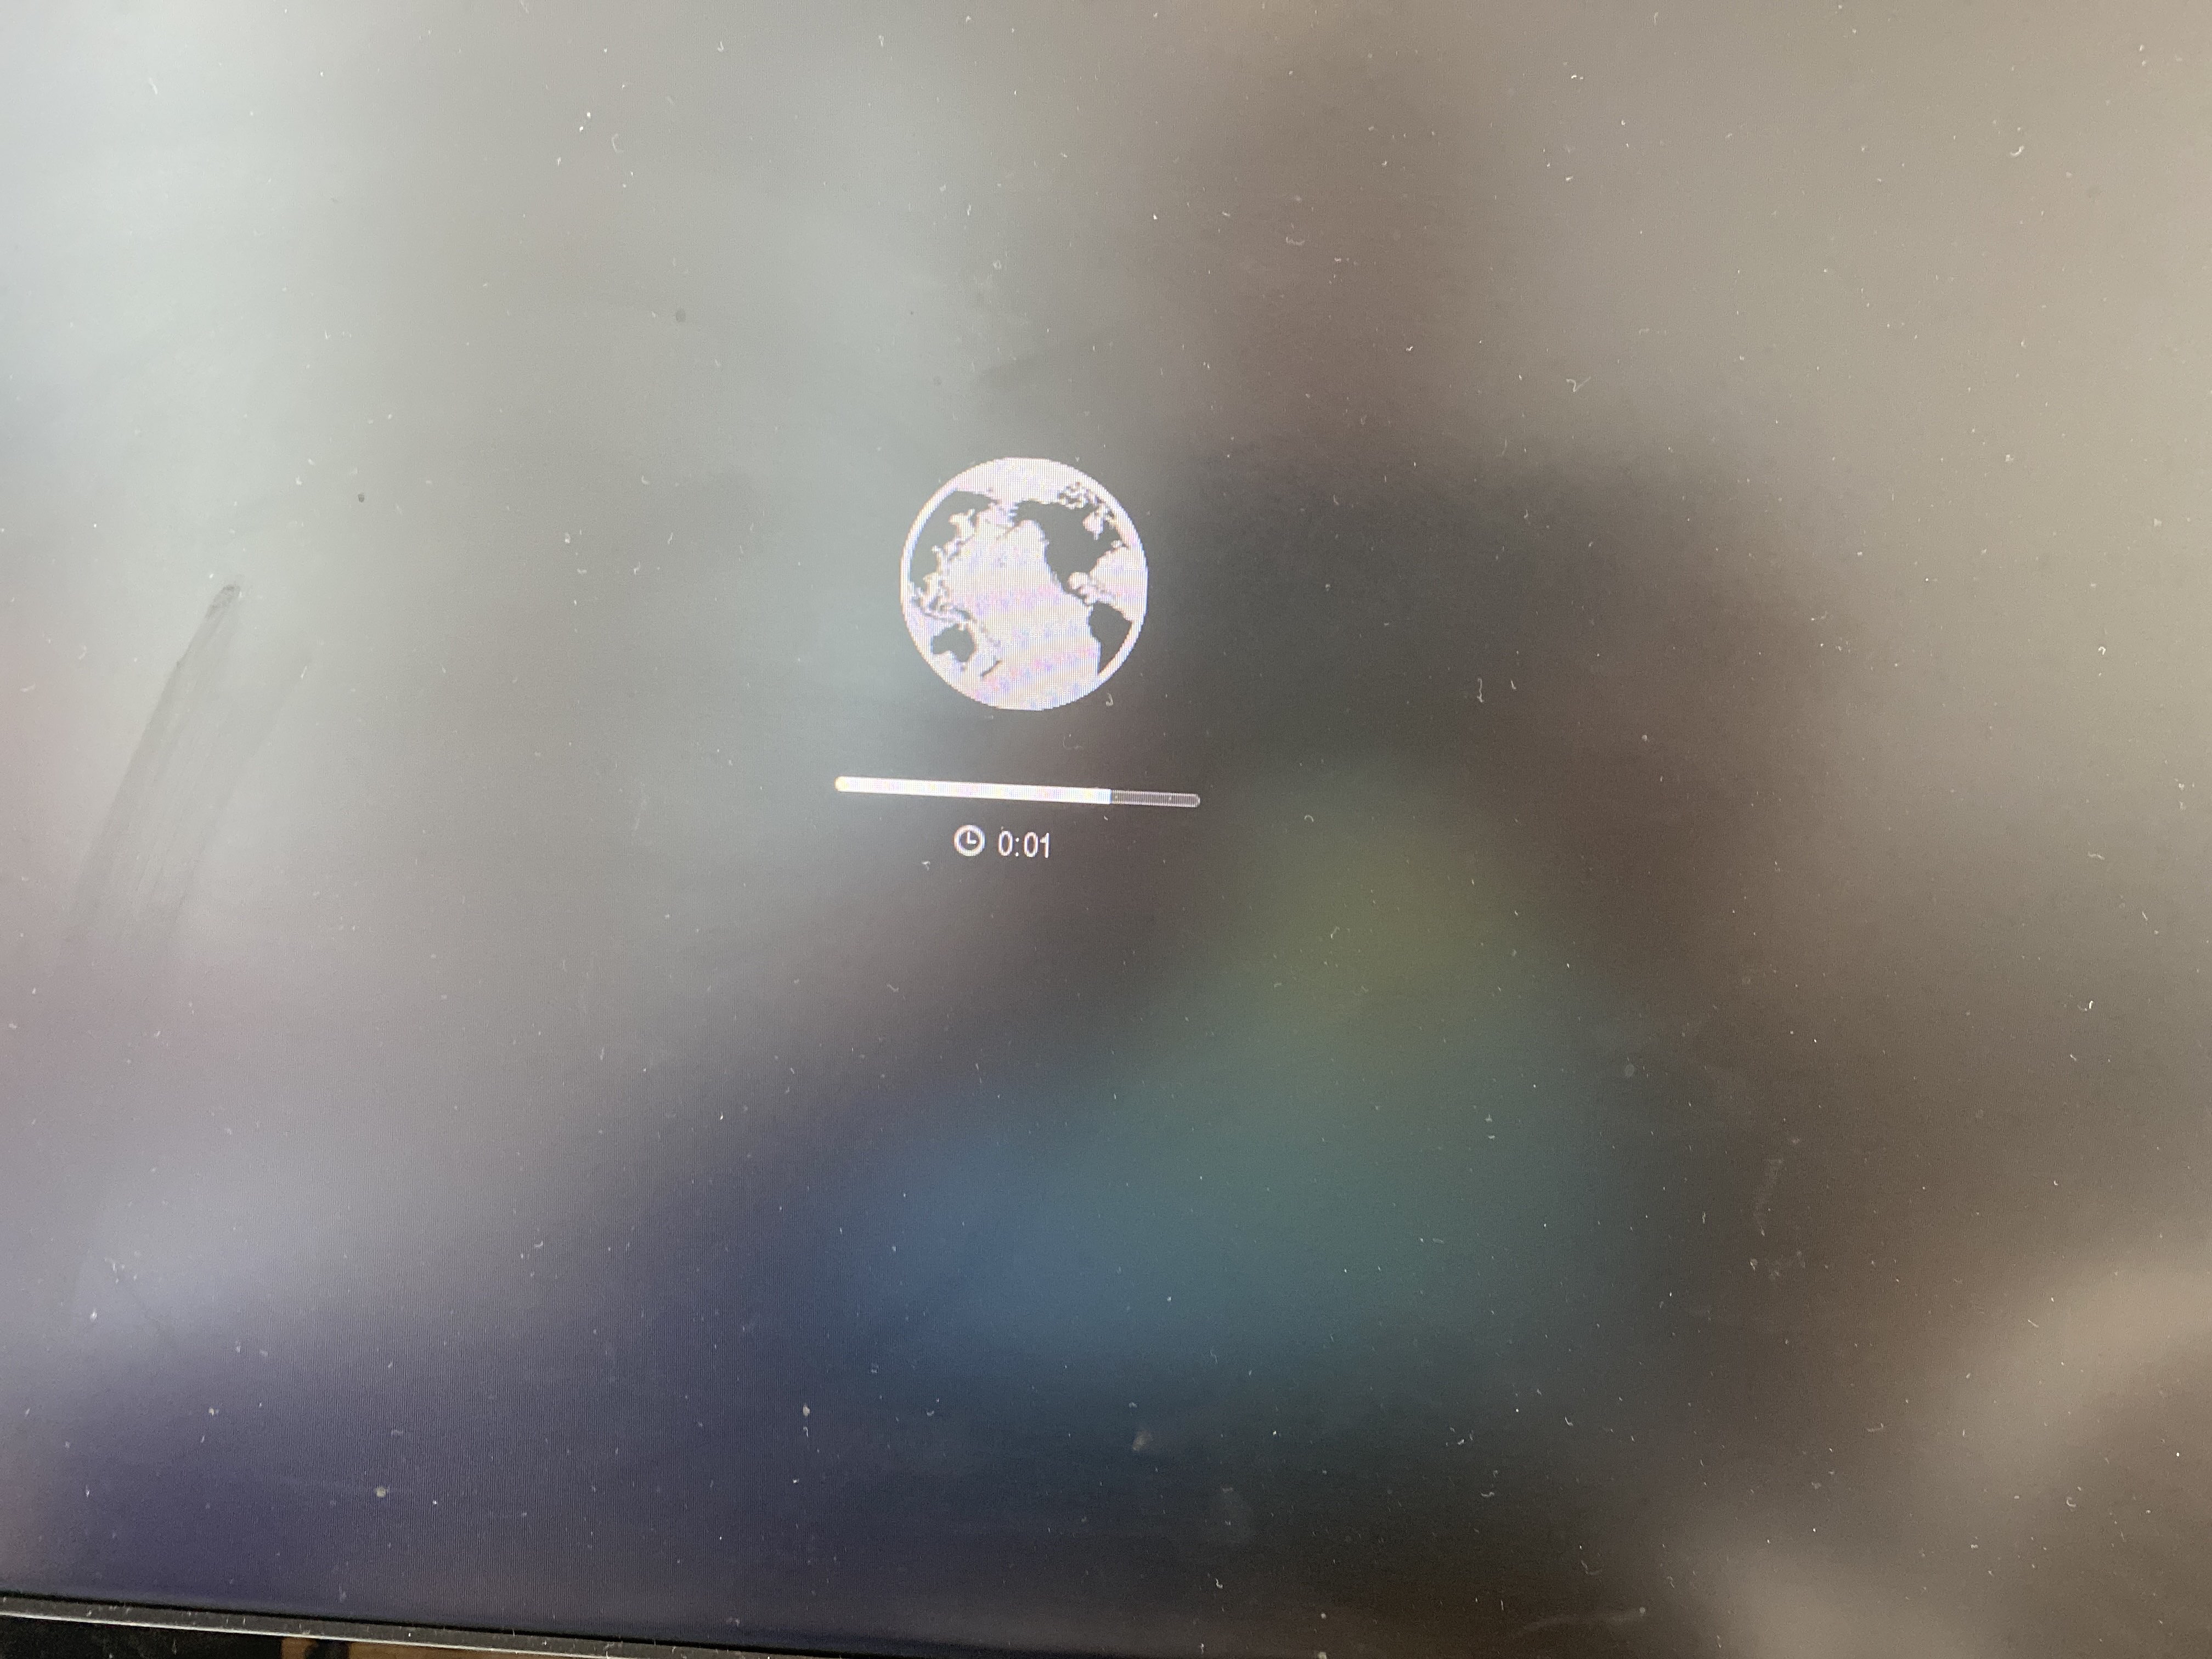
Lucky for me, I had this ugly little thing with me for another project. And yeah holding down the ‘Win’+R button got me to recovery mode, with zero issues.
Loading Recovery
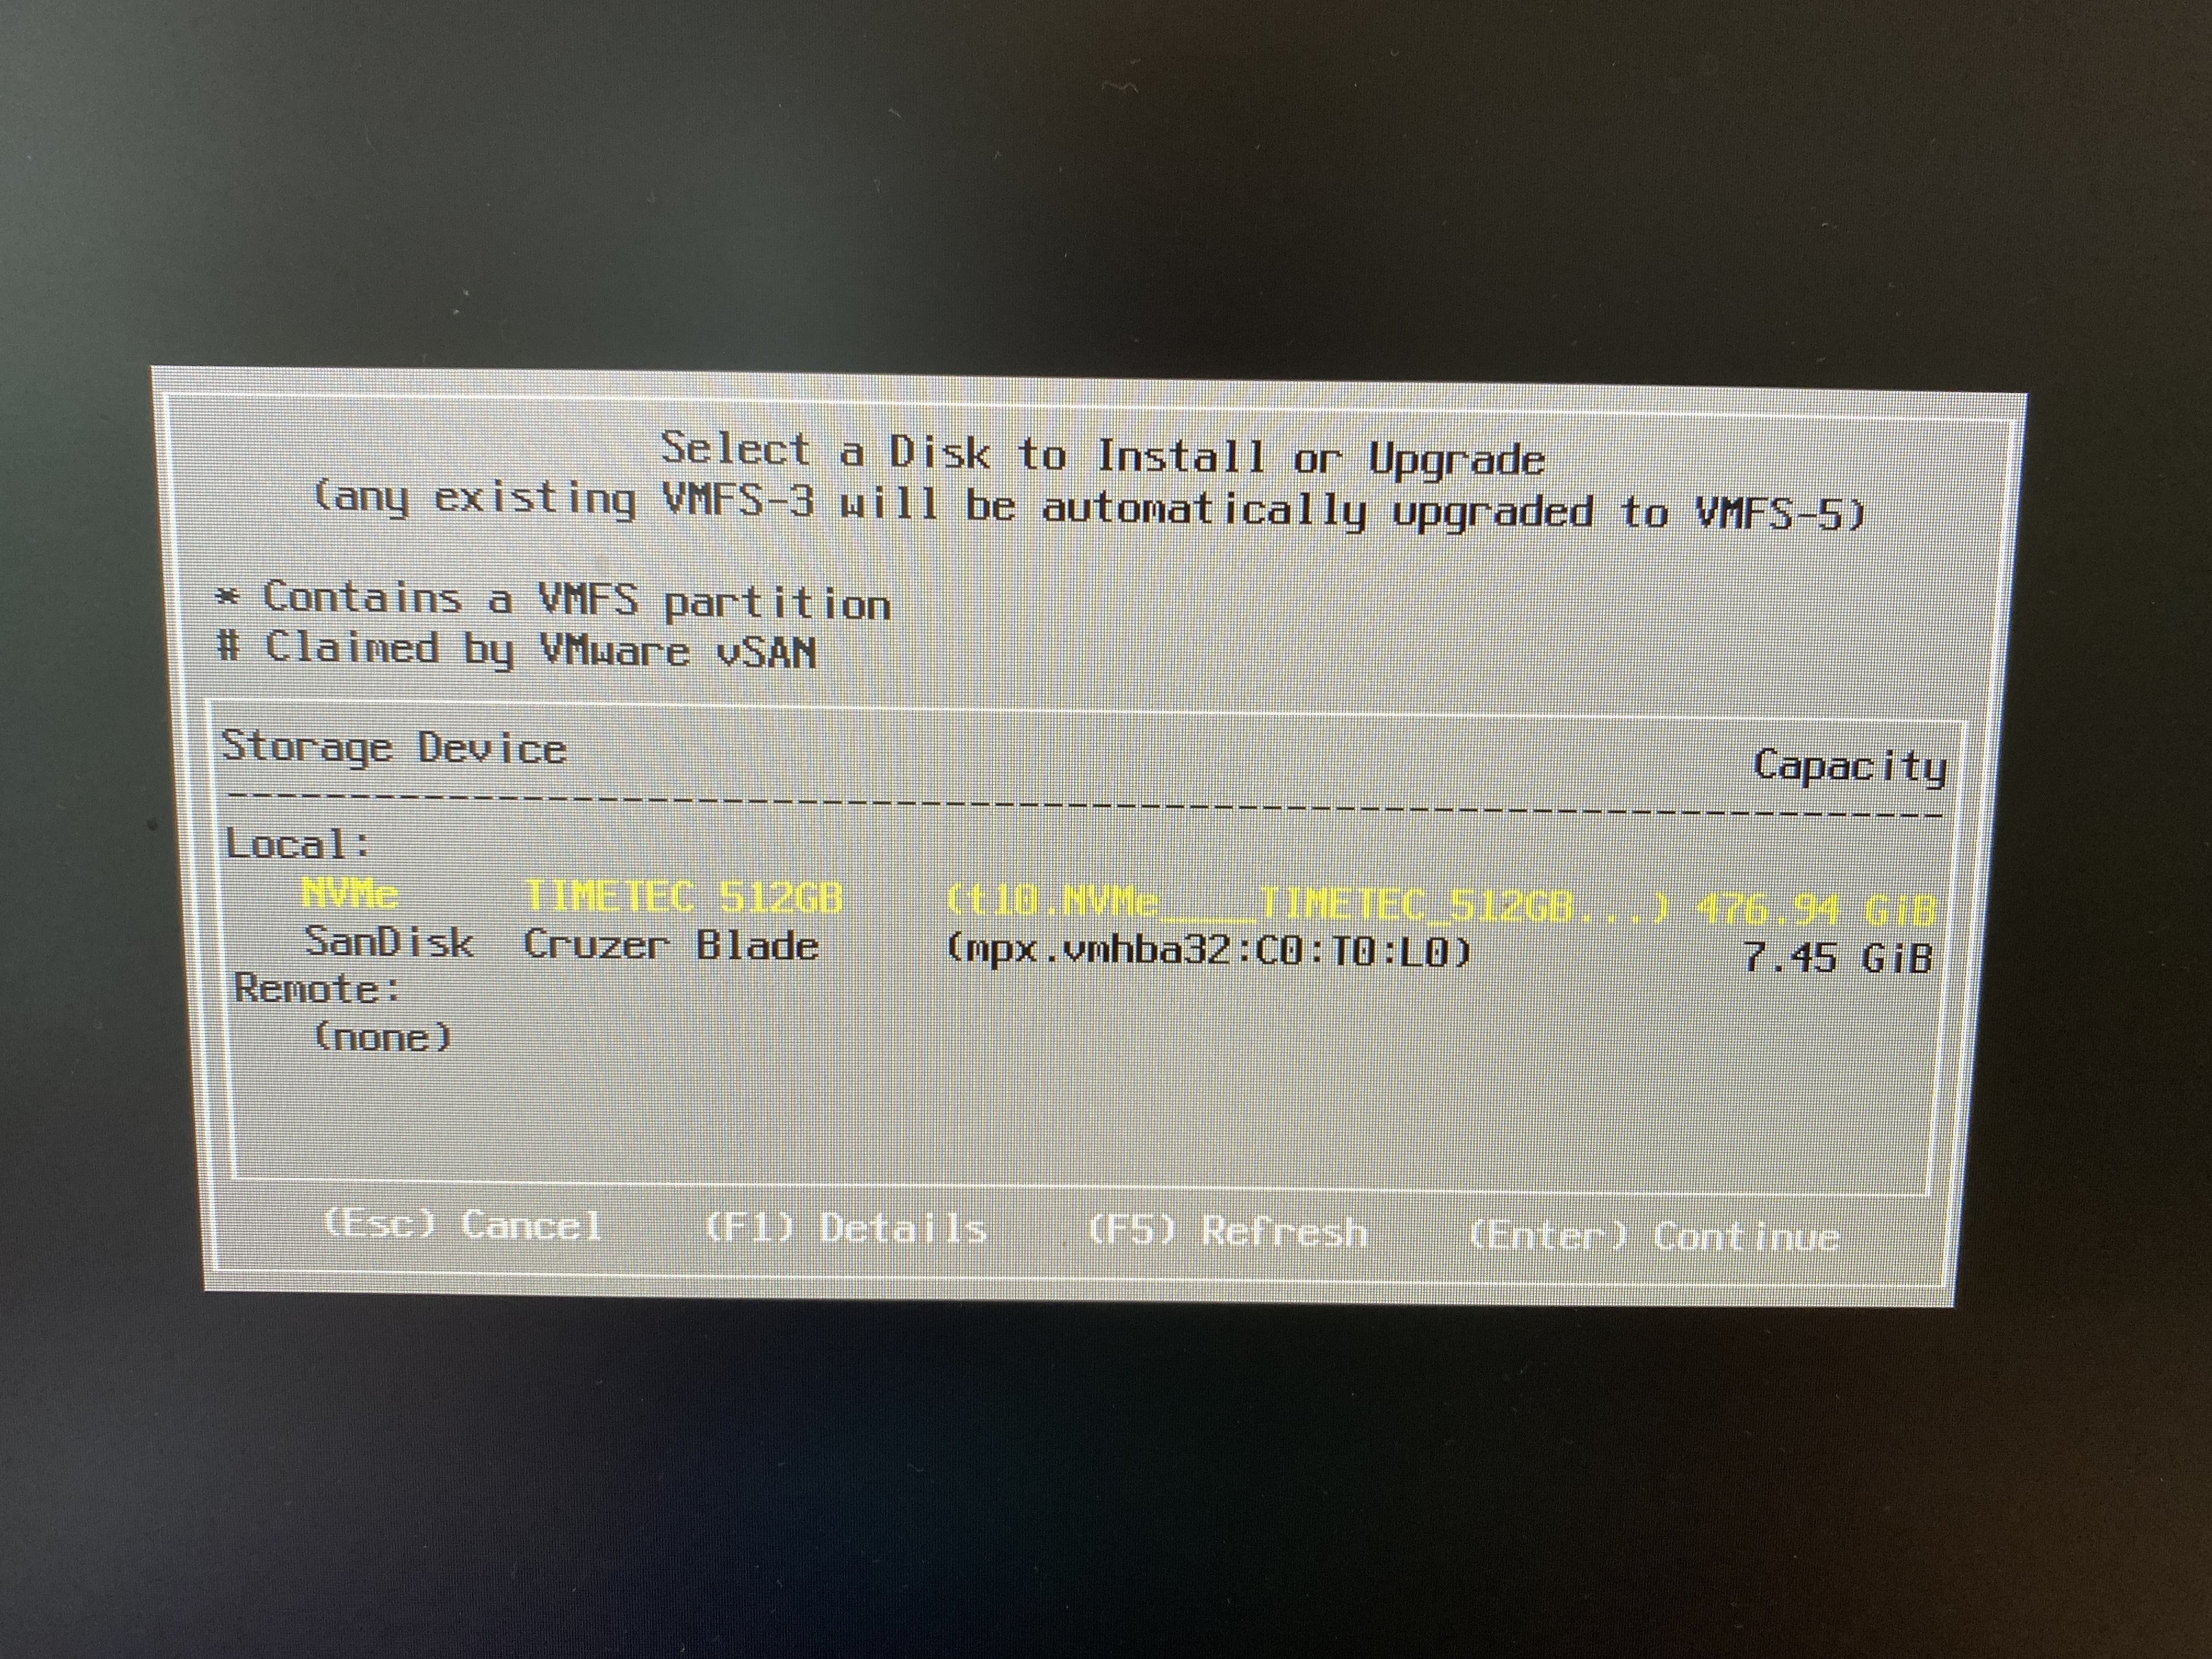
I still have to say, this is pretty cool. However what wasn’t cool, is loading the disk util, and yeah, NO FLASH detected. I have VMWare ESX 7.0 on USB, so booting that up, and yeah it totally sees the drive:
TIMTEC drive is spotted!
And of course, like an idiot, I installed VMware to at least make sure it’s working.
ESX on Mac
Yeah it’s booting fine.
By default the Mac Pro seems to be picking up bootable USB devices, so I pop in a Windows 10 MBR USB, and instead I get this:
Bad memory on the GPU? Bad cable? Bad monitor? I have no idea. At this point I’m thinking I’ve totally killed the machine, but a power cycle, and I’m back in ESX in no time. Something is up.
I pull the flash, and I can boot Windows 10 to the installer, but obviously there is no storage to install to. I try adding in a 16GB USB thumb drive, and … It won’t let you install to it. It appears that there is a way to prepare a USB drive for Windows 10 to install, but it’s not exactly something that is easy to do. However Mac OS X, doesn’t suffer this limitation and will let you install to whatever you want, so I install Mavericks to the 16GB drive, and yeah it’s booting. And SUPER slow. The flash still doesn’t show up, so I read the amazon page some more and find this tidbit:
“My Macbook came with Mac OS Capitan as the operating system for recovery, and therefore did not detect the SSD. I had to create a High Sierra installer on a USB using another Mac and an app (DiskMaker) in order to reinstall the operating system from High Sierra. Once this was done, the SSD appeared available and I was able to install the operating system and upgrade without problem.” –Gilberto R. Rojina
Oh, now isnt’ that interesting? So of course I got to update my thumb drive, and of course 16GB isn’t enough space. Great. So I order a Elecife M.2 NVME Enclosure for £23, thinking I should be able to figure out once and for all if I can see the old drive, or maybe boot from it. I get the drive, plug in the storage, and Disk Util sees a drive, but will not mount it, nor is it selectable too boot from. The issue of course is that it’s APFS, which I guess cannot boot from external media? I have no idea, but I don’t have anything that critical on there, as I keep my stuff backed up on some cloud thing. So I do have a 128GB thumb drive on me, so I format the 1TB as HFS+, backup the drive, and and once more again reboot to the recovery mode, using the crap keyboard, to install Mavericks onto the 128GB flash. Thinking everything is going to be fine, I find this apple support page, with the needed links to get ‘old’ versions of MacOS.
These versions can be directly downloaded and installed without the store.
Another weird thing is that Mavericks won’t let me login to the Apple store. It notifies me on my phone, I approve it, but it never prompts for the verification. Maybe it’s too old? Anyways I install macOS Sierra, and do the upgrade.
Now running Sierra, I can use the store, and try to take the leap on my USB to Mojave. And of course disappointment strikes again:
You may not install to this volume because the computer is missing a firmware partition.
What the hell?! So now I’m trying to find out how to create a bootable USB installer from the download. That leads me to this fun page at apple. Apparently an ‘install installer to USB drive’ would be too complicated for Apple, so its hidden in a terminal command. Fantastic. Since I’m using that 128GB as my system, I grab that 16GB flash drive, and install the installer to that.
sudo /Applications/Install\ macOS\ Mojave.app/Contents/Resources/createinstallmedia --volume /Volumes/SanDisk\ Fit
What an insane path to get this far. The tool will partition and format the drive, and now I can shut down, pop out the 128GB Sierra drive, and boot into the Mojave installer.
I didn’t take pictures, but by default the Mojave installer & DiskTool only show existing partitions. You have to right click on the drive, to expose the entire drive. This was an issue as I’d installed ESX onto the new storage. I clear the drive, and now I can finally install Mojave.
Home run?
Thinking it’s all over, I reboot into the Mac Pro, thinking everything should be fine, I have a properly fitting drive that is super fast, and It’s already 10.14.6 the latest and last version that lets me run 32bit stuff. Except that It’s slow. And unstable. No progress was seemingly made.
Trying to search ‘why is my Macintosh slow’ is, well a total waste of time. And it periodically locks hard making it extremely annoying.
I have a quad-core CPU Mac Pro late 2013 (Model Identifier: MacPro6,1).  MacOS X 10.9.5.
I have had all sorts of USB devices hooked up to it.  At any one time, I usually have all 4 ports filled.  I have a 3TB USB 3.0 disk that stores my large files, a USB mouse and keyboard (logitech with a usb mini dongle), a cable to charge my logitech USB cordless mouse, Lightning cable to my iPhone 5, and other things that I rotate in and out, like CF card reader, Audio Box USB audio interface from PreSonus, Sony Webcam, etc.
About 3 months into having the Mac Pro, I noticed that my keyboard went dead in the middle of using it.  The mouse was dead too.  I blamed the RF dongle that they both share, because the Apple Magic Trackpad (bluetooth) I have still functioned.  Try as I might, I couldn't get the keyboard or mouse to work again, so I used the Magic Trackpad to restart the machine, and then my keyboard and mouse worked again.
It wasn't until later that I realized that all the USB busses on the machine had frozen or "died" temporarily.  I realized it later because my USB hard drive complained about being "ejected improperly."
Now I have had the USB die on the Mac Pro at least 15 times over the last month and a half.  Usually once every two days or so.
I have tried (almost one by one) using some of the USB devices on the mac, and removing others to ascertain if it's a certain USB device that is causing this.  But the odd thing is that I never get a message from the OS like "xxx USB device is drawing too much power."
I'm going a little nuts here because I cannot see any rhyme or reason to the USB interface lock ups.  And each time it happens, all the USB devices go dead until I restart.  Sometimes, I'm able to SSH into the machine from my iPhone and issue a "shutdown -h now" and even though I see the Mac OS X UI shutdown, it never fully halts.  I often have to hold the power button to get the machine to turn off.
I really can't say if it's software related, hardware related or what.  I've tried to watch my workflow carefully to see if anything seems to make a pattern, but nothing yet.
Any suggestions? Is anyone else seeing behavior like this?  Do we think it's a USB device... or is my Mac Pro flakey? -- Cheule
"When I plugged in the same config on my new machine USB 3.0 directly it was very weird, devices would not remount and only show up if they were then when present at startup, and thruput was sluggish. So I stopped using the in built USB 3.0 and grabbe the old belkin thunderbolt USB hub, and BAM it all works perfectly. Better than that after testing the throuput , the belkin gave me 30-50% better performance that the inbuilt USB, that is without any hubs just direct." -- symonty Gresham
And sure enough another search about the USB setup seems to confirm it from Anandtech
Here we really get to see how much of a mess Intel's workstation chipset lineup is: the C600/X79 PCH doesn't natively support USB 3.0. That's right, it's nearly 2014 and Intel is shipping a flagship platform without USB 3.0 support. The 8th PCIe lane off of the PCH is used by a Fresco Logic USB 3.0 controller. I believe it's the FL1100, which is a PCIe 2.0 to 4-port USB 3.0 controller.
Unreal. I notice as I try to use the machine more occasionally the mouse turns itself off. Replugging the mouse shows it powering up and immediately powering off. I turn on the annoying backlight of the keyboard, and yeah it powers down too, however reinserting it brings it back to life. Luckily I still have this A1296 Apple Wireless Magic Mouse with me, so I pair that and unplug the mouse, and everything else USB.
This mouse killed my Mac Pro
It was the mouse. I can’t believe it either. I am simply blown away how this could possibly be a thing. I haven’t ordered the thunderbolt to USB dock yet, as I really didn’t want to spend any money on this thing, it was a grab and go solution, that has proven itself not so much grab and go.
Finally getting somewhere
After 6 hours of working yesterday, I shut it down to give it a break for a few hours, and it’s been up some 12 hours so far, pain free. In 2022, the Xeon E5v2 processor just really isn’t worth lugging around, but I already had it, so when it comes to transport, it actually works out pretty well. I wonder if this would have been a good traveling solution 2013 onward, but the fact a mouse could basically bring the machine down makes me think I’d have gone totally insane trying this on the road. Just as the USB Win/Alt/Alt GR/FN keys not being able to trigger the recovery mode was also crazy.
I don’t know why Apple insists on such fragile machines, but maybe the new Arm stuff is better? I can’t justify one at the moment.
Updates in the field
I’m working on getting some local retro kit, and I’ll have more fun coming up. But this fun experience ate 4 days of my life, and the least I could do is document it. I don’t know if it’ll help anyone in the future, maybe once these become iconic collectable, like the Mac Cube. Although as a former cube owner, those at least didn’t freak out when you used a 3rd party mouse.
Details don’t seem to be anywhere near as complete as I’d like them for now, but the long speculated move to ARM has finally begun. Interestingly enough, it’s the end of OS X 10.x as now we have version 11, currently named macOS Big Sur:
I guess the more interesting thing will be the emulation in the new Rosetta2, if this is actual emulation or is this going to be relying on LLVM’s intermediary byte-code, allowing a user experience more akin to Java.
With the move to ARM, this will spell the end of the Hackintoshes. Which is a shame, as the best way to experience OS X, most certainly has been on non Apple hardware. I guess time will tell regarding the adoption of the desktops, but as always since the introduction of the Apple Store & Apps, computers have accounted for a negligible fraction of Apple’s sales. Even sales of iPads surpass those of all the computers combined.
The upcoming transition kit will be a Mac mini sporting the A12Z SoC, 16GB of memory and a 512GB SSD. This is the same processor in the current iPad Pro.
The Transition Kit is $500 USD, however it’s invite only. You can try your luck here at:
Naturally I was denied the opportunity to give them $500.
I suppose as time goes on more and more details will become available. I’m sure there will be a race to get Qemu to run Big Sur, although Im sure the retail product will be signed and encrypted, and Apple will consolify their ecosystem.
On the gaming side, however being able to run iOS apps on the desktop means that the Mac is now a serious gaming contender for the casual market. Can apple bridge the Candy Crush gap where Microsoft failed with RT?