


Master Python with 70+ Hands-on Projects and Get Job-ready - Learn Python
With the help of a forward and backward button, users can navigate between images in the Image Viewer App. Let’s follow a few simple steps to construct an Image Viewer Project in Python.
About Python Image Viewer
In this project, we’re going to create a Tkinter module-based image viewer project. The PIL module will also be used to perform operations on the images. The user can navigate through a list of images using the app.
What is Tkinter?
Python offers various utilities to design the GUI wiz Graphical User Interface, and one such utility is Tkinter which is most commonly used. It is one of the fastest and easiest ways to build GUI applications. Moreover, Tkinter is cross-platform. As a result, the same code works on macOS, Windows, and Linux.
Prerequisites for Image Viewer using Python
- Basic knowledge of Python Programming Language and how function is defined in it.
- How the window is made in Tkinter GUI , and how the frame is made in it.
Download Python Image Viewer Code
Please download the source code for python image viewer project from the following link: Python Image Viewer Project Code
Steps to Create the Python Image Viewer Project
Following are the steps for developing the Image Viewer project:
Step 1: Importing the necessary modules
To use Tkinter, we need to import the Tkinter module. We are also going to import the zipfile and filedialog module.
Code
#import packages
from tkinter import *
import tkinter as tk
from PIL import ImageTk, Image
Step 2: Making a window for our project
This code sets the title of the window as ‘DataFlair Image Viewer Appr’, and sets the dimensions as resizable.
Code
#creating window
root = tk.Tk()
root.title("DataFlair Image Viewer App")
root.resizable()
Step 3: Functions
This function takes images to be displayed in the form of a list and runs a loop for them on that list so that users can navigate through their images.
Code
#creating label to display images
j = 0
img_label = Label(frame, image=List_img[j])
img_label.pack()
#function for next image
def next_img():
   global j
   j = j + 1
   try:
       img_label.config(image=List_img[j])
   except:
       j = -1
       next_img()
#function for prev image
def prev():
   global j
   j = j - 1
   try:
       img_label.config(image=List_img[j])
   except:
       j = 0
       prev()
Explanation
def next_img() is used for the next image, and def prev() for the previous image. def next_img() “ j = j + 1” is used to move forward in the list, and in def prev() “j = j – 1” to move backward in the list of images by configuring the label (img_label) we made to display images. The ‘except’ condition in both functions is used if there is no next or previous image, respectively, in the list.
Step 4: Making a frame to display images
We make a frame and in that frame a label to display images, and we also make a list of images through which we can navigate.
Code
#fame to display images
frame = tk.Frame(root)
frame.pack(pady=10)


img_1 = ImageTk.PhotoImage(Image.open("1.jpg"))
img_2 = ImageTk.PhotoImage(Image.open("2.jpg"))
img_3 = ImageTk.PhotoImage(Image.open("3.png"))
img_4 = ImageTk.PhotoImage(Image.open("4.png"))
List_img = [img_1, img_2, img_3, img_4]


j = 0
img_label = Label(frame, image=List_img[j])
img_label.pack()
Step 5: Making Frames and Mapping the Buttons to Their Functionalities
We make two frames, and in one frame we make two buttons, Next and Previous, to navigate in the list of images, and in the second frame we make an exit button to exit the app.
Code
#creating frame for previous, next, and exit button
frame1 = tk.Frame(root)
frame1.pack(pady=5)
Prev = tk.Button(frame1, text="Previous", command=prev)
Prev.pack(side="left", padx=10)
Next = tk.Button(frame1, text="Next", command=next_img)
Next.pack(side="right", padx=10)


frame2 = tk.Frame(root)
frame2.pack(pady=5)
Exit = tk.Button(frame2, text="Exit", command=root.quit)
Exit.pack(side="bottom")


root.mainloop()
Full Code
#import packages
from tkinter import *
import tkinter as tk
from PIL import ImageTk, Image
#creating window
root = tk.Tk()
root.title("DataFlair Image Viewer App")
root.resizable()
#fame to display images
frame = tk.Frame(root)
frame.pack(pady=10)


img_1 = ImageTk.PhotoImage(Image.open("1.jpg"))
img_2 = ImageTk.PhotoImage(Image.open("2.jpg"))
img_3 = ImageTk.PhotoImage(Image.open("3.png"))
img_4 = ImageTk.PhotoImage(Image.open("4.png"))
List_img = [img_1, img_2, img_3, img_4]
#creating label to display images
j = 0
img_label = Label(frame, image=List_img[j])
img_label.pack()


#function for next image
def next_img():
   global j
   j = j + 1
   try:
       img_label.config(image=List_img[j])
   except:
       j = -1
       next_img()


#function for prev image
def prev():
   global j
   j = j - 1
   try:
       img_label.config(image=List_img[j])
   except:
       j = 0
       prev()


#creating frame for previous, next, and exit button
frame1 = tk.Frame(root)
frame1.pack(pady=5)
Prev = tk.Button(frame1, text="Previous", command=prev)
Prev.pack(side="left", padx=10)
Next = tk.Button(frame1, text="Next", command=next_img)
Next.pack(side="right", padx=10)


frame2 = tk.Frame(root)
frame2.pack(pady=5)
Exit = tk.Button(frame2, text="Exit", command=root.quit)
Exit.pack(side="bottom")


root.mainloop()
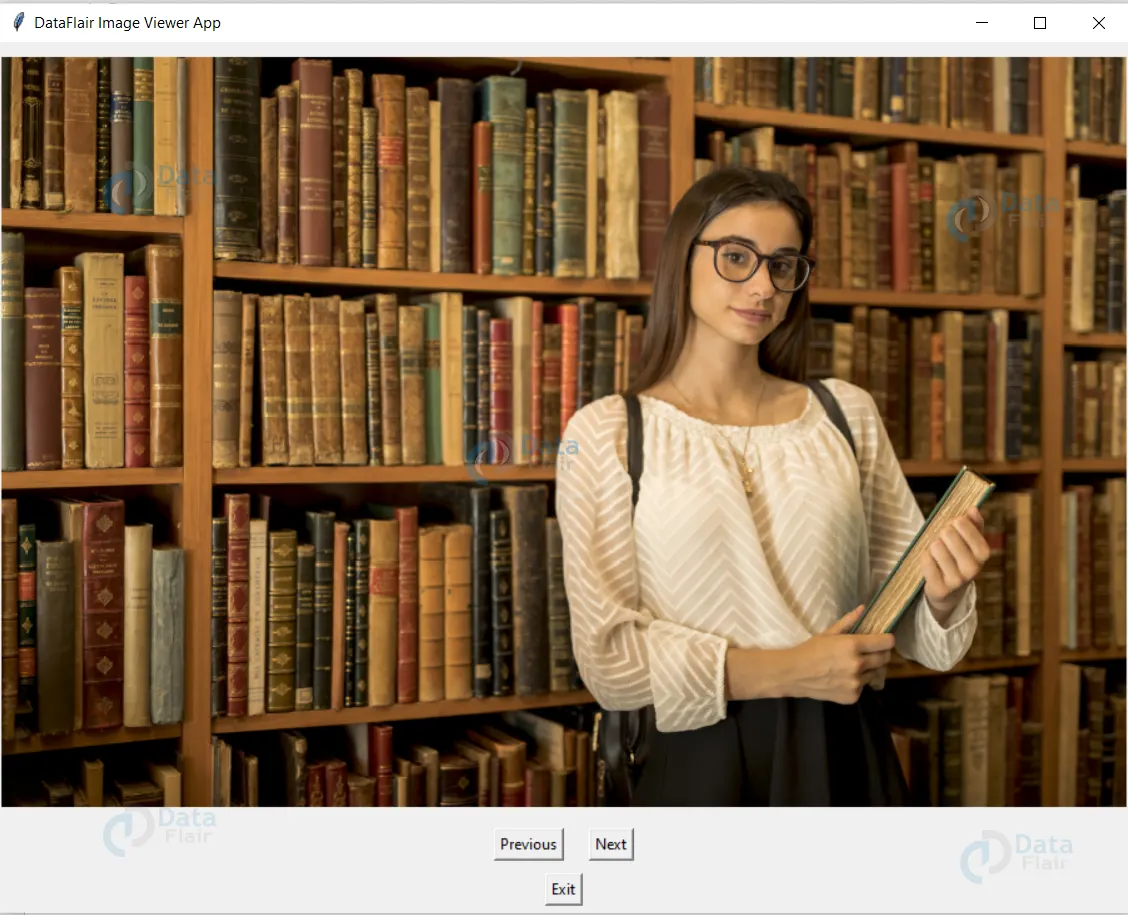
Python Image Viewer Output

Summary
We have successfully created an Image Viewer App using Python Tkinter GUI. Now one can easily navigate through their images. This project provides practical exposure to various python libraries such as Tkinter to make a nice GUI, ImageTk, and image to open the images and display them.