Summary of Arduino Sketch Fade
This article provides the full source code for the standard Arduino "Fade" example sketch. The sketch demonstrates how to fade an LED connected to pin 9 using the analogWrite() function by gradually changing the LED's brightness in a loop. The LED dims and brightens continuously by increasing and decreasing the PWM value with a delay to create a fading effect.
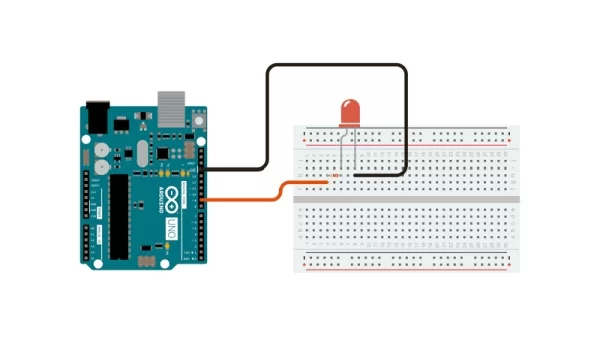
Parts used in the Fade Arduino Sketch:
- Arduino board
- LED
- 220-ohm resistor (typically used with LED)
- Connecting wires
- Breadboard (optional)
This is a standard Arduino example sketch, copied here for reference.
Full Source Code
The full code is all in one file Fade.ino.
/*
 Fade

 This example shows how to fade an LED on pin 9
 using the analogWrite() function.

 This example code is in the public domain.
 */

int led = 9;           // the pin that the LED is attached to
int brightness = 0;    // how bright the LED is
int fadeAmount = 5;    // how many points to fade the LED by

// the setup routine runs once when you press reset:
void setup() {
  // declare pin 9 to be an output:
  pinMode(led, OUTPUT);
}

// the loop routine runs over and over again forever:
void loop() {
  // set the brightness of pin 9:
  analogWrite(led, brightness);

  // change the brightness for next time through the loop:
  brightness = brightness + fadeAmount;

  // reverse the direction of the fading at the ends of the fade:
  if (brightness == 0 || brightness == 255) {
    fadeAmount = -fadeAmount ;
  }
  // wait for 30 milliseconds to see the dimming effect
  delay(30);
}
Source: Fade Arduino Sketch