Summary of Otto Robot || Arduino Robot || Simple Arduino Robot
This article details building a simple Arduino robot named Otto Robot, designed for beginners. It provides step-by-step instructions on assembling the robot body, mounting servo motors for legs and feet, wiring components to an Arduino Nano with an expansion shield, and uploading code to calibrate servo positions. The project uses accessible parts like SG90 servos, an ultrasonic sensor, and a rechargeable battery, with all necessary code and STL files available on GitHub for easy replication.
Parts used in the Otto Robot:
- Robot body (3D printed or purchased)
- Four SG90 servos
- Arduino Nano
- Arduino Nano programming cable
- Expansion shield for Arduino Nano
- Ultrasonic module
- Gel-based super glue
- 134N3P charging and booster module
- 3.7V 1000mAh battery
- Screwdriver and screws
- Servo top covers
- On/off push switch
- Female-to-female jumper wires

Hi, First off all Please subscribe to my youtube channel.
This is the simplest Arduino robot. The name of this Arduino robot is Otto Robot. The beginners can build it with simple steps. All codes and library is given on my github page.
Let’s begin this cut little arduino project.
Step 1: Requirements
- Robot Body, you can buy it online or you can print yourself, download stl file from here.
- Four SG90 servos
- Arduino nano
- Arduino nano programing cable.
- expansion shield for arduino nano.
- Ultrasonic module.
- Gel based super glue.
- 134N3P charging and booster module.
- 3.7V 1000mAh battery.
- Screw driver and screws.
- Servo Top that comes with servo.
- On / off push switch.
- Some female to female wire.
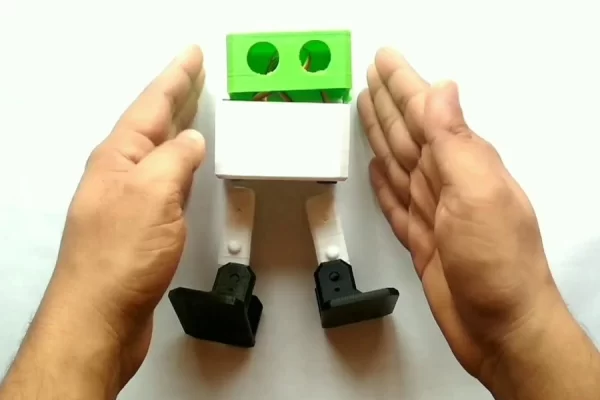
Step 2: Mount Leg Servo
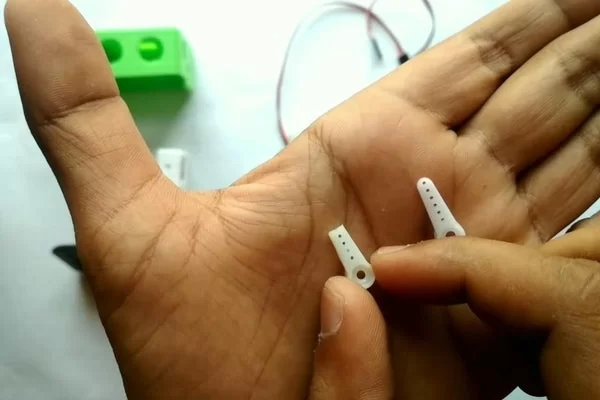
- Cut the plastic top comes with servo.
- glue it in side the leg as shown in image.
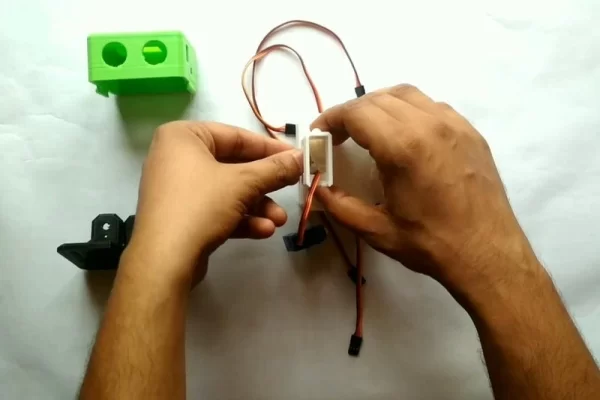
Step 4: Pass Feet Servo Wire
- Pass servo wire from hole in leg
- Pass the same wire from the bottom part of robot.
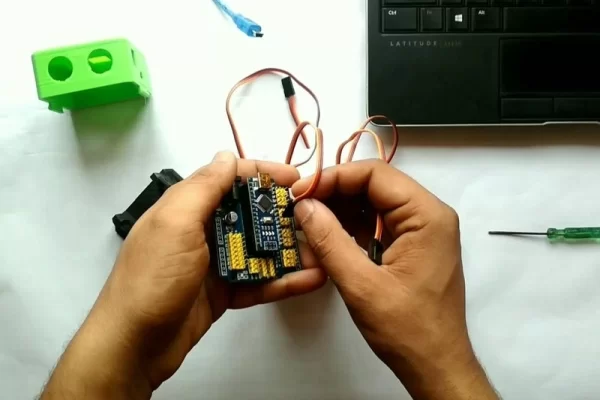
Step 5: Set Servo 90 Degree Connections
- mount legs on leg servo.
- take Expansion shield and insert arduino nano.
- Connect both leg servo at 9th and 10th pin.
- make sure yellow wire facing arduino nano.
Step 6: Upload the Code to Set 90 Degree

- Open servo_pos_set code, you can download it from here.
- Connect your arduino and select correct Board and correct port.
- Upload the code and servo will move at 90 degree.
- Remove legs from servo and insert it in vertical position as shown in image.
Dowload the code :- https://github.com/vishalsoniindia/Arduino_Otto_Ro…
Step 7: Screw the Legs
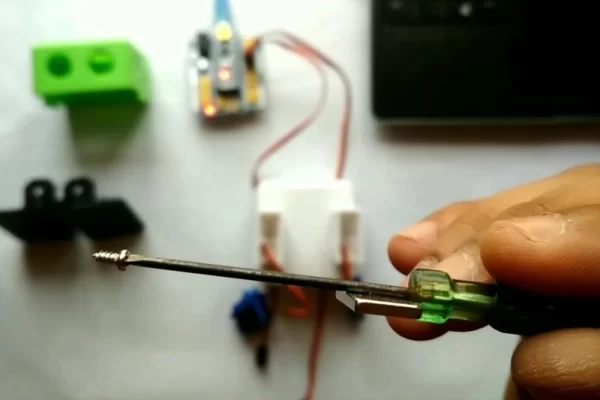
- Take a screw driver attach magnet with it so screw can stick with it.
- Hold the leg and screw it.
Step 8: Mount Feet Servos
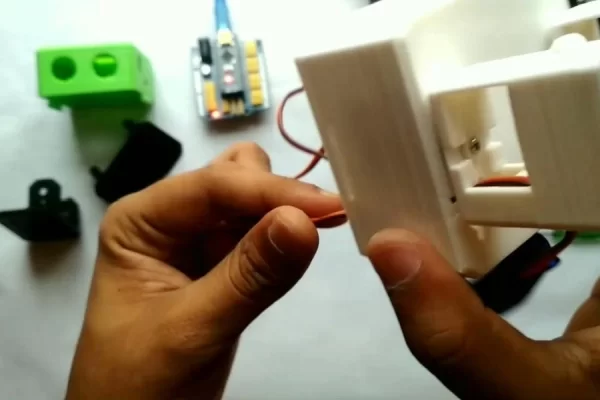
- Pull the feet servo wire as shown in image.
- Insert feet servo in legs as shown in image.
- Screw the feet servo on leg.
Step 9: Set It at 90 Degree and Mount Feets
- Connect feet servo at 9th and 10th pin.
- Connect arduino with pc no need to upload code again.
- servo move to 90 degree now mount servo top in vertical position and screw them.
- mount feet, first put feet on servo and with little presser push feet inside.
- Do it with both.
Source: Otto Robot || Arduino Robot || Simple Arduino Robot