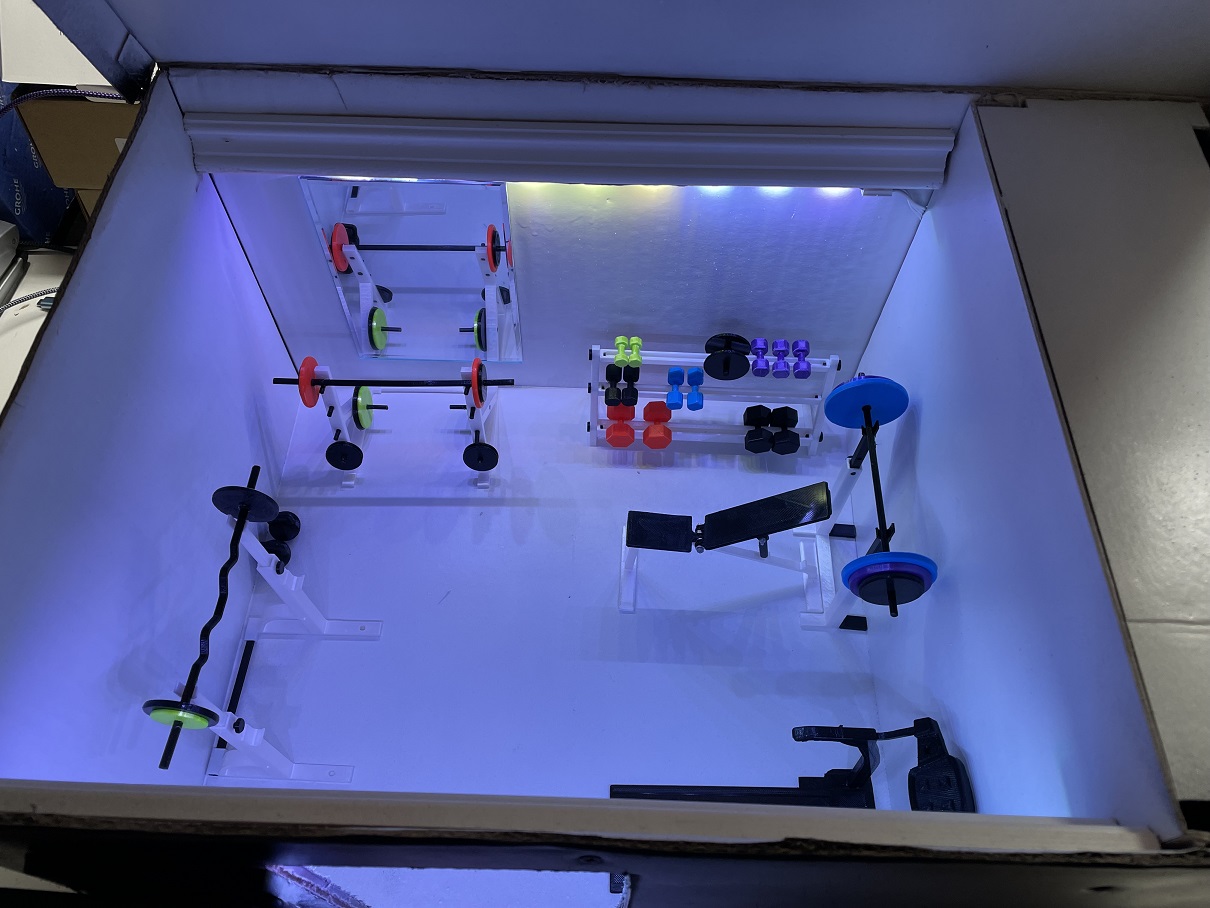
A 3D printed gym with flashing lights, music and animation
All the gym equipment was printed from TanyaAkinora's project - thanks Tanya!
Why do something this silly? Hmm?
The story goes something like this:
- The Dutch celebrate SinterKlaas on the 5th December as part of their Christmas tradition
- One of the components of the celebrationis that there is a party
- Each guest gets assigned (randomly and without the other knowing) another guest
- The guests then make by hand a small suprise, write an accompanying poem and buy a small present
- On the 5th, the recipients read their poem and receive their surprise and present
- I know this because my Dutch neighbour told me, so it must be true
- This was the second year for us to copy the tradition here in the UK
- We may have gone a tiny bit overboard
My surprise recipient this year was my friend's sister Ninda who is a personal trainer. I started just with a cardboard box and the 3d printed gym equipment. Then I noticed I had a spare strip of 3-colour LEDS.......
- Print the gym bits from Tetiana's project
- Add extra ingredients
- Bake until done
- Tetiana's gym equipment
- A cardboard box
- Spray paint
- 3-colour LED lighting strip - lengths to suit your box
- A suitable power supply. I ended up using an 18V, 2A supply to make sure the stepper motor had enough oomph
- A stepper motor. You'll need to experiment
- One Arduino - pretty much anything will do
- One stepper motor driver - e.g. this A4988 one
- One MP3 player module
- A small loudspeaker
- A handful of components as per the schematic
- You favourite protoyping board
- Assorted bits of hardware for the lifting mechanism - e.g. small drawer slide, GT2 drive belt, pulley wheels....
 If you look at all the photos in the assets/ folder you'll see that I constructed the electronics on several small boards for ease of debugging:
- A board holding the Atmega328 and associated support components. You can replace this directly with an Arduino if you like. I just happen to have a load of 328Ps and crystals etc, so it's cheap and easy for me to do this. I put the MP3 player module on this board also
- A board holding the 7805 regulator and the LED driver transistors. I used ZTX650 transistors because I've had a box of them I'm been slowly getting through since 1980. You can use something more modern like ZTX618 or even 2N7000 (add 100K pull-downs on the gate if you do this).
- A board holding the A4988 stepper driver
There was no method. I bodged stuff together until it worked. I had to swap the 12V power supply I was using for an 18V supply literally at the last minute because the stepper just didn't have the power to lift the lid.
If I was to do this again (stop tittering in the back) I'd actually design it. There would be appropriate gearing. Vital pieces of mechnanics would be properly attached, not held on with superglue/hotglue/screws through cardboard.
The MCU knows when to stop raising or lowering the lid because there are two microswitches, one at the top of the box and one near the bottom. I 3D printed a T-shaped attachemnt which is stuck to the drive belt and triggers the microswitches. If you look at the image TopEndstop.jpg you will see the wire going to the microswitch which is glued to a 3D printed bracket which is itself stuck to the the side of the box.
I bought a CD copy of the Survivor album, ripped the Eye of the Tiger track and copied it to an SD card which goes in the MP3 player. The CD was part of Ninda's present.
I carefully timed how long it takes to get to the lyric "rising up" and programmed that into the Arduino sketch.
The sketch is triggered when the door is opened because there is a small microswitch which is activated when the door opens.
Closing the door causes the music to stop, the lights stop flashing and glow red and the lid goes back down.