I am using following tools for this post.
- eclipse-jee-mars-R-macosx-cocoa-x86_64
- Apache tomcat 8
- m2eclipse plugin
- jdk 1.7
Steps for creating dynamic web project using maven in eclipse.
1) Install m2eclipse for maven plugin in eclipse. Please follow this link for installing m2eclipse plugin in eclipse.
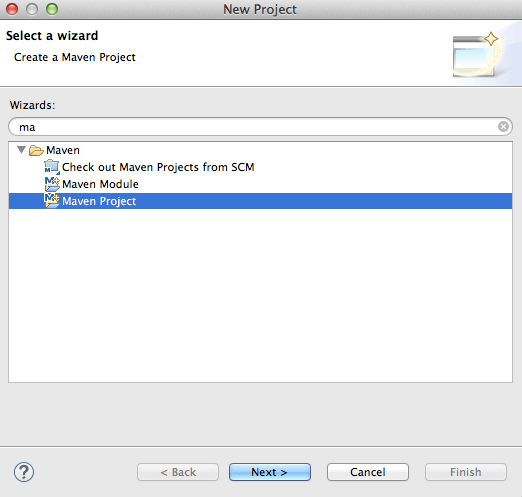
2) goto new -> project-> Maven Project and click on next
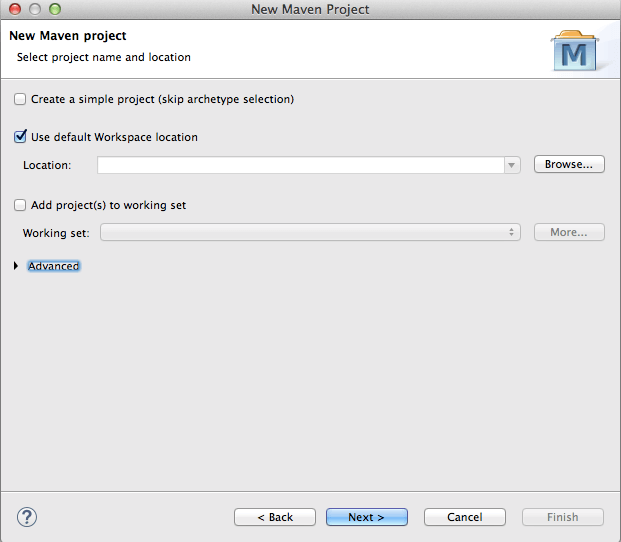
3) You will see below screen , again click on next
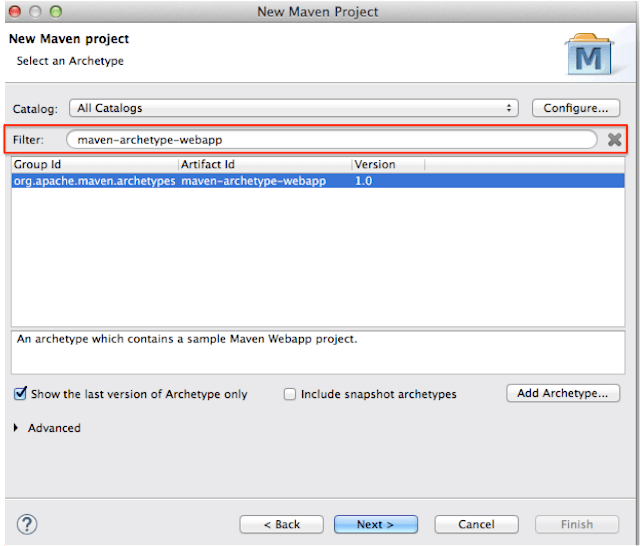
4) We need to select type of archetype here.As we are creating web app here, please put following text in filter : maven-archetype-webapp
5) We need to put group id and artifact id here.
Let me tell you more about group id and artifact id.
Group id : It uniquely identifies your project among all. So it may be something like com.companyname
Artifact id : It is name of jar or war without version. it may be something like project, so here we have put artifact id as mavenWebApp
Version : Version is used for version control for artifact id. If you distribute this project, you may incrementally create different version of it.

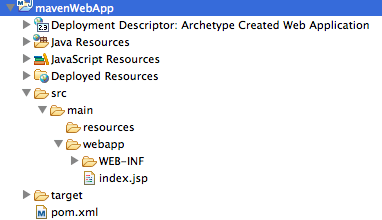
6) You project structure should look something like below image.
7) When I have followed above steps, I was getting below error.
“The superclass “javax.servlet.http.HttpServlet” was found in java build path”.

You can resolve this error using two ways.
1) you can add following dependency to pom.xml
|
1 2 3 4 5 |
javax.servlet javax.servlet-api 3.1.0 |
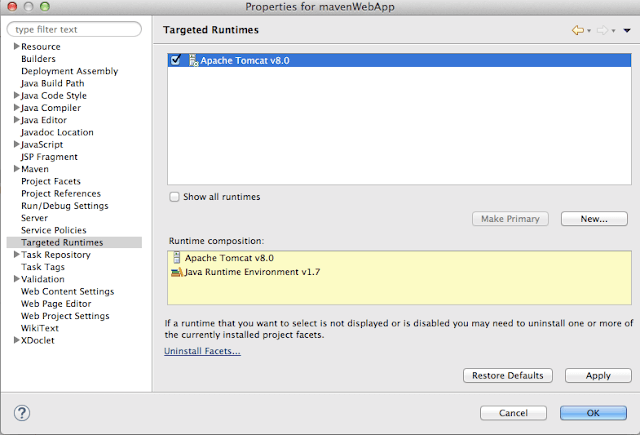
2) you can set target run time as Apache tomcat .
right click on project -> properties -> target runtimes
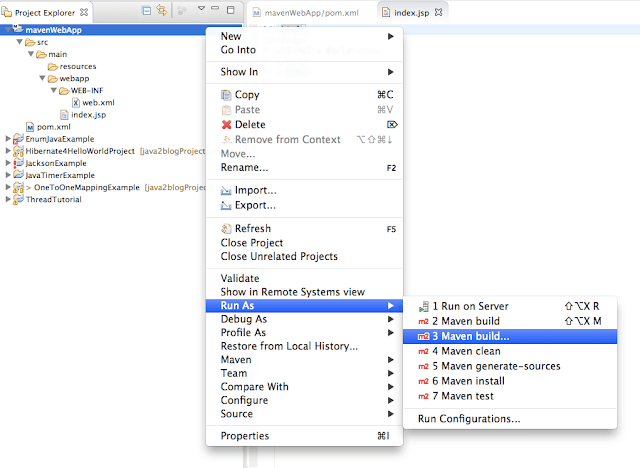
8) It ‘s time to do maven build.
Right click on project -> Run as -> Maven build
9) Provide goals as clean install (given below) and click on run

10) When you run maven build, you will see below screen

11) Deploy this application to tomcat server and run it.
If you don’t have tomcat server configured in eclipse, follow these steps.
Right click on project -> run as -> run on server -> choose tomcat.
12)
When you run application, you will get following output:

Bingo !! we are done with creating dynamic web project using maven in eclipse.
Please comment if you are facing any issue with this.


Just what I needed, very simple, thank you very much!
what demo … 🙂 thanks a lot.
simple .. what a demo.. very simple..thanks a lot..
Hi,
Many thanks for the tutorial. A couple of erratas: groupid should be groupID and artifactid should be artifactId in dependency definition.
Thanks and best regards
thanks
Awesome! Thanks so much. Just the uncomplicated basics. Just what I needed. Bookmarked for future reference!
Very useful post Thank you so much.
It was really helpful thanku very much
I am a developer converting from php to java.This is really nice article. 🙂