

5 Best Ways to Back Up Your Raspberry Pi (With Pros & Cons)
I’ve lost count of how many times I had to rebuild my Raspberry Pi system simply because I forgot to back it up. You don’t realize how important it is until it’s too late: your setup can suddenly be gone due to a corrupted SD card, a failed update, or a simple mistake. Over the years, I’ve experimented with various backup methods, and in this article, I’ll share my best ones with you.
Several methods exist for backing up a Raspberry Pi, including the built-in SD Card Copier and other tools like rsync, Rsnapshot, and RClone. Each method has advantages and drawbacks, making it suitable for different scenarios.
For each method, I’ll explain how the backup works, share its advantages and disadvantages and provide links to our step-by-step guides. Whether you are a beginner or seeking advanced tools, I hope you’ll find something that suits you best.
If you’re new to Raspberry Pi or Linux, I’ve got something that can help you right away!
Download my free Linux commands cheat sheet – it’s a quick reference guide with all the essential commands you’ll need to get things done on your Raspberry Pi. Click here to get it for free!
Method 1 – Clone the SD Card
Duplicate your Pi’s SD card onto a blank SD card with all data and settings.
Pros
Cons
One of the easiest ways to back up data on your Raspberry Pi is to create a clone of the original SD card. By cloning your SD card to a blank one, you’ll have a duplicate that can be used as a replacement for the original card in case of any issues.
Several tools are available for this purpose. For instance, you can use the built-in SD Card Copier tool pre-installed with Raspberry Pi OS. It’s in the Raspberry Pi Menu under Accessories -> SD Card Copier.
Alternatively, you can use Disk Destroyer, a command-line tool pre-installed with most Linux distributions. You can use the following command to clone your SD card:sudo dd if=/dev/your_card of=/dev/blank_card
Are you a bit lost in the Linux command line? Check this article first for the most important commands to remember and a free downloadable cheat sheet so you can have the commands at your fingertips.
The main benefit of using this method to back up your data is you obtain a physical backup of your original SD card. If anything happens to your active SD card, you can easily replace it with a backup without waiting for the image to be restored.
However, the downside is that if you lose the backup SD card, you cannot restore the system.
Please refer to our guide on cloning your Raspberry Pi SD Card for a comprehensive step-by-step tutorial.
Method 2 – Create an SD Card Image
Create an Image File that can later be restored to multiple blank SD Cards.
Pros
Cons
If you are afraid of losing your backup SD Card or want to restore the image to multiple SD Cards, instead of cloning it to another SD Card, you can create an image file of your Raspberry Pi.
Download the free PDF, keep it open, and stop wasting time on Google.
Download now
Image files are like zipped files containing all the information about your SD Card and the information required to restore it (e.g., what goes where in your new SD Card). In fact, most of the time when you install a fresh Raspberry Pi OS, you are actually using an image file.
Image files are also easy to restore. You can use the Raspberry Pi Imager tool to restore image files to a brand new SD Card, much like you would install a new Raspberry Pi OS on a blank SD Card.
Several tools are also available for this. If you are running a Linux system, the simplest method is to use Disk Destroyer. You can use this command to make an image file of your SD Card:sudo dd if=/dev/your_card of=~/MyImg.img
Notice the only difference from the last time we used this command is that we changed the destination from a blank SD Card to an Image file.
You can use Win32 Disk Imager if you are running Windows.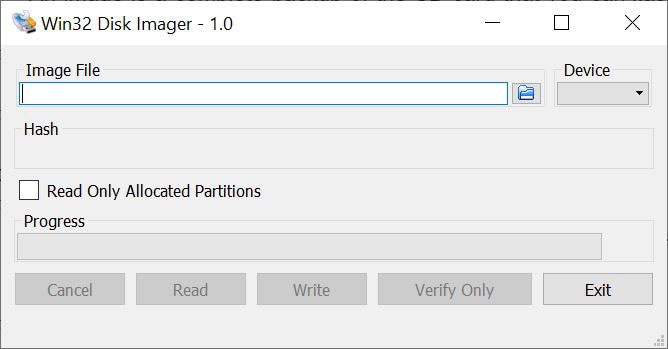
Alternatively, if you are using macOS, you can use tools like ApplePi Baker.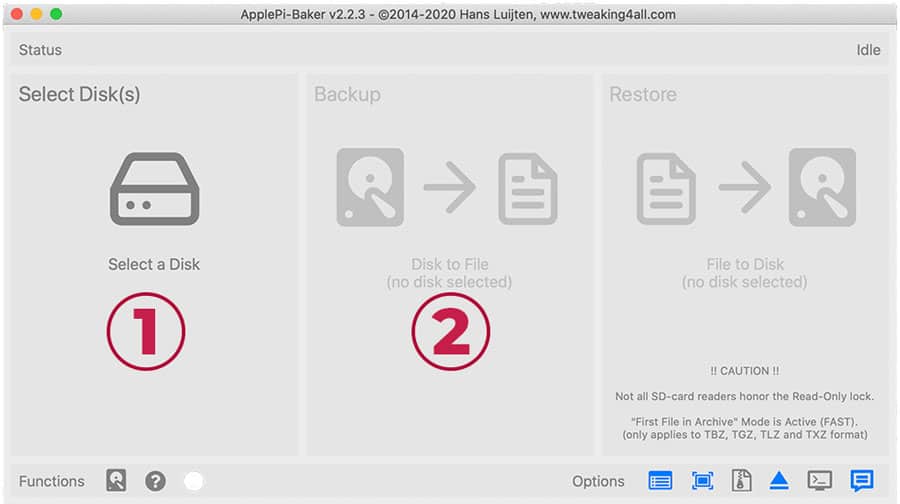
Regardless of the method you chose to make the image, the result will be an image file (roughly the size of your SD Card) that can then be restored on any blank SD Card, making the blank SD Card a replica of your original SD Card.
One issue with this method is that the image file created typically matches the size of your SD card. This is because most image-making methods capture all the blank space on the card, regardless of whether any data is present.
One method to overcome this is to use Drewsif’s PiShrink program. It compresses and shrinks the image file to a much more reasonable size.
The key advantage of this method is that the image file, unlike an SD Card, is easier to keep track of and harder to lose. Besides, unlike a cloned SD Card, the image file can be used to restore the image to multiple SD Cards.
The main drawback of this method is that creating and restoring an image can be time-consuming for a Raspberry Pi with a lot of data. Additionally, any changes will require a completely new image, as incremental updates are not possible.
Please follow our guide on creating an image file of your Raspberry Pi SD Card for a detailed, step-by-step tutorial.
Method 3 – RSync
Back up important data to another computer on your LAN using rsync.
Download the free PDF, keep it open, and stop wasting time on Google.
Download now
Pros
Cons
You can back up only the important files from your memory card instead of creating a complete image. This can save you a significant amount of time, as the Raspberry Pi OS image itself is already available online. Typically, we only need to save the customisations we’ve made.
You might also like: Tired of Raspberry Pi OS? Level up with these top-rated systems.
My go-to tool for this purpose is rsync. It comes pre-installed with any Debian-based distribution, like Raspberry Pi OS. If it is not already installed, you can use this command to install rsync:sudo apt install rsync
The general syntax for using rsync is as follows:rsync <Options> <Source> <Destination>
For a comprehensive tutorial with all of the command-line options explained, follow our guide on using the rsync command.
The key advantage of rsync is that it is incredibly customizable. You have to develop your backup script yourself. For example, I have created this basic script that can be used to backup all files in the folders listed in my INCLUDE_FILE:
#!/bin/bash

#########################################
# Simple Rsync Backup Script
# Backs up selected files to a remote server
#########################################

# === Customize These ===
REMOTE_USER="your_remote_username"
REMOTE_HOST="remote.host.com"
REMOTE_DIR="/remote/backup/folder"

# Location of file list (one path per line)
INCLUDE_FILE="$HOME/backup/scripts/include.txt"

# === Timestamped log file ===
TIMESTAMP=$(date +"%Y-%m-%d_%H-%M")
LOGFILE="$HOME/backup/logs/backup_$TIMESTAMP.log"

# Create log directory if it doesn't exist
mkdir -p "$(dirname "$LOGFILE")"

# Run rsync with common options:
# -a: archive mode, -v: verbose, -z: compress, --delete: remove files not in source
rsync -avz --delete \
  --files-from="$INCLUDE_FILE" \
  / "$REMOTE_USER@$REMOTE_HOST:$REMOTE_DIR" \
  | tee "$LOGFILE"

echo "Backup completed."
You can then make this script executable and schedule it using cron using the command:crontab -e
Then add an entry for your script, for example, the following entry can be used for a daily backup at 2:30 AM:30 2 * * * /home/yourusername/backup/scripts/backup.sh
The key advantage of this setup is that you can completely customize it to your needs. For example, if you have many databases that you need to back up, you can add a mysqldump command before the rsync command in your script.
You might also like: Turn your Raspberry Pi into a money-making machine
Note: Want a full example of a custom backup script and learn how to improve it over time (with compression, history, automation, and remote backup)? I have a video lesson on this topic just for community members. Join here to watch, and get access to 30+ other lessons for Raspberry Pi along with many other benefits!
The main drawback of this method is that it requires another computer on the same network to save your backups. A possible solution is to use removable storage, such as a USB stick, as the destination for your backups in your script.
Method 4 – RSnapshot
Make incremental backups to another computer on the LAN using rsnapshot with history tracking.
Pros
Cons
Download the free PDF, keep it open, and stop wasting time on Google.
Download now
rsnapshot is an effective backup tool for your Raspberry Pi. It is a wrapper around rsync, allowing you to modify a configuration file instead of writing your script. It also saves only incremental changes and includes built-in logging to track backups.
To install rsnapshot on your Raspberry Pi, you can use this command:sudo apt install rsnapshot
Instead of writing your script, rsnapshot can be configured using its configuration file located at /etc/rsnapshot.conf. You can edit it using any text editor, for example:nano /etc/rsnapshot.conf
In the configuration file, you can define multiple backup levels and their corresponding intervals. rsnapshot maintains an interval number of backups for each level/ category.
For example, in the screenshot above, the configuration maintains 6 alpha backups, 7 beta backups, and 4 gamma backups. You can also rename these levels to terms like daily, weekly, and monthly, and configure the intervals according to your preferences.
Once configured, you can add cron jobs (similar to rsync):
0 */4 * * * /usr/bin/rsnapshot alpha
30 2 * * * /usr/bin/rsnapshot beta
0 3 * * 0 /usr/bin/rsnapshot gamma
The files will be backed up at the configured snapshot root directory. You can set it to any local directory, any removable storage like a USB, or use a remote directory like a computer on the LAN.
Note: If you’re using rsnapshot to save on a remote computer over the LAN, make sure that SSH is configured properly to work without a password (using ssh-keygen).
The backups will be stored in separate folders within the snapshot root directory for each backup level, e.g., /backup/directory/daily.0/, /backup/directory/daily.1/, /backup/directory/weekly.0/, etc.
Although rsnapshot performs incremental backups by only copying files that have changed since the last backup, it utilizes hard links. This means you can easily restore your data by copying files from any of the backup folders back to your original folders.
In summary, rsnapshot is an excellent tool that automates the backup process for important files on your Raspberry Pi. You only need to configure it once based on your preferences, and then it’s all set.
For a full guide, check out our article: How to Use rsnapshot for Incremental Backups on Raspberry Pi
Method 5 – RClone
Back up important files to a cloud service like Google Drive.
Pros
Cons
Download the free PDF, keep it open, and stop wasting time on Google.
Download now
If you’re concerned about losing your backup on local storage, a secure option is to save your data to cloud storage services like OneDrive or Google Drive.
rclone is a tool that you can use to back up important data from your Raspberry Pi to a cloud service. rclone supports more than 50 popular cloud storage providers, including OneDrive, Google Drive, and Dropbox.
You can install rclone using the command:curl https://rclone.org/install.sh | sudo bash
Once installed, you can use this command to configure rclone:rclone config
You can authenticate with any of the cloud storage providers using rclone config.
Once configured, uploading files to the cloud storage is as simple as running this command:rclone copy /home/pi/Documents gdrive:/backup/Documents
Check this: 7 Surprising Uses for a Raspberry Pi
There are two different methods in rclone that you can use:
- copy – copies only the new files and changes.
- sync – makes the destination match one-to-one with the source location (will delete files that are removed in the source location).
You can create your script (similar to rsync) and replace the rsync commands with clone commands to save your backup to the cloud instead of a computer on the LAN. You can then schedule this script using cron.
The main drawback of this method is that your Raspberry Pi must always have an active internet connection. Additionally, if you are backing up large amounts of data, some cloud service providers may require you to purchase a paid plan to access more storage.
Related: Top 10 Raspberry Pi Backup Tips to Keep Your Data Safe
If you enjoy learning about Raspberry Pi, you’ll feel right at home in the RaspberryTips Community. It’s a friendly group of makers helping each other grow. Join us today for $1 and see what it’s like inside.
Which Method is Best for You?
There are several methods for backing up your Raspberry Pi. Each method serves a different purpose, and the best option will depend on your specific needs. The target audience for each method is as follows:
- Method 1 – Clone the SD Card: If you require a backup of the entire SD card, including OS files, but only need one copy for emergencies.
- Method 2 – Create an SD card image: If you need to back up the entire SD card, including the OS files, allowing for multiple restorations as needed.
- Method 3 – RSync: If you need a backup solution for important files only, and prefer a customized approach.
- Method 4 – RSnapshot: If you only need to back up important files and prefer not to write your own script, and need a configurable alternative to rsync.
- Method 5 – RClone: If you want your backup accessible anywhere online, via a cloud service.
I have created this handy decision tree to help you choose.

Backing up your Raspberry Pi doesn’t have to be complicated—you need to pick the method that fits your needs. Whether it’s cloning, cloud syncing, or automated snapshots, having any backup is better than having none.
Whenever you’re ready, here are other ways I can help you:
Test Your Raspberry Pi Level (Free): Not sure why everything takes so long on your Raspberry Pi? Take this free 3-minute assessment and see what’s causing the problems.
The RaspberryTips Community: Need help or want to discuss your Raspberry Pi projects with others who actually get it? Join the RaspberryTips Community and get access to private forums, exclusive lessons, and direct help (try it for just $1).
Master your Raspberry Pi in 30 days: If you are looking for the best tips to become an expert on Raspberry Pi, this book is for you. Learn useful Linux skills and practice multiple projects with step-by-step guides.
Master Python on Raspberry Pi: Create, understand, and improve any Python script for your Raspberry Pi. Learn the essentials step-by-step without losing time understanding useless concepts.
You can also find all my recommendations for tools and hardware on this page.


No way to use rpi-clone to backup straight to an image file on a mounted volume? It would be handy to be able to schedule hot backups to go to a NAS..
I also would like to see if there’s a way to do this ^
Hi,
Yes, could be cool 🙂
I don’t know if there is another script to do this, but rpi-clone goal is only to copy your system to a SD card
I don’t see anything like this in the documentation: https://github.com/billw2/rpi-clone
Can you explain why for the local system you use time +8 and on the remote system you use time -8?
Does that mean that only the oldest file gets moved to the remote system?
Hi John,
I think the -8 was an error, I have changed this.
We want to delete the old files, not the new ones.