Network Boot With Raspberry Pi: Everything you need to know
After USB boot was added a few years ago, we can now boot a Raspberry Pi from nothing. An Internet connection and a blank media storage is now enough to get started, you no longer need a computer to flash your first SD card. Want to give it a try? I will explain every step in this article.
The network boot on Raspberry Pi is a way to install an operating system directly from the Internet on a blank SD card. Once the Raspberry Pi firmware is up-to-date and the device is connected to the Internet, it will download the system image directly onto the SD card.
This is a really nice new feature on Raspberry Pi, but let’s start from the beginning. I want to make sure you understand the theory before trying it on your device.
If you’re new to Raspberry Pi or Linux, I’ve got something that can help you right away!
Download my free Linux commands cheat sheet – it’s a quick reference guide with all the essential commands you’ll need to get things done on your Raspberry Pi. Click here to get it for free!
What is network boot on Raspberry Pi?
The network boot feature on Raspberry Pi is a way to download a new operating system from the Raspberry Pi directly. Once connected to the Internet, the Raspberry Pi will start a minimal interface (looking like Raspberry Pi Imager), to flash the system you want on your media (SD or USB).
I know that network boot could mean different things to different people. I was a sysadmin, and when I saw the “network boot” announcement, I thought of powering the Raspberry Pi on remotely (wake on LAN) or even having a server to remotely deploy custom systems on Raspberry Pi. But this isn’t what we are talking about here.
Download the free PDF, keep it open, and stop wasting time on Google.
Download now

But it’s already an exciting feature. Until now, installing a Raspberry Pi without a computer was really complicated. I did a video explaining how to install it from your phone, but it wasn’t that easy. Now, people buying a Raspberry Pi as a cheap first computer at home can install almost anything on it directly.
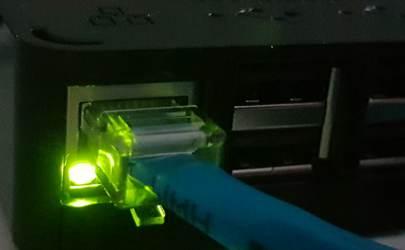
The only requirement to use this feature is to have a way to connect your Raspberry Pi to your network with an Ethernet cable (RJ45). Currently, it’s not possible to use this feature in Wi-Fi directly (but I’ll give you a workaround if you don’t have another option).
If you prefer watching videos instead of reading tutorials, you’ll love the RaspberryTips Community. I post a new lesson every month (only for members), and you can unlock them all with a 7-day trial for $1.
How to use network boot on Raspberry Pi?
Here are the required steps to use network boot on Raspberry Pi:
- Make sure your firmware is up-to-date.
- Remove all media and plug the Ethernet cable.
- Start the Raspberry Pi and follow the instructions.
Let’s learn how to do this.
Update the bootloader
There is a small piece of software stored on the Raspberry Pi board directly to boot the device. When you start a Raspberry Pi without any media, that’s the part that will handle the display and try to detect your SD card.
Download the free PDF, keep it open, and stop wasting time on Google.
Download now
That’s what I call the “bootloader” or “firmware”, we need to update it to handle network boot, as it’s a new feature (like for the USB boot support a few years ago if you already did it at that time).
To do this, you need to start on an existing Raspberry Pi OS installation, and follow these steps:
- First, open a terminal and make sure your system is up-to-date with:
sudo apt update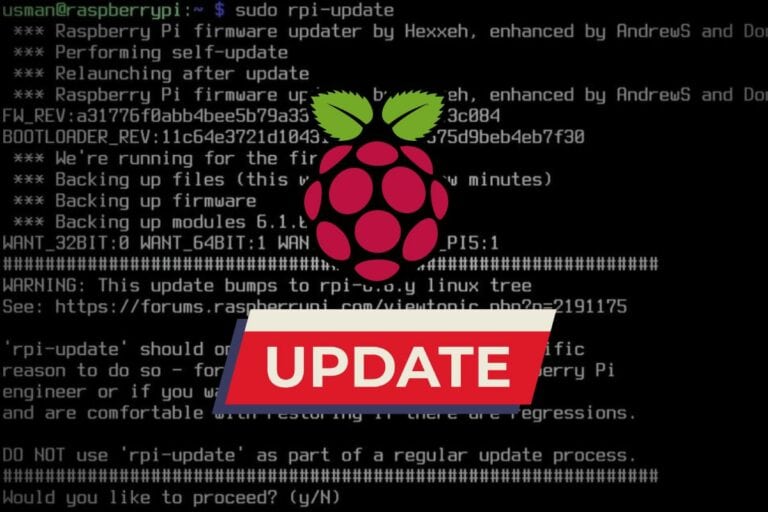
sudo apt full-upgrade - Then, update the firmware with:
sudo rpi-update
sudo rpi-eeprom-update -d -a
If there is a new version available, it will do the update, and it’ll use the latest version on the next reboot. In any case, after typing these commands, you’re ready to test the network boot on your Raspberry Pi – even if it does nothing.
Download the free PDF, keep it open, and stop wasting time on Google.
Download now
Are you a bit lost in the Linux command line? Check this article first for the most important commands to remember and a free downloadable cheat sheet so you can have the commands at your fingertips.
Connect the Raspberry Pi to your network
You can now stop the Raspberry Pi. Just make sure it’s connected to your network with an Ethernet cable, that’s the only requirement.
If your Raspberry Pi is far from your Internet router, and you don’t have any RJ45 sockets in your home, here is what I’m doing at home:
- I use a Wi-Fi extender like this one on Amazon.
- It’s connected to my Wi-Fi, but have a switch on it.
- I can then use Ethernet cables to connect my Raspberry Pi devices to it, and use the network boot, even if I’m not directly connected to my router.
I don’t do this for network boot to avoid configuring the Wi-Fi SSID and password with each new installation, but it’s a nice trick if you can’t plug your Raspberry Pi directly into your router.
By the way, you can find cheaper alternatives if you only have one Raspberry Pi to plug (this one is great for example).
Start the Raspberry Pi and use network boot
By default, the Raspberry Pi will try to boot on the SD card or USB drive if there is one connected. So, first you need to remove all media. You can then follow these steps to test network boot:
- Power the Raspberry Pi on.
- You should get a screen like this:
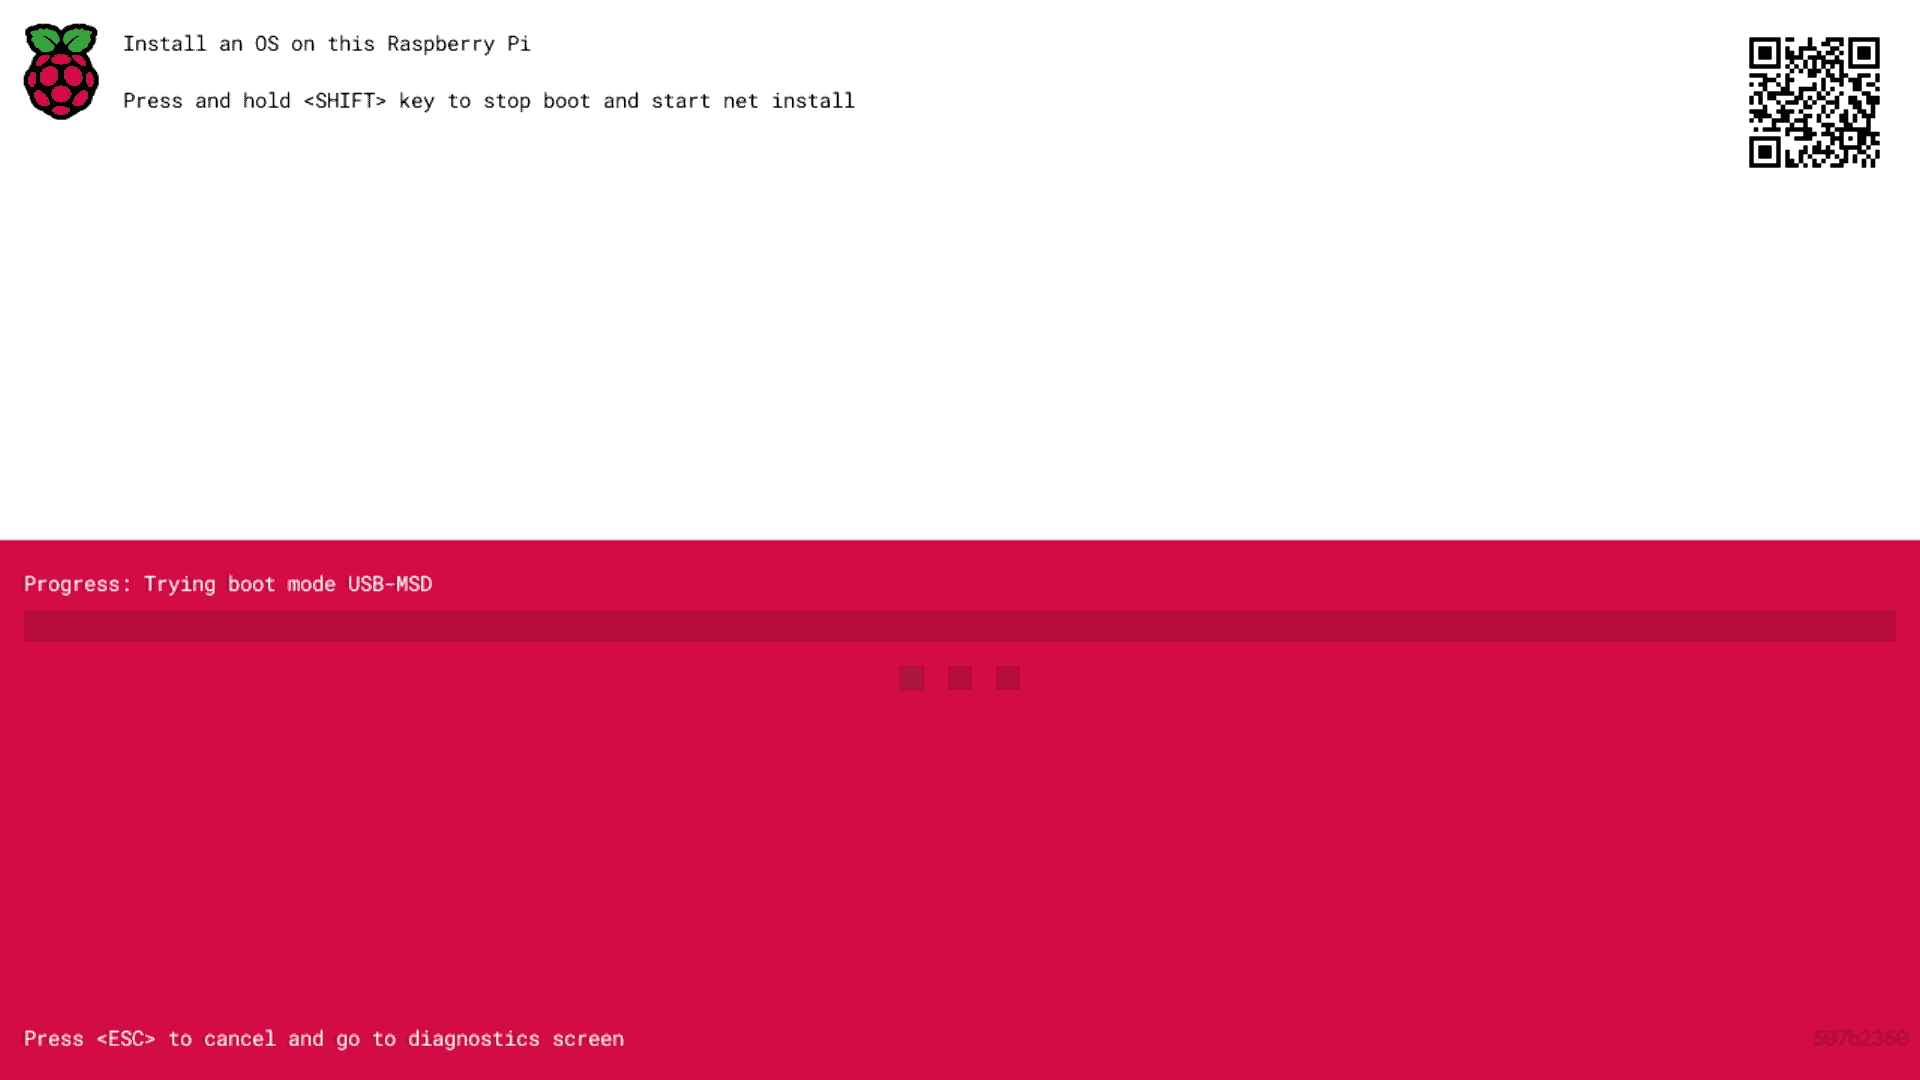
- As mentioned on the screen, you need to press and hold the SHIFT key to start the network boot.
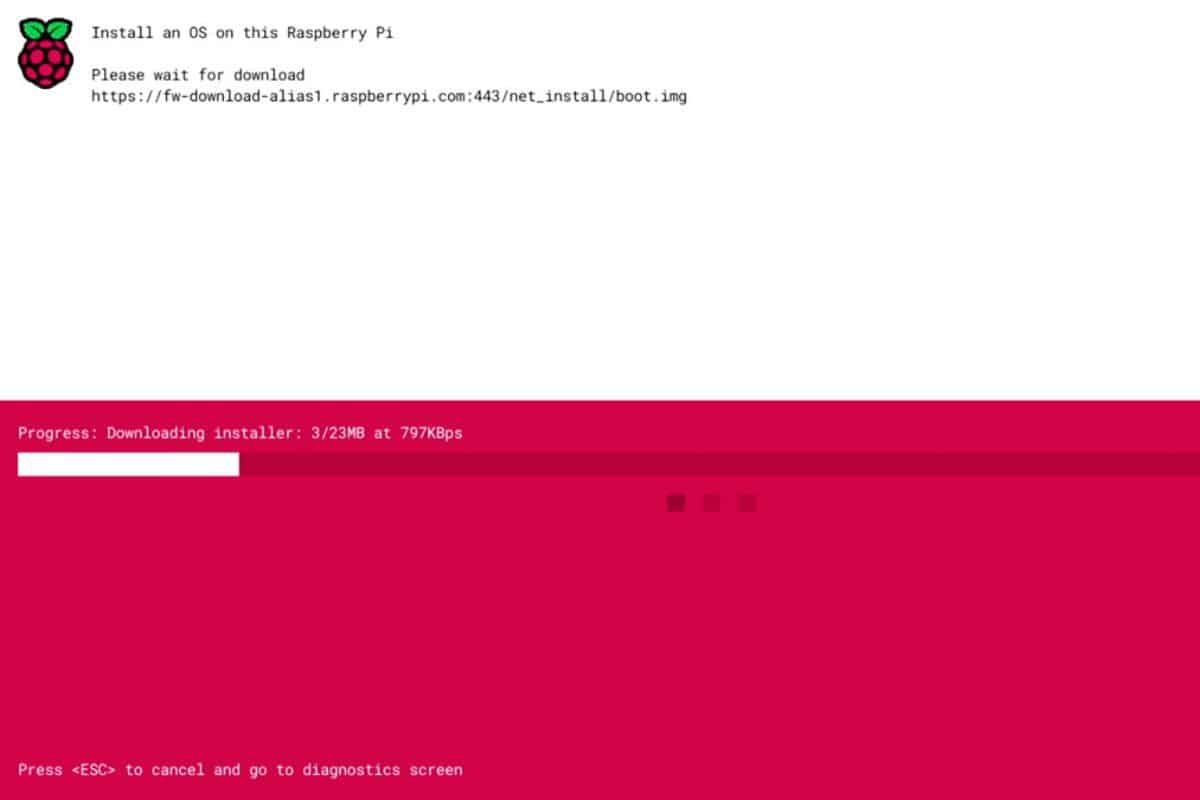
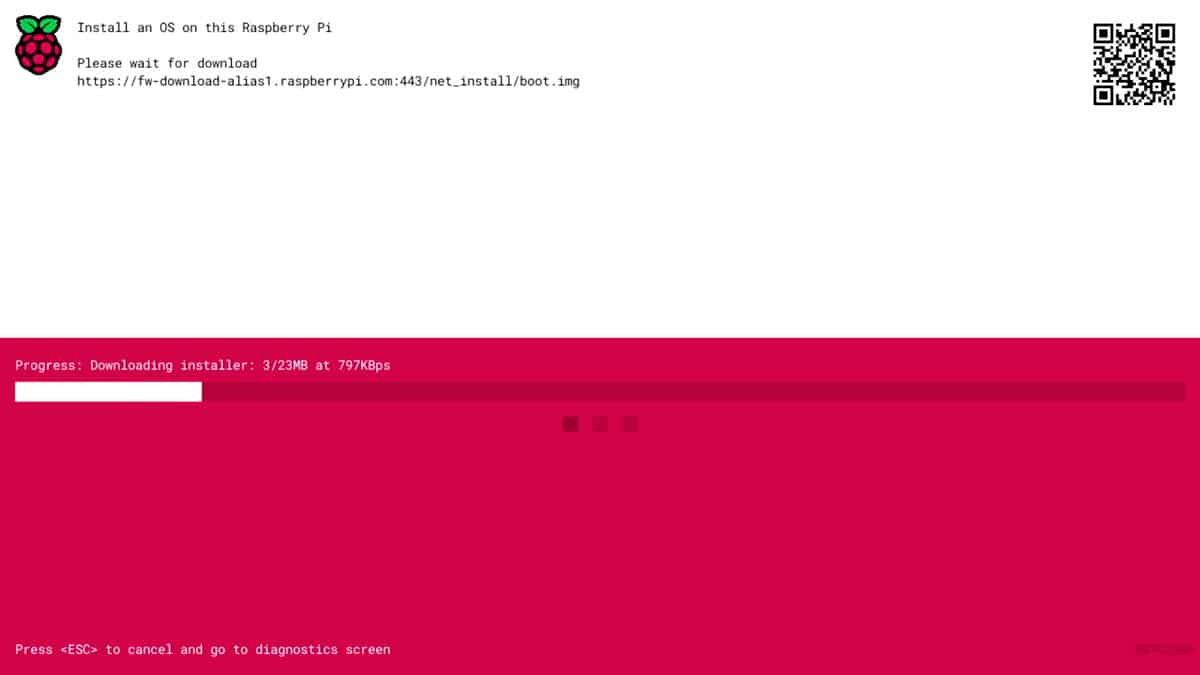
- If the network is working properly, it will then start downloading the installer:
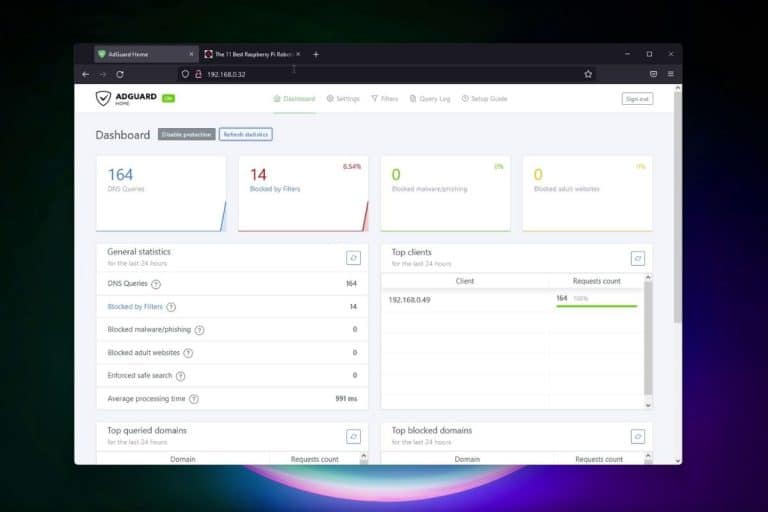
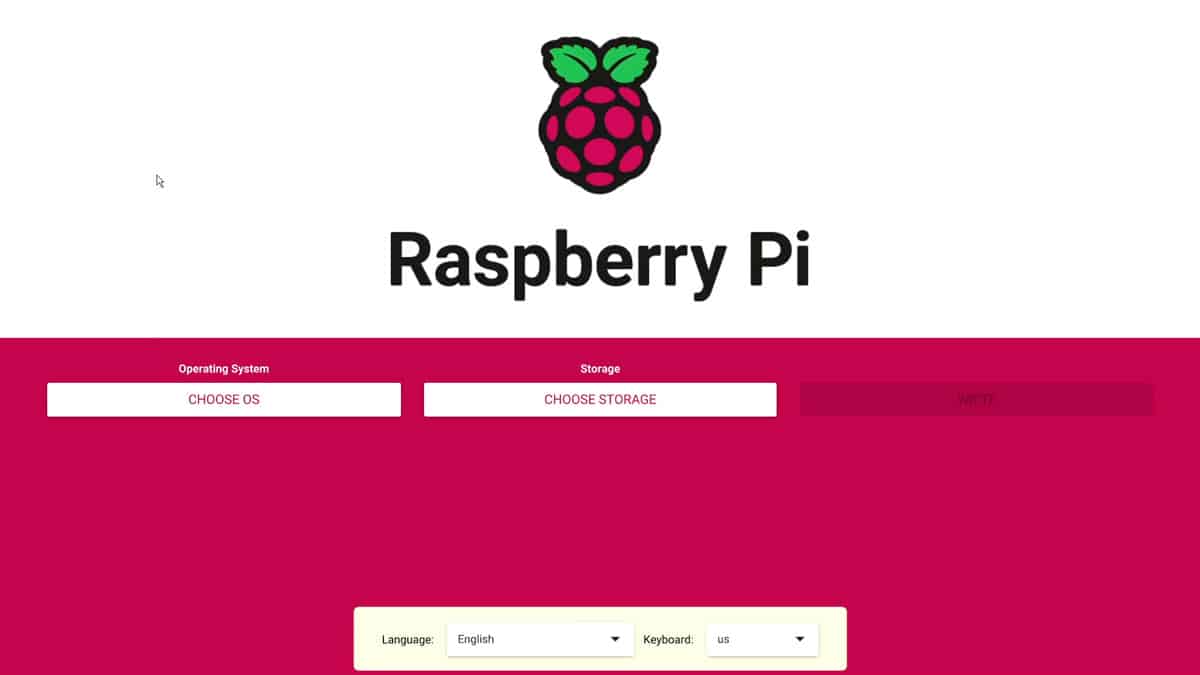
- After a few seconds, you’ll get a screen that looks almost like Raspberry Pi Imager, directly on the Raspberry Pi monitor:
From there, we can now move forward and install a new operating system on the Raspberry Pi.
Install a new system with network boot
Download the free PDF, keep it open, and stop wasting time on Google.
Download now
If you are used to Raspberry Pi Imager, you’ll be at home. The interface is almost the same, with the same OS list and almost the same steps.
- Start by adjusting the language and keyboard layout if needed (especially if you’ll use the advanced options).
- Click on “Choose OS”, and select the operating system you want to install in the list.
- Insert a media storage (USB drive or SD card) and click on “Choose Storage” to select it.
- With some operating systems, advanced options are available.
You can use it to connect to your Wi-Fi network automatically, set the first user and password, etc.
More details about this in my dedicated Raspberry Pi Imager guide. - Finally, click on “Write” to start the download and files copy process.
Once done, the Raspberry Pi will automatically reboot and start on your SD card or USB drive. There is nothing else to do.
From there, you can follow the same steps as if it was a brand-new installation created from your computer (read this for Raspberry Pi OS, for example).
Related: 15 Tweaks to Get the Most Out of Your Raspberry Pi Server
That’s it! You now know how to use network boot on a Raspberry Pi. I hope you enjoyed it, and please leave a comment in the community if you have any additional questions about this new feature, I will do my best to answer them.
Whenever you’re ready, here are other ways I can help you:
Test Your Raspberry Pi Level (Free): Not sure why everything takes so long on your Raspberry Pi? Take this free 3-minute assessment and see what’s causing the problems.
The RaspberryTips Community: Need help or want to discuss your Raspberry Pi projects with others who actually get it? Join the RaspberryTips Community and get access to private forums, exclusive lessons, and direct help (try it for just $1).
Master your Raspberry Pi in 30 days: If you are looking for the best tips to become an expert on Raspberry Pi, this book is for you. Learn useful Linux skills and practice multiple projects with step-by-step guides.
Master Python on Raspberry Pi: Create, understand, and improve any Python script for your Raspberry Pi. Learn the essentials step-by-step without losing time understanding useless concepts.
You can also find all my recommendations for tools and hardware on this page.