9 Powerful Python Scripts to Automate Your Raspberry Pi
If you’re like me, your Raspberry Pi is always running something: maybe a backup, a network monitor, or a simple script. But doing the same tasks every day gets old fast. That’s where Python helps. With a few simple scripts, your Pi can automatically handle the boring stuff. I’ve tested a bunch and picked the useful ones.
Python scripts can be used on a Raspberry Pi to automate functional tasks like backups, monitoring, alerts, and device control with just a few lines of code. They’re easier to write, read, and expand than bash scripts, especially when using libraries or web APIs.
In this article, I’ll share some of the most useful Python scripts I’ve used to make my Raspberry Pi smarter and more hands-off. You’ll find ideas, code snippets, and tips you can apply immediately, no advanced skills are required.
If you’re like me and sometimes mix up syntax between programming languages, I’ve got just the thing for you. I’ve put together a Python cheat sheet with all the essential syntax in one place, so you can keep it handy and avoid any confusion. Download it here for free!
Automated System Update Script
Keeping your system updated is essential, as updates often include critical security patches and bug fixes. It’s also good practice to update your system before installing new software.
Unlike most modern operating systems, Raspberry Pi OS has no automatic or scheduled update feature. Typically, when we need to update our system, we do so manually through the package manager using the following command:sudo apt update && sudo apt full-upgrade -y
This process can be automated using a Python script with the subprocess library. The following Python code snippet updates the Raspberry Pi automatically:
import subprocess

# Update and upgrade the system
def run_update():
    subprocess.run(["sudo", "apt", "update"])
    subprocess.run(["sudo", "apt", "upgrade", "-y"])

run_update()
What you can do is make this Python script executable using the command:chmod +x /home/pat/path/to/script.py
And add it to the end of your ~/.bashrc file. This way, signing in to your Raspberry Pi automatically starts a system update in the background.
To avoid repeat updates, you can add a log file to log the time of the last update and then add a line in your script to check that a minimum amount of time has passed (e.g., 7 days) before initiating the update:
from pathlib import Path
from datetime import datetime, timedelta

#Define Log Path and the number of days required to start a new update
UPDATE_LOG = Path("/home/pi/.last_update")
UPDATE_THRESHOLD_DAYS = 7

#Check if Update is required
def needs_update():
    if not UPDATE_LOG.exists():
        return True
    last_update = datetime.fromisoformat(UPDATE_LOG.read_text())
    return datetime.now() - last_update > timedelta(days=UPDATE_THRESHOLD_DAYS)

#Only run update if update is required
if needs_update():
    run_update()
If you are running your Raspberry Pi in GUI mode, you can add notifications to let you know when an update has started and when an update has successfully finished (or otherwise). We can do this using the plyer library.
You can install this library using the command:pip install plyer
Note: Raspberry Pi OS doesn’t have its Notification daemon pre-installed. Therefore, you must install dunst from the official repository to see the notifications. You can install dunst using the command:sudo apt install dunst
We can then use this in our Python script to show notifications whenever an update has started and when it has finished successfully using code:
from plyer import notification

def show_notification(title, message):
    notification.notify(
        title=title,
        message=message,
        timeout=5
    )

show_notification("System Update", "Starting update...")
Once set up, it will show you an on-screen notification every time it starts and completes a system update, as shown below: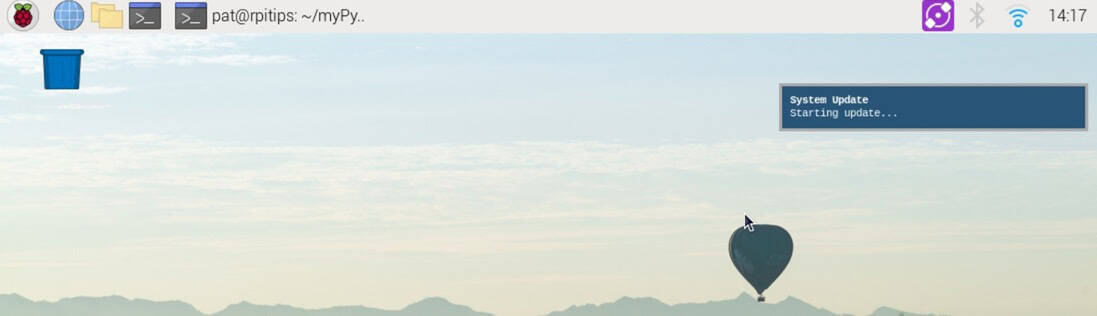
Cloud Backup Script
Backing up your files is one of those things you only think about after it’s too late. Whether it’s photos, projects, or logs, losing them to an SD card failure can be frustrating. So, let’s fix that.
You can write a script in Python to automatically back up any folder on your Raspberry Pi to Google Drive. You can run it on a schedule (daily, weekly, etc.) using a cron job. We’ll use rclone, a powerful tool that connects your Pi to popular cloud storage services.
To use rclone, you first need to install it using the command:sudo apt install rclone
Note: Make sure you configure the rclone to link it with your Google Drive using the command:rclone config
Once installed and configured, you can use simple Python code like the one below to automatically backup your selected folder to your Google Drive:
If like me, you always mix the languages syntax, download my cheat sheet for Python here!
Download now
import subprocess
from datetime import datetime

# Folder to back up
source_folder = "/home/pi/projects"

# Destination folder in Google Drive
backup_name = f"backup_{datetime.now().strftime('%Y-%m-%d')}"
remote_folder = f"gdrive:PiBackups/{backup_name}"

# Run the backup
subprocess.run(["rclone", "copy", source_folder, remote_folder])
You can enhance this further by setting up a crontab to automate and execute the script at scheduled intervals (e.g., nightly). This ensures that your valuable data is automatically cloned to your Google Drive.
You can use a similar notification method, as discussed in the auto-update script, to notify when a backup has been created.
You can also use the rclone sync function to update existing backups instead of creating a new backup every time. Another advantage of using rclone is that you can configure it to use Dropbox, OneDrive, or other similar file hosting services, and you are not limited to Google Drive only.
If you want to learn about other methods to back up your Raspberry Pi, we cover them here, The Ultimate Guide to Backup and Restore Your Raspberry Pi, such as using rsnapshot for incremental backups.
Resource Usage Logger
Have you wondered if your Raspberry Pi is running too hot or using too much memory? If your Pi suddenly slows down, having a performance log can help you figure out why.
While several tools are available to monitor the health of your Raspberry Pi, most require you to be present on-site. You can develop a Python script using the psutil library to keep track of CPU, memory, and disk usage and warn you if anything crosses a set limit.
You can install the psutil library using the command:pip install psutil
You can then use the built-in functions of psutil to get the CPU, RAM, and disk usage, as shown below:
Check this: Need a clear GPIO pinout diagram? Here's mine.
import psutil

cpu = psutil.cpu_percent()
ram = psutil.virtual_memory().percent
disk = psutil.disk_usage('/').percent
Another important statistic to monitor is the CPU temperature of the Raspberry Pi. CPU temperature can also be acquired by reading the value in the file /sys/class/thermal/thermal_zone0/temp. You can convert this into Python code as well:
# Function to get CPU temperature
def get_cpu_temp():
    try:
        with open("/sys/class/thermal/thermal_zone0/temp", "r") as f:
            temp_str = f.readline()
            return round(int(temp_str) / 1000, 1)
    except FileNotFoundError:
        return None
You can then save all this data in a CSV file with a date and time stamp to create a log that can be reviewed later to analyze the system performance.
You can also enhance this script by using Pushbullet to send notifications if anything becomes excessive (e.g., CPU temperature is too high) while you are away.
Note: Ensure you have Pushbullet installed and configured on your PC or mobile phone to receive the notifications.
You can use a Python script, as shown below, to send Pushbullet notifications to all connected devices:
import requests

PUSHBULLET_TOKEN = "your_token_here"

def send_alert(msg):
    requests.post(
        "https://api.pushbullet.com/v2/pushes",
        headers={"Access-Token": PUSHBULLET_TOKEN},
        json={"type": "note", "title": "Raspberry Pi Alert", "body": msg}
    )

if temp and temp > TEMP_LIMIT:
    send_alert(f"CPU temperature is high: {temp}°C")
Now, every time your Raspberry Pi gets too hot, it will automatically notify you, even when you are away from it:
Pushbullet notifications can also be received on your mobile phone.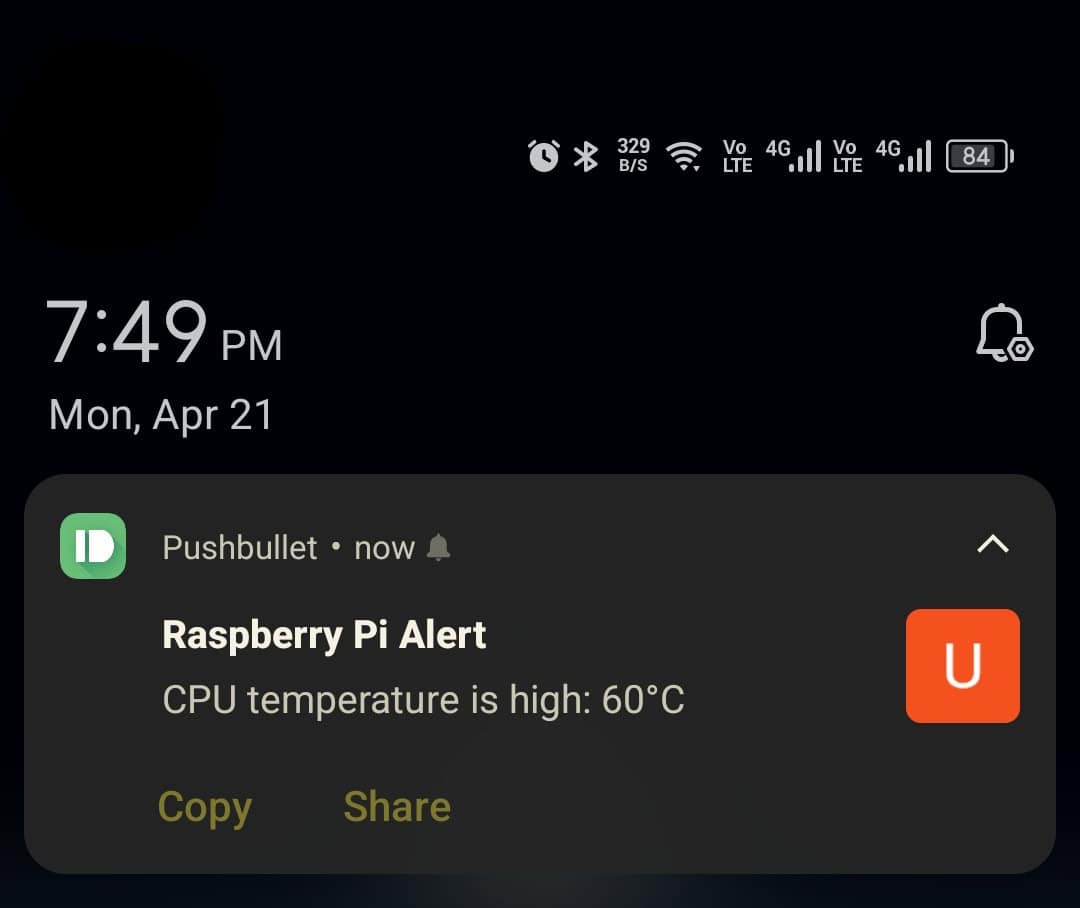
Check this: Pi5 vs. Pi4: I tested them, here's the result
If your Raspberry Pi frequently overheats, follow this comprehensive guide on Raspberry Pi Temperature: Limits, Monitoring, Cooling, and More.
Idle Screen Turn-Off / Energy Saver
Do you leave your Raspberry Pi running with a screen connected? If so, that screen might stay on even when no one’s using it. Over time, this can waste electricity and shorten the life of your display.
If like me, you always mix the languages syntax, download my cheat sheet for Python here!
Download now
Raspberry Pi OS includes a basic screen blanking feature, which turns the screen black after 10 to 15 minutes of inactivity. However, this feature only blacks out the screen, and your HDMI output is not disabled.
With a simple Python script, you can monitor mouse and keyboard activity and turn off the display automatically after a set time. We can also use vgencmd to disable the power to the HDMI output, which results in a much more significant power saving than the default screen blacking.
To monitor your keyboard and mouse activity, you will need the pynput library. You can install it using the command:pip install pynput
You can then use a Python script to monitor your keyboard and mouse usage:
import time
from pynput import mouse, keyboard

def reset_timer(x=None):
    global last_input_time
    last_input_time = time.time()

# Set up listeners for keyboard and mouse
keyboard_listener = keyboard.Listener(on_press=reset_timer)
mouse_listener = mouse.Listener(on_move=reset_timer, on_click=reset_timer, on_scroll=reset_timer)

keyboard_listener.start()
mouse_listener.start()
Subsequently, you can continue to monitor the inactivity time. If the time exceeds a certain threshold, you can use vgencmd to disable the HDMI output.
while True:
    idle_duration = time.time() - last_input_time

    if idle_duration > IDLE_TIME and not screen_off:
        subprocess.run(["/usr/bin/vcgencmd", "display_power", "0"])
        screen_off = True
        print("Screen turned OFF due to inactivity.")

    elif idle_duration <= IDLE_TIME and screen_off:
        subprocess.run(["/usr/bin/vcgencmd", "display_power", "1"])
        screen_off = False
        print("Activity detected. Screen turned ON.")

    time.sleep(5)
You can automate and run this script in the background using ~/.bashrc, rc.local, or systemd service. This script can result in a significant power economy, as your monitor most often consumes the most electricity.
If you’re new to the Linux command line, this article will give you the most important Linux commands to know, plus a free downloadable cheat sheet to keep handy.
USB Insertion Script
Transferring files from a Raspberry Pi usually means connecting via SSH, SCP, or cloud sync. But sometimes, the easiest way is still the old-school one—plugging in a USB drive.
However, if you are running your Raspberry Pi as a headless server and want to download some logs from it, wouldn’t it be cool if you just plugged in a USB and your Raspberry Pi automatically downloaded all relevant logs into your USB and safely ejected it?
It sounds like something out of a James Bond movie—but you can do it with a simple Python script.
You can find the mount path of your USB using the Python code as shown below:
import os

MOUNT_ROOT = "/media/pi"
USB_LABEL = "LOGDUMP"  # Optional: use a specific USB label

def find_usb_mount():
    for mount in os.listdir(MOUNT_ROOT):
        mount_path = os.path.join(MOUNT_ROOT, mount)
        if os.path.ismount(mount_path):
            if USB_LABEL and USB_LABEL.lower() not in mount.lower():
                continue
            return mount_path
    return None
And then use that to copy data to your USB using the shutil library:
You might also like: Looking for a fun challenge? Start building your first Raspberry Pi robot!
import os
import shutil
import time

SOURCE_DIR = "/var/log/mylogs"
DESTINATION_NAME = f"logs_{time.strftime('%Y%m%d_%H%M%S')}"

def copy_logs(usb_path):
    dest = os.path.join(usb_path, DESTINATION_NAME)
    os.makedirs(dest, exist_ok=True)
    shutil.copytree(SOURCE_DIR, dest, dirs_exist_ok=True)
    print(f"✅ Logs copied to: {dest}")
However, the real magic is done when you add this script to your udev rules. You can do so by following these steps:
- First, you need to make your Python script executable by running the command:
sudo chmod +x /path/to/your/script.py - You can then create a wrapper shell script containing the following bash script:
python3 /path/to/your/script.py - Make this shell script executable as well.
- Finally, you can make a udev rule by using the command:
sudo nano /etc/udev/rules.d/99-usb-log.rules - Add the following lines to it:
ACTION=="add", SUBSYSTEM=="block", KERNEL=="sd[a-z][0-9]", RUN+="/path/to/your/shell/script.sh" - Reload the udev using the command:
sudo udevadm control --reload-rules && sudo udevadm trigger
Now, whenever you insert a USB, your Raspberry Pi will automatically copy all your logs to the USB without needing a monitor, keyboard, or mouse.
You can further enhance this script by adding an authentication method to improve data security, e.g., an authentication token saved on your USB, which the Python script will verify before copying all logs to the USB.
Related: Top 10 Raspberry Pi Backup Tips to Keep Your Data Safe
Camera Motion Detector with Snapshot
Turning your Raspberry Pi into a basic security system sounds complicated, but it’s more straightforward than you think. Using a camera module with Raspberry Pi and some Computer Vision magic, you can easily achieve this.
OpenCV is an open-source library compatible with languages like Python and C++. It allows you to build computer vision and machine learning projects. Using OpenCV, you can achieve tasks such as face recognition, gesture recognition, etc.
Download the free PDF, keep it open, and stop wasting time on Google.
Download now
You can configure your Raspberry Pi Camera to use it with Python, using this guide: How To Use The Raspberry Pi Camera With Python In 2025.
You can install OpenCV on your Raspberry Pi using the command:sudo apt install python3-opencv
You can then use OpenCV in a Python script to create a motion detection algorithm as shown below:
import cv2

# Capture video stream
cam = cv2.VideoCapture(0)

# Read the first frame and preprocess it
_, frame1 = cam.read()
gray1 = cv2.cvtColor(frame1, cv2.COLOR_BGR2GRAY)
gray1 = cv2.GaussianBlur(gray1, (21, 21), 0)

while True:
    # Read the next frame
    _, frame2 = cam.read()
    gray2 = cv2.cvtColor(frame2, cv2.COLOR_BGR2GRAY)
    gray2 = cv2.GaussianBlur(gray2, (21, 21), 0)

    # Compute difference between frames
    delta = cv2.absdiff(gray1, gray2)
    thresh = cv2.threshold(delta, 25, 255, cv2.THRESH_BINARY)[1]
    thresh = cv2.dilate(thresh, None, iterations=2)

    # Find contours (moving areas)
    contours, _ = cv2.findContours(thresh.copy(), cv2.RETR_EXTERNAL, cv2.CHAIN_APPROX_SIMPLE)

    # Check for motion
    motion_detected = any(cv2.contourArea(c) > 1000 for c in contours)

    if motion_detected:
        print("⚠️ Motion detected!")

    # Update the baseline frame
    gray1 = gray2.copy()

    # Exit on 'q'
    if cv2.waitKey(10) == ord('q'):
        break

cam.release()
cv2.destroyAllWindows()
This motion detection script can then email you with the image enclosed. This can also be done with a simple Python code:
import smtplib
from email.message import EmailMessage

def send_email(image_path):
    # Set up the email details
    msg = EmailMessage()
    msg['Subject'] = '📸 Motion Detected on Raspberry Pi'
    msg['From'] = '[email protected]'
    msg['To'] = '[email protected]'
    msg.set_content('Motion detected! See attached snapshot.')

    # Attach the image
    with open(image_path, 'rb') as f:
        msg.add_attachment(f.read(), maintype='image', subtype='jpeg', filename='snapshot.jpg')

    # Send via Gmail (or your preferred SMTP)
    with smtplib.SMTP_SSL('smtp.gmail.com', 465) as smtp:
        smtp.login('[email protected]', 'your_app_password')
        smtp.send_message(msg)
        print("📧 Email sent successfully!")
By combining these two scripts, you can make your Raspberry Pi act as a home sentry. Whenever it detects any motion on its camera, it will take a picture and email it to you.
You can improve this project by adding an HC-SR501 motion detector sensor to enhance your system’s motion detection capabilities.
Device Reachability Checker
If you have smart home devices, printers, or even another Raspberry Pi on your network, you might want to know when one goes offline. This can be extremely useful for remotely administering your innovative tools.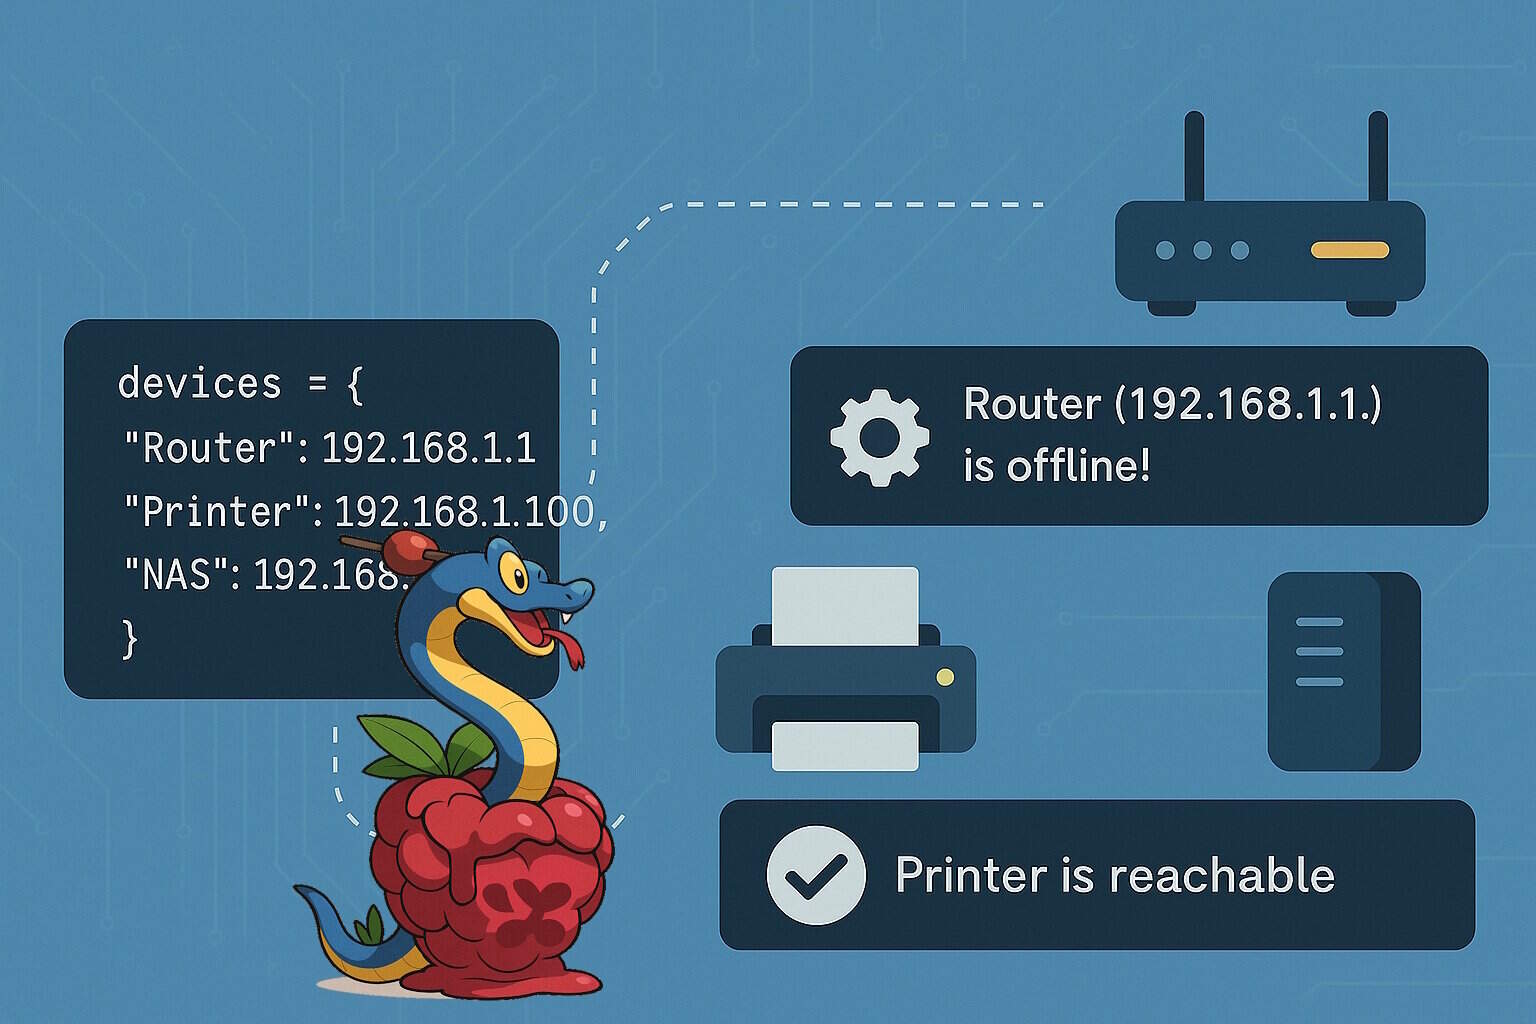
A Python script can regularly check whether your network devices—routers, printers, or smart home controllers—are reachable. By pinging their IP addresses at set intervals, the script can detect if any of them go offline and send a notification when it happens.
Checking the reachability of your devices using ping can be easily done using the code below:
import os
import time

# List of devices to monitor (name, IP address)
devices = {
    "Router": "192.168.1.1",
    "Printer": "192.168.1.100",
    "NAS": "192.168.1.50"
}

def is_reachable(ip):
    return os.system(f"ping -c 1 -W 2 {ip} > /dev/null 2>&1") == 0

while True:
    for name, ip in devices.items():
        if not is_reachable(ip):
            print(f"⚠️ {name} ({ip}) is offline!")
            # Add optional alert here
        else:
            print(f"✅ {name} is reachable.")
    time.sleep(300)  # Wait 5 minutes
You can keep track of all devices, and if any device goes offline, you can notify yourself using Pushbullet or by sending yourself an email, as shown in the previous sections.
An example of a function that sends a notification through Pushbullet is shown below:
import requests

def send_alert(device_name, ip):
    token = "your_pushbullet_token"
    msg = f"{device_name} ({ip}) is offline!"
    requests.post(
        "https://api.pushbullet.com/v2/pushes",
        headers={"Access-Token": token},
        json={"type": "note", "title": "Device Alert", "body": msg}
    )
Using this script, you can monitor the status of all your smart devices at home while you are away on vacation.
But how will you make sure that your Raspberry Pi itself stays on?
This can also be done using a heartbeat notification; you can amend the same Python script to generate heartbeat notifications periodically.
import time
import requests

def send_heartbeat():
    token = "your_pushbullet_token"
    message = {
        "type": "note",
        "title": "Raspberry Pi Heartbeat",
        "body": "I'm still online. Time: " + time.strftime("%Y-%m-%d %H:%M:%S")
    }
    requests.post("https://api.pushbullet.com/v2/pushes", headers={
        "Access-Token": token
    }, json=message)

while True:
    send_heartbeat()
    print("✅ Heartbeat sent.")
    time.sleep(3600)  # Every hour
You can combine these Python scripts to detect the status of all connected smart devices at your home and the Raspberry Pi itself. This way, you can rest assured that everything works as it should when you are away.
Check this: Need a clear GPIO pinout diagram? Here's mine.
You can also add network speed monitoring into the mix to detect the overall connectivity of your home network with the internet and to alert you if the connection speed drops below a certain threshold.
For more advanced system administration of connected servers through your Raspberry Pi, consider using Nagios.
Light Controller for Philips Hue or Tasmota Devices
Download the free PDF, keep it open, and stop wasting time on Google.
Download now
Raspberry Pi can be used for several home automation projects. While there is a plethora of home automation tools available. However, some simple Python scripts can also be used to automate the lights in your smart home.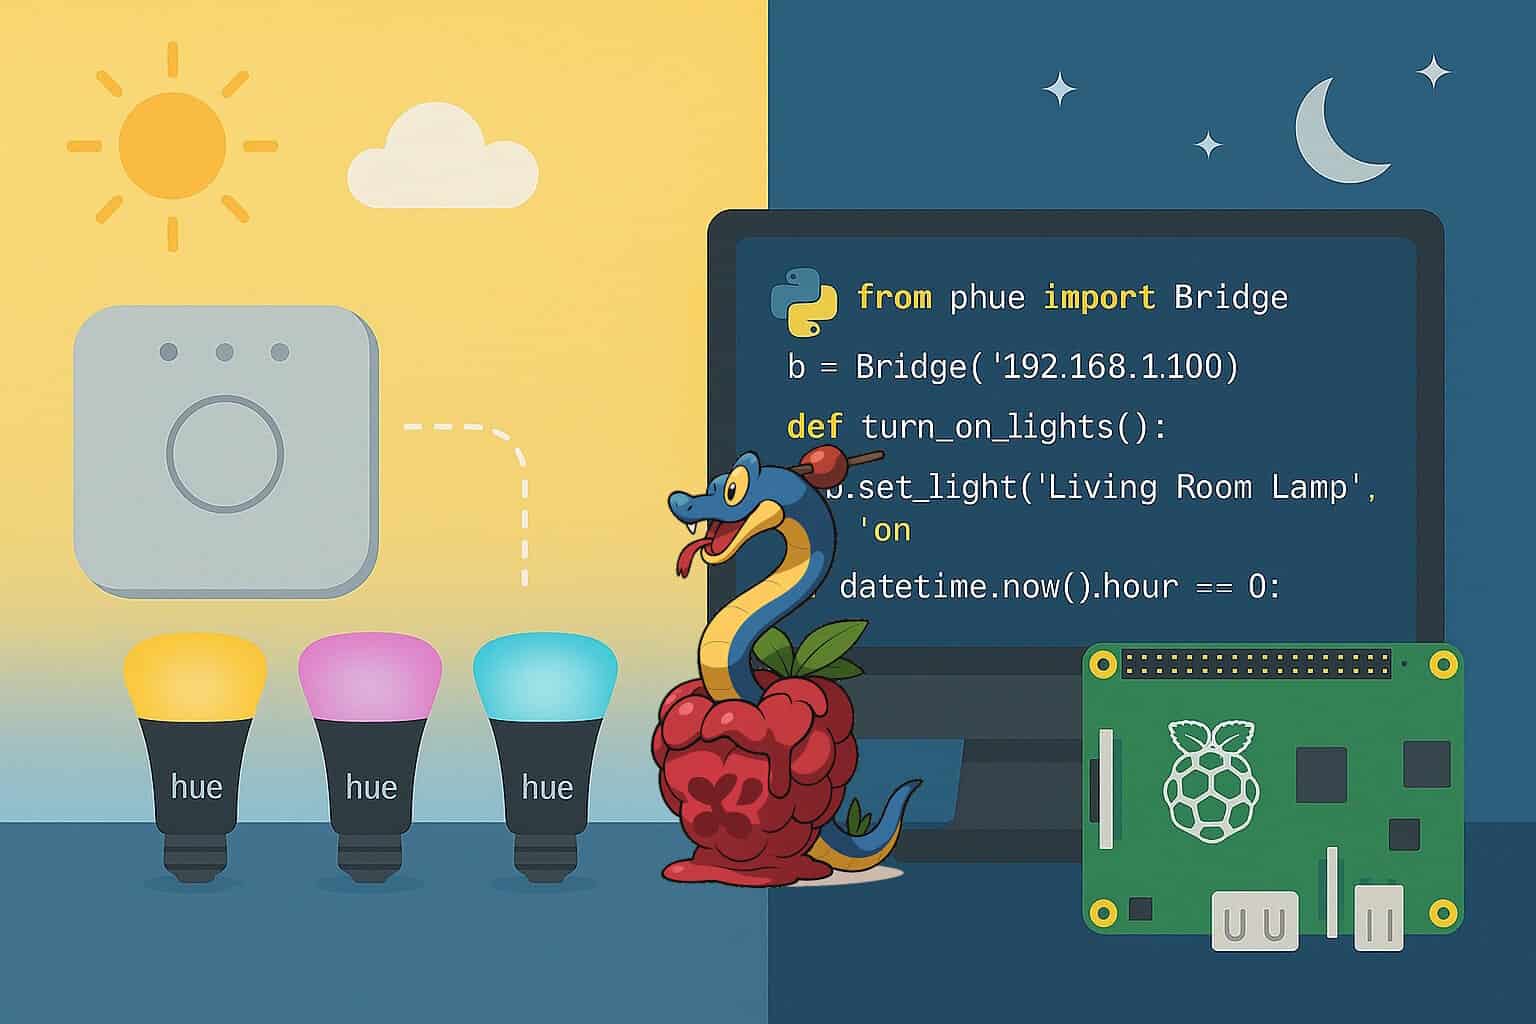
A Python script can control bright lights like Philips Hue or Tasmota-flashed bulbs. These lights can be turned on or off based on specific times of day or when motion is detected.
You will need to install the phue library to enable this functionality in Python. You can do so using the command:pip install phue
You will need to know your Hue Bridge’s IP to connect. Additionally, on the first run, you must press the link button on the bridge to authorize your Pi. You can initiate a connection using the following Python code:
from phue import Bridge

bridge_ip = '192.168.1.100'  # Replace with your bridge IP
b = Bridge(bridge_ip)
b.connect()
Once connected, you can use this library to control the lights:
from datetime import datetime

# Turn on a specific light by name
def turn_on_lights():
    b.set_light('Living Room Lamp', 'on', True)

# Turn off all lights at midnight
if datetime.now().hour == 0:
    b.set_light('Living Room Lamp', 'on', False)
In addition to turning them on or off, you can control brightness, colors, and scenes using this library.
If instead of Philips Hue lights, you are using the Tasmota-flashed smart plugs or bulbs, you can also control them using HTTP requests. For example, the following code can be used to turn on and off a Tasmota-flashed device:
import requests
from datetime import datetime

# Replace with your Tasmota device IP
device_ip = "192.168.1.150"

def turn_light_on():
    requests.get(f"http://{device_ip}/cm?cmnd=Power%20On")

def turn_light_off():
    requests.get(f"http://{device_ip}/cm?cmnd=Power%20Off")
To achieve even greater automation, combine these controls with a simple date-and-time check or the motion detection script we discussed earlier. You can also automate these scripts using cron jobs.
You can also combine these scripts with MQTT to enable remote control functionalities for your smart devices at home.
While pre-built home automation tools are great and offer a plethora of functionality. However, developing your own Python script enables far more customization.
If you prefer watching videos instead of reading tutorials, you’ll love the RaspberryTips Community. I post a new lesson every month (only for members), and you can unlock them all with a 7-day trial for $1.
Website Uptime Monitor
If you host your website, blog, or home server, it’s good to know when it goes down—especially if it happens when you’re not looking. Manually refreshing your browser isn’t a reliable solution.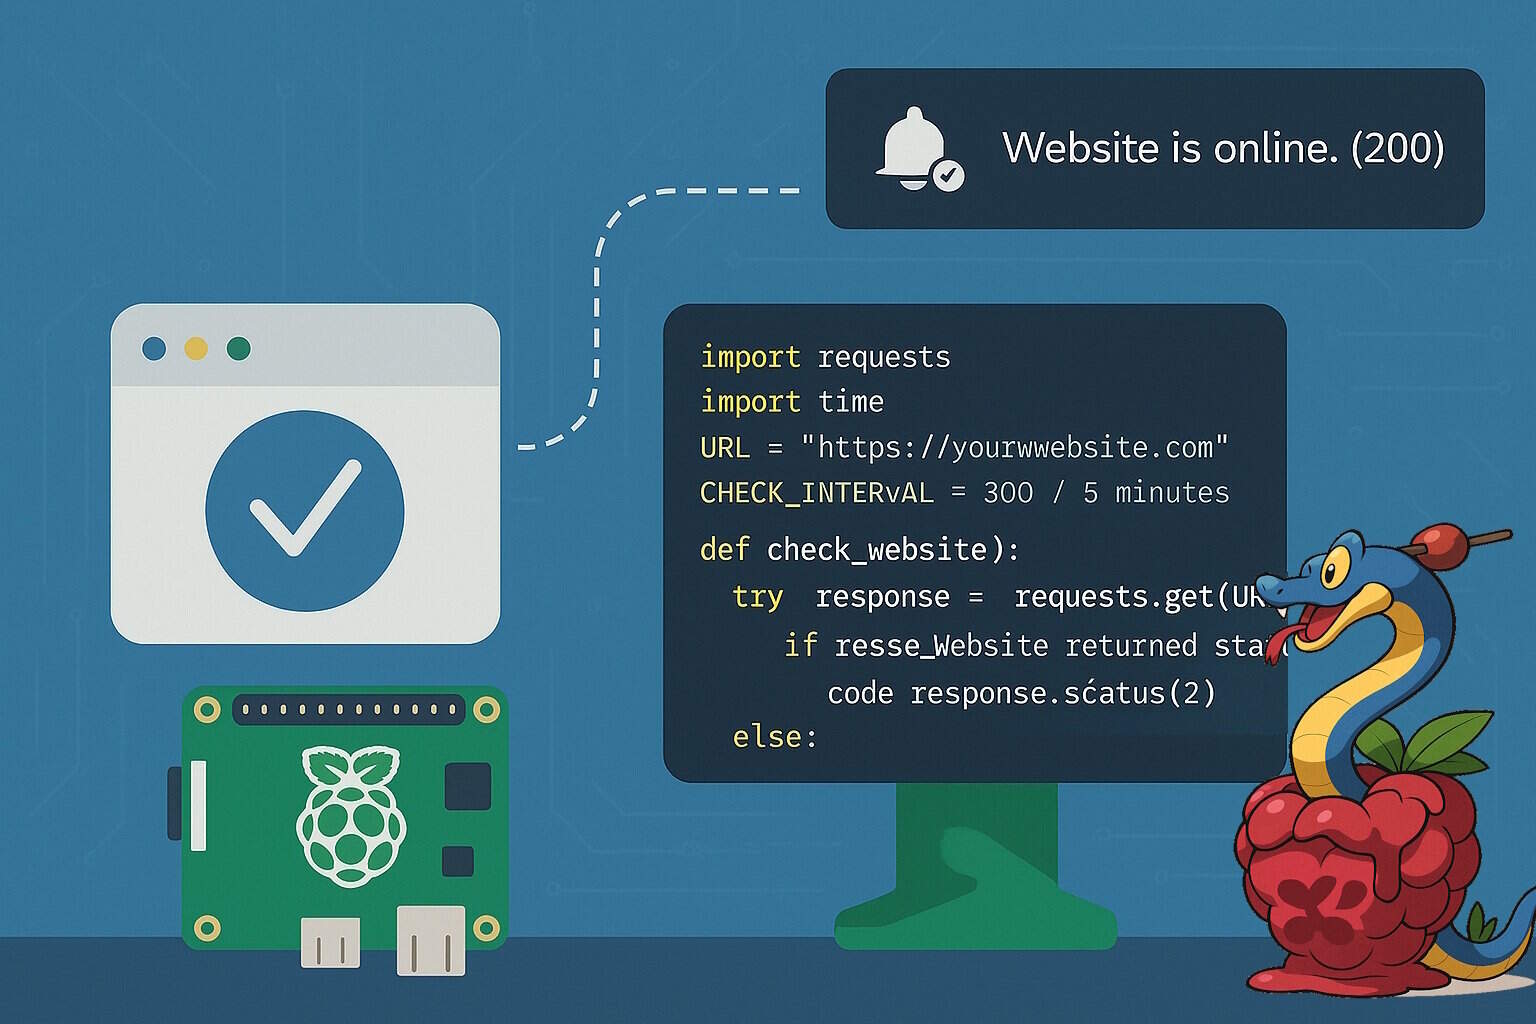
A Python script can regularly check your site’s status and notify you if it returns an error code or becomes too slow to respond. Building your uptime monitoring system using the requests library only takes a few lines of code.
You can install the requests library using the command:pip install requests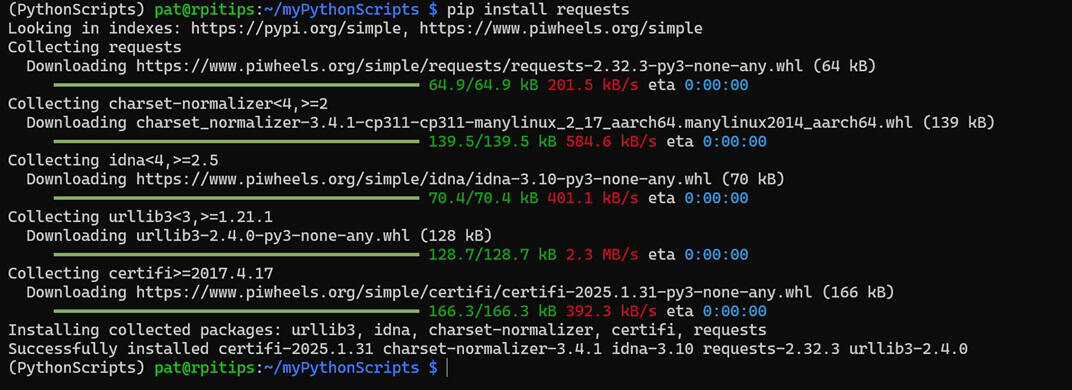
Once this library is installed, it can be used to develop a basic uptime check script as shown below:
import requests
import time

URL = "https://yourwebsite.com"
CHECK_INTERVAL = 300  # 5 minutes

def check_website():
    try:
        response = requests.get(URL, timeout=5)
        if response.status_code != 200:
            print(f"⚠️ Website returned status code {response.status_code}")
        else:
            print(f"✅ Website is online. ({response.status_code})")
    except requests.exceptions.RequestException as e:
        print(f"🚨 Website check failed: {e}")

while True:
    check_website()
    time.sleep(CHECK_INTERVAL)
You can then send notifications through Pushbullet or email to notify you if the website is down, or if it returns an error:
import requests

def send_alert(message):
    token = "your_pushbullet_token"
    requests.post(
        "https://api.pushbullet.com/v2/pushes",
        headers={"Access-Token": token},
        json={"type": "note", "title": "Website Down", "body": message}
    )
You can use this function in your check function like this:
if response.status_code != 200:
    send_alert(f"Website returned {response.status_code}")
You can further enhance it to alert you if your website’s load time is also slow. Slow load times can also indicate an underlying issue that needs to be resolved.
response = requests.get(URL, timeout=10)
load_time = response.elapsed.total_seconds()

if load_time > 1.5:
    send_alert(f"⏱️ Website is slow: {load_time:.2f}s")
You can combine this script with your Device Reachability Check and the Resource Usage Logger to make an all-in-one script that keeps you updated on all your smart devices, your website/ blogs, and the health of the Raspberry Pi itself.
Whenever you’re ready, here are other ways I can help you:
Test Your Raspberry Pi Level (Free): Not sure why everything takes so long on your Raspberry Pi? Take this free 3-minute assessment and see what’s causing the problems.
The RaspberryTips Community: Need help or want to discuss your Raspberry Pi projects with others who actually get it? Join the RaspberryTips Community and get access to private forums, exclusive lessons, and direct help (try it for just $1).
Master your Raspberry Pi in 30 days: If you are looking for the best tips to become an expert on Raspberry Pi, this book is for you. Learn useful Linux skills and practice multiple projects with step-by-step guides.
Master Python on Raspberry Pi: Create, understand, and improve any Python script for your Raspberry Pi. Learn the essentials step-by-step without losing time understanding useless concepts.
You can also find all my recommendations for tools and hardware on this page.
You might also like: 7 Surprising Uses for a Raspberry Pi