
How to Turn a Raspberry Pi into a File Server?
Have you always dreamed of having a family NAS with your backups and movies? But you do not necessarily have the budget for that? Raspberry Pi allows you to do that at a lower cost, and I will give you all the details in this post.
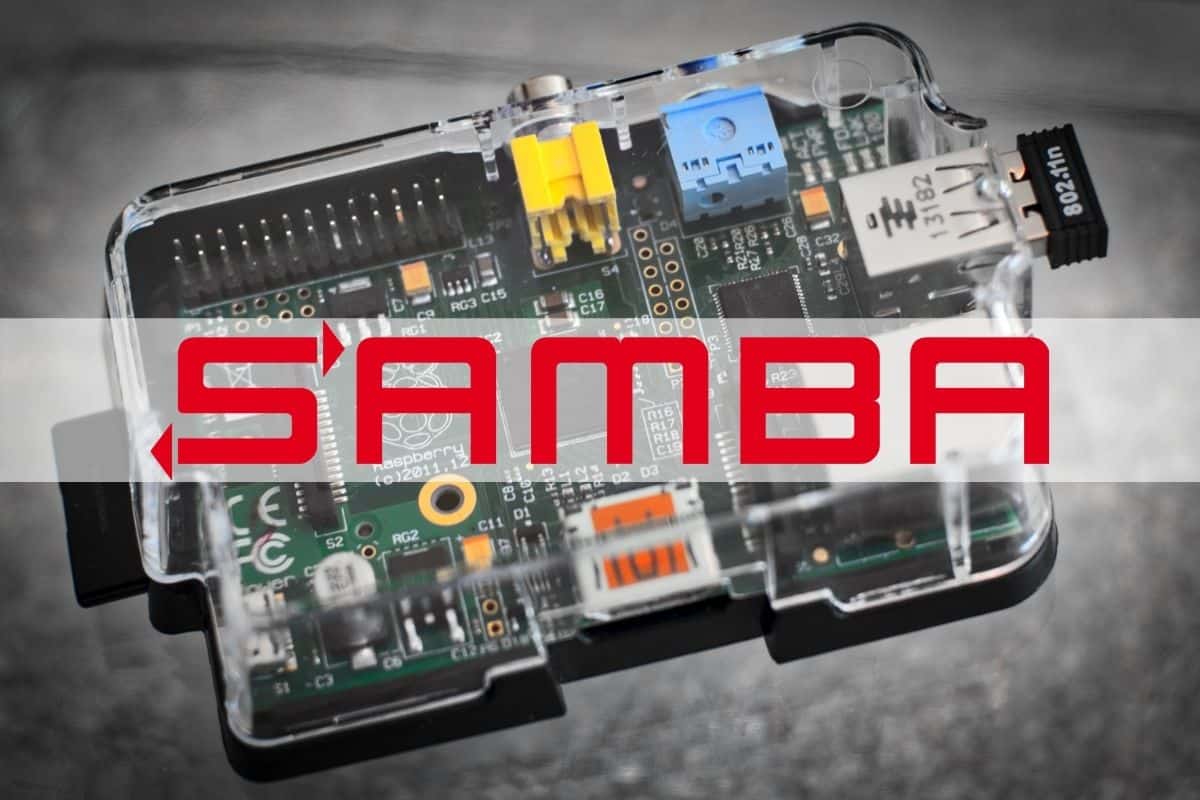
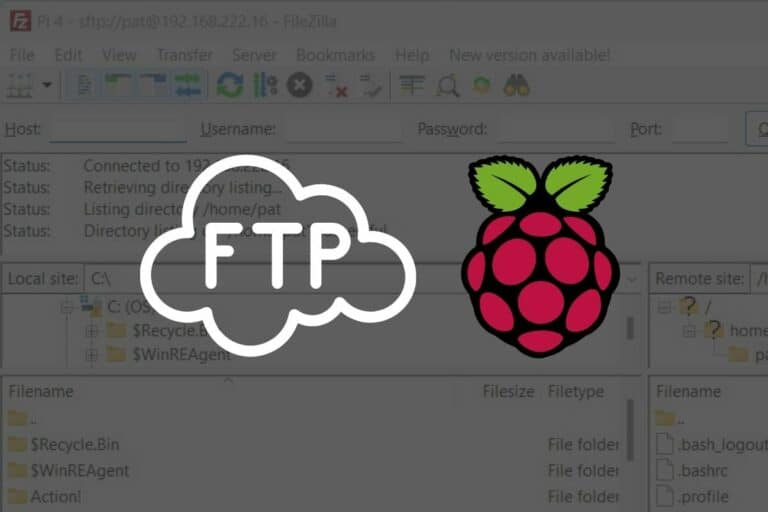
To use a Raspberry Pi as a file server, a service named Samba is available. Once Samba is installed and configured, files on the Raspberry Pi can be shared with everyone on the same network.
I’ll go over a typical Samba installation on Raspberry Pi OS and configuration steps. Then, I’ll show you how to enable DLNA to make your Raspberry Pi accessible from your TV. At the end, I’ll also throw in some tips to take it to the next level.
You can use any storage you want to try this tutorial, but if you really want to build a reliable NAS with a Raspberry Pi, I recommend looking for something like this HAT on Amazon, to connect SATA drives to it, and stack them, so that you can have redundancy.
If you’re new to Raspberry Pi or Linux, I’ve got something that can help you right away!
Download my free Linux commands cheat sheet – it’s a quick reference guide with all the essential commands you’ll need to get things done on your Raspberry Pi. Click here to get it for free!
Why Use a Raspberry Pi as a File Server?

What do you use a file server for, and why might a Raspberry Pi be good for those starting out with one? In this section, I’ll give you a quick overview of these points.
File Server Usage
A file server is used to store and share files on the local network.
This server allows you, for example, to create automatic backups of your computer on this server.
You can also store files that take up space on your computer but are not critical:
- Movies
- Software
- ISO files
Advantages of Raspberry Pi as a File Server
A standard NAS server, will cost over $300 for the entry level, make noise, and consume a lot of electricity.
A Raspberry Pi will cost you less than $50 and waste almost no power.
You’ll need to factor in the price of a hard drive if you need a lot of space, or want to turn your Pi into a budget-friendly NAS, but it’s still reasonable compared to alternatives.
Put A 2TB USB drive on it and you’re ready to go (check this one on Amazon, the best value for money).
This allows you to add a small backup storage server to save money while learning how it works.
Add Disk Space to Raspberry Pi
If you follow this guide only for testing, you do not necessarily need to read this section. It’s for those who don’t have enough space on their SD card and want more storage capacity.
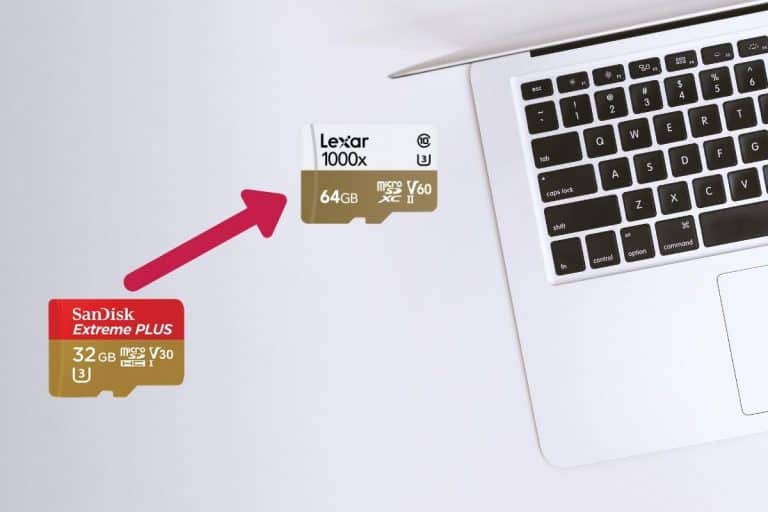
A Larger SD Card
The first possibility to expand your storage is to use a larger capacity SD card.
You might also like: Don't buy a new SD card until your read this.
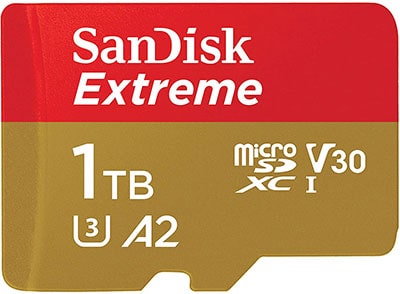
You may have an SD card of 8 or 16 GB at the moment, so it’s going to be a bit limited.
But there are SD cards that go up to 1 TB and for a reasonable price (this one for example).
It may be worthwhile to buy a larger SD card before following this tutorial.
Feel free to check my resources page if you want to know which SD card I recommend.
If you choose this, there is nothing else to do technically than replacing the SD card in the drive. And then resume the rest of this post.
USB Hard Drive
Another way to expand storage is to connect an external USB drive to your Raspberry Pi.
Download the free PDF, keep it open, and stop wasting time on Google.
Download now
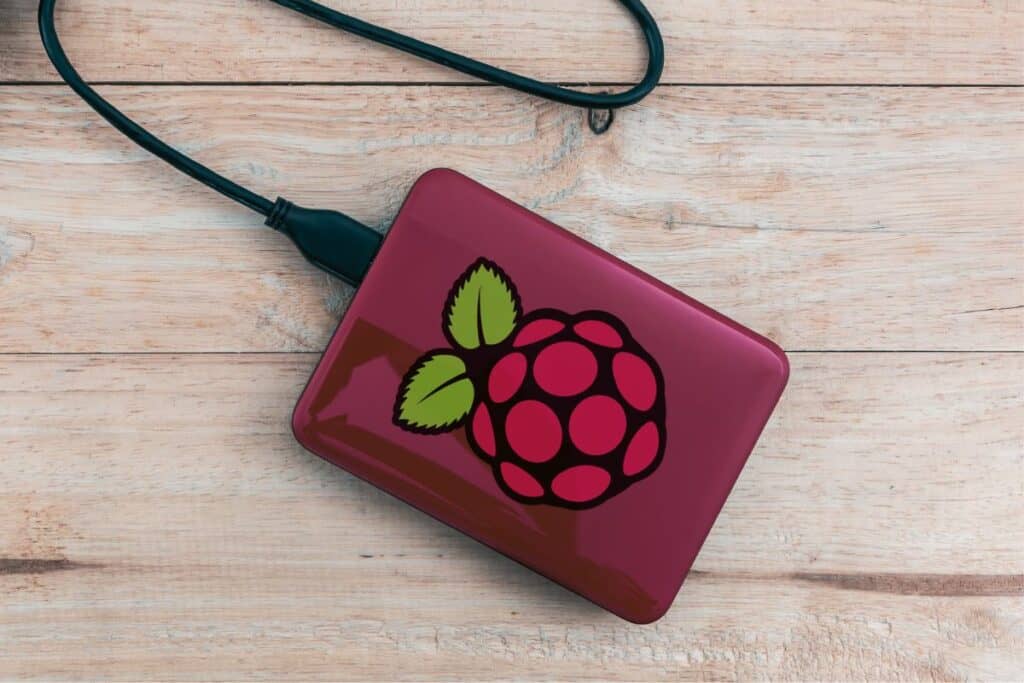
With the 2.5″ format you should be able to find disks up to at least 2TB, which starts to be a better configuration for file sharing (I’m using this one for example).
It also gives you the advantage of being able to bring it with you even if you’re not taking your Raspberry Pi. And so you can read the contents on any other PC.
Most of the time, your hard drive will be recognized and mounted directly by Raspberry Pi OS.
A mount point will be created in /media/$USER/NAME, where $USER is your username and NAME is the volume label of your drive.
If you have any issues, I recommend formatting your disk in a Linux file system (EXT4 for example) and try again. The fdisk and mount commands could also help out in the worst cases.
I explain everything here if you need some help about mounting a USB drive on Raspberry Pi.
A SATA Hard Drive?
If you want something professional, you can add a card to connect SATA hard drives to your Raspberry Pi.
This card will allow you to get closer to a classic NAS with faster, better-integrated disks and the ability to manage security with software RAID. This implementation is a different type of project, so I’ll let you do your research and come back here once your disks are functional 🙂
Install Raspberry Pi OS
So we have our prerequisites completed:
– an SD card
– possibly additional storage
So let’s move on to the installation of Raspberry Pi OS which will be the basis of our file server.
Note: If you want to see all these steps in action, I have a video lesson available for the community members. You can join here and watch it directly if you are interested (with 20+ other lessons for Raspberry Pi and many other benefits).
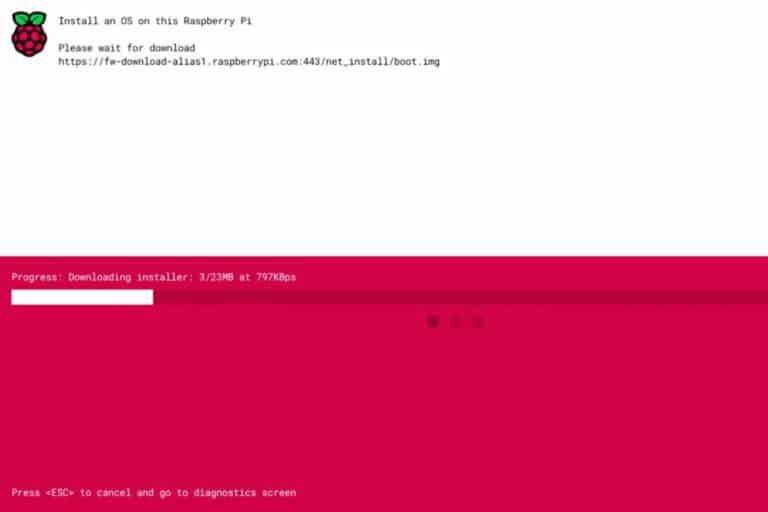
Flash an SD Card with Raspberry Pi OS
I recommend using Raspberry Pi Imager to install Raspberry Pi OS.
If you have not installed it yet, get it from the official website.
It’s a tool that allows you to flash an SD card easily on Linux, Mac, or Windows.
Here’s how to flash an SD card with Raspberry Pi OS:
- Launch Raspberry Pi Imager.
- Click Choose OS, and select which Raspberry Pi OS edition you want.
Beginners should choose the default option (Desktop edition).
If your goal is only to have a file server, the Lite edition is enough, and you’ll save some disk space and CPU/RAM.
Anyway we’ll be doing the rest of this tutorial via SSH, so your choice won’t change anything. - Click Choose Storage, and point to your SD card.
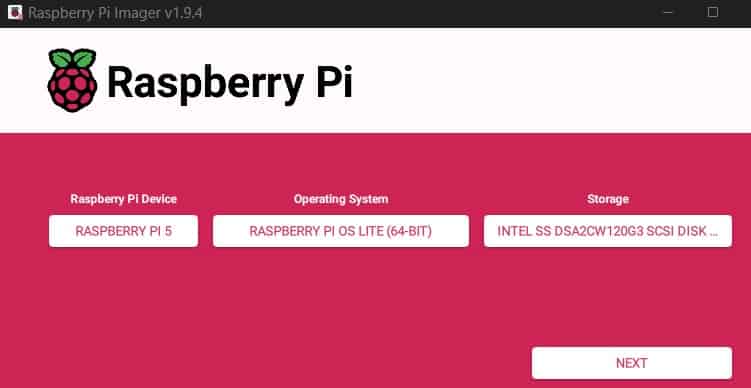
- Click Next to begin writing to the SD card.
- When prompted to Apply OS Customisation settings, select No to accept the defaults.
Or, select Yes if you want to configure settings ahead of time. More details here.
Once the SD card is ready, eject it, and insert in your Raspberry Pi.
First Boot
The installation is automatic, you have to start your Raspberry Pi, and Raspberry Pi OS will start.
If you chose the Raspberry Pi OS Desktop edition, a welcome wizard will appear:
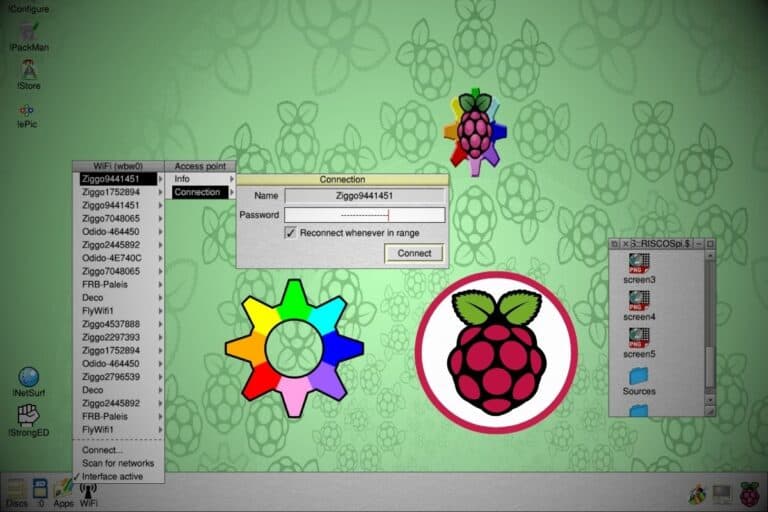
- Choose your language preferences
- Change the default password
- Connect to the Wi-Fi if necessary
- Accept system updates
- Reboot the Raspberry Pi
If everything worked fine, move on.
Otherwise, it will be necessary at least to succeed to connect the network and to change the password (the following paragraph can help you).
If you have the Lite version, you should do the same configuration, but within raspi-config.
I explain everything here if you need some help.
Enable SSH
SSH is a secure remote connection protocol, which allows you to launch commands from another computer on the network.
Check this: Looking for a fun challenge? Start building your first Raspberry Pi robot!
Download the free PDF, keep it open, and stop wasting time on Google.
Download now
By default, the service is not started automatically on Raspberry Pi.
So we will enable SSH and connect to it before continuing.
To enable SSH, open a terminal and type this command:sudo systemctl start ssh
sudo systemctl enable ssh
Once SSH is installed connect to it (ssh pi@IP).
If this is not easy for you, take a look at this article that will guide you through this.
Are you a bit lost in the Linux command line? Check this article first for the most important commands to remember and a free downloadable cheat sheet so you can have the commands at your fingertips.
Install the File Server
Now that Raspberry Pi OS is ready let’s get to the goal of this tutorial: creating a network share.
Organization of the File System
Depending on what you initially chose as your storage medium, the paths will change a little later.
So I’m going to assume that our available storage space is in /media/share
Replace this with the right folder you have created.
If you have chosen to share your files directly on the SD card, create a new folder of your choice (/media/share for example):sudo mkdir /media/share
If you’re using USB external drives, you’ll probably create a mount point in /media/$USER/share (where $USER is your username) or something similar.
More info here on how to mount USB drives on Raspberry Pi.
Install Samba
Start by checking for updates:sudo apt update
sudo apt upgrade
Then install Samba:sudo apt install samba
Once samba installed you should be able to access the Raspberry Pi with the file explorer:
- Windows: \\X.X.X.X
- Linux/Mac: smb://X.X.X.X
On Linux, it might not be that easy to access a network drive. I explain all the steps in details in this article if you need more guidance: How To Easily Map A Network Drive On Ubuntu (GUI & commands)
Replace X.X.X.X with the IP address of the Raspberry Pi.
But for now, we do not see a shared folder, and we can’t create files.
Let’s see how to fix this.
Configure Samba for a Guest Share
Samba is now available, let’s go to the configuration.
The configuration will depend on what you want to do, but I’ll explain how to create basic sharing
- Give all permissions to the folder
sudo chmod 777 /media/share
(Make sure to change /media/share for these steps if you’re using a different folder.) - Edit the /etc/samba/smb.conf file
sudo nano /etc/samba/smb.conf - Add these lines at the end of the file
[SharePi]
comment = RaspberryPi
public = yes
writeable = yes
browsable = yes
path = /media/share
create mask = 0777
directory mask = 0777 - Save and leave (CTRL+X)
- Restart Samba to apply changes:
sudo systemctl restart smbd
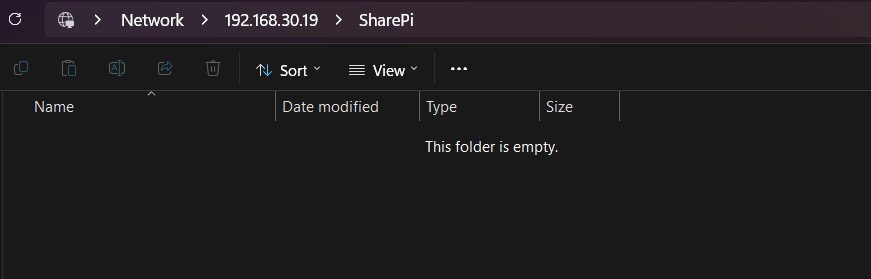
Test Access
We now have a shared folder accessible to all without authentication.
To verify that this works, connect to the network drive:
- Windows: Open the file explorer (Win + E) and type the following address: \\X.X.X.X\SharePi
- Linux/Mac: Open the file explorer and type the following address: smb://X.X.X.X/SharePi
Make sure the folder opens, and that you can create files or folders and then delete them without permissions issues.
Download the free PDF, keep it open, and stop wasting time on Google.
Download now
If everything works, we can move on.
Permissions
For now, our share is accessible to anyone, even without a password.
If you don’t want your little sister to delete your backups, you will have to forbid guest access.
Configuration
To request a password when connecting, edit the public option in /etc/samba/smb.conf:
[SharePi]
comment = RaspberryPi
public = no
writeable = yes
browsable = yes
path = /media/share
create mask = 0777
directory mask = 0777
You must also tell samba that the user is allowed to connect to shares:sudo smbpasswd -a pat
(Change ‘pat’ to your username.)
Then restart Samba:sudo systemctl restart smbd
If you try to connect again, it should open an authentication window.
If this is not the case, check that you are not already connected in guest mode (first you must disconnect, it depends on your OS, so restart your computer if you can’t find).
On Ubuntu, I had to click on the “Eject” button in front of the mount in the file explorer.
Add Another User
If necessary, you can add other user accounts with different passwords:
- Create a new user:
sudo adduser yourname - Allow samba access for it:
sudo smbpasswd -a yourname
You can now connect with any of the users.
But remember that we put everyone’s rights on the /media/share folder, so all users you create will have the same permissions.
If, for example, you want only the “pat” user to have access to the SharePi share, you will have to change it like this :
chown pat /media/share -R
chmod 700 /media/share -R
You can then create multiple shares by changing user permissions for each one.
By the way, depending on the number of users and the type of files you host on your Raspberry Pi, installing an antivirus on it might be something worth to consider. Linux isn’t the most exposed operating system, but it can protect Windows users.
Turn the Raspberry Pi into a Media Server
Now that we have a network storage location, why don’t we use it to manage our downloads and make it accessible from our TV?
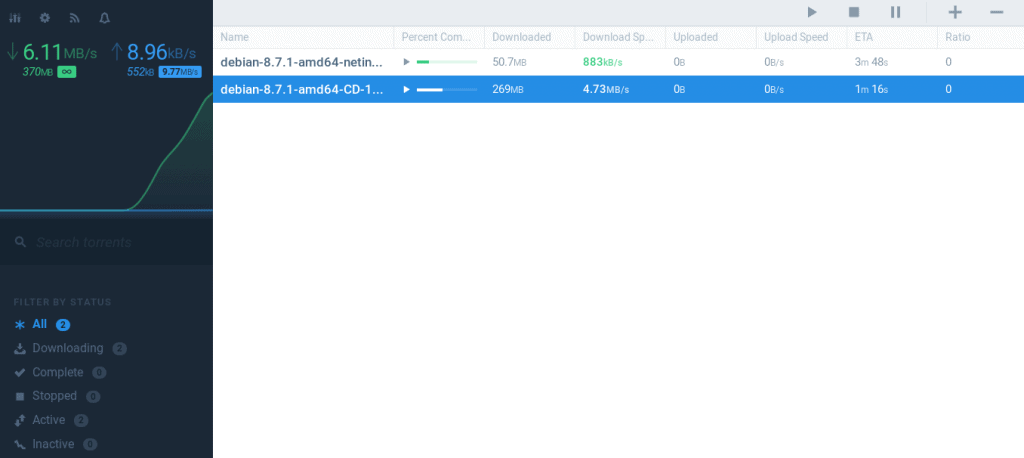
Torrent Server
You probably know the Torrent protocol, which is a well-known protocol for downloading.
We will see how to install a torrent server on our Raspberry Pi to automate downloads.
Create a new folder for torrents to download:sudo mkdir /media/share/torrents
sudo chmod 777 /media/share/torrents
Rtorrent
- Start by installing rtorrent and screen:
sudo apt install rtorrent screen - Then create your configuration file:
nano ~/.rtorrent.rc - Paste these lines:
directory = /media/share/torrents
You can add all the options that interest you. You will find a list here - Start rtorrent:
screen -s /bin/bash rtorrent - Leave the screen without closing rtorrent with CTRL+A and CTRL+D
- Go back to the screen with screen -r
Screen allows you to let run rtorrent even when you disconnect.
Web Interface
We will now add the flood interface which will allow us to manage all this from a remote computer.
- Firstly, you need to install npm:
sudo apt install npm - Then add nod-gyp mod:
sudo npm install -g node-gyp - Now, clone the git repository of the flood web interface like this:
cd /opt
sudo git clone https://github.com/jfurrow/flood.git - And run this commands to install and start it:
cd /opt/flood
sudo npm install --unsafe-perm
sudo npm run build
sudo npm start
This step will take a while, drink a coffee.
After the installation is complete and the application started, you can access the interface at http://X.X.X.X:3000.
Download the free PDF, keep it open, and stop wasting time on Google.
Download now
If you need additional information about the configuration, you can check their GitHub page.
DLNA
DLNA is a technology that allows you to play video streams on one device from a file stored on another. Typically, you might use it to play a movie stored on your Raspberry Pi from your smart TV or PS4.
The package that makes it possible on Debian is called minidlna.
So we will install and configure it to stream the contents of our shared folder:
- Install the package:
sudo apt install minidlna - Edit the configuration file:
sudo nano /etc/minidlna.conf - Set the shared folder in the line that starts with media_dir=
media_dir=A,/media/share
You can set it as a subfolder like /media/share/movies if you want - Start the service:
sudo systemctl start minidlna
MiniDLNA will then scan your folder and make it available from all your compatible devices.
If you enjoy learning about Raspberry Pi, you’ll feel right at home in the RaspberryTips Community. It’s a friendly group of makers helping each other grow. Join us today for $1 and see what it’s like inside.
Improve Your File Server
After enjoying your Raspberry Pi file server for awhile, you might be ready to improve what it can do. In this section, I’ll cover a couple of ways you can take things to the next level.
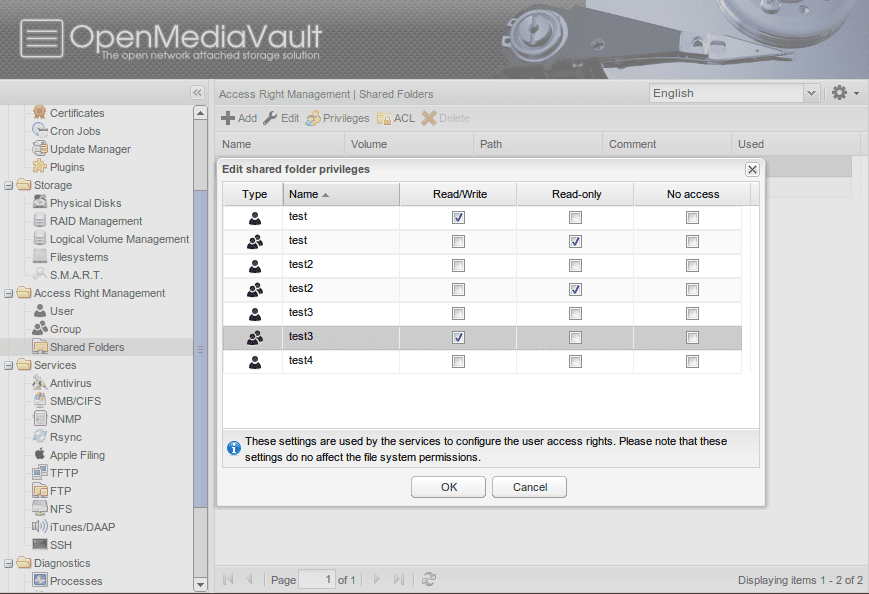
NAS Distribution
If you don’t want to manage all this with complicated commands and configuration files, there’s an easier solution that may interest you. There are dedicated distributions for managing a file server, which let you configure everything via a web interface.
This is the case of OpenMediaVault which is available for Raspberry Pi.
Related: Getting Started with OpenMediaVault on Raspberry Pi
Once installed on an SD card, you’ll have an interface to manage your shares, your users, etc …
RAID or Backups
We talked about using this file server as a backup in this article.
You still have to avoid using it as a primary storage server.
Copying all of your photos from the last ten years without storing them elsewhere does not seem like an excellent idea.
Whether you have chosen the SD card or USB hard drive option, these are not very reliable storage methods. A hardware failure arrives, and most of the time you’ll lose all data.
If you want to make it a primary storage server, you should not forget about security.
It is possible to install multiple disks in a RAID (with data replication) on Raspberry Pi, either in USB or with an additional SATA card.

Related: Set Up RAID on Raspberry Pi: Step-by-Step Guide
But the simplest is perhaps to have backups of this server elsewhere. We can imagine a second SD card on which is copied regularly the content of the first. Or a second Raspberry Pi that will serve as a backup.
I hope all of this will help you set up your file server at home. To sum up, it’s simple to create a file sharing accessible to all on Raspberry Pi.
However, it is often necessary to spend a little more time adding the required options to implement what you want successfully. If you find the above too involved, it might be easier for you to use FreedomBox, an all-in-one private server that will let you setup Samba with a few easy clicks.
In any case, you have here a good information base to create a sharing server, a torrent server or a media server.
Whenever you’re ready, here are other ways I can help you:
Test Your Raspberry Pi Level (Free): Not sure why everything takes so long on your Raspberry Pi? Take this free 3-minute assessment and see what’s causing the problems.
The RaspberryTips Community: Need help or want to discuss your Raspberry Pi projects with others who actually get it? Join the RaspberryTips Community and get access to private forums, exclusive lessons, and direct help (try it for just $1).
Master your Raspberry Pi in 30 days: If you are looking for the best tips to become an expert on Raspberry Pi, this book is for you. Learn useful Linux skills and practice multiple projects with step-by-step guides.
Master Python on Raspberry Pi: Create, understand, and improve any Python script for your Raspberry Pi. Learn the essentials step-by-step without losing time understanding useless concepts.
You can also find all my recommendations for tools and hardware on this page.
I’ve gotten as far as creating SharePi, which I can access from the File Explorer on my Windows PC. It’s also username and password protected, as per the following step where I added a password for it. The problem is that I don’t have permission to create folders or documents in this SharePi area, and there isn’t any troubleshooting part of this website that I can find to get that permission (because the Raspberry Pi is also mine, I just need to know how to get the permission on my Windows PC.
Thanks
Hi,
Try to change the folder permissions on the Raspberry Pi
For example:
chown pi /media/share
or even “chmod 777 /media/share” if you are on your own network at home
I’ve followed the instructions to the letter and the Raspberry Pi is not showing up on the network in the file explorer and I’ve looked through more forums than I even care to list out at this point. All I know is that the first time I did this, it worked for about a week and after that, it disappeared off of the network section of Windows File Explorer and since then, I have not been able to get it to re-appear even after I went through the whole process of reinstalling Raspbian and Samba and followed the instructions of this tutorial. I am doing this on my own home network.
Mount point for my usb ssd which I want to uaes for file sharing is:
/dev/sda1 on /media/pi/4a5ecea3-17f6-4435-8b8c-2c20d8dc9424 type ext4 (rw,nosuid,nodev,relatime,uhelper=udisks2)
root@raspberrypi:/media/pi# ls -al 4a5ecea3-17f6-4435-8b8c-2c20d8dc9424
So path line (in samba.conf) is:
path=/media/pi/4a5ecea3-17f6-4435-8b8c-2c20d8dc9424
However, smb://X.X.X.X/SharePi (where x.x.x.x is ip address of the Pi) is rejected by File Manager in Ubuntu 18.04 with “Failed to mount Windows Share”. Any ideas?
Could you check the service status and let use know if it’s ok without error?
Or even check the log files to get more information
your confused with mounts.
make your directory to mount the drive to:
sudo mkdir /media/pi/usb1
sudo chown pi:pi /media/pi/usb1
sudo mount /dev/sda1 /media/pi/usb1
samba config:
[usb1]
path = /media/pi/usb1
browseable = yes
writeable = yes
create mask = 0755
directory mask = 0755
valid users = pi
I’d forgotten to allow my GUFW Firewall (on the Pi) to allow input on the necessary ports for Samba! So I did that. But not sure if that was necessary.
I’d forgotten to do “sudo smbpasswd -a pi”. When I did that, I got:
New SMB password:
Retype new SMB password:
** Not sure what to do, so set password as per root **
Added user pi.
pi@raspberrypi:~ $ sudo service smbd status
\u25cf smbd.service – Samba SMB Daemon
Loaded: loaded (/lib/systemd/system/smbd.service; enabled; vendor preset: enabled)
Active: active (running) since Sun 2020-04-05 20:12:02 BST; 6min ago
Docs: man:smbd(8)
man:samba(7)
man:smb.conf(5)
Process: 6593 ExecStartPre=/usr/share/samba/update-apparmor-samba-profile (code=exited, status=0/SUCCESS)
Main PID: 6594 (smbd)
Status: “smbd: ready to serve connections…”
Tasks: 4 (limit: 2200)
Memory: 5.1M
CGroup: /system.slice/smbd.service
\u251c\u25006594 /usr/sbin/smbd –foreground –no-process-group
\u251c\u25006596 /usr/sbin/smbd –foreground –no-process-group
\u251c\u25006597 /usr/sbin/smbd –foreground –no-process-group
\u2514\u25006598 /usr/sbin/smbd –foreground –no-process-group
Apr 05 20:12:02 raspberrypi systemd[1]: Starting Samba SMB Daemon…
Apr 05 20:12:02 raspberrypi systemd[1]: Started Samba SMB Daemon.
Apr 05 20:12:59 raspberrypi smbd[6618]: pam_unix(samba:session): session closed for user nobody
Apr 05 20:14:53 raspberrypi smbd[6624]: pam_unix(samba:session): session closed for user nobody
pi@raspberrypi:~ $
When I did “smb://X.X.X.X/SharePi” (with X.X.X.X the LAN ip address of the RaspberryPi), it asked me for user & password, so I supplied pi & the above password. It then found the SSD in File Manager and I was able to copy files to it. Which I then checked as successful in the Pi’s File Manager. So looks Ok. Thanks for your reply.
Morning Patrick.
I did tests on a Raspberry Pi 2 B+
I used the Lite version
I got “issues” on the rtorrent part when installing npm and it got lethal on this cmd : sudo npm install -g node-gyp with some “Warning” lines…
After i tried to go with the DLNA part
everything ok during installation process but when i wrote this : sudo service minidlna start
i got the following message :
Failed to start minidlna.service: Unit minidlna.service not found.
what can i do ?
thank you in advance for your help.
Bonjour Fanny,
Can you check the service status:
sudo service minidlna status?Or the log files (/var/log/syslog maybe) to see if you get more details to explain this problem
Patrick
would this server serve to nodes not on my network? or does the node have to be part of the network the server is on?
Hello,
Yes, you can host your server on a remote network on a separate network, and access it with proper firewall configuration (or VPN service)
Your rtorrent section seems to be out of date or that program is no longer offered
Thanks Andrew
I will check that soon and update it
Hi Andrew,
I’m updating this post, but the torrent section seems ok for me.
Which issue did you have?
Great article, got my server up and running within a few hours.
What I’ve noticed is that when copying file over to my pi server, it would error saying something like file already exists(when it only really copied the meta data, and it’s 0kb) do you wish to overwrite? And you say yes, it would continue…and this is all the time. I’m thinking it’s cause I’m using exfat. Has anyone have this issue?