Introduction
Uploading images is a common feature in many web applications. Whether you want to allow users to add a profile picture, share images in a social media platform, or enable image uploads for an e-commerce website, knowing how to handle image uploads in PHP is essential.
Image upload functionality involves multiple steps, from setting up the HTML form to processing the uploaded image on the server. It requires understanding key concepts such as file validation, storing the image, and displaying it on the website. In this article, we will explore the process of uploading images in PHP, step by step.
Before we dive into the technical details, it’s important to note that image upload functionality can enhance the overall user experience of your website. It allows users to personalize their profiles, share visual content, and interact with your application in a more engaging way.
In this tutorial, we will focus on the basics of image uploads using PHP. We will cover the entire process, including setting up the HTML form, handling the image upload in PHP, validating the uploaded image, storing it on the server, and finally displaying the image on the website.
By the end of this tutorial, you will have a solid understanding of how to implement image uploads in PHP and be able to incorporate this feature into your own web applications.
Understanding the Basics of Image Upload
Before we start implementing image upload functionality in PHP, let’s get familiar with the basic concepts related to image uploads.
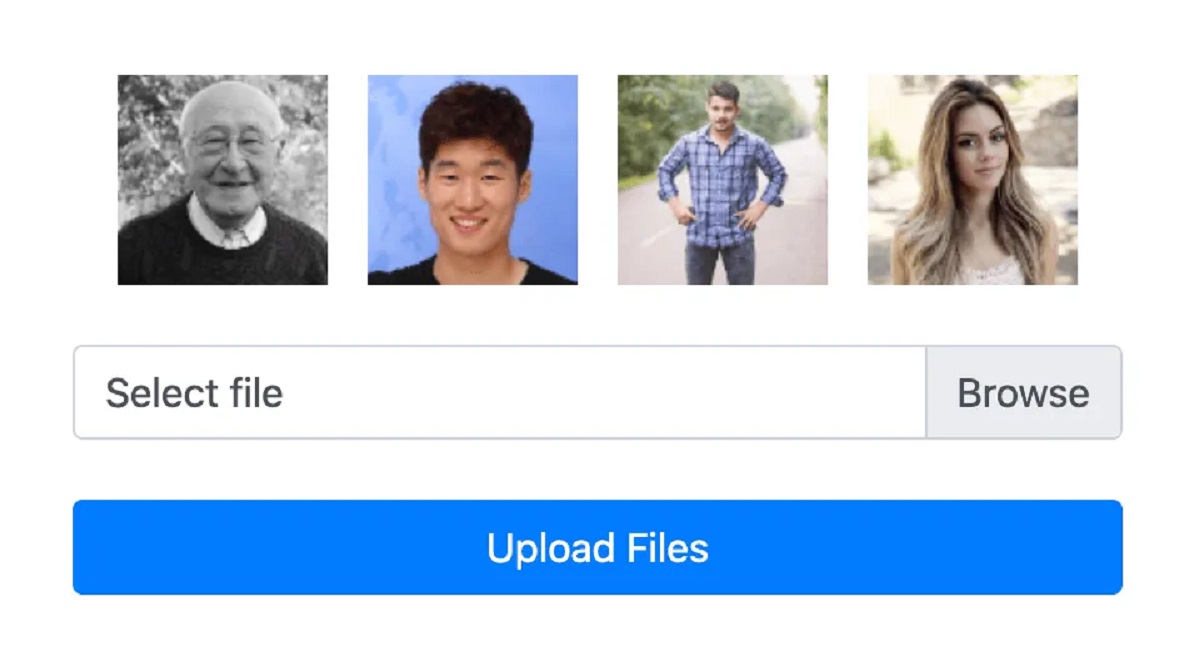
1. Client-Side File Selection: The first step in image upload is allowing users to select the image file they want to upload. This is typically done through an HTML form that includes a file input field. Users can browse their local file system and select the desired image.
2. Server-Side Processing: Once the user selects the image file, it needs to be processed on the server. This involves receiving the file on the server-side, validating it, and performing any necessary operations such as resizing or cropping.
3. File Validation: It is crucial to ensure that the uploaded file is indeed an image file and meets certain criteria such as file size and file type. Validating the file helps prevent malicious activities and ensures the integrity of the uploaded images.
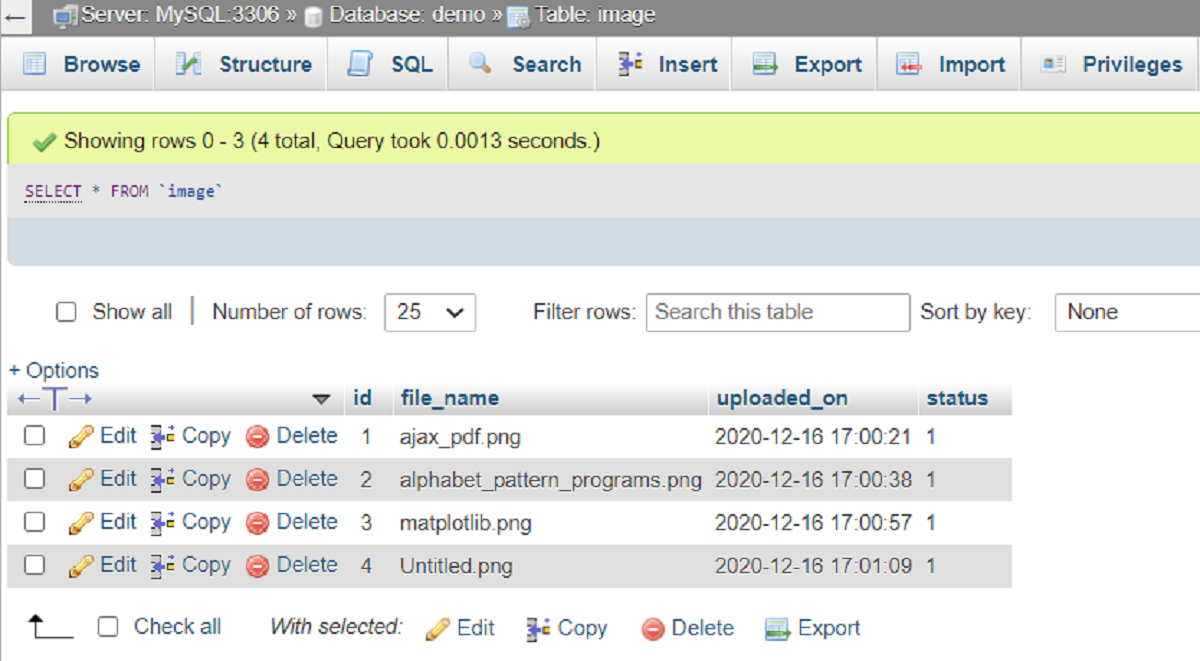
4. File Storage: After the image is validated, it needs to be stored on the server or in a filesystem. This can be done by saving the image in a specific directory or by storing the image file path in a database to retrieve it later.
5. Displaying the Image: Once the image upload is successful and the file is stored, you need to be able to display the image on the website. This can be accomplished by referencing the saved file path or by generating a unique image URL.
While these are the fundamental steps involved in image uploads, it’s worth noting that there are additional considerations to take into account. For example, you may want to implement security measures to prevent unauthorized access to uploaded images or consider implementing a resize and compress feature to handle large image files efficiently.
Now that we have a clear understanding of the basics of image upload, let’s move on to setting up the HTML form for user file selection in the next section.
Setting up the HTML Form
In order to allow users to select and upload an image file, we need to set up an HTML form with the necessary input fields. Let’s walk through the steps to create the HTML form for image uploads.
1. Create the Form: Start by adding the <form> tag in your HTML file. This tag will contain all the elements needed for the image upload.
2. Add the File Input Field: Inside the form, add an <input type="file"> element. This creates the file input field that allows users to select their desired image file.
3. Set the Form Encoding Type: Add the attribute enctype="multipart/form-data" to the <form> tag. This attribute is required for submitting files through the form.
4. Add Submit Button: Include a submit button for users to initiate the upload process. You can use the <input type="submit"> or <button> element for this.
Here’s an example of what the HTML form code might look like:
html
With this HTML form in place, users can now select an image file from their local system and submit it for upload. In the next section, we will explore how to handle the image upload process using PHP.
Handling the Image Upload in PHP
Now that we have set up the HTML form for image uploads, we need to handle the actual upload process on the server-side using PHP. Let’s go through the steps involved in handling the image upload.
1. Accessing the Uploaded File: In the PHP script that handles the form submission, we can access the uploaded file using the $_FILES superglobal variable. The uploaded file will be available in the $_FILES['image'] array, where ‘image’ corresponds to the name attribute of the file input field in the HTML form.
2. Validating the Uploaded Image: Before proceeding with further processing, it’s important to validate the uploaded image to ensure it meets certain criteria. You can perform validation checks such as verifying the file type, file size, and dimensions. If the uploaded file fails any of these checks, appropriate error messages can be displayed to the user.
3. Moving the Uploaded Image: If the uploaded image passes the validation, we can then move it from its temporary location to the desired directory on the server. This can be done using the move_uploaded_file() function. Make sure to specify the destination path and filename.
4. Handling Errors: It’s crucial to handle any errors that may occur during the image upload process. The $_FILES['image']['error'] value can help identify any issues, such as exceeding the maximum file size or encountering a server-side error. Proper error handling and providing meaningful error messages will improve the user experience.
Here’s an example PHP code snippet demonstrating the basic image upload handling process:
php
With this PHP code, the uploaded image will be moved to the “uploads” directory if it passes the validation checks. Otherwise, an error message will be displayed.
In the next section, we will discuss how to validate the uploaded image to ensure it meets our requirements.
Validating the Uploaded Image
Validating the uploaded image is an essential step in the image upload process. This ensures that the uploaded file is indeed an image file and meets the necessary criteria. Let’s explore the steps involved in validating the uploaded image using PHP.
1. Check File Type: You can use the $_FILES['image']['type'] value to determine the file type of the uploaded image. Validate that the file type is an image type, such as JPEG, PNG, or GIF. You can use the exif_imagetype() function to get the image type.
2. Check File Size: The $_FILES['image']['size'] value gives you the size of the uploaded image in bytes. Validate that the file size is within your desired limits. You can compare the file size with a maximum size value specified in your code.
3. Check File Dimensions: If you have specific requirements for the dimensions of the uploaded image, you can use functions like getimagesize() or imagick to retrieve the width and height of the image. Compare these dimensions with your desired requirements.
4. Handle Image Validation Errors: If the uploaded image fails any of the validation checks, you should provide meaningful error messages to the user. Display relevant error messages such as “Invalid file type” or “Image size exceeds the limit.”
It’s important to note that file validation should not solely rely on the client-side. Client-side validation can be easily bypassed, so always perform server-side validation to ensure the security and integrity of the uploaded image.
Here’s an example of how you can integrate image validation into the image upload handling process:
php
In this example, we check if the file type is in the allowed types array and if the file size is within the specified limit. If the uploaded image fails these checks, an error message is displayed to the user.
Now that we have validated the uploaded image, let’s move on to the next step of storing the image on the server.
Storing the Uploaded Image
Once the uploaded image has been validated, the next step is to store it on the server in a specific directory. Storing the uploaded image allows you to retrieve and display it later on your website. Let’s explore the process of storing the uploaded image using PHP.
1. Create a Directory: Before storing the image, you need to create a directory on the server where the images will be stored. Make sure to set the appropriate permissions to allow read and write access to the directory.
2. Move the Uploaded Image: Use the move_uploaded_file() function to move the validated image from its temporary location to the desired directory. Specify the destination path and filename for the uploaded image. You can use a unique filename to avoid overwriting existing images.
3. Store the Image Path: At this point, you can choose to store the image path in a database or an array for later retrieval. Storing the image path allows you to dynamically display the image on various parts of your website.
Here’s an example of how you can store the uploaded image in a specific directory:
php
In this example, we specify the upload directory as “uploads/” and concatenate the original filename to create the file path. The move_uploaded_file() function moves the file from its temporary location to the specified directory. If the operation is successful, a success message is displayed.
Now that we have successfully stored the uploaded image, let’s move on to the next section, where we will discuss how to display the uploaded image on the website.
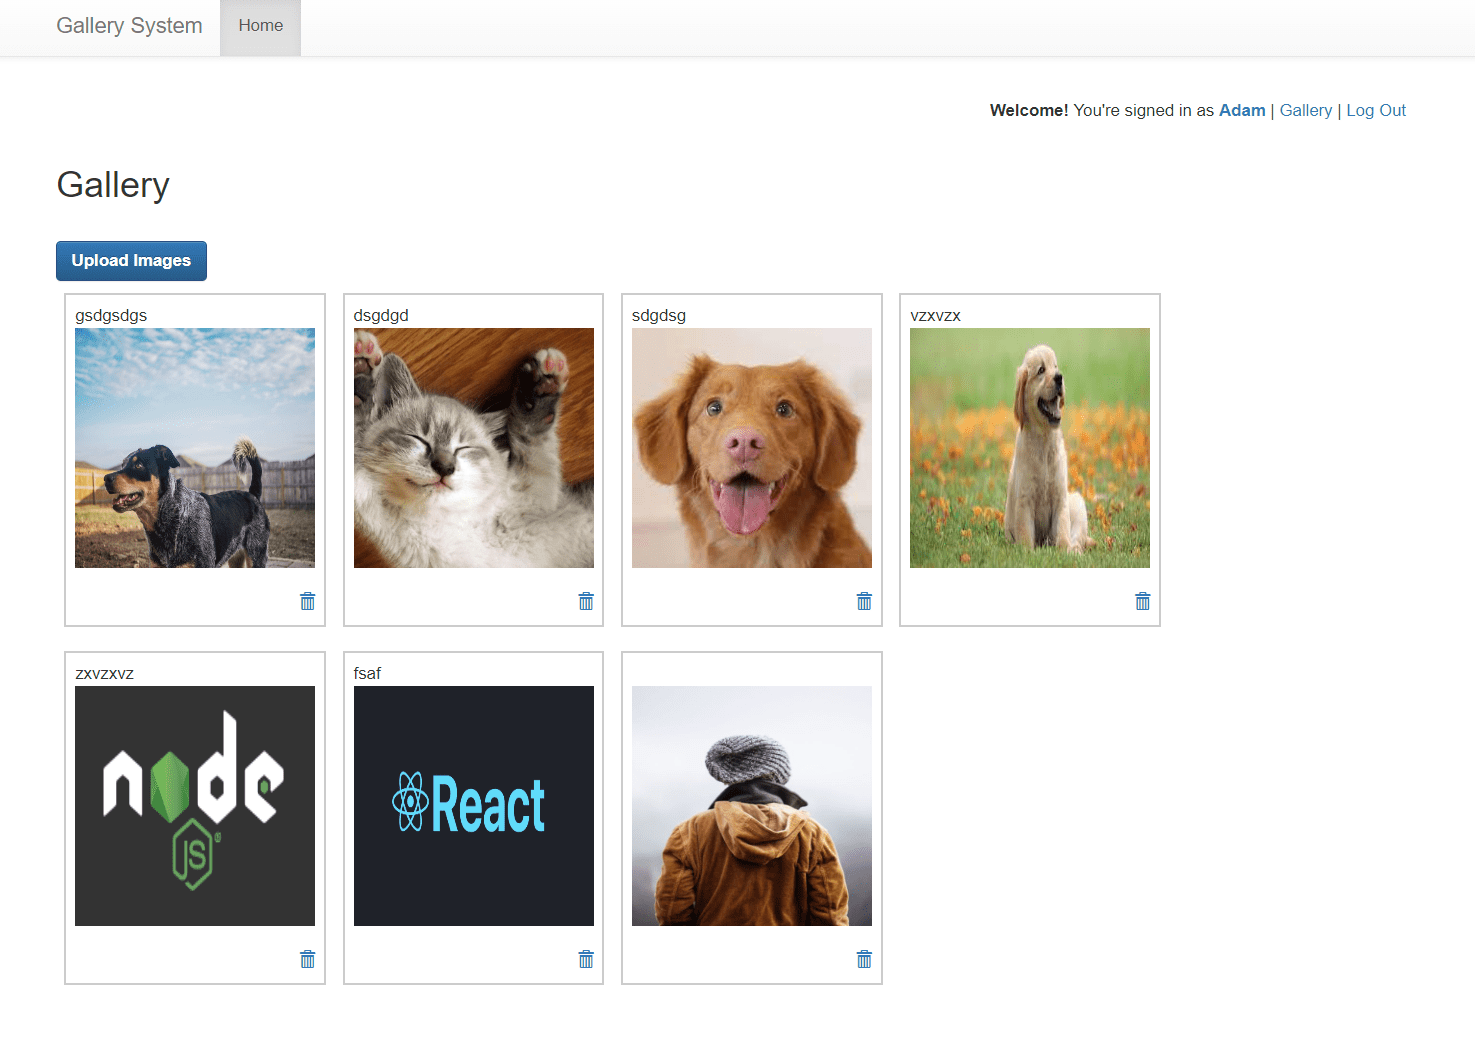
Displaying the Uploaded Image
After storing the uploaded image on the server, the next step is to display it on the website. Displaying the uploaded image allows users to see the image they have uploaded or share it with others. Let’s explore how to display the uploaded image using PHP.
1. Generate the Image URL: To display the uploaded image, you need to generate the URL that points to the image file on the server. This URL consists of the base URL of your website and the path to the uploaded image file.
2. Insert the Image Tag: Use the <img> HTML tag to insert the image into your web page. Set the src attribute of the image tag to the generated image URL.
3. Additional Image Attributes: You can include other optional attributes in the image tag, such as alt for alternative text and width or height for specifying the dimensions of the displayed image.
Here’s an example of how you can display the uploaded image on a web page:
php
In this example, we assume that the image path is stored as a relative path. We concatenate the base URL of the website with the image path to generate the complete image URL. The <img> tag uses the generated image URL as the value for the src attribute.
With this code, the uploaded image will be displayed on the web page, allowing users to view and interact with the image content.
Now that we have successfully displayed the uploaded image, let’s move on to additional considerations for image uploads in PHP.
Additional Considerations for Image Upload in PHP
While we have covered the basic steps of image upload in PHP, there are some additional considerations you should keep in mind to enhance the functionality and security of your image upload feature. Let’s explore these considerations:
1. Security Measures: Implementing security measures is crucial when dealing with image uploads. You should validate and sanitize user input to prevent any potential security vulnerabilities such as SQL injection or cross-site scripting (XSS). Additionally, consider restricting file types, using image manipulation libraries to remove any malicious code, and securing the image upload directory to prevent unauthorized access.
2. Image Processing: Depending on your application’s requirements, you may need to perform additional image processing operations, such as resizing, cropping, or adding watermarks. Utilize PHP image manipulation libraries like GD or Imagick to perform these operations efficiently.
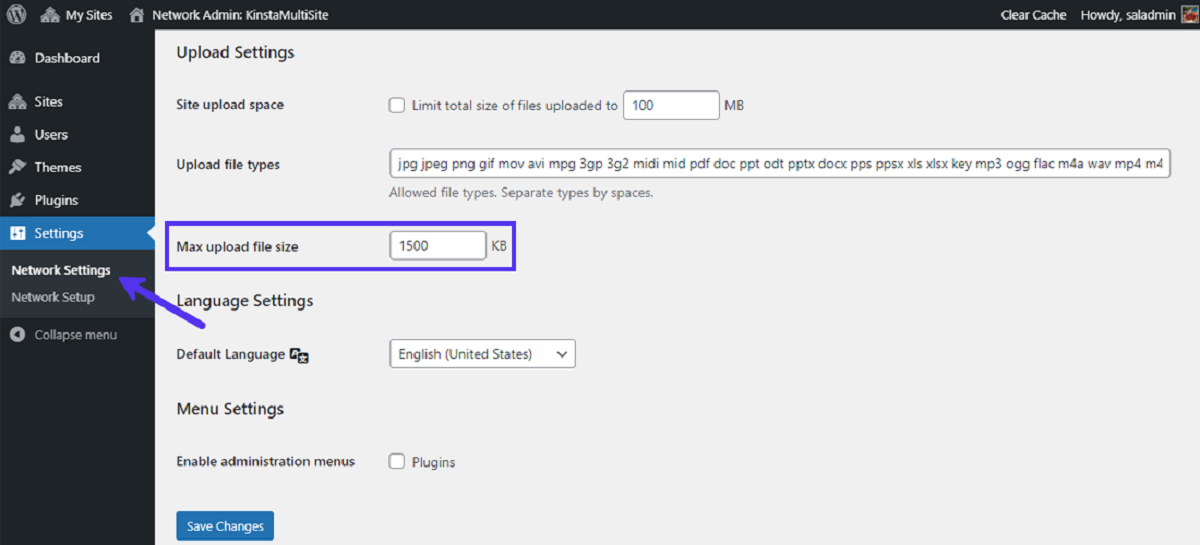
3. File Size Limitations: Setting file size limitations is important to control the amount of disk space used by uploaded images and to ensure smooth processing of the uploaded files. You can set a maximum file size limit and reject files that exceed this limit.
4. File Naming: To prevent potential conflicts and ensure uniqueness, consider generating a unique filename for each uploaded image. You can use a combination of timestamps, random strings, or hash values to create unique filenames.
5. Error Handling: Implement proper error handling to provide user-friendly error messages when image uploads fail. Consider using custom exception handling to manage and log errors effectively.
6. Image Compression: To improve website performance and reduce the load time of web pages, consider implementing image compression techniques. This can be achieved by using image compression libraries or services to optimize the file size of uploaded images without compromising the quality.
Always keep these considerations in mind while implementing image upload functionality in PHP. Balancing user experience, security, and performance will help you create a compelling and efficient image uploading feature.
Now that we have covered additional considerations, let’s wrap up the article.
Conclusion
In this article, we have explored the process of uploading images in PHP. We started by understanding the basics of image upload functionality and then moved on to setting up the HTML form for user file selection. We discussed how to handle the image upload process in PHP, including accessing the uploaded file, validating it, and storing it on the server. Additionally, we explored how to display the uploaded image on the website and discussed some additional considerations for image uploads in PHP.
By following the steps outlined in this article, you can successfully implement image upload functionality in your PHP web applications. Remember to secure the image upload process by validating user input, implementing proper error handling, and ensuring appropriate file size limitations and image processing techniques. Consider implementing additional features such as image compression and implementing security measures to enhance the overall user experience and protect your application against potential vulnerabilities.
Image upload functionality can greatly enhance the interactivity and visual appeal of your web application. Whether you are building a social media platform, an e-commerce website, or a personal blog, allowing users to upload and share images adds value and engages your audience.
Now that you have a solid understanding of image uploads in PHP, you are ready to incorporate this feature into your own web applications and provide an enriched user experience. So go ahead, explore the possibilities, and create dynamic and image-rich websites!