Internet Speed Test – The Python Powered Internet Speed Tester You Need
In this project, we will be creating an Internet Speed Test project using Python’s Tkinter library and the speedtest module. This project will test the user’s internet speed and display the results in a user-friendly graphical interface.
Python Internet Speed Test
The objective of this project is to teach how to create a simple internet speed test project using Python’s Tkinter library and the speedtest module. We will go through the process of importing the necessary libraries, creating the user interface, and displaying the test results.
Prerequisite for Internet Speed Test using Python
In order to follow this project, you should have a basic understanding of Python programming and Tkinter library. Additionally, you should have the speedtest module installed on your machine. You can install it by running the command pip install speedtest-cli in your command prompt.
Download Python Internet Speed Test Project
Please download the source code of python Internet Speed Test project from the following link: Python Internet Speed Test Code
Steps to Create Internet Speed Test using Python
Following are the steps for developing the Python Internet Speed Test project:
Step 1: Importing Libraries
Our first step towards creating the Internet Speed Test project will be Importing the required libraries. We will be using the Tkinter library for creating the user interface and the speedtest-cli module for testing the internet speed.
# Importing the required libraries
import tkinter as tk
import speedtest
Step 2: Creating the Main Window
Next, we will create the main window for our app using the Tk() method from the Tkinter library. We will also set the title, background color, and size of the window, and disable the resizing property.
# Creating main window
root = tk.Tk()


# Setting the title, background color and size of the tkinter window and resizing property
root.title("TechVidvan - Internet Speed Test")
root.geometry("600x358")
root.resizable(width=False, height=False)
root.configure(background="#3b4370")
Step 3: Defining the Speed Test Function
We will now define a function that will be used to test the internet speed. This function will use the speedtest module to test the download and upload speeds, as well as the ping time. It will also display the results in a user-friendly format.
# function to test internet speed
def speed_test_command():
    speed_test = speedtest.Speedtest()
    download_speed.config(text=str(round(speed_test.download() / 1000000, 2)) + " Mbps")
    upload_speed.config(text=str(round(speed_test.upload() / 1000000, 2)) + " Mbps")
    server_names = []
    speed_test.get_servers(server_names)
    ping.config(text=str(round(speed_test.results.ping, 2)) + " ms")
    ip_label.config(text="IP Address: " + str(speed_test.results.client['ip'])+ ", "+ str(speed_test.results.client['country']))
    server_label.config(text="Server: " + str(speed_test.results.server['sponsor'])+ ", "+ str(speed_test.results.server['name'])+ ", "+ str(speed_test.results.server['country']))
    ISP_label.config(text="ISP: " + str(speed_test.results.client['isp']))
Step 4: Creating the UI
In this step, we will create the user interface for the Internet Speed Test app. We will create labels for the title, download speed, upload speed, and ping. We will also create labels for IP address, server, and ISP.
Here is the code for creating the UI:
# Creating label for title
title_label=tk.Label(root)
title_label.configure(background="#90f090", foreground="#333333", font="Arial 18 bold", justify="center", text="TechVidvan - Internet Speed Test")
title_label.place(x=0,y=0,width=600,height=50)


# Creating label for download speed
download_label=tk.Label(root)
download_label.configure(background="#3b4370", foreground="#ffd700", font="Arial 18", justify="center", text="Download Speed")
download_label.place(x=20,y=80,width=160,height=40)


# Creating label for download speed
download_speed=tk.Label(root)
download_speed.configure(background="#3b4370", foreground="#ff8c00", font="Arial 28 bold", justify="center", text="0.00 Mbps")
download_speed.place(x=20,y=130,width=160,height=40)


# Creating label for ping
ping_label=tk.Label(root)
ping_label.configure(background="#3b4370", foreground="#ffd700", font="Arial 18", justify="center", text="Ping")
ping_label.place(x=220,y=80,width=160,height=40)


# Creating label for ping
ping=tk.Label(root)
ping.configure(background="#3b4370", foreground="#ff8c00", font="Arial 28 bold", justify="center", text="0.00 ms")
ping.place(x=220,y=130,width=160,height=40)


# Creating label for upload speed
upload_label=tk.Label(root)
upload_label.configure(background="#3b4370", foreground="#ffd700", font="Arial 18", justify="center", text="Upload Speed")
upload_label.place(x=420,y=80,width=160,height=40)


# Creating label for upload speed
upload_speed=tk.Label(root)
upload_speed.configure(background="#3b4370", foreground="#ff8c00", font="Arial 28 bold", justify="center", text="0.00 Mbps")
upload_speed.place(x=420,y=130,width=160,height=40)


# Creating label for IP address
ip_label=tk.Label(root)
ip_label.configure(background="#3b4370", foreground="#ffffc5", font="Arial 14", justify="center", text="IP Address")
ip_label.place(x=0,y=200,width=600,height=40)


# Creating label for server
server_label=tk.Label(root)
server_label.configure(background="#3b4370", foreground="#ffffc5", font="Arial 14", justify="center", text="Server")
server_label.place(x=0,y=230,width=600,height=40)


# Creating label for ISP
ISP_label=tk.Label(root)
ISP_label.configure(background="#3b4370", foreground="#ffffc5", font="Arial 14", justify="center", text="ISP")
ISP_label.place(x=0,y=260,width=600,height=40)


# Creating button for speed test
speed_test=tk.Button(root)
speed_test.configure(font="Arial 26", justify="center", text="Speed Test", command=speed_test_command)
speed_test.place(x=200,y=300,width=200,height=40)
Step 5: Running the main loop
In this step, we will run the main loop of the Tkinter window. The mainloop() method is used when your application is ready to run and it tells the code to keep displaying the window until the user closes it.
# Running the main loop
root.mainloop()
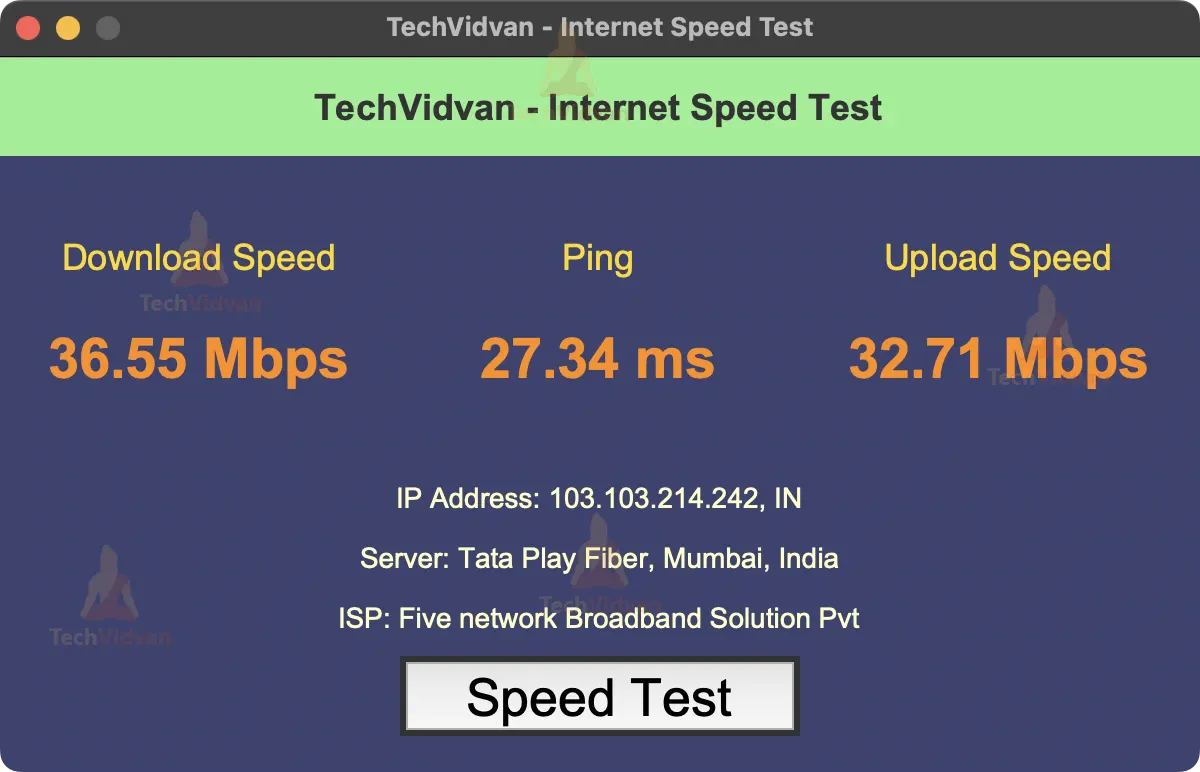
Python Internet Speed Test Output
Summary
Hooray! You have completed this project on creating an internet speed test project using the Tkinter library and the speedtest-cli library in Python. The program allows you to test your internet speed and display the results in an easy-to-read format.
In this tutorial, you learned how to create a GUI, handle user input and interact with the speedtest-cli library to perform the test and display the results. With this knowledge, you can now create your own internet speed test project or modify the existing one to suit your needs.