The Navigation Menu widget allows you to display pages, categories, and custom links in your blog’s sidebar. To use it, you first need to create a menu. If you are using the WordPress Block Editor, you can add a Navigation block instead.
💡
Themes that support the Site Editor do not use widgets, so you won’t find Appearance → Widgets in your dashboard. Instead, you can edit all of your site in one place at Appearance → Editor. Click here to learn how to use the Site Editor.
In this guide
Have a question?
Ask our AI assistantTo add the widget to your site:
- In your dashboard, click on Appearance → Widgets.
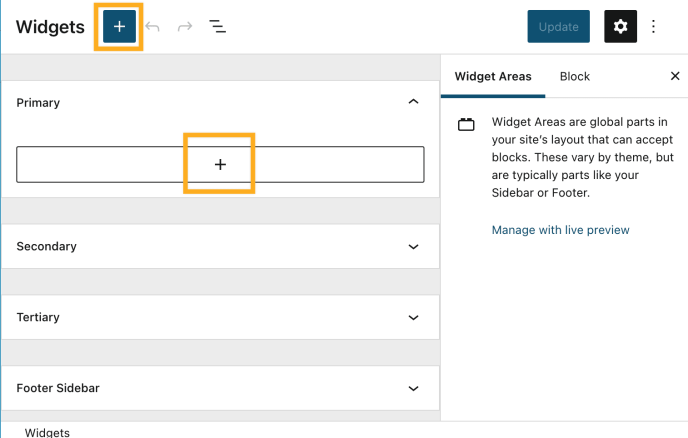
- Choose the location where you’d like to place the widget on your site. Standard options include the Footer and Sidebar, but this may differ depending on your theme.
- Click either of the + block inserter buttons (see right) to see a list of all the available blocks and widgets.
- Scroll down to the Widgets section and search for the widget you want to add. Click on it to add it to your site.
For more general information, see this guide on working with widgets.
Once you add the widget to your sidebar, you’ll find the following widget settings:

- Title: Sets text that will appear immediately above the sidebar’s custom menu.
- Select Menu: Use this to choose which of your custom menus to display. If you haven’t already created a custom menu, you’ll need to do that on the Appearance → Menus page first.
- Edit Menu: Change links, order, and other settings for the menu.
- Visibility: Defaults to display everywhere; use visibility to only show the navigation widget on specific content
