How to Install Jupyter Notebook in Linux
Last Updated :
12 Jul, 2025
Jupyter Notebook is a powerful, open-source tool for interactive computing, widely used for data analysis, machine learning, and scientific research. If you're using Linux and want to install Jupyter Notebook, then this guide is for you. Here, we're going to discuss seamless way to download and install Jupyter Notebook in your Linux (irrespective of your distribution). So, let's get started:
1. Install Python and Pip
Jupyter Notebook requires Python (latest version 3.13.1). Most Linux distributions come with pre-installed Python, just ensure that pip is installed.
Step 1: Install Python
Run the following command to install Python if it's not available in your system.
sudo apt update
sudo apt install python3
Step 2: Check Python Version
Run the following command to check the installed version of Python:
python3 --version
Step 3: Install Pip
sudo apt install python3-pip
2. Install Jupyter Notebook
Once you setup Python (latest version Python 3.13.1), you may proceed to download and install Jupyter Notebook. Here's how you can do it:
Step 1: Install Jupyter
Run the following command to get Jupyter Notebook:
pip3 install notebook
Step 2: Verify the Installer
Once the download gets completed, you'll be required to verify the installer, use the following command:
jupyter --version
3. Launch Jupyter Notebook
You can start working on the Jupyter Notebook, let's see how you can initiate:
Step 1: Start Jupyter Notebook
Run the following command:
jupyter notebook
Note: Running this command will open Jupyter Notebook in your "default" web browser.
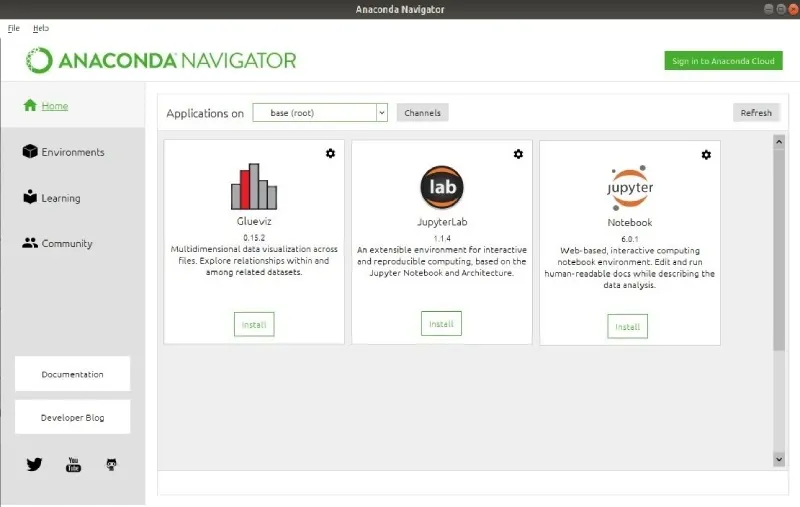
4. Install Jupyter Notebook using Anaconda (Alternate)
You can also choose this alternative to Install Python and Jupyter using the Anaconda Distribution, which includes Python, the Jupyter Notebook, and other commonly used packages for scientific computing and data science.
Note: To install Anaconda, go through How to install Anaconda on Linux? and follow the provided instructions.
Step 1: Download Anaconda
You can visit the official website and download the Anaconda:
 Anaconda
Step 2: Navigate Anaconda Downloaded File
Run the following command in the Terminal and navigate through the downloaded directory:
cd ~/Downloads
Step 3: Install Anaconda
Run the following command in the Terminal and follow the on-screen instructions:
bash Anaconda3-2025.28-1-Linux-x86_64.sh
Note: Replace the file name with the exact match.
Step 4: Verify the Jupyter Notebook Installer
Once the installation is completed, reopen the Terminal and type the following command:
conda --version
Output:
conda 25.1.0
Step 5: Launch Jupyter Notebook
Now, type the following command to open Jupyter Notebook:
Jupyter Notebook
 Local Host
By following these steps, you can easily Install Jupyter Notebook in your Linux system (irrespective of your distribution) that too along with data science and machine learning tools.
Explore
Getting Started with Linux
Installation with Linux
Linux Commands
Linux File System
Linux Kernel
Linux Networking Tools
Linux Process
Linux Firewall
Shell Scripting & Bash Scripting
Linux Administrator System