Install MongoDB Compass on Windows
Last Updated :
16 Sep, 2025
MongoDB Compass is a powerful graphical user interface for MongoDB which is designed to simplify database management. It offers features like easy querying, index visualization and an aggregation pipeline builder. Compass offers tools for schema analysis and structure validation, making it valuable resource for users looking to optimize and manage their MongoDB databases easily.
System Requirements
Before installing MongoDB Compass, make sure your system meets the following requirements:
- Operating System: 64-bit version of Microsoft Windows 7 or higher.
- MongoDB Version: MongoDB 3.6 or higher.
- .NET Framework: Microsoft .NET Framework version 4.5 or higher.
Now, let's look into the installation process of MongoDB Compass locally on a Windows machine. To do so follow the below steps:
Install MongoDB Compass on Windows
Follow these easy steps to download and install MongoDB Compass on Windows:
Step 1: Download MongoDB Compass
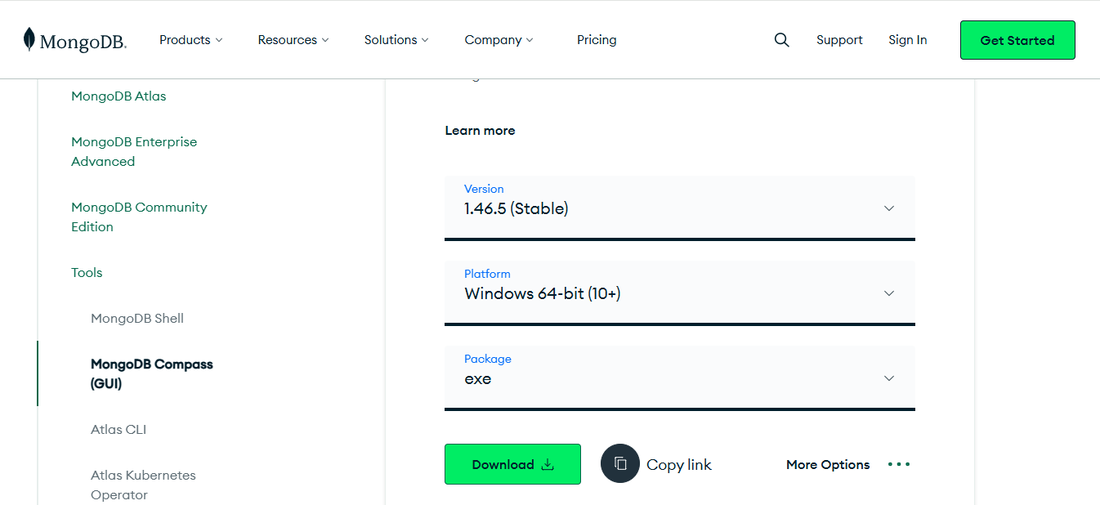
- Visit the Official MongoDB Website: Go to the MongoDB Compass download page.
- Select Windows Version: Choose the appropriate version of MongoDB Compass (make sure to download the version suitable for your Windows architecture, typically 64-bit).
- Click on Download: Click the “Download” button to start the downloading process.
Step 2: Unzip the Downloaded File
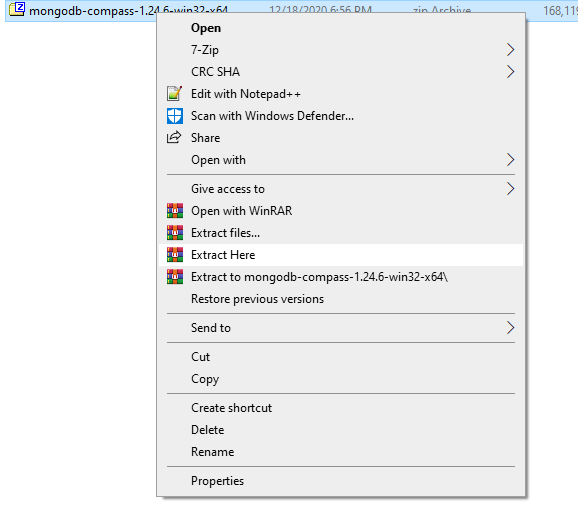
- After downloading, navigate to the location where the file was saved.
- Extract the File: Right-click on the downloaded .zip file and select "Extract All" to unzip the contents to your desired location.
Step 3: Run the Installer
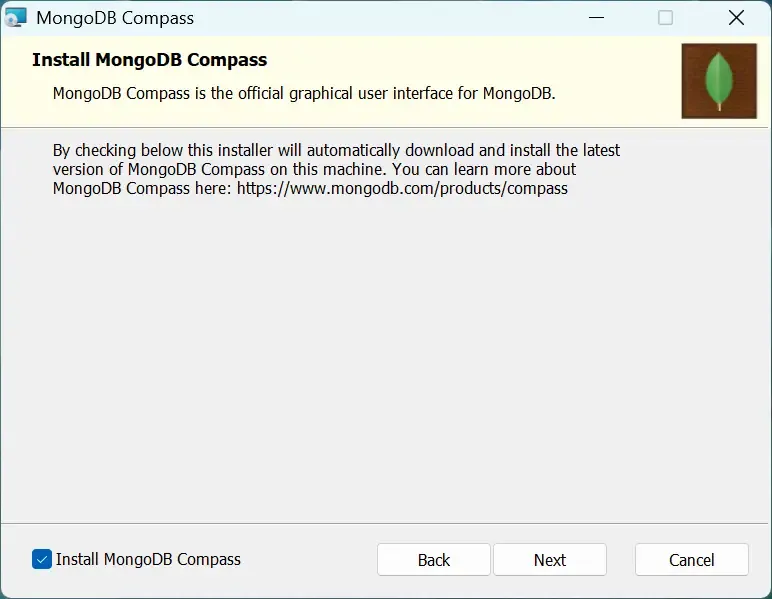
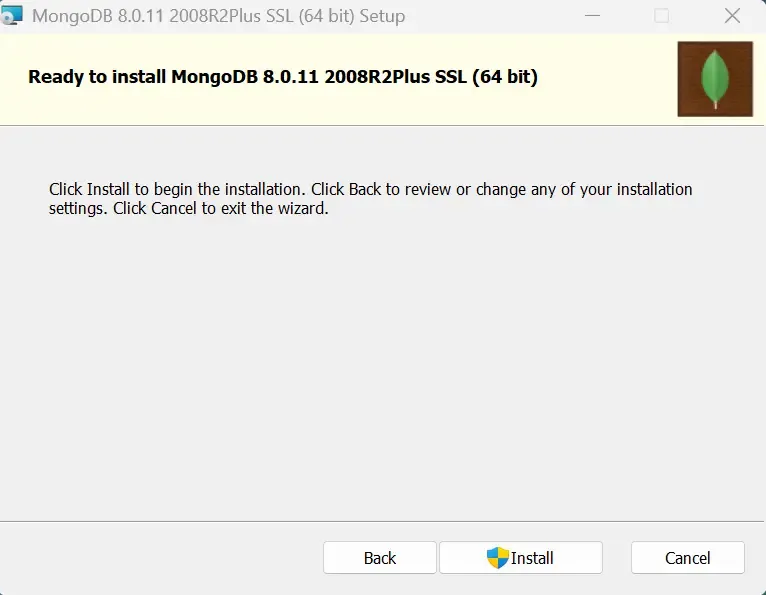
- Double-click the Installer: Locate the MongoDB Compass installer file and double-click to begin the installation process.
- Installation Prompt: Follow the installation prompts to proceed with the setup. You can customize the installation directory or proceed with the default settings.
During the installation process, we will be prompted to configure MongoDB Compass settings based on our preferences. For most users, the default settings will be sufficient, but feel free to adjust them according to your needs.

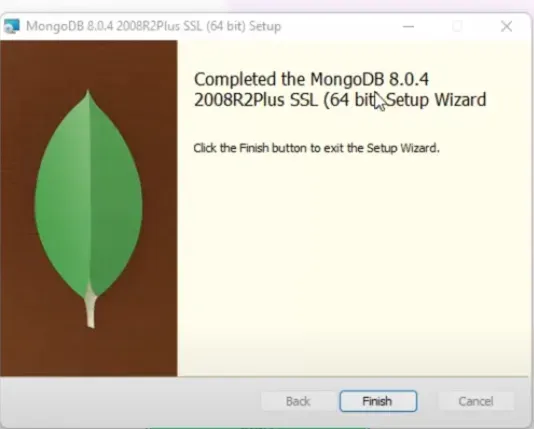
Step 5: Finish the Installation
Once the installation is complete, you will receive a confirmation. MongoDB Compass will now be installed on your Windows machine, and you can start using it.
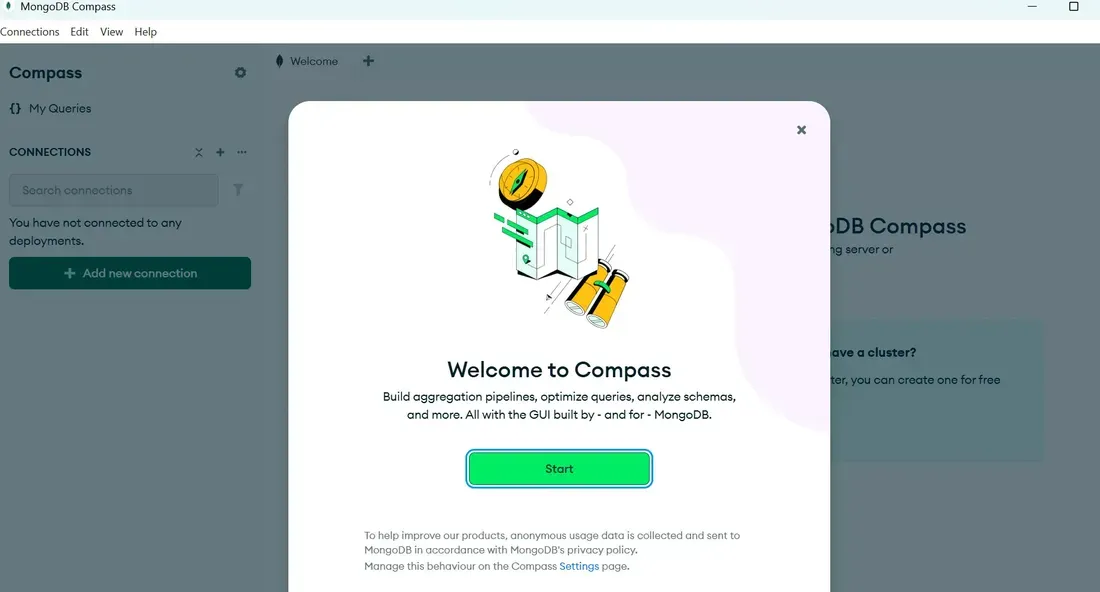
Step 6: Launch MongoDB Compass
After installation, you will find the MongoDB Compass icon on your desktop. Double-click the icon to launch the application. Alternatively, we can search for "MongoDB Compass" in the Start menu and open it from there.
How to Use MongoDB Compass on Windows
Once MongoDB Compass is installed, you can easily connect it to your MongoDB instances and start managing your data.
How to Connect MongoDB Compass to Your MongoDB Database
1. Open MongoDB Compass: Launch the application from your desktop or Start menu.
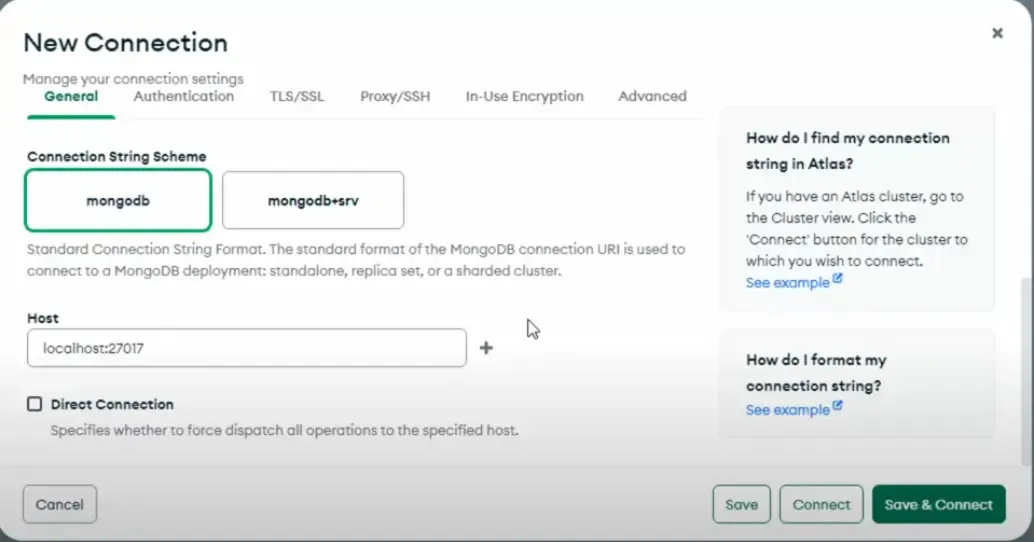
2. Add a New Connection: In the "New Connection" window, input the connection string of your MongoDB instance. This could be a local MongoDB instance or one hosted in MongoDB Atlas.
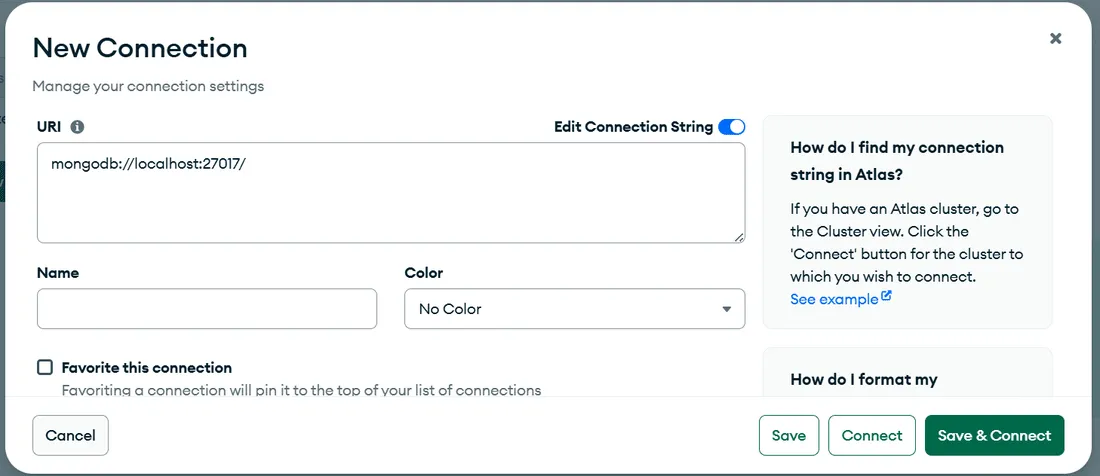
3. Click on 'Connect': After entering the connection string, click "Connect" to establish the connection between MongoDB Compass and your MongoDB server.
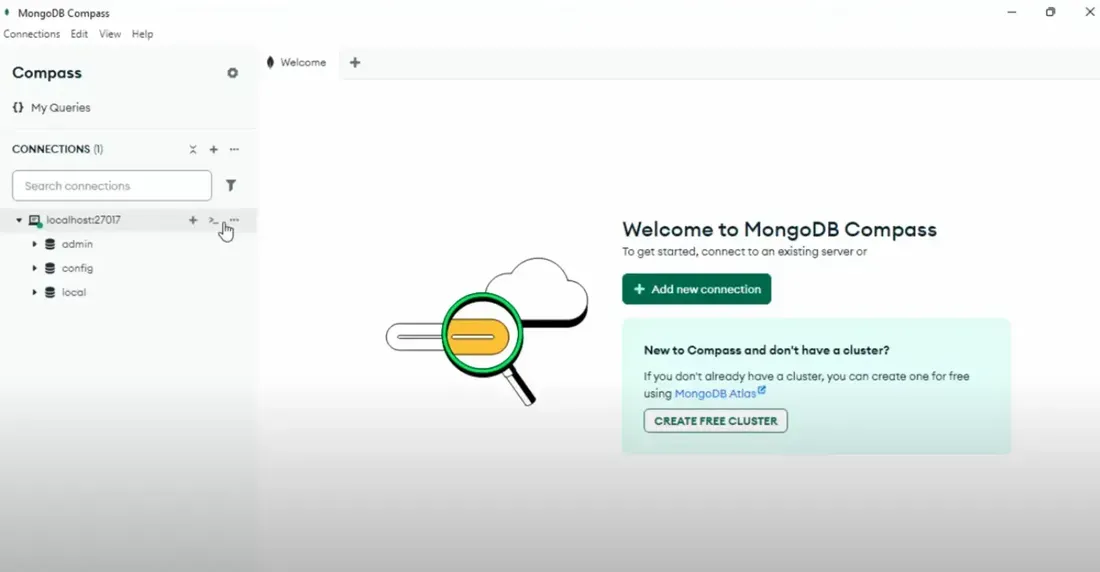
MongoDB Compass will now display your databases and collections, allowing you to query, visualize, and manage your data effectively.
Additional Guides
Explore
Introduction
Installation
Basics of MongoDB
MongoDB Methods
Comparison Operators
Logical Operators
Arithmetic Operators
Field Update Operators
Array Expression Operators
Array Update Operators