User Authentication System using Django
Last Updated :
27 Oct, 2025
Authentication is a key part of securing any web application. In Django REST Framework (DRF), Basic Authentication provides a simple way to verify users using their username and password. This method builds upon Django’s built-in authentication system, allowing APIs to restrict access and ensure only authorized users can interact with protected endpoints.
User Authentication System in Django
Step 1: Create the Django project and app
django-admin startproject core
cd core
python manage.py startapp authentication
File Structure:
 File Structure
 Step 2: Register app name in Installed_Apps in settings.py file.
INSTALLED_APPS = [
"django.contrib.admin",
"django.contrib.auth",
"django.contrib.contenttypes",
"django.contrib.sessions",
"django.contrib.messages",
"django.contrib.staticfiles",
"authentication", // App name
]
Step 3: views.py
The views handle rendering templates and processing form data for login, registration, and the home page.
- home(request)
Renders the home.html template when users access the home page. - login_page(request)
Handles user login. On a POST request, it retrieves username and password from the form. It checks if the user exists; if not, it displays an error message and redirects back to the login page. - register_page(request)
Handles user registration. On a POST request, it retrieves first_name, last_name, username, and password from the form. It checks if the username is already taken; if so, it displays a message and redirects back to the registration page.
Python
from django.shortcuts import render, redirect
from django.contrib import messages
from django.contrib.auth import authenticate, login
from django.contrib.auth.decorators import login_required
from django.contrib.auth.models import User
from .models import *

def home(request):
    return render(request, 'home.html')

def login_page(request):
    if request.method == "POST":
        username = request.POST.get('username')
        password = request.POST.get('password')

        # Check if a user with the provided username exists
        if not User.objects.filter(username=username).exists():
            # Display an error message if the username does not exist
            messages.error(request, 'Invalid Username')
            return redirect('/login/')

        user = authenticate(username=username, password=password)

        if user is None:
            # Display an error message if authentication fails (invalid password)
            messages.error(request, "Invalid Password")
            return redirect('/login/')
        else:
            login(request, user)
            return redirect('/home/')

    return render(request, 'login.html')

# Define a view function for the registration page
def register_page(request):
    if request.method == 'POST':
        first_name = request.POST.get('first_name')
        last_name = request.POST.get('last_name')
        username = request.POST.get('username')
        password = request.POST.get('password')

        # Check if a user with the provided username already exists
        user = User.objects.filter(username=username)

        if user.exists():
            # Display an information message if the username is taken
            messages.info(request, "Username already taken!")
            return redirect('/register/')

        # Create a new User object with the provided information
        user = User.objects.create_user(
            first_name=first_name,
            last_name=last_name,
            username=username
        )

        # Set the user's password and save the user object
        user.set_password(password)
        user.save()

        # Display an information message indicating successful account creation
        messages.info(request, "Account created Successfully!")
        return redirect('/register/')

    return render(request, 'register.html')
Step 4: models.py
- Import the models module from Django to create and manage database models.
- Import the User model from django.contrib.auth.models, which provides Django’s built-in authentication system for handling user data and permissions.
Python
from django.db import models
from django.contrib.auth.models import User
Migrate models:
python manage.py makemigrations
python manage.py migrate
Create the superuser:
python manage.py createsuperuser
Step 5:urls.py
This file defines URL routes and connects them to views within the Django application.
- Imports required modules for URL routing, views, admin interface, and file handling.
- Defines URL patterns for the home, admin, login, and registration pages.
- Serves media and static files during development.
Python
# Import required modules
from django.contrib import admin
from django.urls import path
from authentication.views import *
from django.conf import settings
from django.contrib.staticfiles.urls import staticfiles_urlpatterns
from django.conf.urls.static import static

# Define URL patterns
urlpatterns = [
    path('home/', home, name="home"),                 # Home page
    path("admin/", admin.site.urls),                  # Admin interface
    path('login/', login_page, name='login_page'),    # Login page
    path('register/', register_page, name='register'),# Registration page
]

# Serve media files in development mode
if settings.DEBUG:
    urlpatterns += static(settings.MEDIA_URL, document_root=settings.MEDIA_ROOT)

# Serve static files
urlpatterns += staticfiles_urlpatterns()
Update settings.py for Media and Static Files:
import os
STATIC_URL = '/static/'
STATIC_ROOT= os.path.join(BASE_DIR, 'staticfiles')
STATICFILES_DIR = {
os.path.join(BASE_DIR, 'public/static')
}
MEDIA_ROOT = os.path.join(BASE_DIR, 'public/static')
MEDIA_URL = '/media/'
Templates Folder
Step 6.1: login.html
Below template provides a login page for users. It uses Bootstrap 4.5.2 for styling and includes CSRF protection for security.
- The GeeksforGeeks title is centered and highlighted in green.
- CSRF token is included to prevent cross-site request forgery attacks.
- Displays error or success messages using Bootstrap alerts.
- Input fields for username and password, both required.
- Link to the registration page for new users.
- Submit button to log in.
HTML
<!DOCTYPE html>
<html lang="en">
<head>
    <meta charset="UTF-8">
    <meta name="viewport" content="width=device-width, initial-scale=1.0">
    <title>Login</title>
    <link href="https://maxcdn.bootstrapcdn.com/bootstrap/4.5.2/css/bootstrap.min.css" rel="stylesheet">
</head>
<body>
    <div class="container mt-5">
        <!-- Login form -->
        <form class="col-6 mx-auto card p-3 shadow-lg" method="post" enctype="multipart/form-data">
            <h1 style="text-align: center;"><span style="color: green;">GeeksforGeeks</span></h1>

            {% csrf_token %}  <!-- CSRF token for security -->

            <!-- Login heading -->
            <h3>Login</h3>
            <hr>

            <!-- Display error/success messages -->
            {% if messages %}
            <div class="alert alert-primary" role="alert">
                {% for message in messages %}
                {{ message }}
                {% endfor %}
            </div>
            {% endif %}

            <!-- Username input field -->
            <div class="form-group">
                <label for="exampleInputEmail1">Username</label>
                <input type="text" class="form-control" name="username" id="exampleInputEmail1" aria-describedby="emailHelp"
                    placeholder="Enter username" required>
            </div>

            <!-- Password input field -->
            <div class="form-group">
                <label for="exampleInputPassword1">Password</label>
                <input type="password" name="password" class="form-control" id="exampleInputPassword1" placeholder="Password" required>
            </div>

            <!-- Link to registration page -->
            <p>Don't have an account <a href="/register/">Register</a> </p>

            <!-- Submit button -->
            <button type="submit" class="btn btn-primary">Submit</button>
        </form>
    </div>
</body>
</html>
Output:
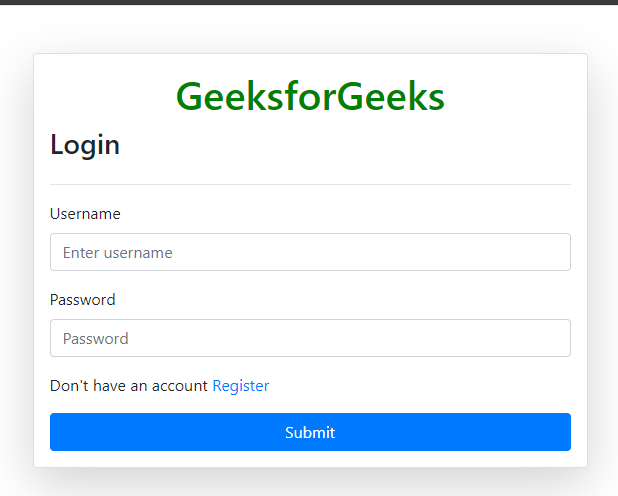 Loign.html
 Step 6.2: register.html
This template provides a registration form for new users. It uses Bootstrap 4.5.2 for styling and includes CSRF protection for security.
- CSRF token is included to prevent cross-site request forgery attacks.
- Displays error or success messages using Bootstrap alerts.
- Input fields for first name, last name, username, and password (all required).
- Link to the login page for users who already have an account.
- Submit button to register a new user.
HTML
<!DOCTYPE html>
<html lang="en">
<head>
    <meta charset="UTF-8">
    <meta name="viewport" content="width=device-width, initial-scale=1.0">
    <link href="https://maxcdn.bootstrapcdn.com/bootstrap/4.5.2/css/bootstrap.min.css" rel="stylesheet">
    <title>Registration Form</title>
</head>
<body>
    <div class="container mt-5">
        <!-- Registration form -->
        <form class="col-6 mx-auto card p-3 shadow-lg" method="post" enctype="multipart/form-data">
            {% csrf_token %}  <!-- CSRF token for security -->

            <!-- Registration form heading -->
            <h1 style="text-align: center;"><span style="color: green;">GeeksforGeeks</span></h1>
            <h3>Register</h3>
            <hr>

            <!-- Display error/success messages -->
            {% if messages %}
            <div class="alert alert-primary" role="alert">
                {% for message in messages %}
                {{ message }}
                {% endfor %}
            </div>
            {% endif %}

            <!-- First Name input field -->
            <div class="form-group">
                <label for="exampleInputEmail1">First name</label>
                <input type="text" class="form-control" id="exampleInputEmail1" aria-describedby="emailHelp"
                    placeholder="Enter First name" name="first_name" required>
            </div>

            <!-- Last Name input field -->
            <div class="form-group">
                <label for="exampleInputEmail1">Last name</label>
                <input type="text" name="last_name" class="form-control" id="exampleInputEmail1"
                    aria-describedby="emailHelp" placeholder="Enter Last name" required>
            </div>

            <!-- Username input field -->
            <div class="form-group">
                <label for="exampleInputEmail1">Username</label>
                <input type="text" class="form-control" name="username" id="exampleInputEmail1"
                    aria-describedby="emailHelp" placeholder="Enter email" required>
            </div>

            <!-- Password input field -->
            <div class="form-group">
                <label for="exampleInputPassword1">Password</label>
                <input type="password" class="form-control" name="password" id="exampleInputPassword1"
                    placeholder="Password" required>
            </div>

            <!-- Link to login page for users who already have an account -->
            <p>Already have an account <a href="/login/">Login</a> </p>

            <!-- Submit button -->
            <button type="submit" class="btn btn-primary">Submit</button>
        </form>
    </div>
</body>
</html>
Output:
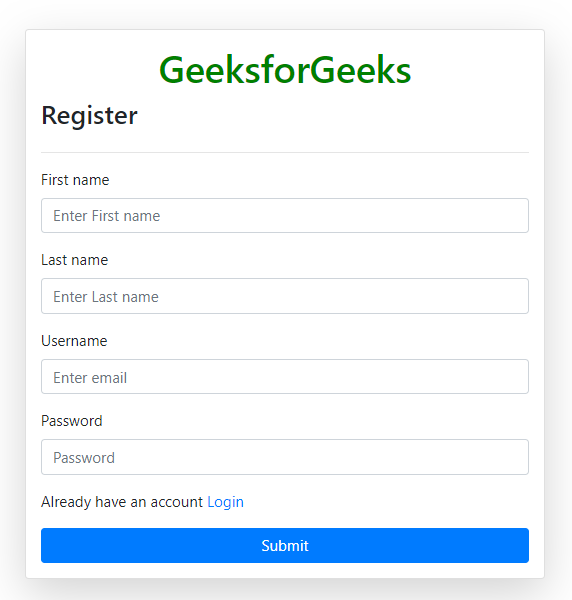 register.html
 Step 6.3: home.html
This template displays a welcoming page for users. It includes a heading and an animated GIF for a friendly user experience.
- Page title styled in green using inline CSS.
- .container class centers content and adds a white background with a subtle shadow.
- h1 tag styles the heading in green and bold.
- img tag displays an animated GIF at 60% width.
- The page content is contained within a centered container for a clean layout.
HTML
<!DOCTYPE html>
<html lang="en">
<head>
    <meta charset="UTF-8">
    <meta name="viewport" content="width=device-width, initial-scale=1.0">
    <title style="color: green;">Welcome to Geeksforgeeks ????</title>
    <style>
        .container {
            text-align: center;
            margin: 100px auto;
            max-width: 500px;
            padding: 20px;
            background-color: #fff;
            border-radius: 10px;
            box-shadow: 0 0 10px rgba(0, 0, 0, 0.2);
        }

        h1 {
            color: green;
            font-weight: bold;
        }

        img {
            width: 60%;
        }
    </style>
</head>
<body>
    <div class="container">
        <!-- Page heading -->
        <h1>Welcome to Geeksforgeeks </h1>

        <!-- Animated GIF -->
        <!-- Use "welcome.gif" as the source for the GIF -->
        <img src="https://i.ibb.co/RNB6jpM/welcome.gif" alt="Welcome Cartoon">
    </div>
</body>
</html>
Output:
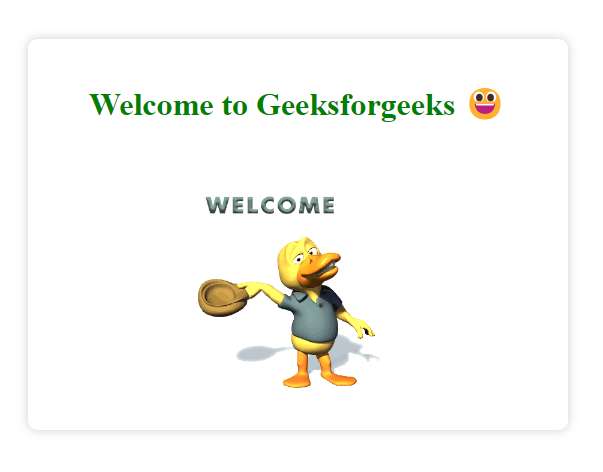 home.html
 Step 7: Run the Development Server
Start the Django development server to test the authentication system and templates:
- Opens the project on http://127.0.0.1:8000/ or http://localhost:8000/.
- Test the login page at /login/.
- Test the registration page at /register/.
- After login or registration, you will be redirected to the home page displaying the welcome message and GIF.
Explore
Python Fundamentals
Python Data Structures
Advanced Python
Data Science with Python
Web Development with Python
Python Practice