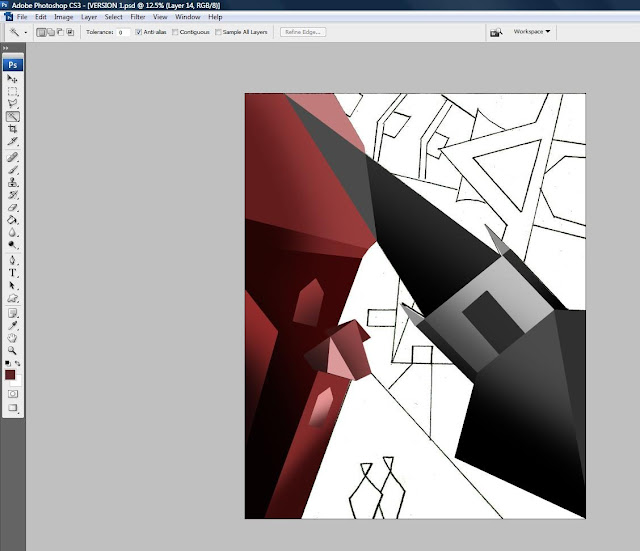
After choosing the top 3 pre-finalized designs, I decided to virtually draw everything from scratch using Adobe Photoshop CS3.
As my Cubism-inspired artworks consist of the overlapping of many broken-up object planes, a set of common Photoshop techniques were used to achieve the abstract motives in my designs.
Below, I'll briefly describe the techniques and step-by-step procedures I implemented in achieving my final pieces.
>>> Interwoven <<<
1. I created a new canvas sized 16x20 inches with 300 dpi and I opened the file of my sketch titled Interwoven. By using the Move Tool, I transferred my sketch unto the new canvas.
2. I then scaled my picture to the new canvas while holding down Shift.
3. To make my sketch black and white, I clicked on Image > Adjustments > Desaturate.
4. As I wanted the sketch to stand out more for later use, I darkened the canvas by adjusting the levels (pressed Ctrl+L).
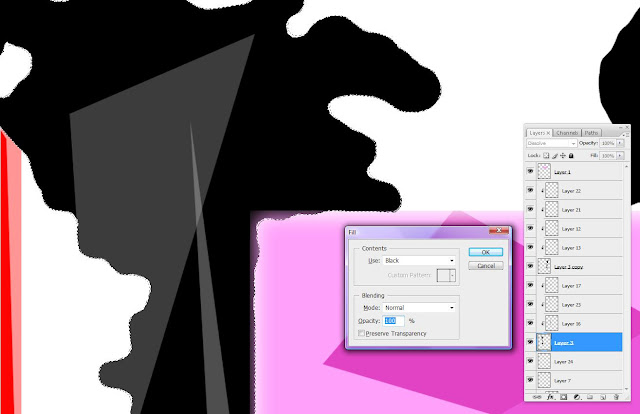
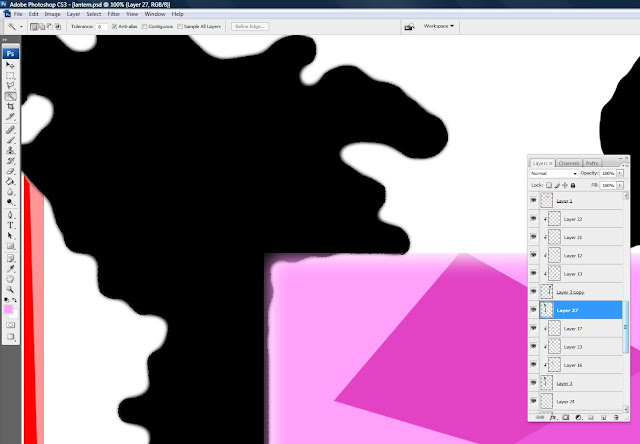
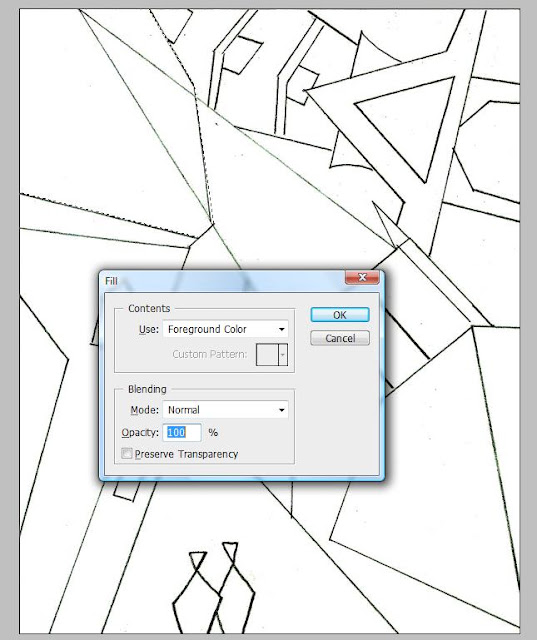
5. By using the Polygonal Lasso Tool, I traced and outlined the shape that I want on a new layer. I then pressed Shift+F5 to fill the shape with colour.
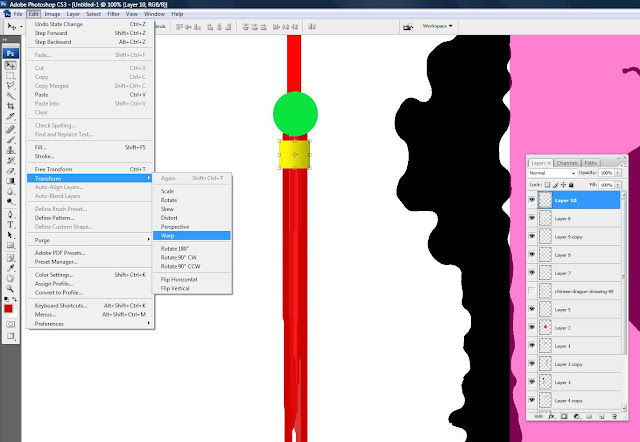
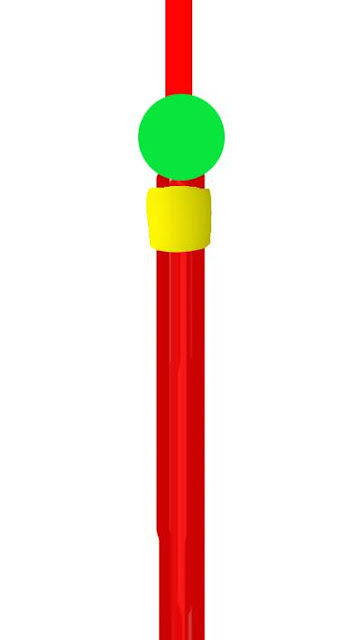
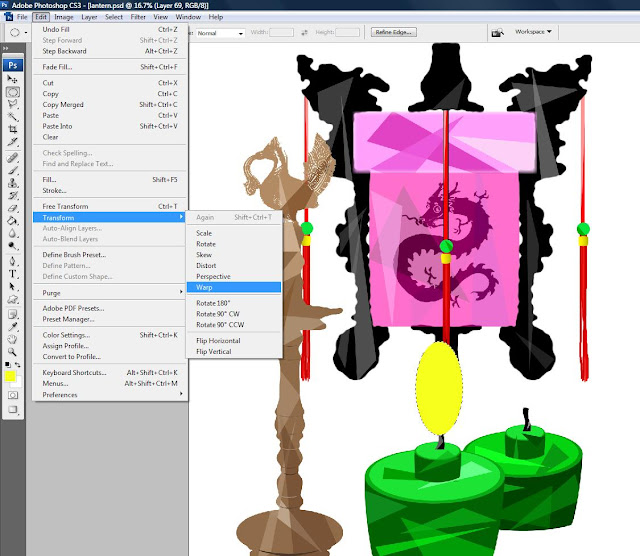
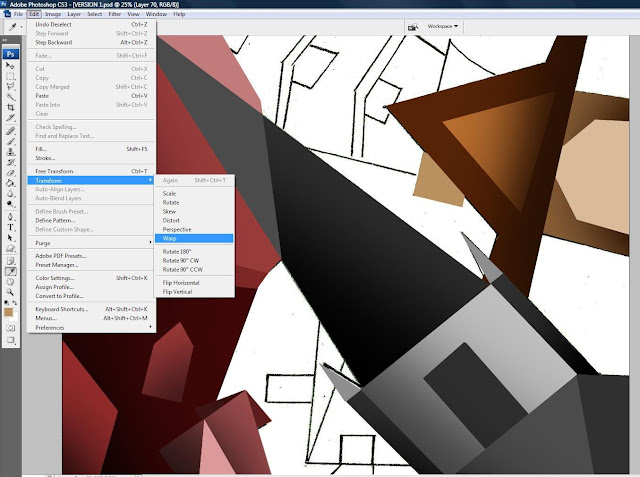
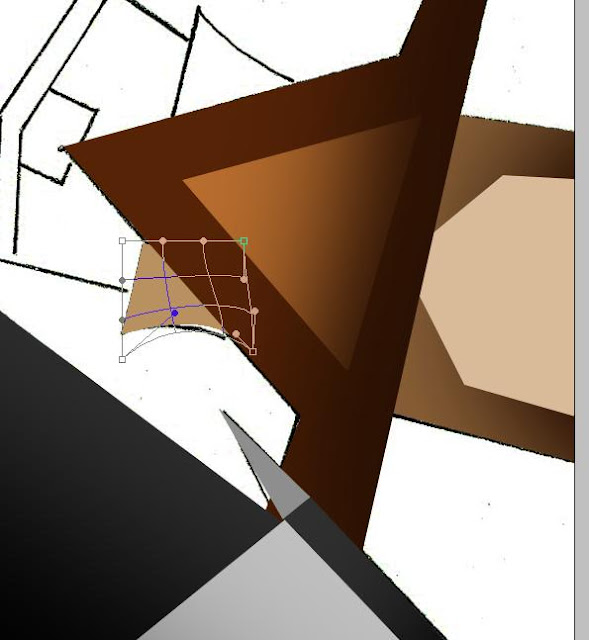
6. For shapes with curved lines, I utilized Warp (Edit > Transform > Warp).
7. I dragged a part of the shape to form a curved side. I used the Warp technique for all planes in my
artworks which require curved side(s).
8. This is an example of how I added extra shapes and colours into an existing shape. First, I used the Magic Wand Tool to select the layer, right clicked and clicked on Select Inverse. Then, with the shape selected, I can now add in the elephant nails by using the Brush Tool.
9. By clicking on the Brush Tool, I can change the size and the hardness of the brush stroke by adjusting the Master Diameter and Hardness.
10. Here is an example of the aforementioned technique. Lower opacity was used to create the overlapping effect between the 3 hemispheric shapes.
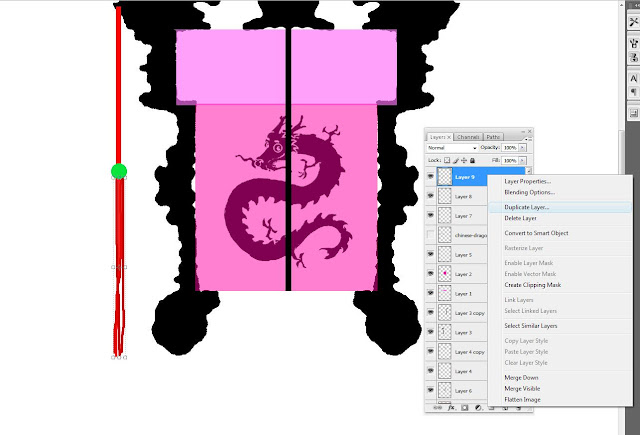
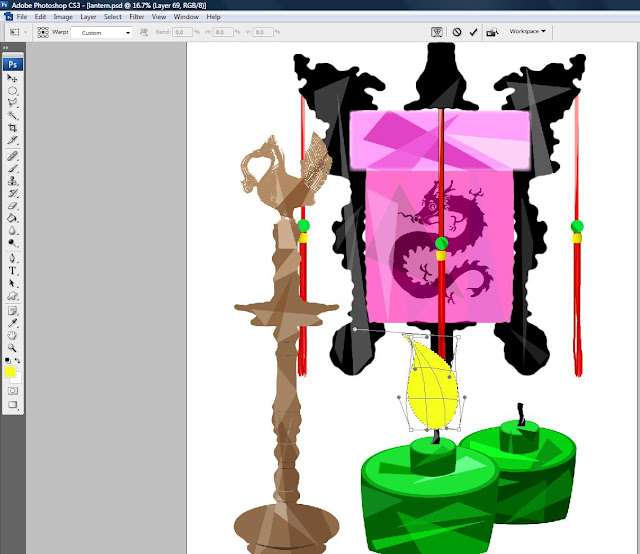
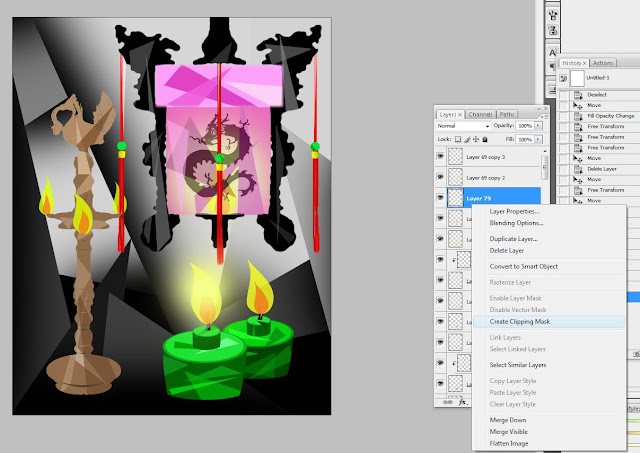
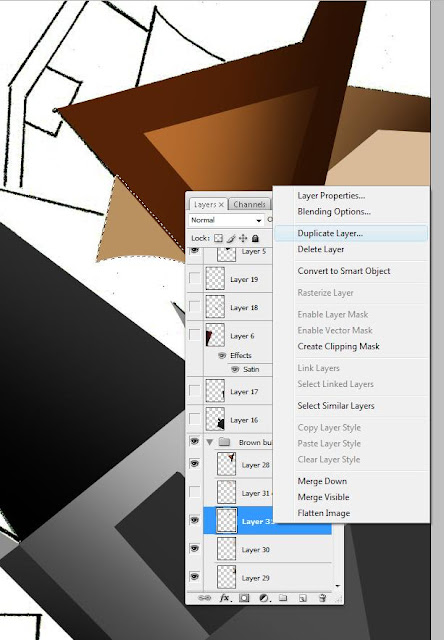
11. In cases whereby I want to create a rectangular shape within a curve shape, instead of utilizing the brush tool and painting it (which is a hassle and messy), I used the Clipping Mask to overlay a new shape onto an existing shape. I did this by putting the new layer on top of the layer I want to overlay, right clicked the new layer, and chose Create Clipping Mask.
12. Elephant design (representing the Indian culture) completed.
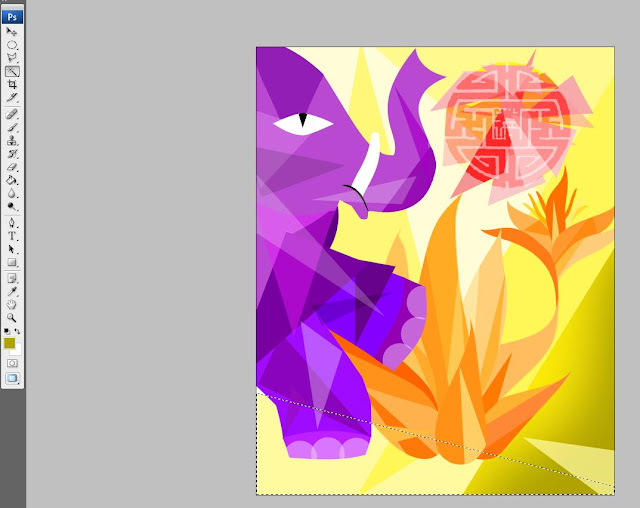
13. By using similar techniques I used for the elephant design, I created the floral element (representing the Malay culture).
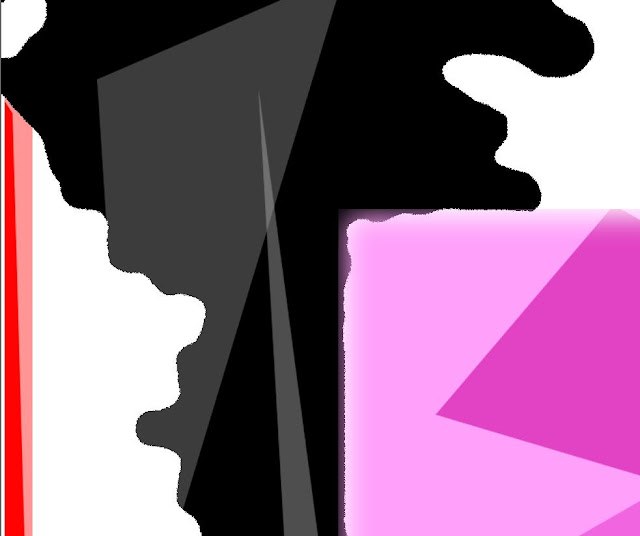
14. I then create this Chinese element by using the Wand Tool and colour Fill techniques explained above.
15. As the Chinese element colour was too blatant (causing the design to look particularly heavy), I decided to implement a experimental technique by first overlaying the design.
16. Then, below the design, I formed numerous triangular planes with different levels of opacity to achieve the desired effect.
17. Here is how it turned out eventually.
18. I completed the design by adding more planes in the background. To give the shapes a depth of field, I highlighted the shapes using the Wand Tool.
19. Then, I used the Brush Tool (using darker colours) to create different shades and value of colour within a particular shape. I did this for all the shapes in my design.
20. This is how it looks like after I finish adding depths to the shapes.
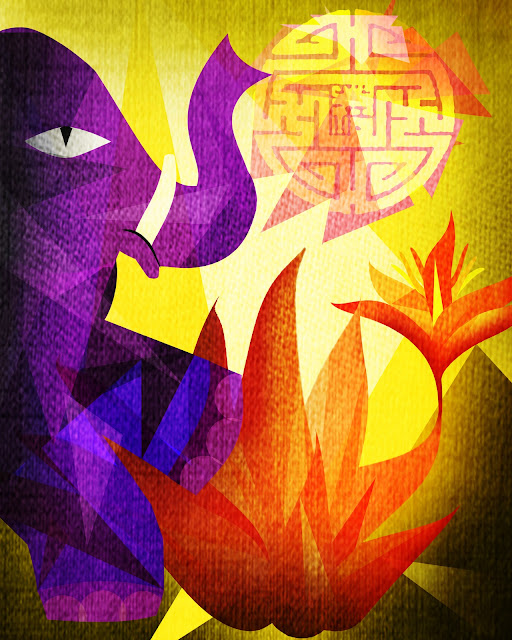
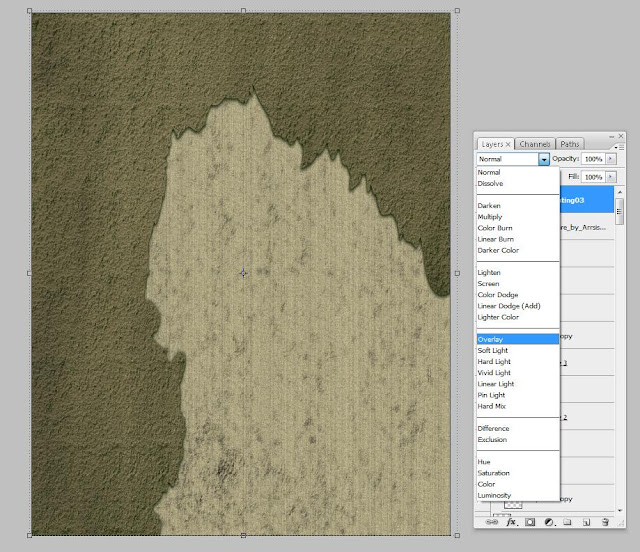
21. By adding texture into my flat-looking design, I chose a particular texture that I like and Desaturate the colour so as to make it black and white.
22. Then, I overlay this layer and place it at the top of all the layers.
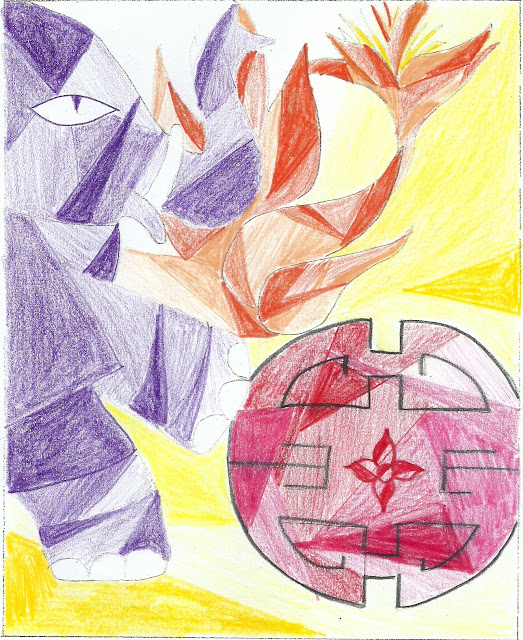
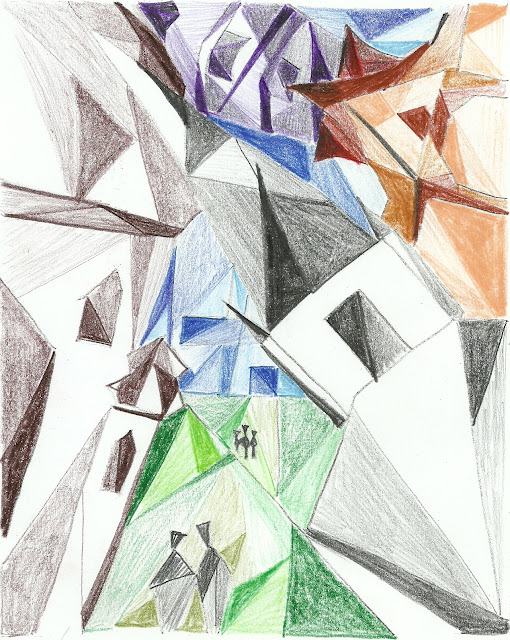
23. This is my initial rough sketch.
24. My finalized design of
Interwoven.
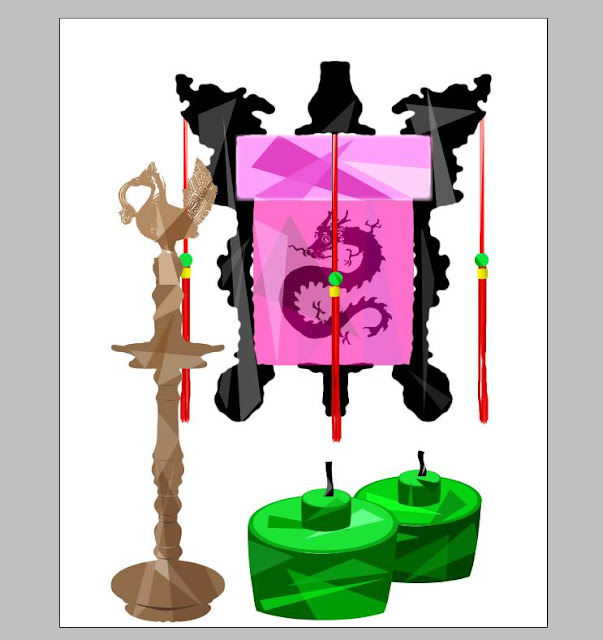
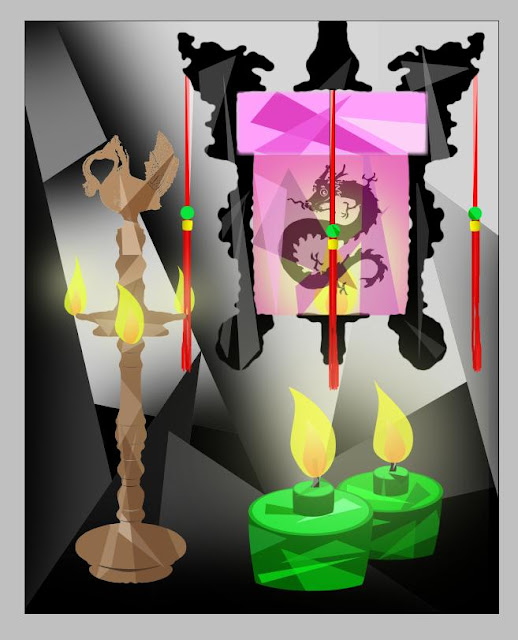
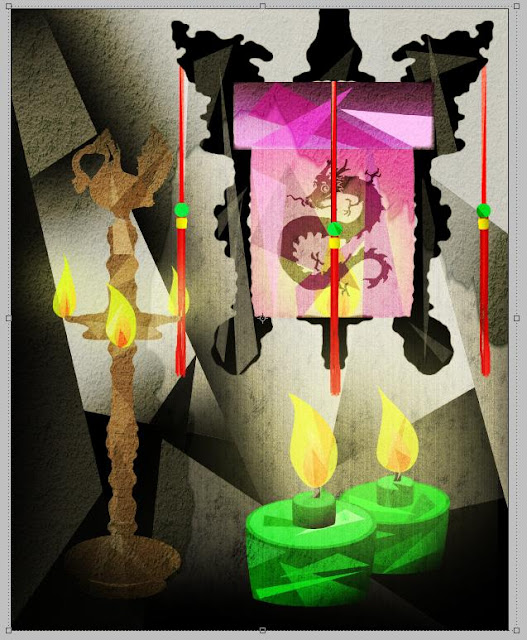
>>> Festive Illumination <<<
1. In designing the first element of Festive Illumination, I traced and colour filled the desired shapes by using the Wand Tool and colour Fill function. There were many times when I realize that the outcome of the shape doesn't appear to be clean nor symmetrical. To counter that, I used the following technique to create a perfectly balanced shape. First, I used the Rectangular Marquee Tool to select half of the shape that I didn't want.
2. Then, I pressed Delete.
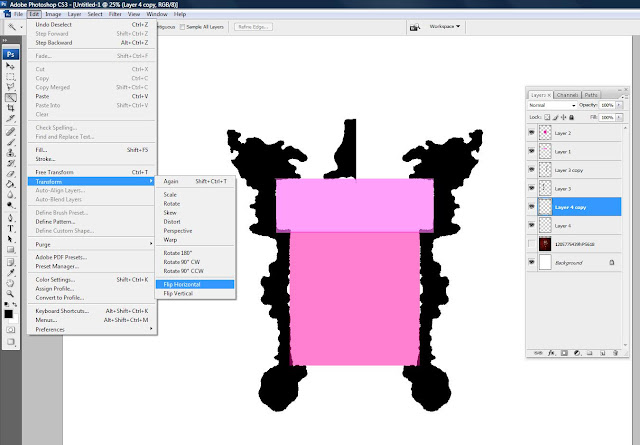
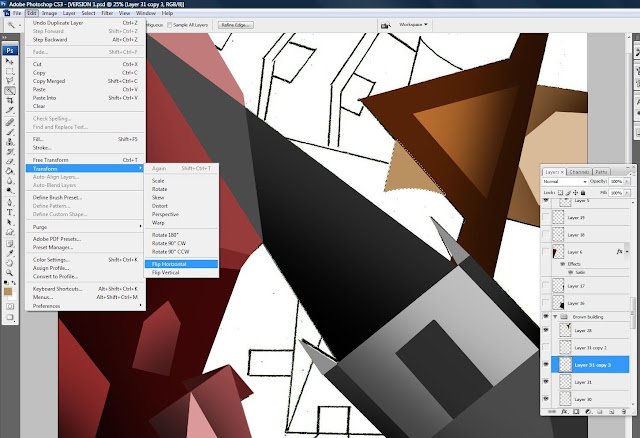
3. Then, using the Wand Tool, I select the other half and duplicate its layer.

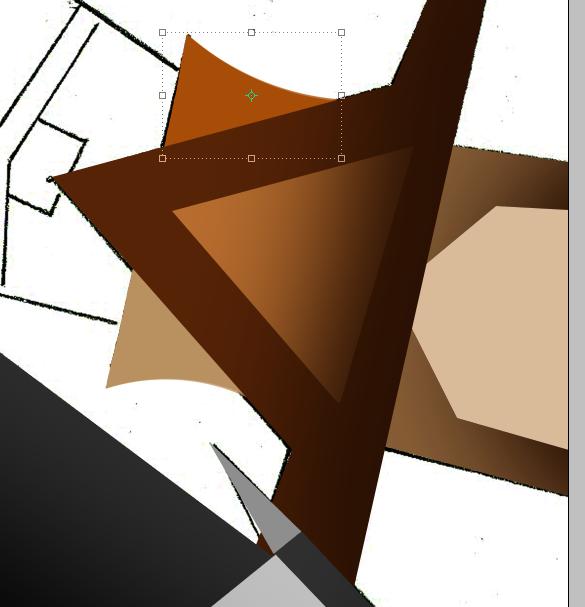
4. By selecting the new later, I flipped it horizontally (Edit > Transform > Flip Horizontal).
5. Using the Move Tool, I placed the mirror image on the other side of the existing shape, hence creating a symmetrical plane.
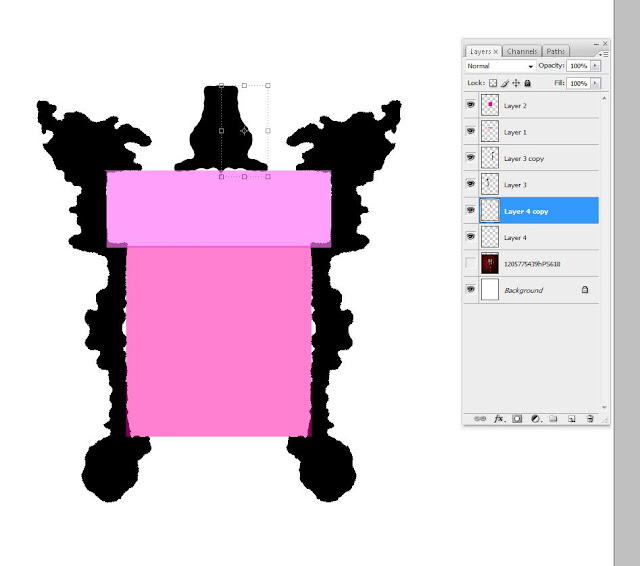
6. Using the Flip Horizontal technique, I created tassles (with random, multi-directional strokes) on the Chinese lantern.
7. As for the golden, squarish bead, I used the Rectangular Marquee Tool to select the area that I want.
8. To make the colour of the golden bead more realistic, instead of filling in a flat colour, I used the Gradient Tool to select the shades of colour that I want.
9. Here's how the gradient Fill looks like.
10. As the Golden bead looks too squarish and flat, I decided to use the Warp function (Edit > Transform > Warp) to give the shape little curve edges.
11. Here's how the golden bead looks like now.
12. To make the picture more relevant to my reference (Cubism), I overlapped rectangular shapes onto existing shapes by utilizing the Clipping Mask function.

13. The Clipping Mask function tremendously useful for overlapping complicated shapes such as this.
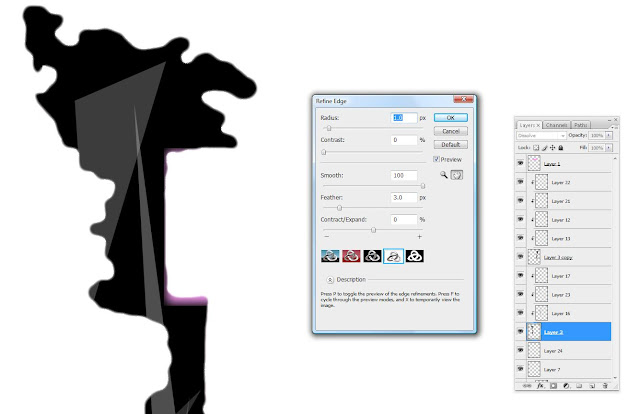
14. As the edges of the shape I outlined and filled did not look sharp, I used the Refine Edge function (Lasso Tool > Refine Edge) to smoothen the rough edges. Here, I set the value of radius, contrast, smooth, and feather that I want and click OK.
15. Then, I Fill (Shift+F5) the selected area with the colour of the existing shape.
16. Here is how it looked like after the edges were smoothened.
17. Similar techniques were used to create the Indian and Malay element in Festive Illumination.
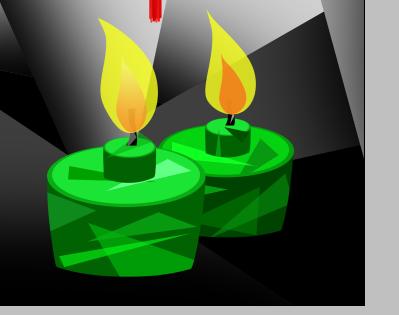
18. For the flames, to make it as realistic as possible, I used the Warp function to create the desired shape.
19. Every flame was dragged randomly toward a similar direction so as to make it as realistic as possible.
20. Here's the result.
21. To make the flames even more realistic (especially between the yellow and orange contrast), first, I used the Brush Tool with low Hardness and paint it over the flame.
22. Then, I created a clipping mask on top of the respective flame.
23. As a result, the orange blends well into the yellow, making the flame look more realistic.
24. To make the flames in the artwork glow, I used the Brush Tool with low Hardness and low Opacity and paint it on the top of the flame.
25. As I like the colour of this texture, I decided not to Desaturate it and overlay it on top all the layers.
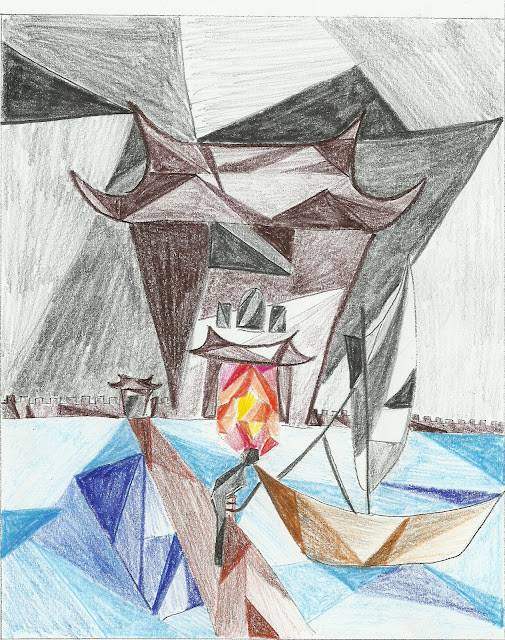
26. My initial sketch in which the feedback obtained was that it was too abstract and it has yet another building element in it.
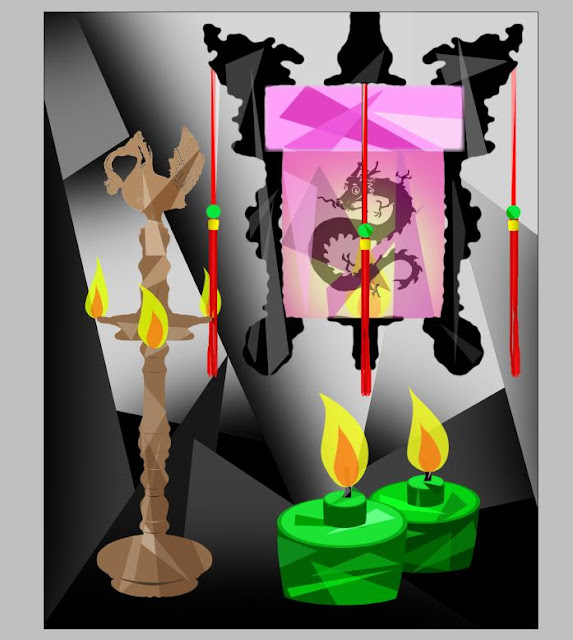
27. The final version of
Festive Illumination.
>>> Cultural Architecture <<<
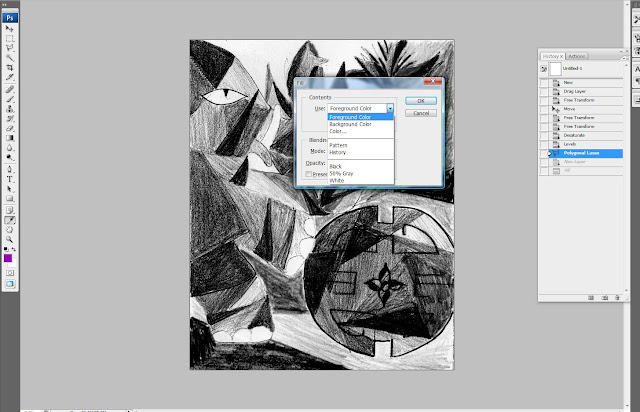
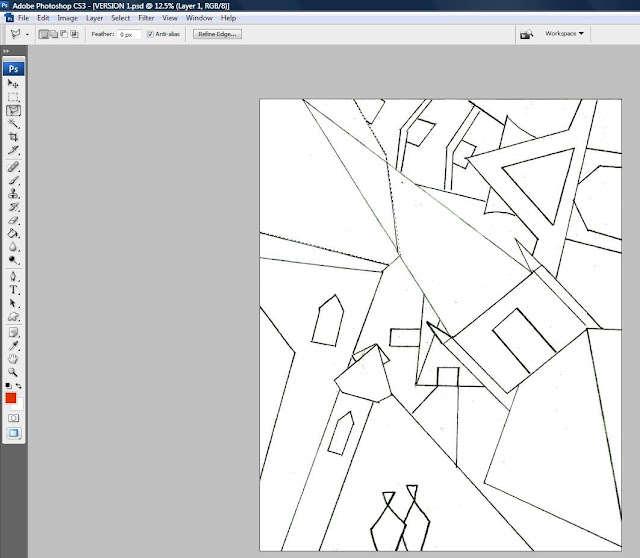
1. My black and white sketch of Cultural Architecture.
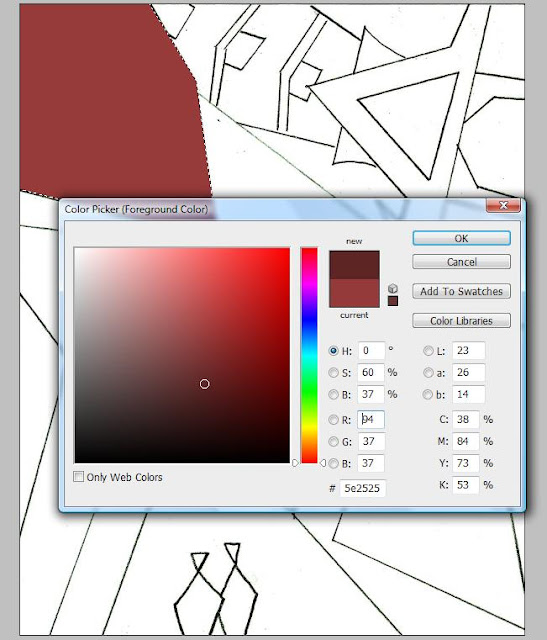
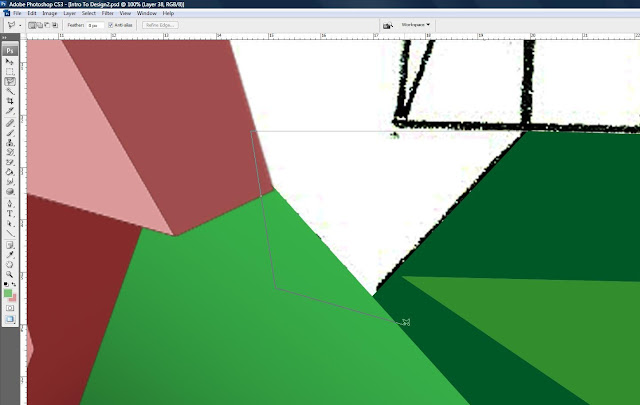
2. Tracing on my hand-drawn sketch, I used the Polygonal Lasso Tool to outline the shape I intend to work on first and fill it with the chosen Foreground Color.
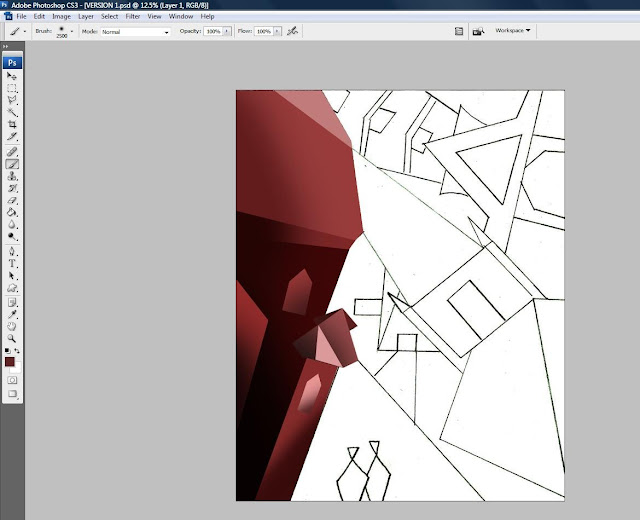
3. To give the shape a depth of field, I used the Color Picker to choose a darker tone of the existing colour and used the Brush Tool to create a shadowy effect.
4. Here's the after-effect of the darker blend of colours used to create a realistic looking building.
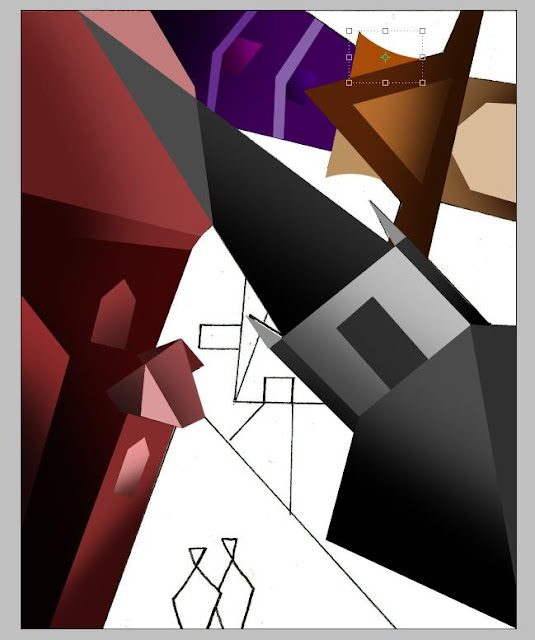
5. I worked on one building after another.
6. For the shapes with curvy sides, I used the similar Warp technique mentioned above to create the desired shape.
7. Edit > Transform > Warp.
8. I dragged it according to the shape that I wanted.
9. To make a similar shape on the other side of the building, I duplicate the layer.
10. Then, I flipped it horizontally (Edit > Transform > Flip Horizontally).
11. By clicking on the Move Tool and hovering the mouse outside the selected area, I rotated the shape and fit it accordingly.
12. 4 buildings completed.
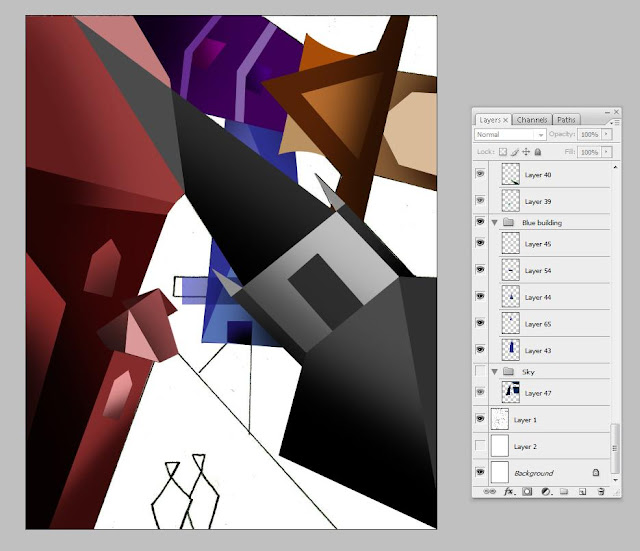
13. Realizing that my layers were all over the place, to make the designing process smoother, I then decided to group the layers and label them accordingly.
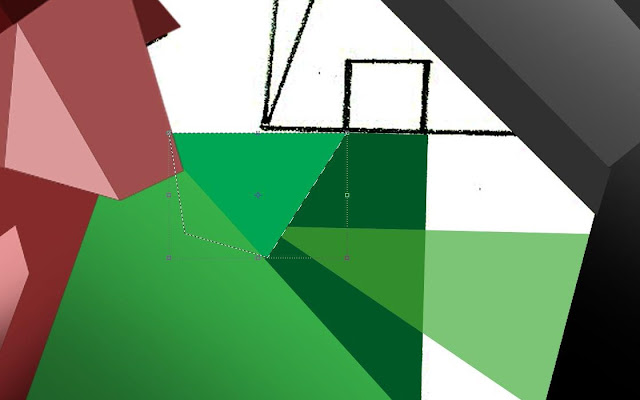
14. For shapes that were more intricate such as the one shown in the picture below, I used the Polygonal Marquee Tool to roughly cover the space I'd like to Fill.
15. After I Fill in the colour that I like, I placed the layer above the other layers so as to hide the excess space I filled.
16. Here's a picture with all the buildings and the ground completed.
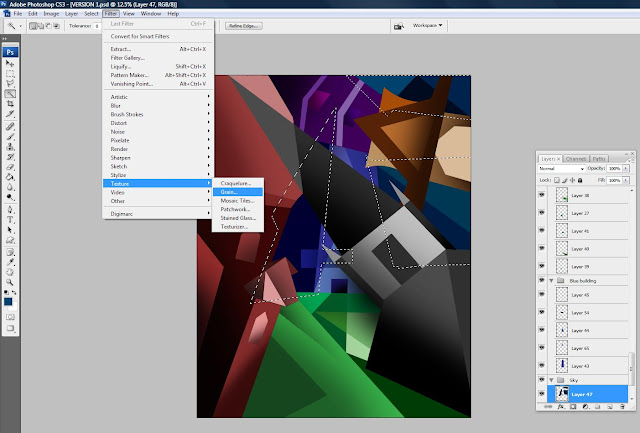
17. To distinguish the sky from the blue building, I added a grainy texture (Filter > Texture > Grain) over the layers of the sky.
18. This is how it looks like with the grainy effect.
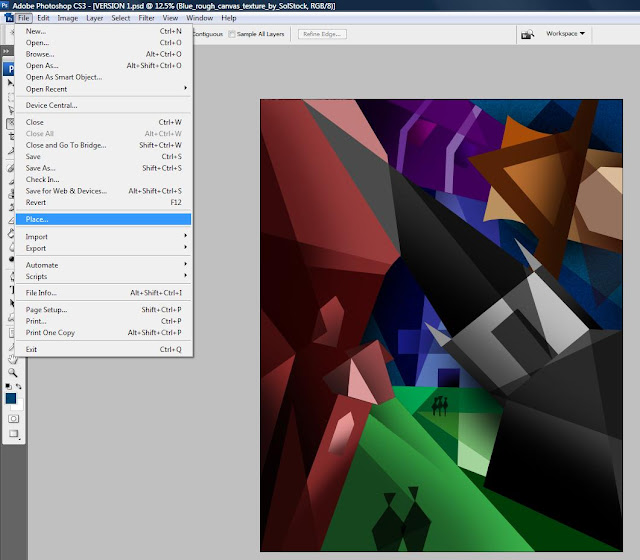
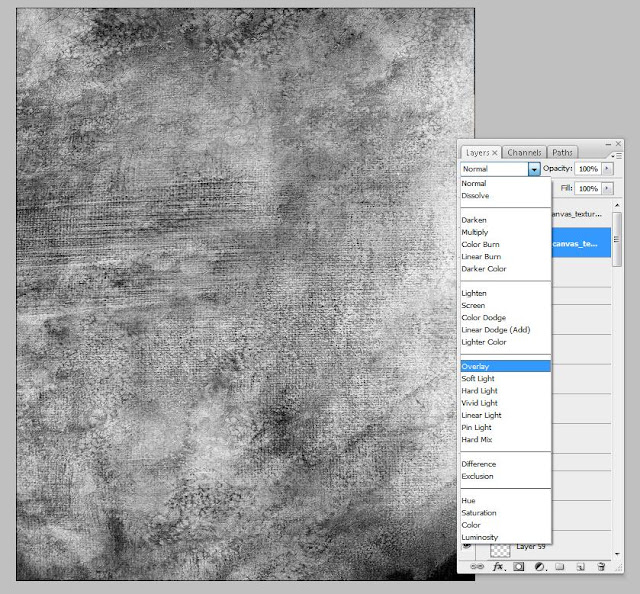
19. Using the Place function (File > Place), I chose the picture of the texture that I want and scaled it according to my artwork.
20. Then, I overlay it.
21. My sketch.
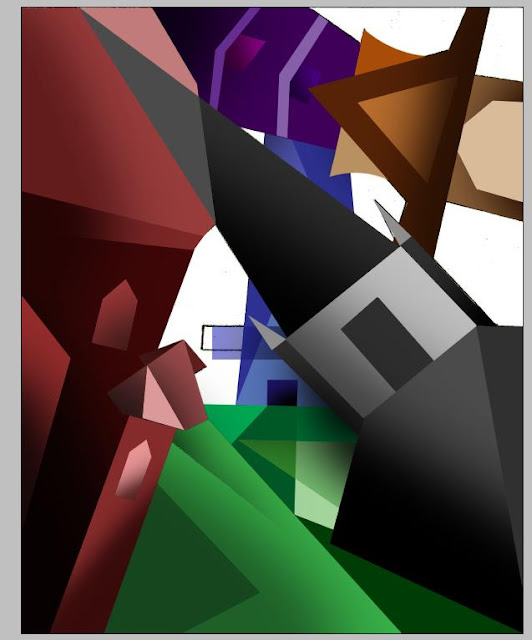
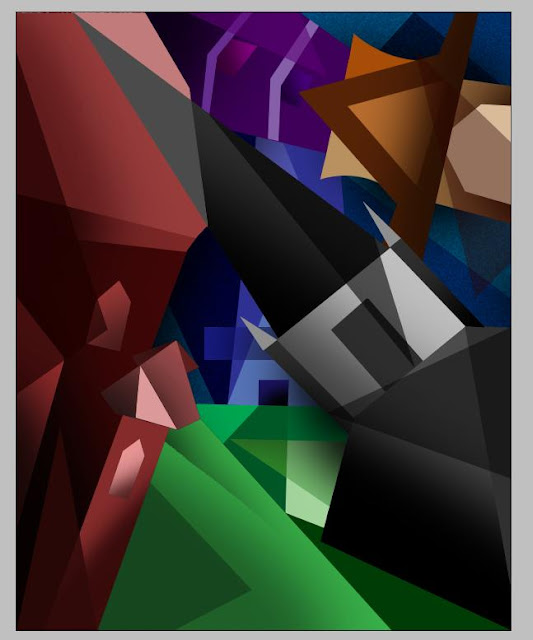
22. My final rendition of
Cultural Architecture, it is also the artwork I have chosen to exhibit.
Needless to say, my sketches are highly inspired and closely referenced to the artist of my choice, Lyonel Feininger.
In all three sketches, balance is achieved through the manipulation of shape sizes and light-dark contrasting colors. They are also used to create the desired depth of field. The proximity between all the elements is tight and the planes used to create their shapes tend to interpermeate one another, creating the perception of unity which is based on the theme that I chose – Intercultural at HELP. Repetitive triangular and quadrilateral shapes were used to form the shapes in all my artworks. These final versions of my sketches are achieved through many levels of improvisation.


