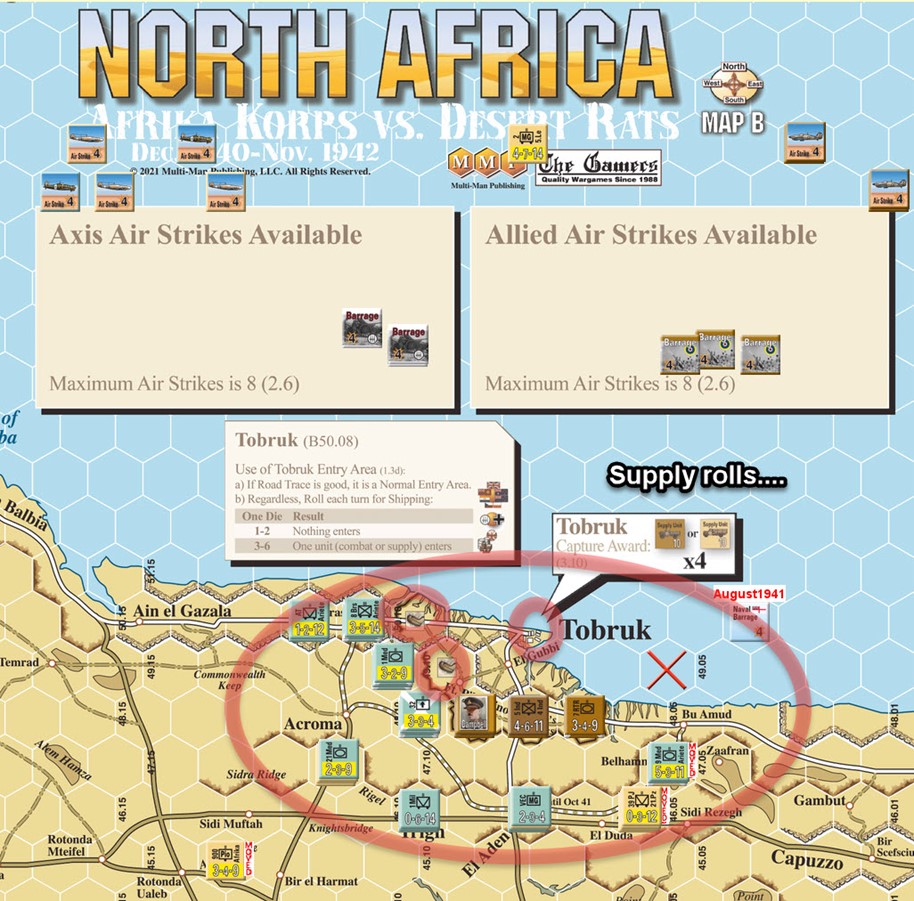
Unknown to the Brits and Aussies the supply landed in August was the last. After two months of rebuild and re supply in August and September both sides are ready to rumble.
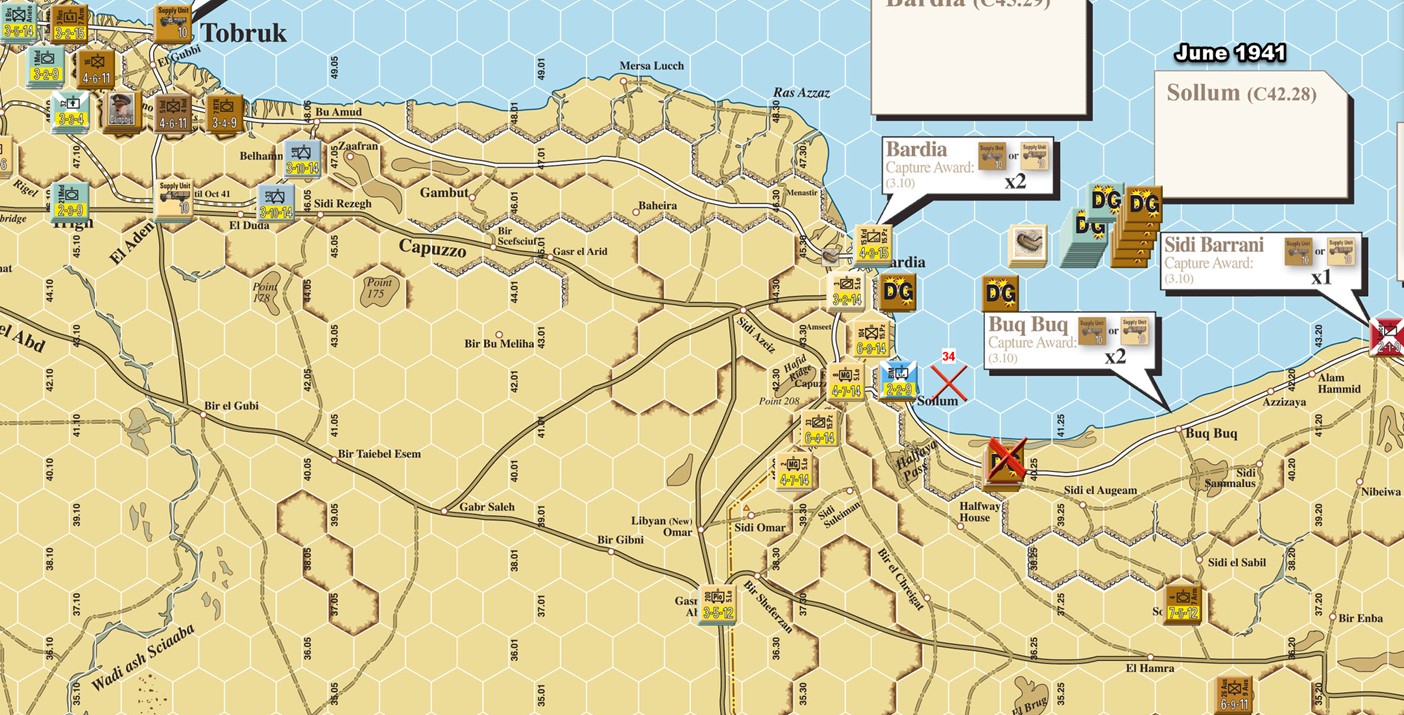
Unfortunately to kick off September Supplies fail to enter Tobruk.
The defence literally collapses.
Rommel immediately pivots East.

Surrender rolls leave us with a huge pile of dead and captured.
Counter Attacks further east fail to stem the tide.
This could be a real problem!
This series of attacks worked ok..but just for the moment. The Germans have built significant supplies up!
Some content here is rehashed as we got a bit out of sequence last post. FYI

But the Commonwealth have been rebuilding and reinforcing. They attempt to hold the line and punch back. Eager to avenge the losses.
But Rommel has other ideas.
A lot of other ideas.
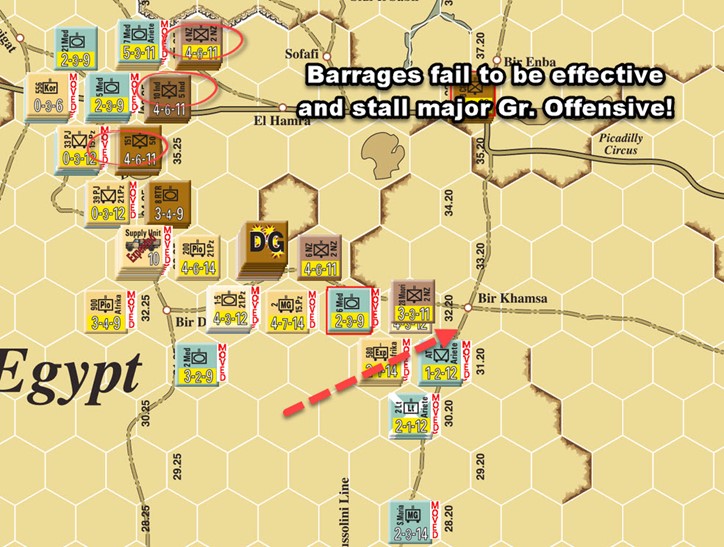
With aggressive attacks across the board they pick and choose their fights and chew up the Allies.
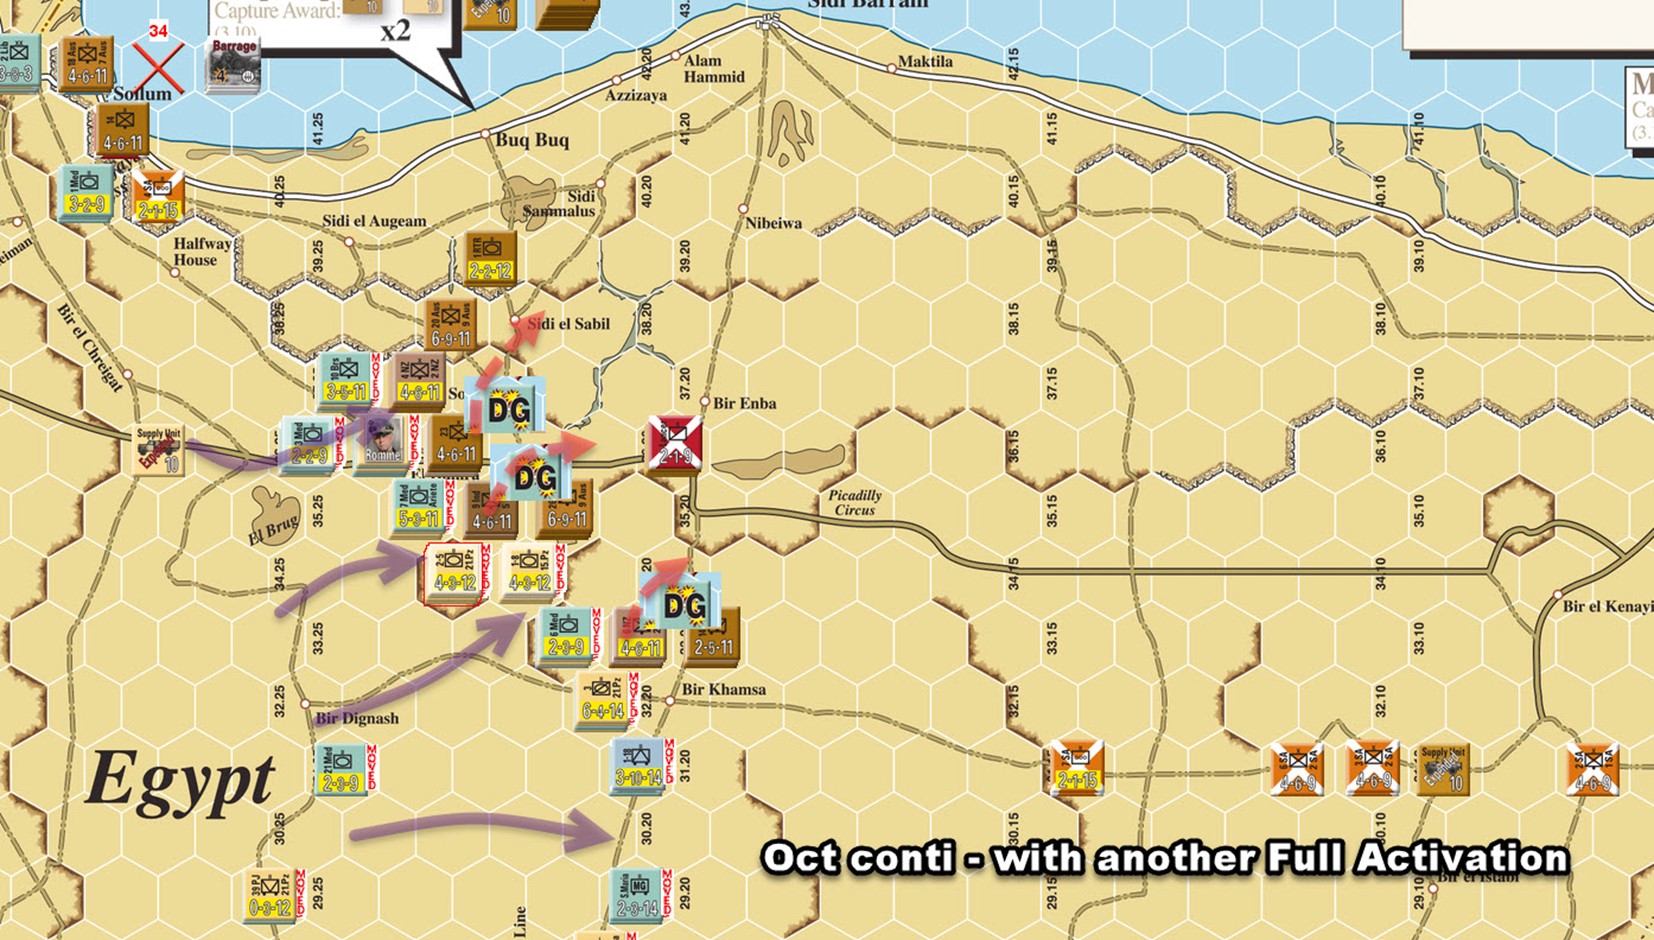
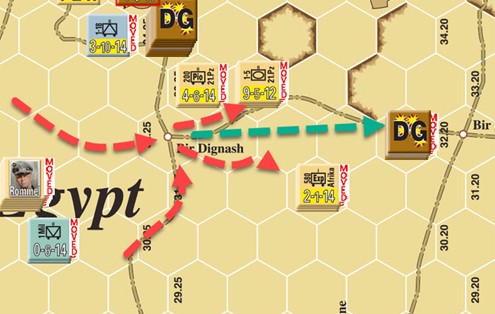
Rommel supports the attack on the main road and towards Sofafi.
They now have potentially isolated units against the escarpment near Sofafi with some excellent attacks.
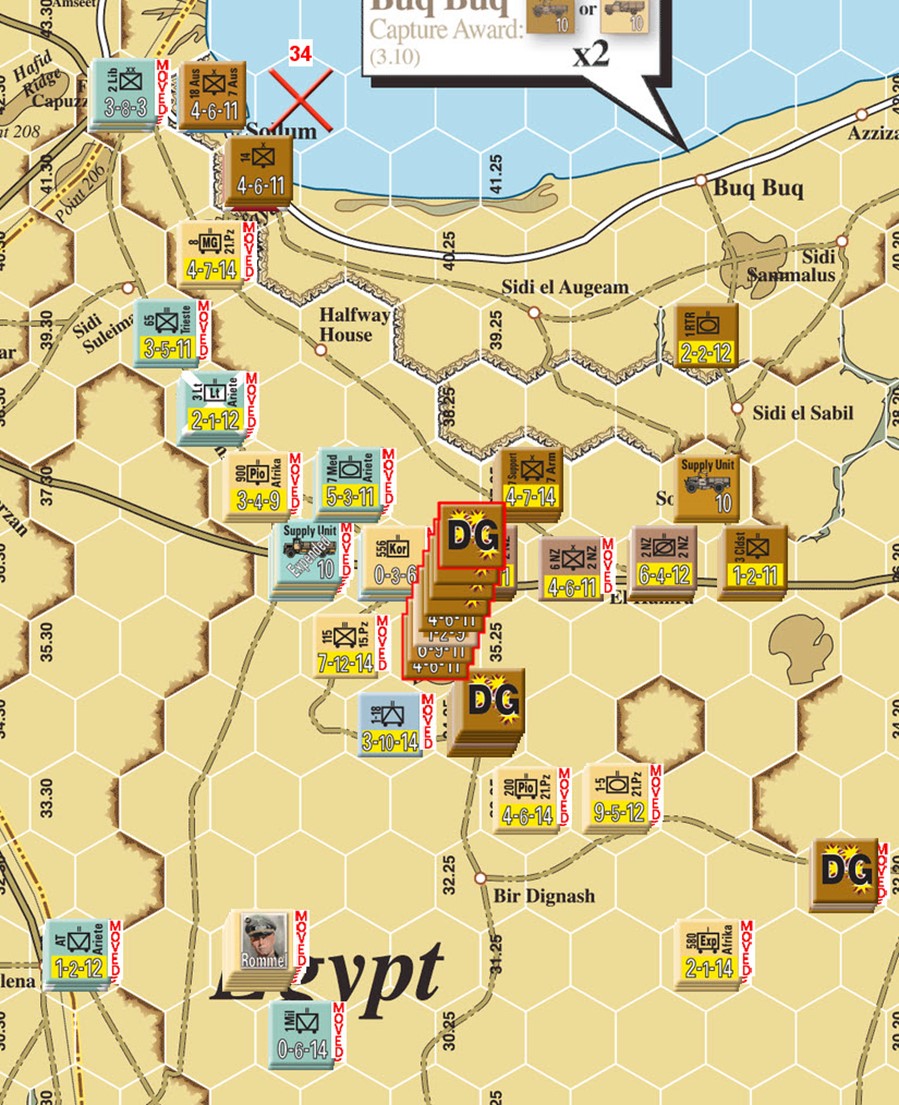
Commonwealth responds by attempting to DG the potential attackers. All but one fail. This puts elements of 21st and 15th Pzr at risk. IF the Aussies and Kiwis can hold for a turn we can now attack.
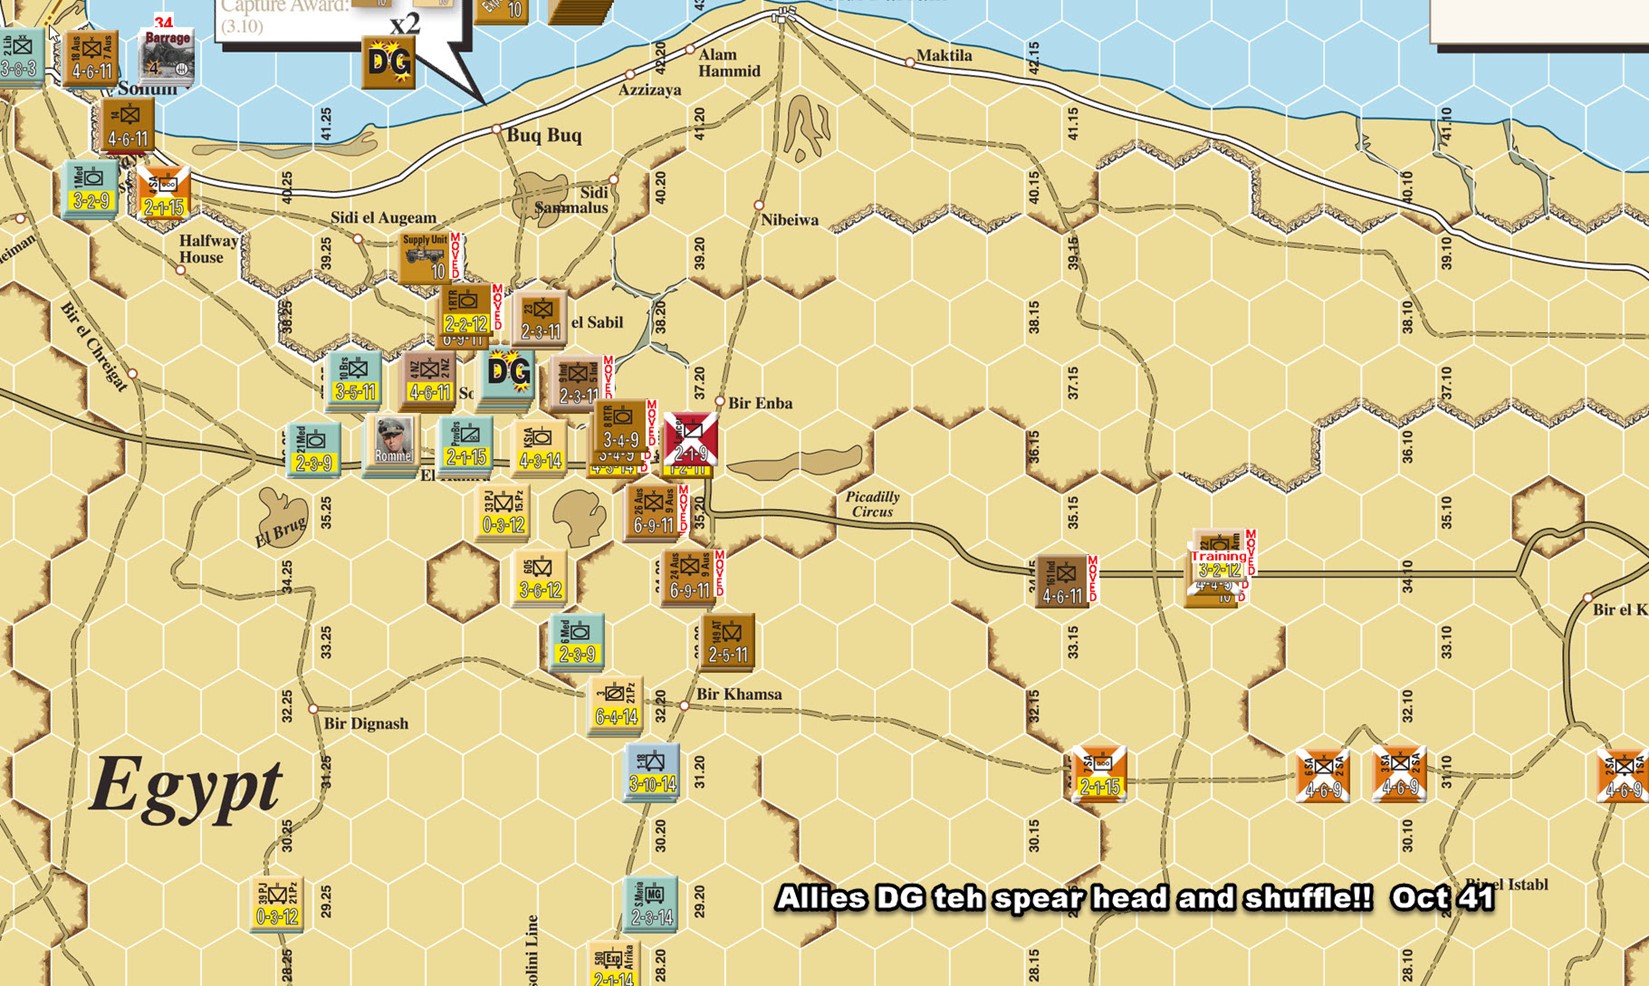
They rotate reduced units and DG units out, and bring in fresh units to bolster the defenses.
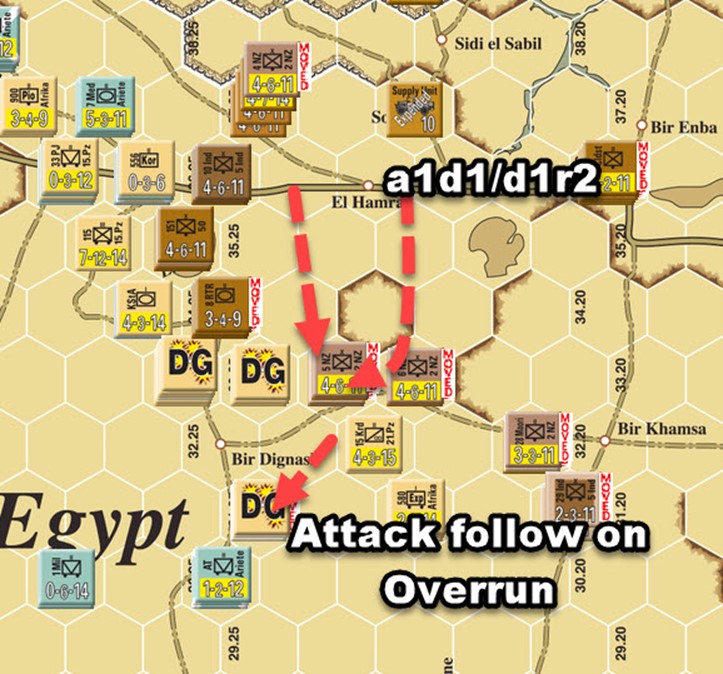
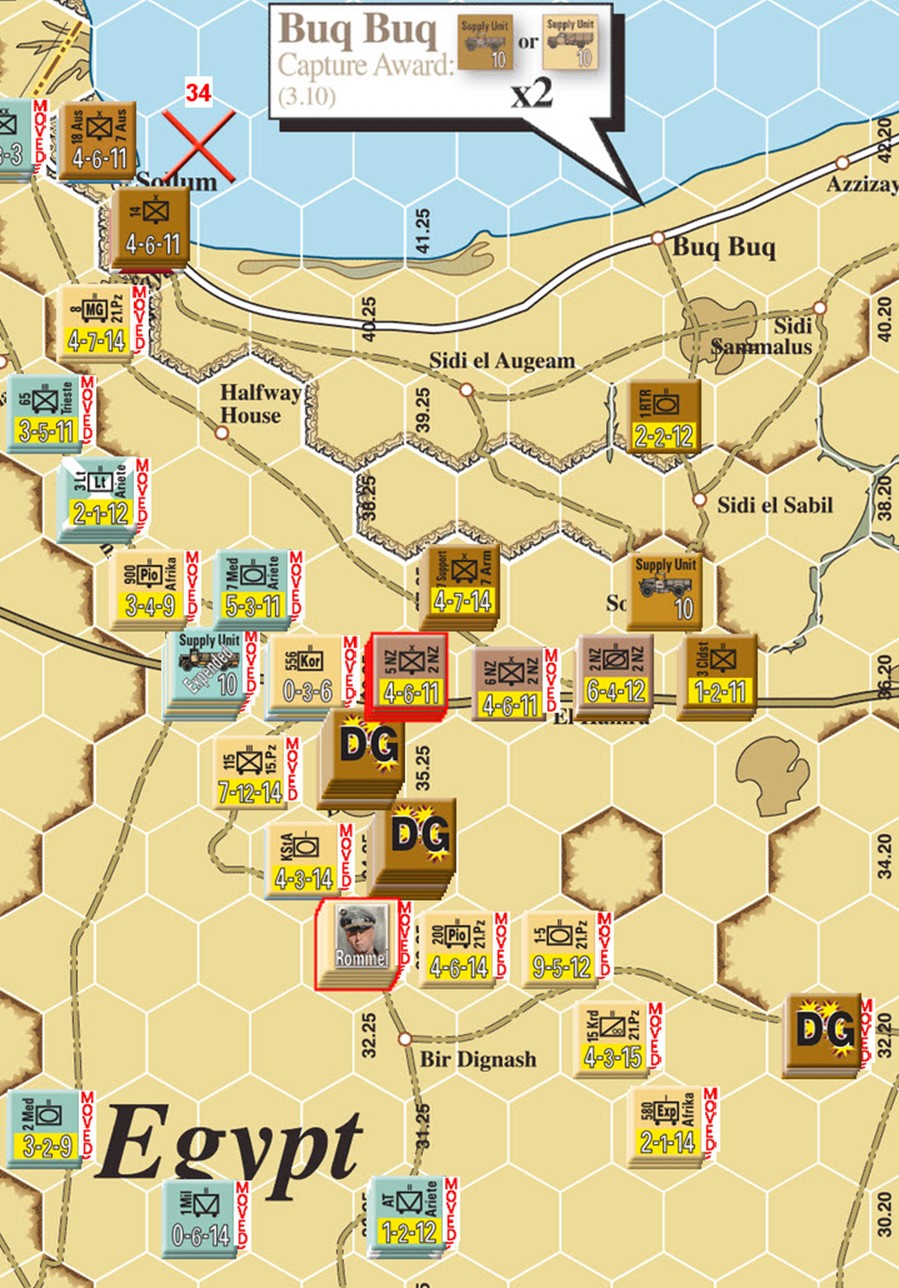
Low on Supply the Axis go next and conduct a limited activation and attempt to attack the Aussies and NZ forces. They manage to scrape together enough combat power to make something happen.
Rommel boosts the atk to 3:1 This generates a d2 r3. The Allies lose 5 steps as they are locked into a corner.
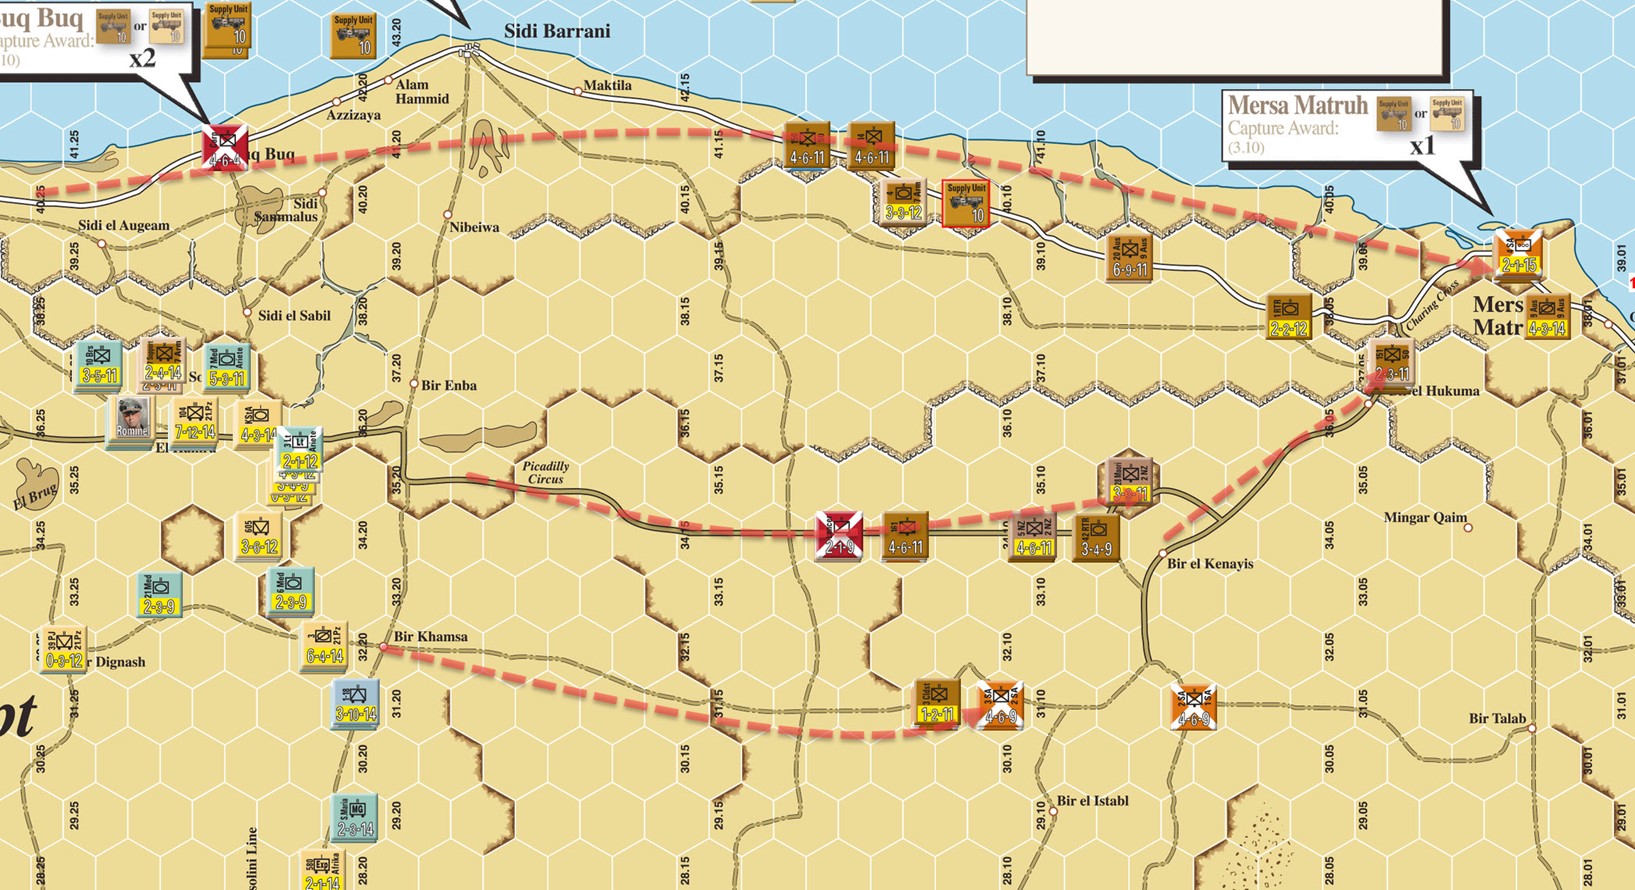
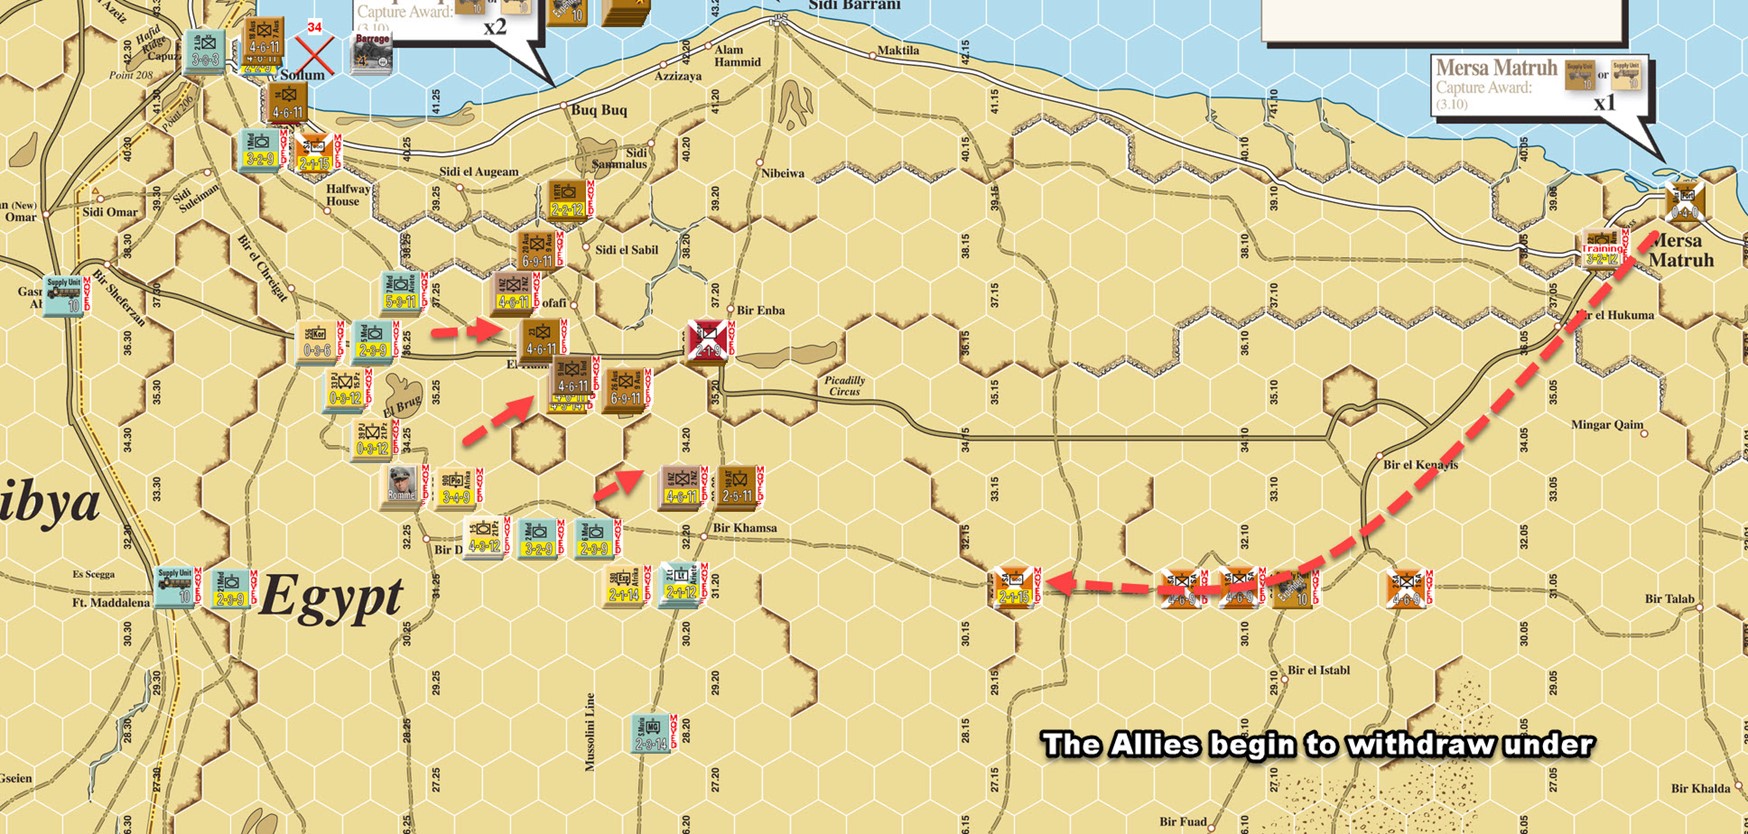
Allies execute a Reaction move. Abandoning the Aussies left isolated. Its time to retreat and lick wounds and use the Escarpments of Mersa to hold off the bad guys until we rebuild supply AND units!