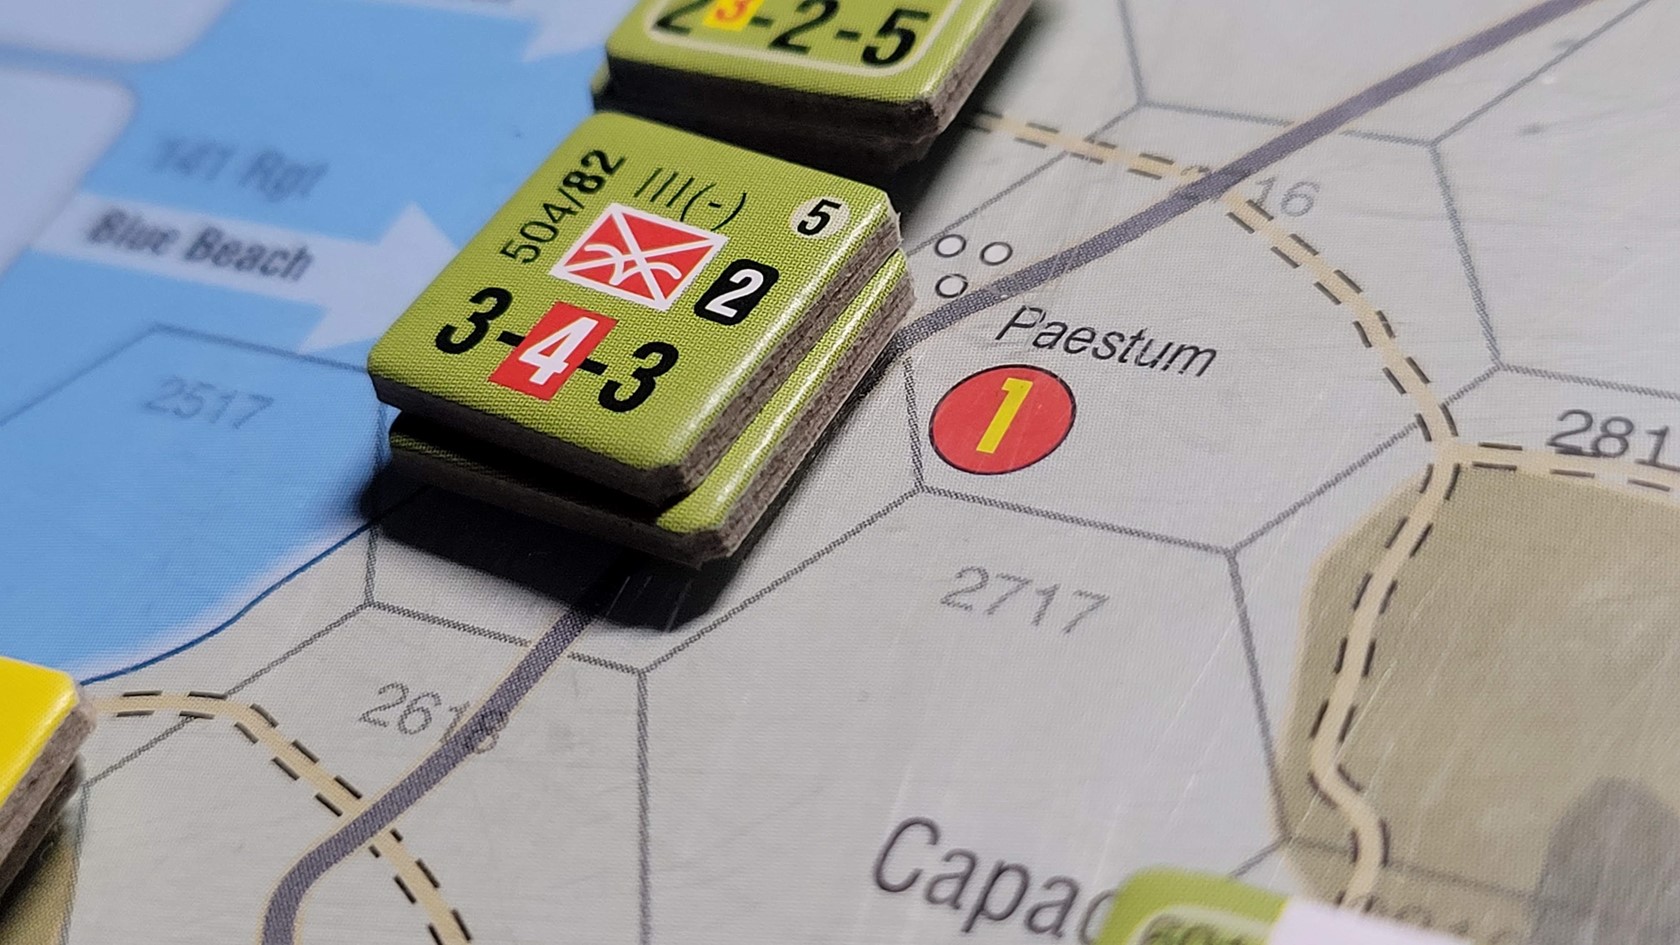
We pick up Salerno ’43 from the German Turn 1. Where they aggressively counter attack Allied forces on the landing beaches.
Fighting is bloody and the 16Pz takes losses too.
The Brits fare a little better holding onto their gains and are not constrained by ZOC bonds in the North!

Germans pick up an air unit for a turn!
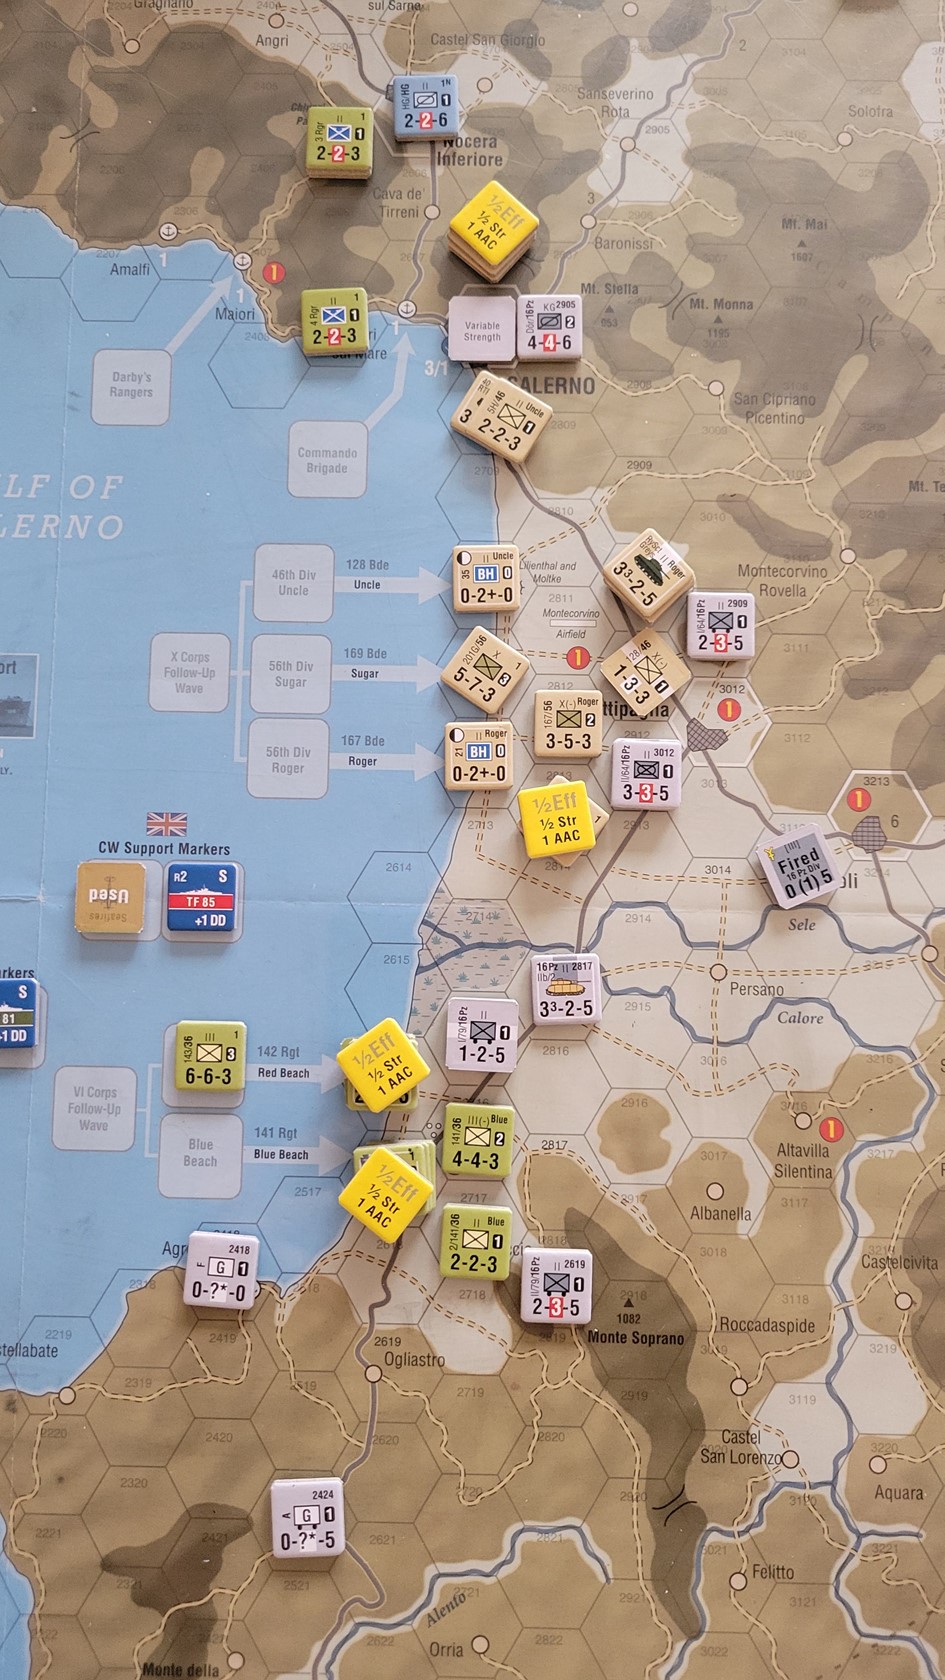
16th Panzer fights its way into Salerno. The new Mountain rules allow mountain fighting but at great cost – ½ strengthand a lower efficency rating. Naval landings have a similar impact.
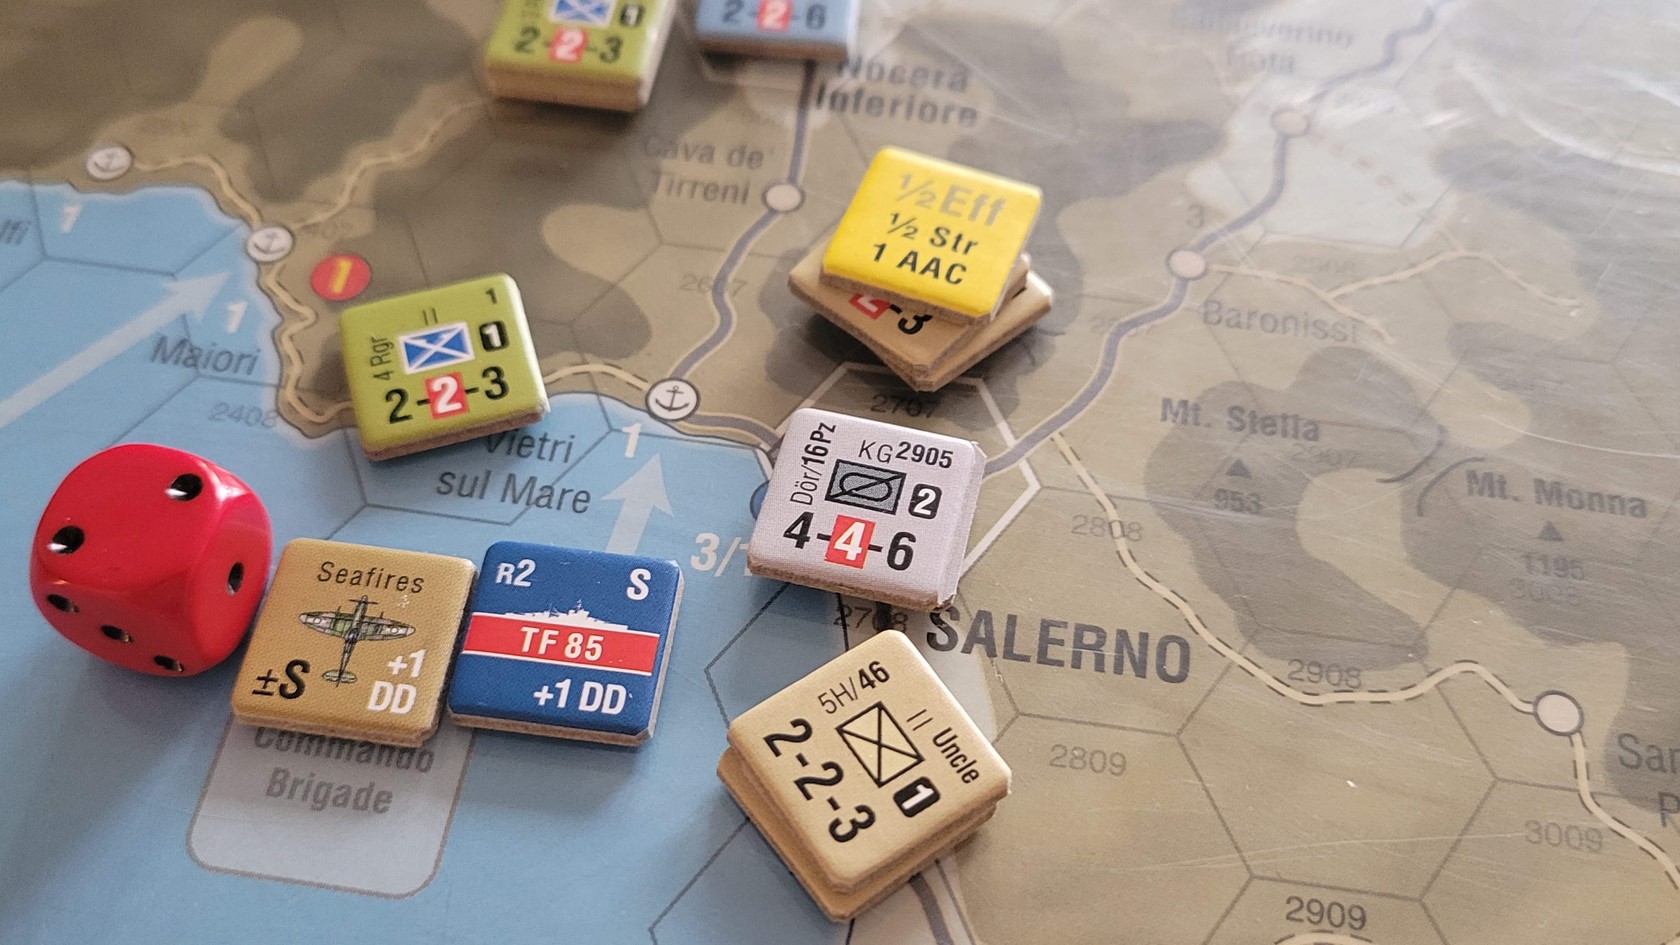
Brute force air support and naval guns help the Brits.
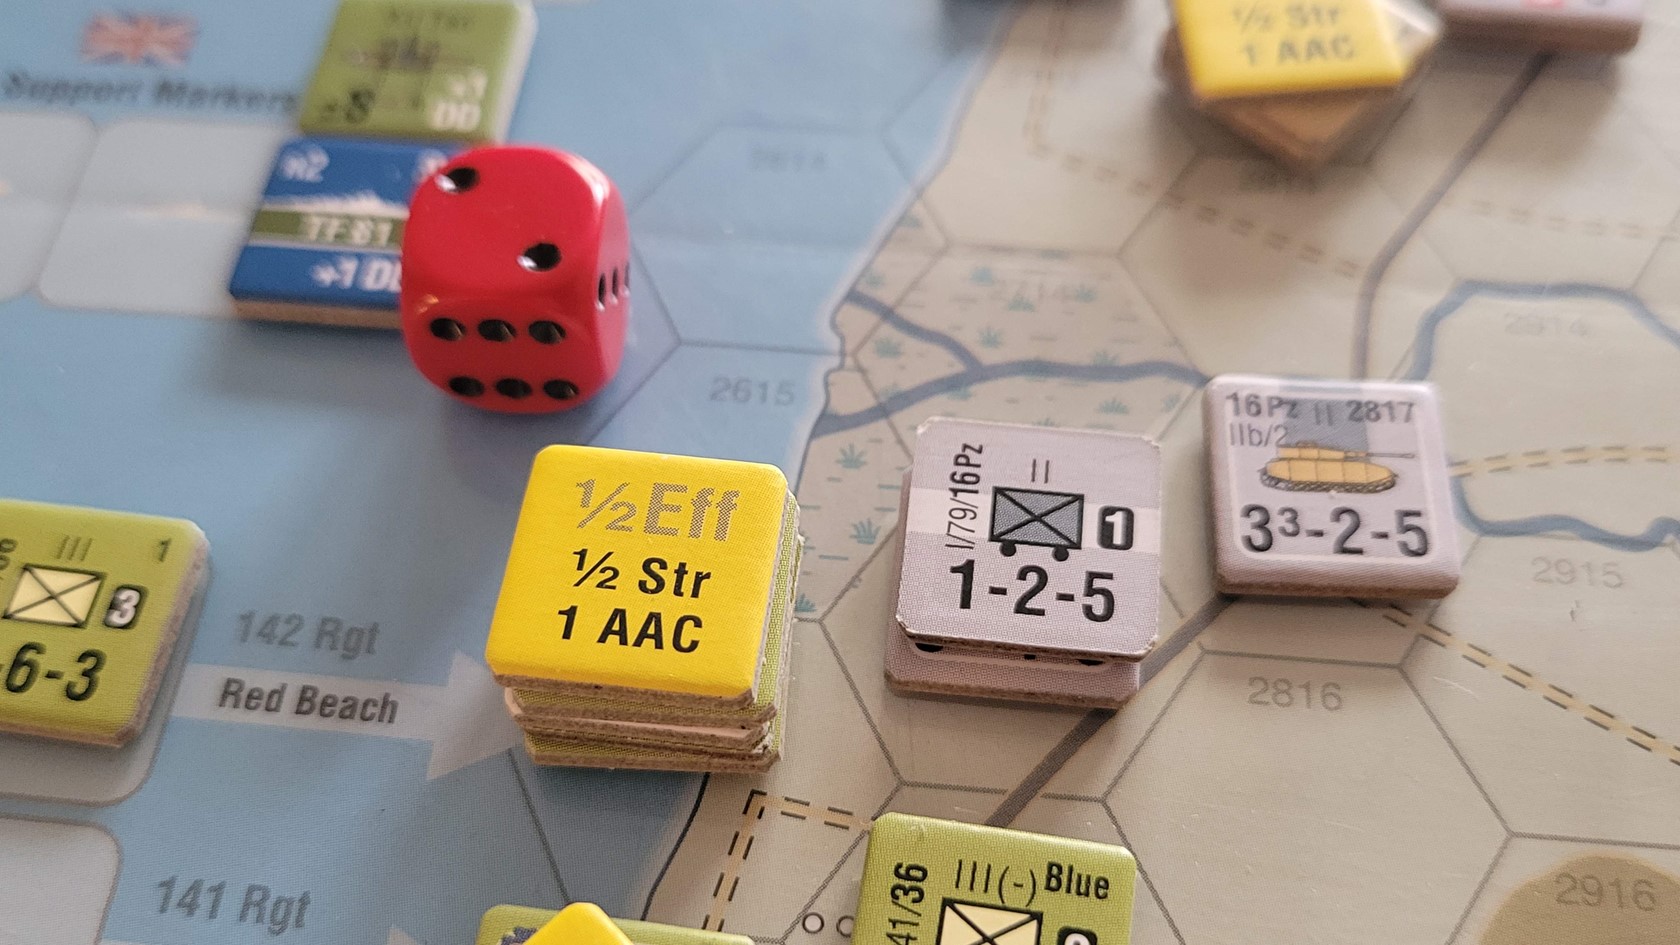
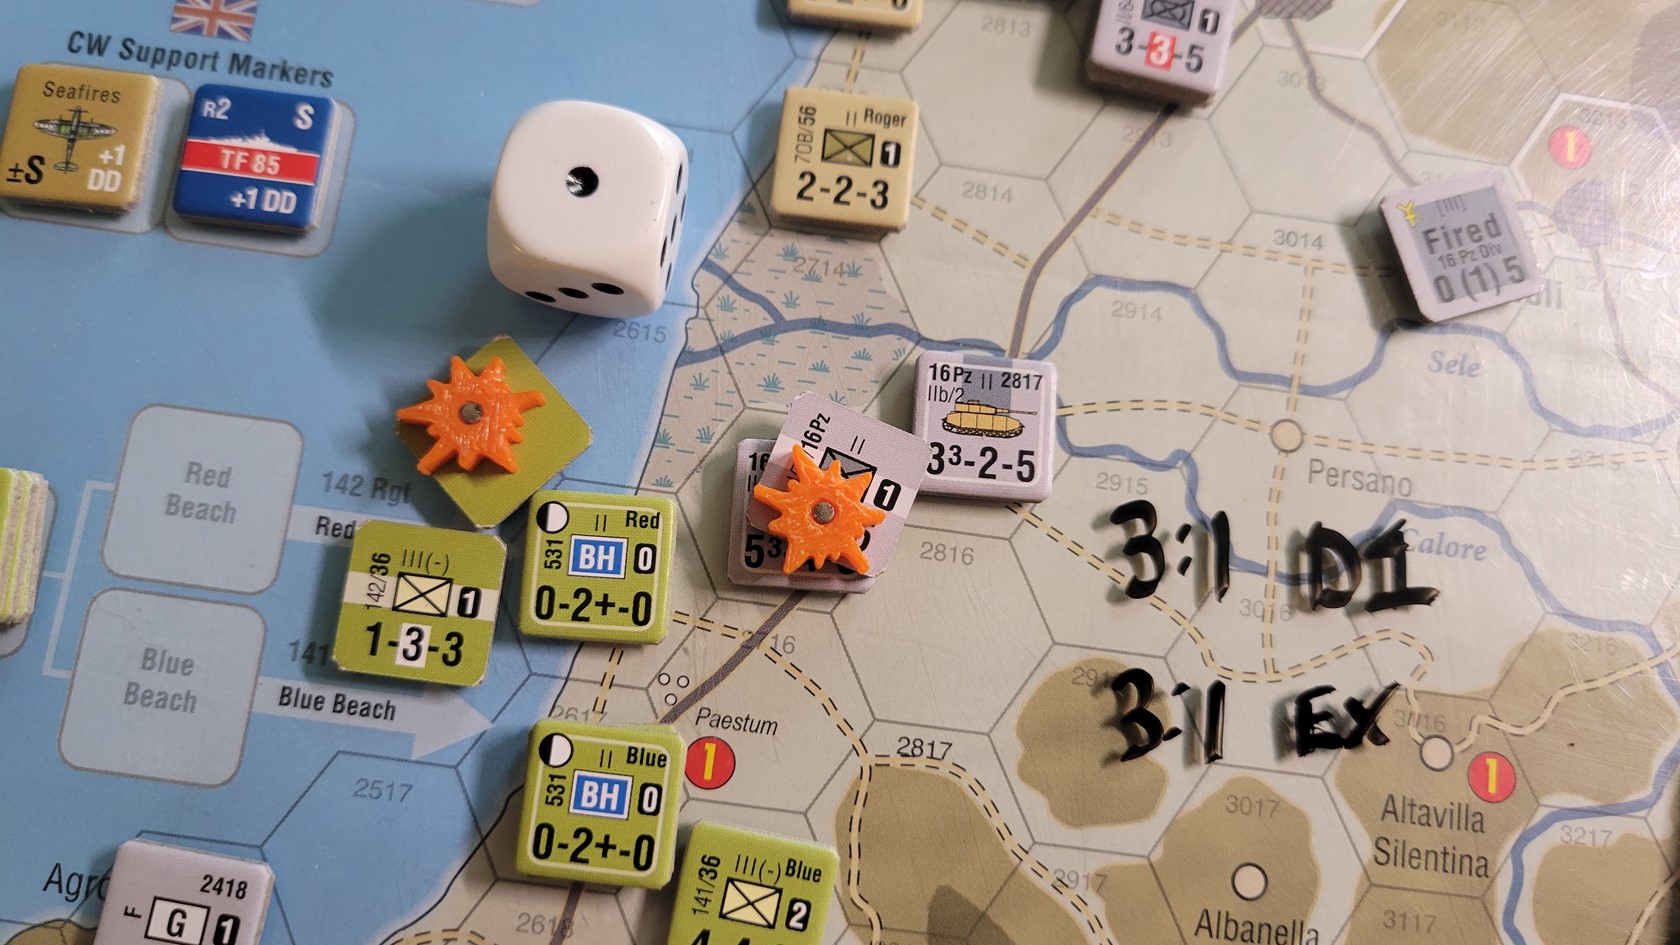
Red Beach under extreme pressure!
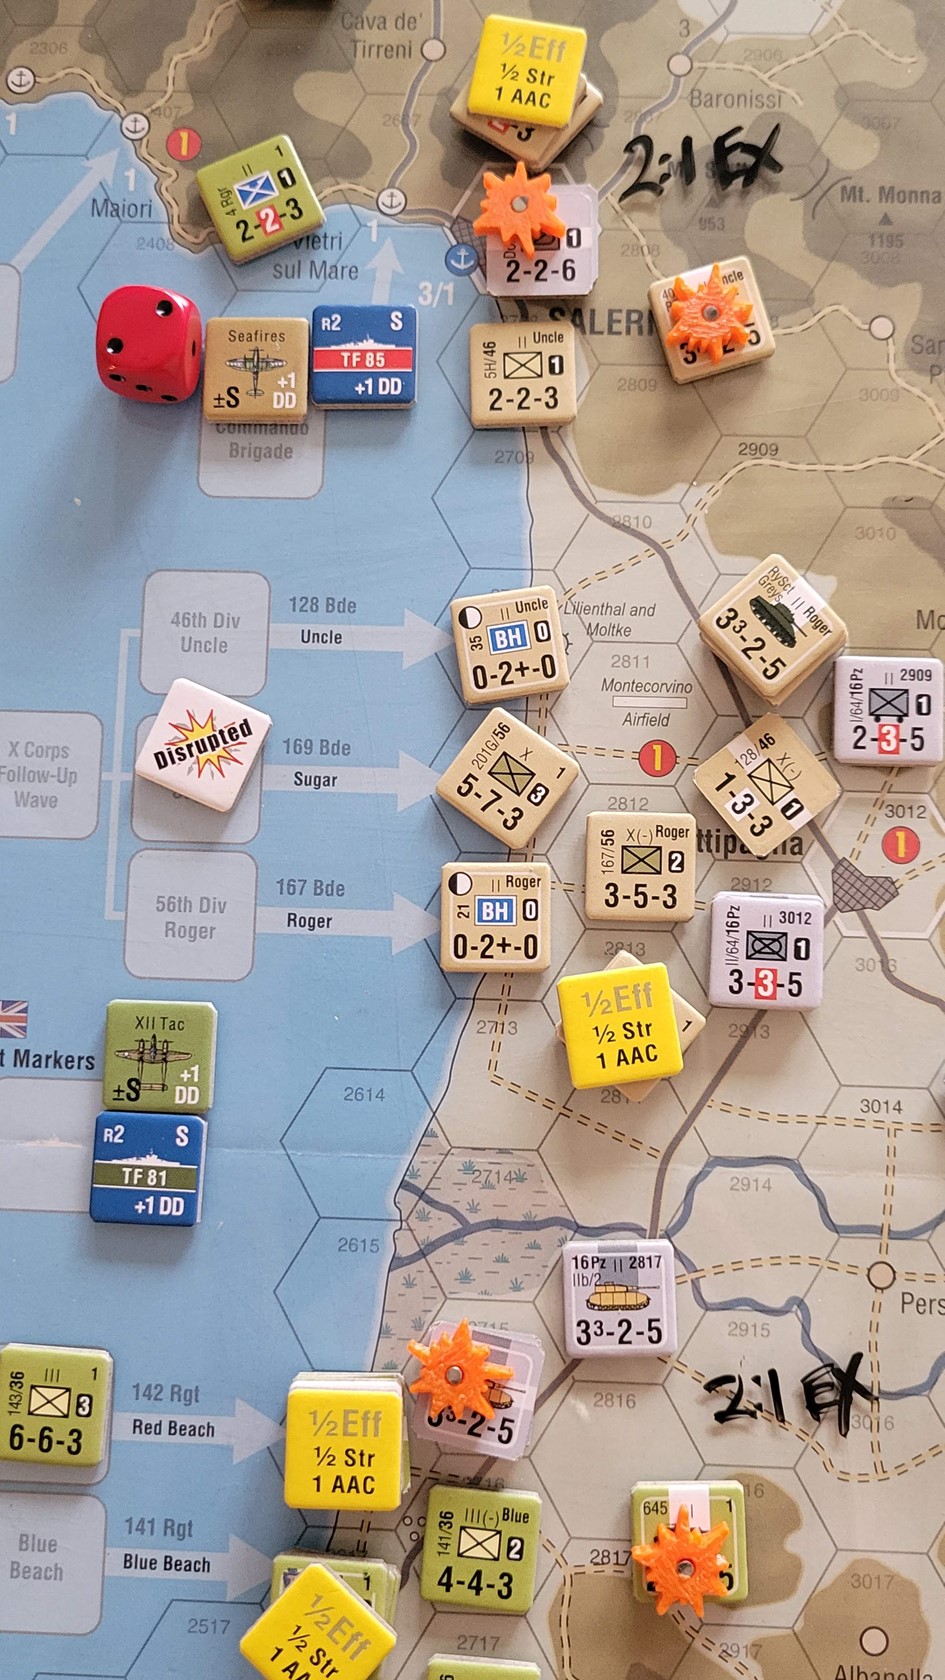
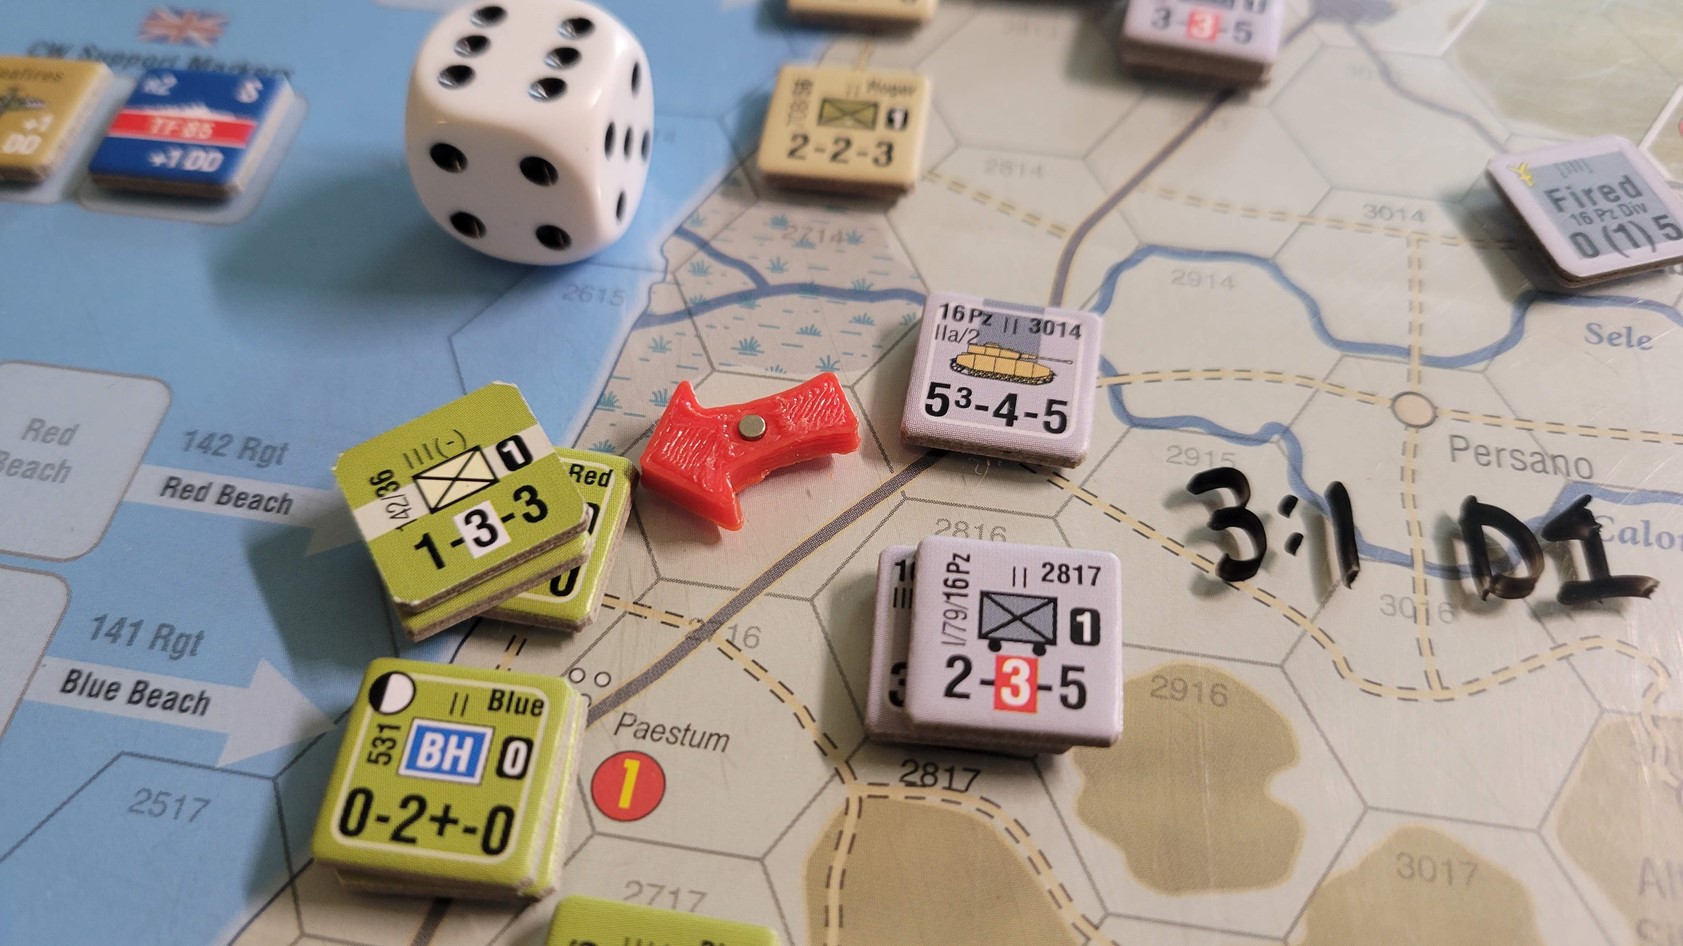
All in attacks at a desperate 2:1 bringing not one but two Exchanges!
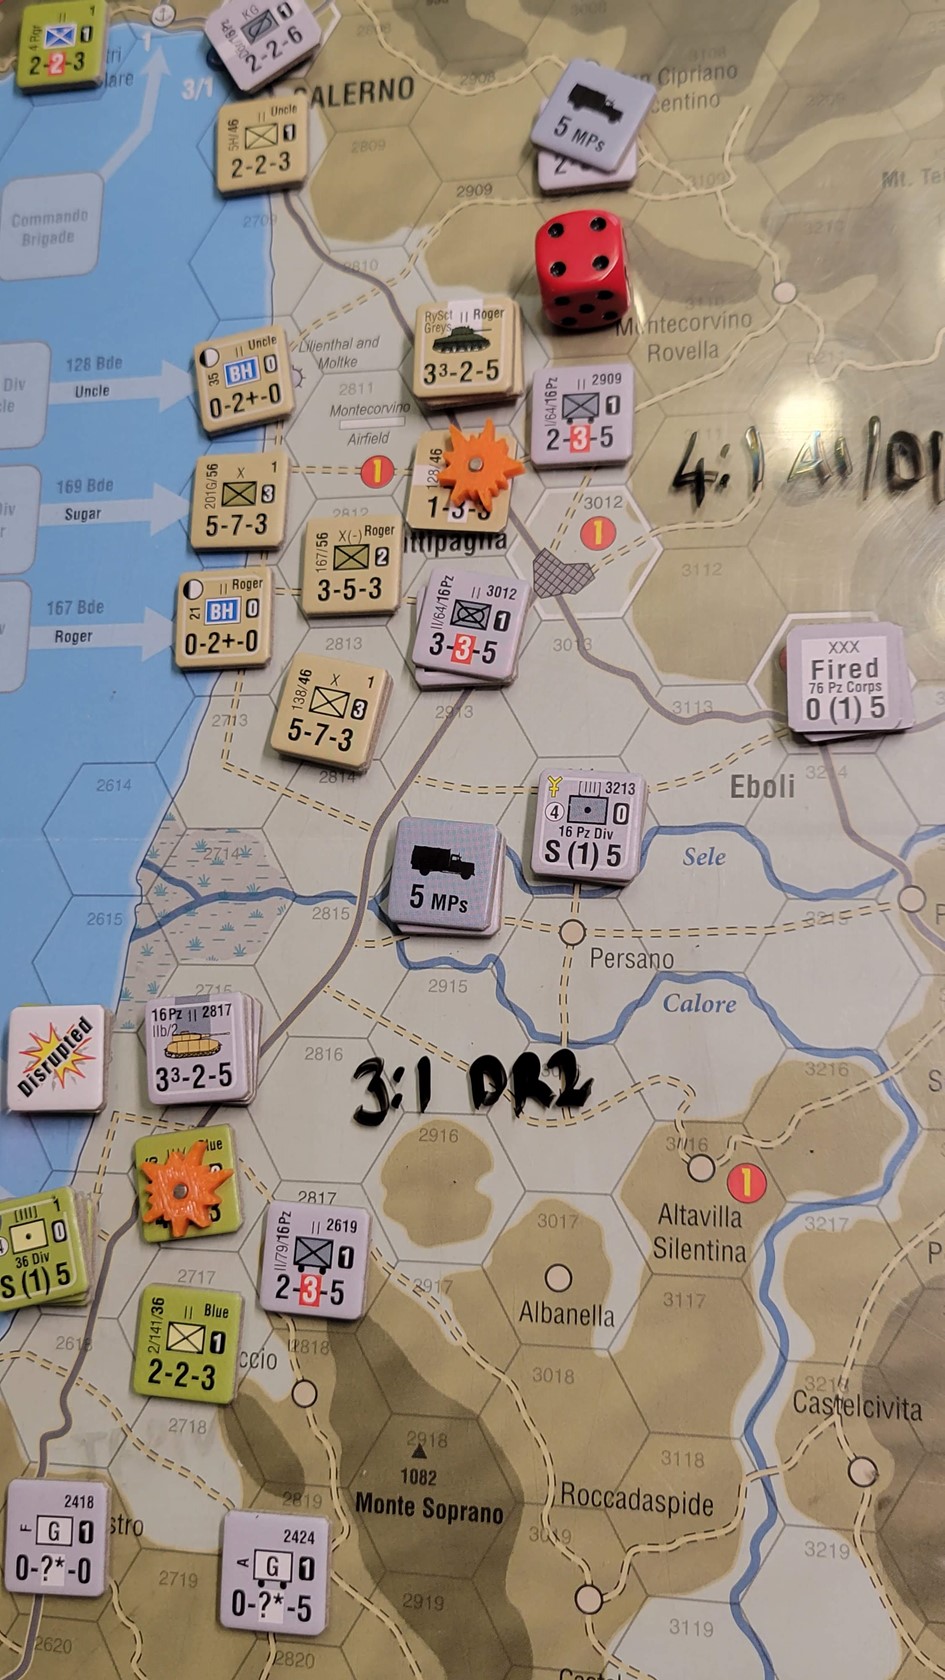
Germans counter with two powerful attacks on the Brits and the Yanks.
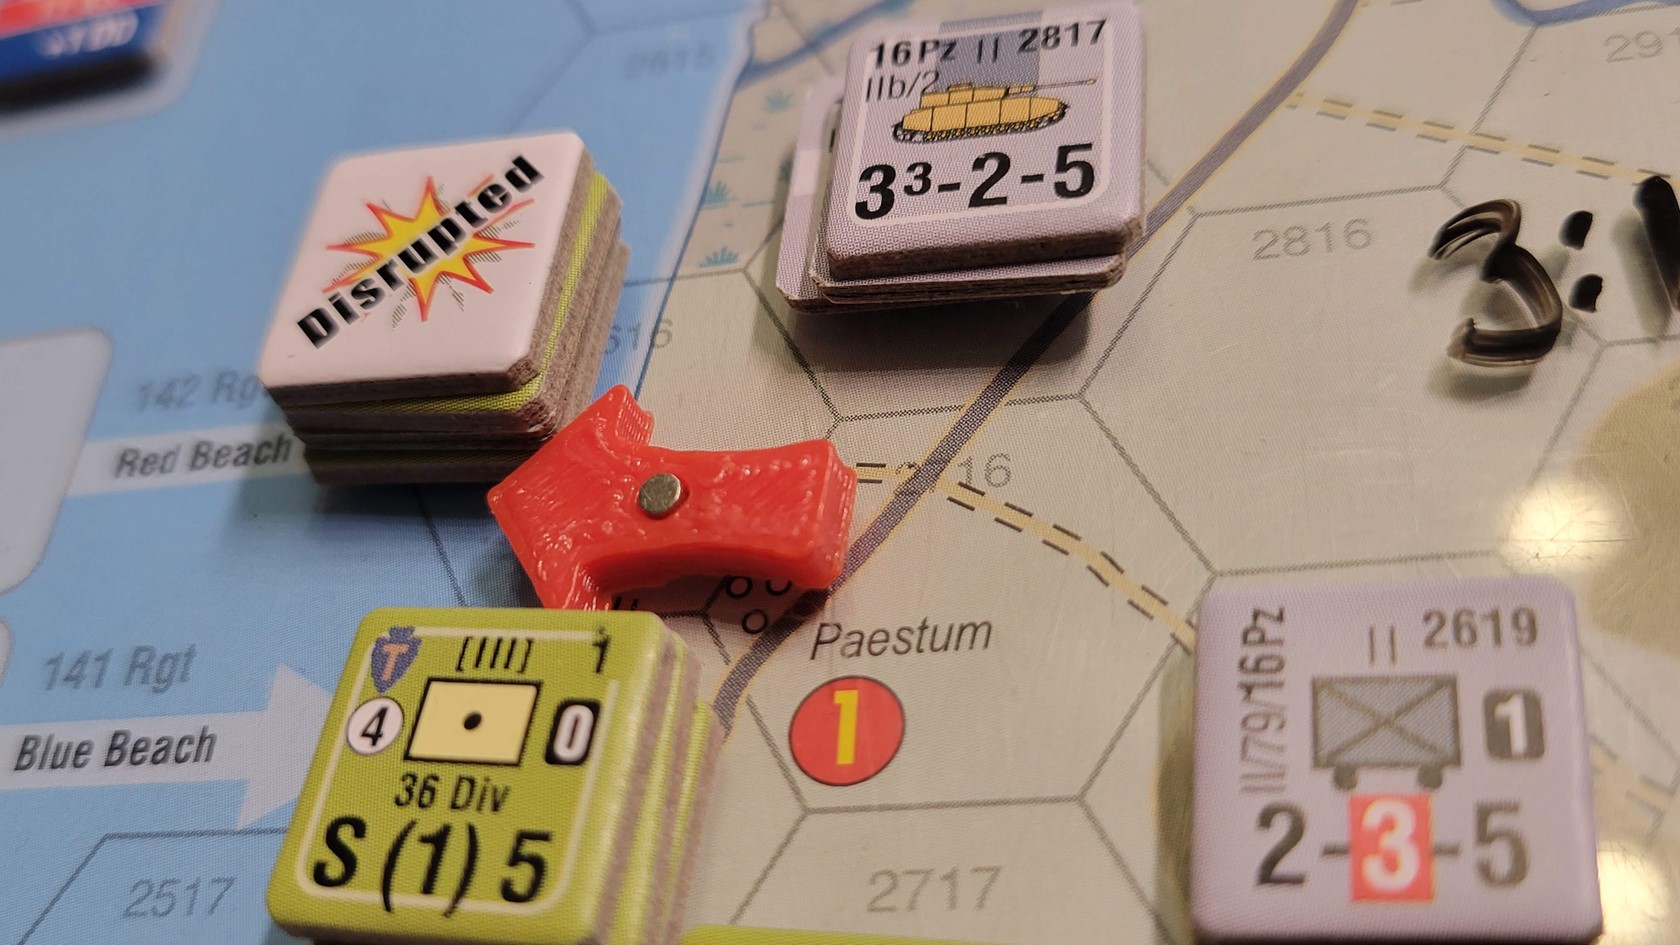
Its almost bad enough for me to want to reset for the Americans. Really poor use of ZOC Bonds to prevent these attacks and massing on the weakest link….
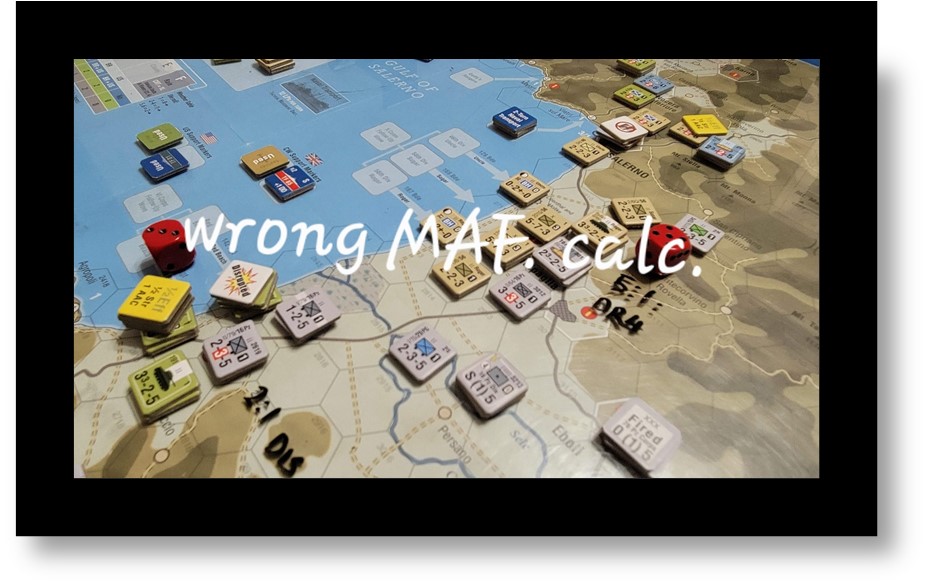
Yep.. I worked up odds incorrectly!
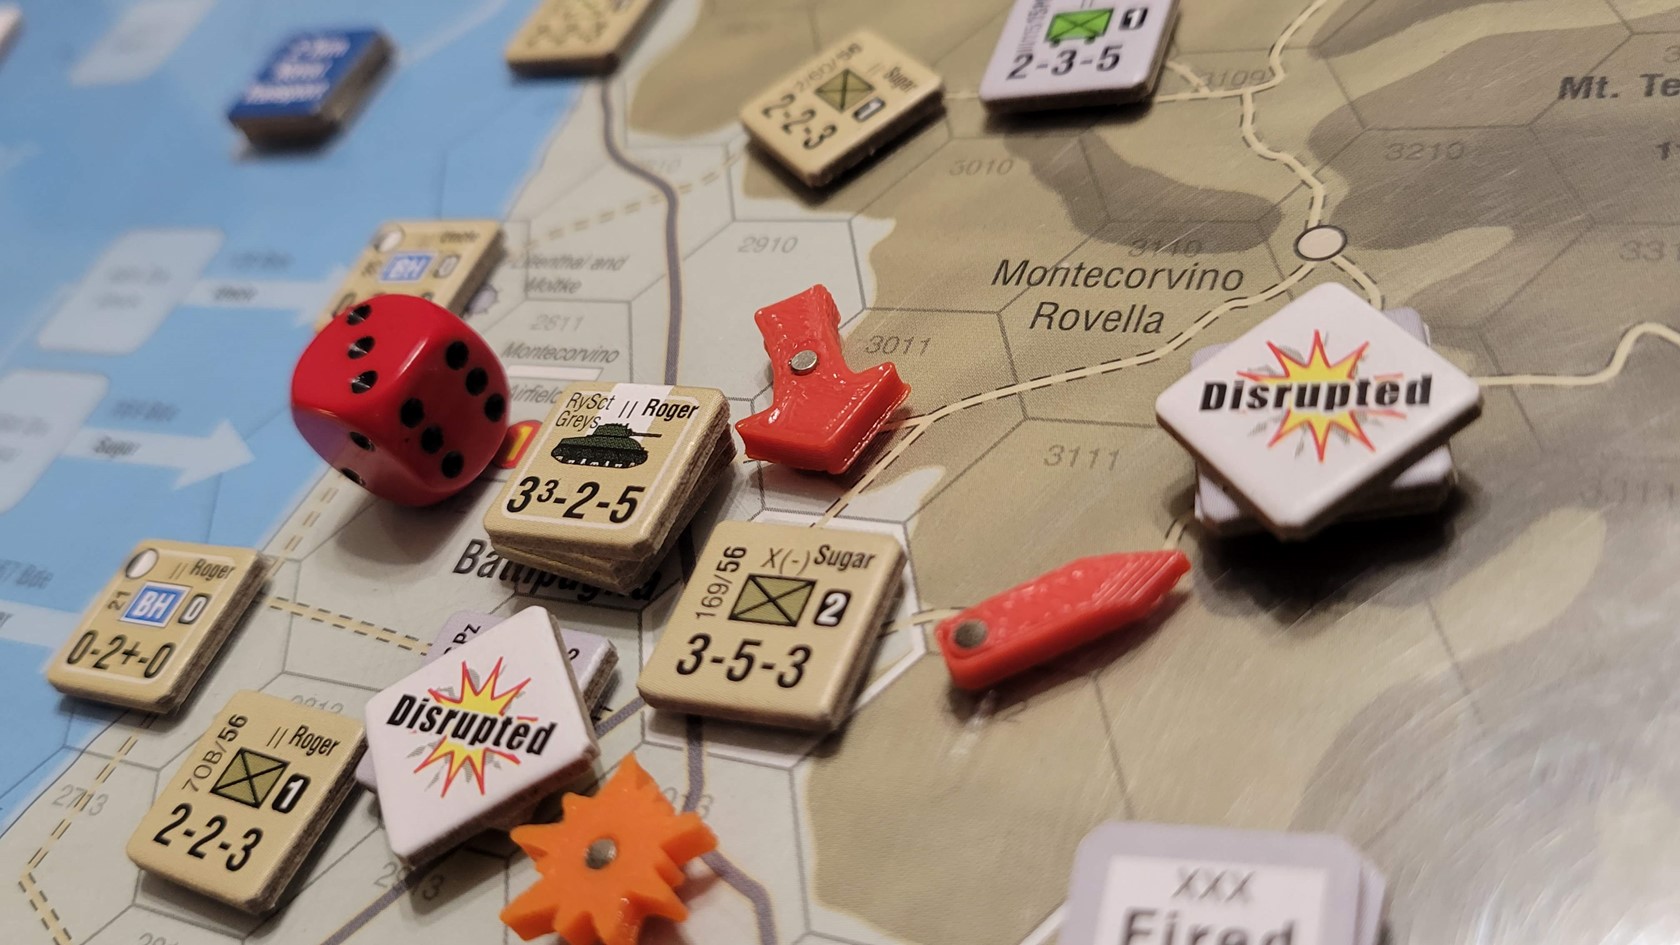
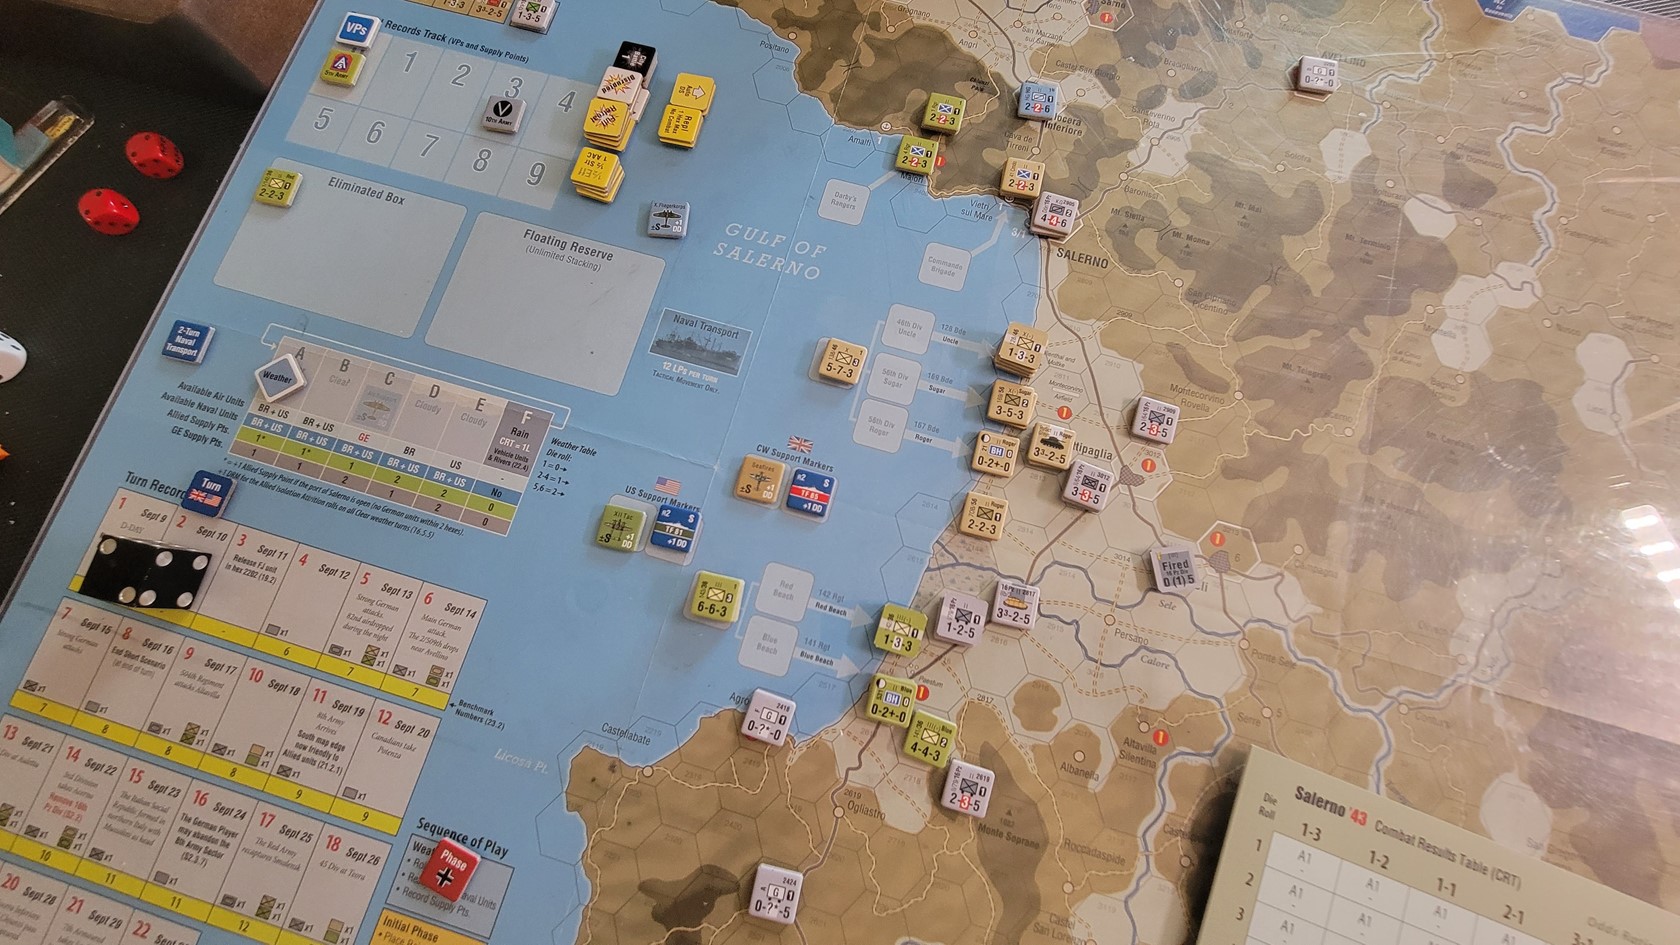
The Brits push back the Germans into the hills! Salerno is isolated and out of Supply, if the Brits can keep that up another VP will be theirs shortly.
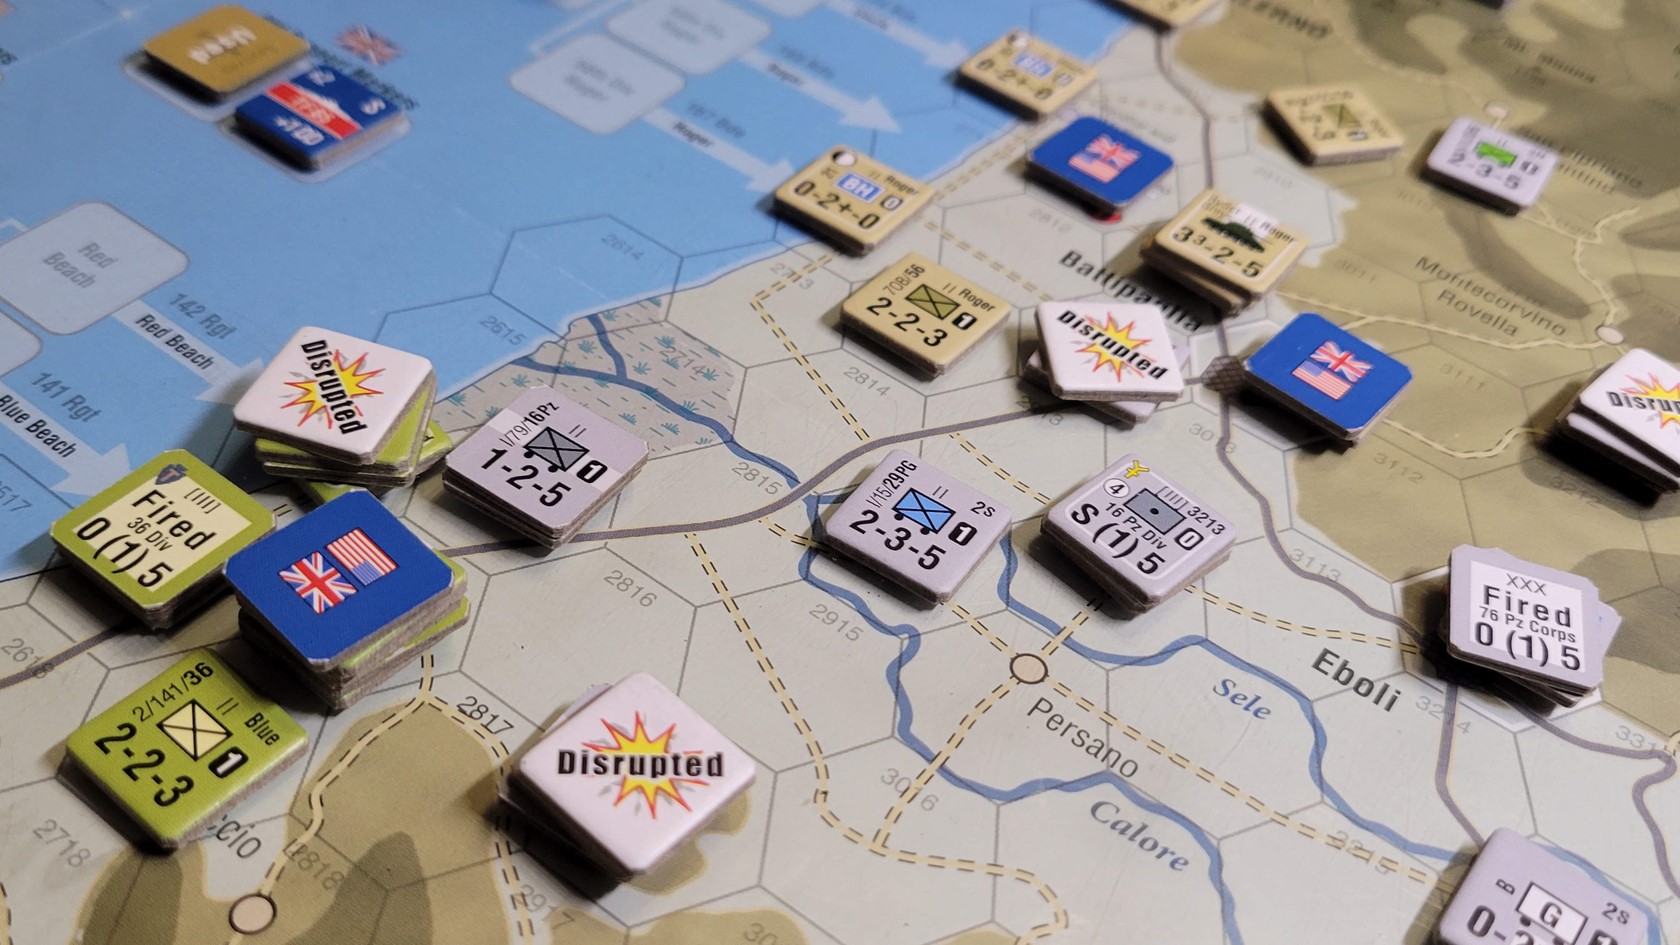
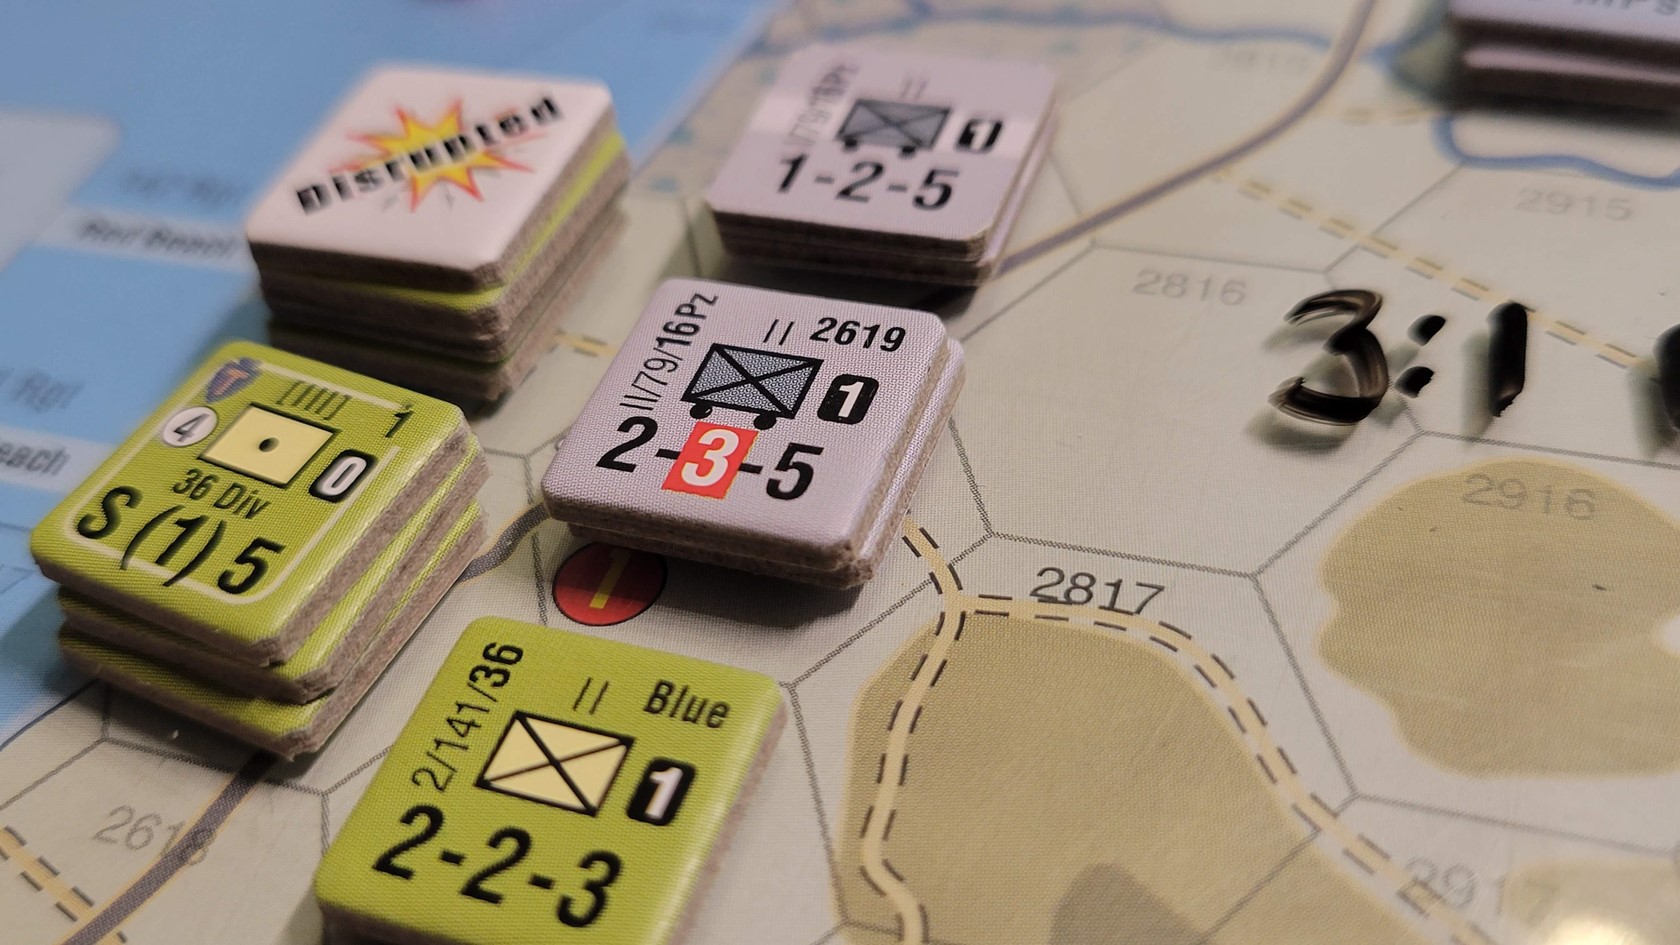
Arty and ship to shore batteries save the day for the Allies. It was touch and go for the Yanks, as neither side was able to link up and secure flanks. The Germans assessed their firepower and realise the attrition was mounting and there was no way to make the final push ‘into the sea’.