Building Urban Bases

Image

By Kreighton Long

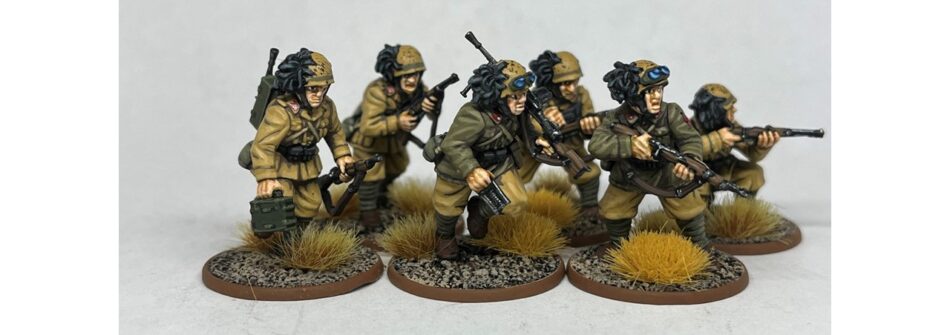
With my North African Italians finished it’s time to look forward to a new project.  After attempting desert bases with my Italians, I had the idea to challenge myself with new-to-me basing themes for my next few projects.

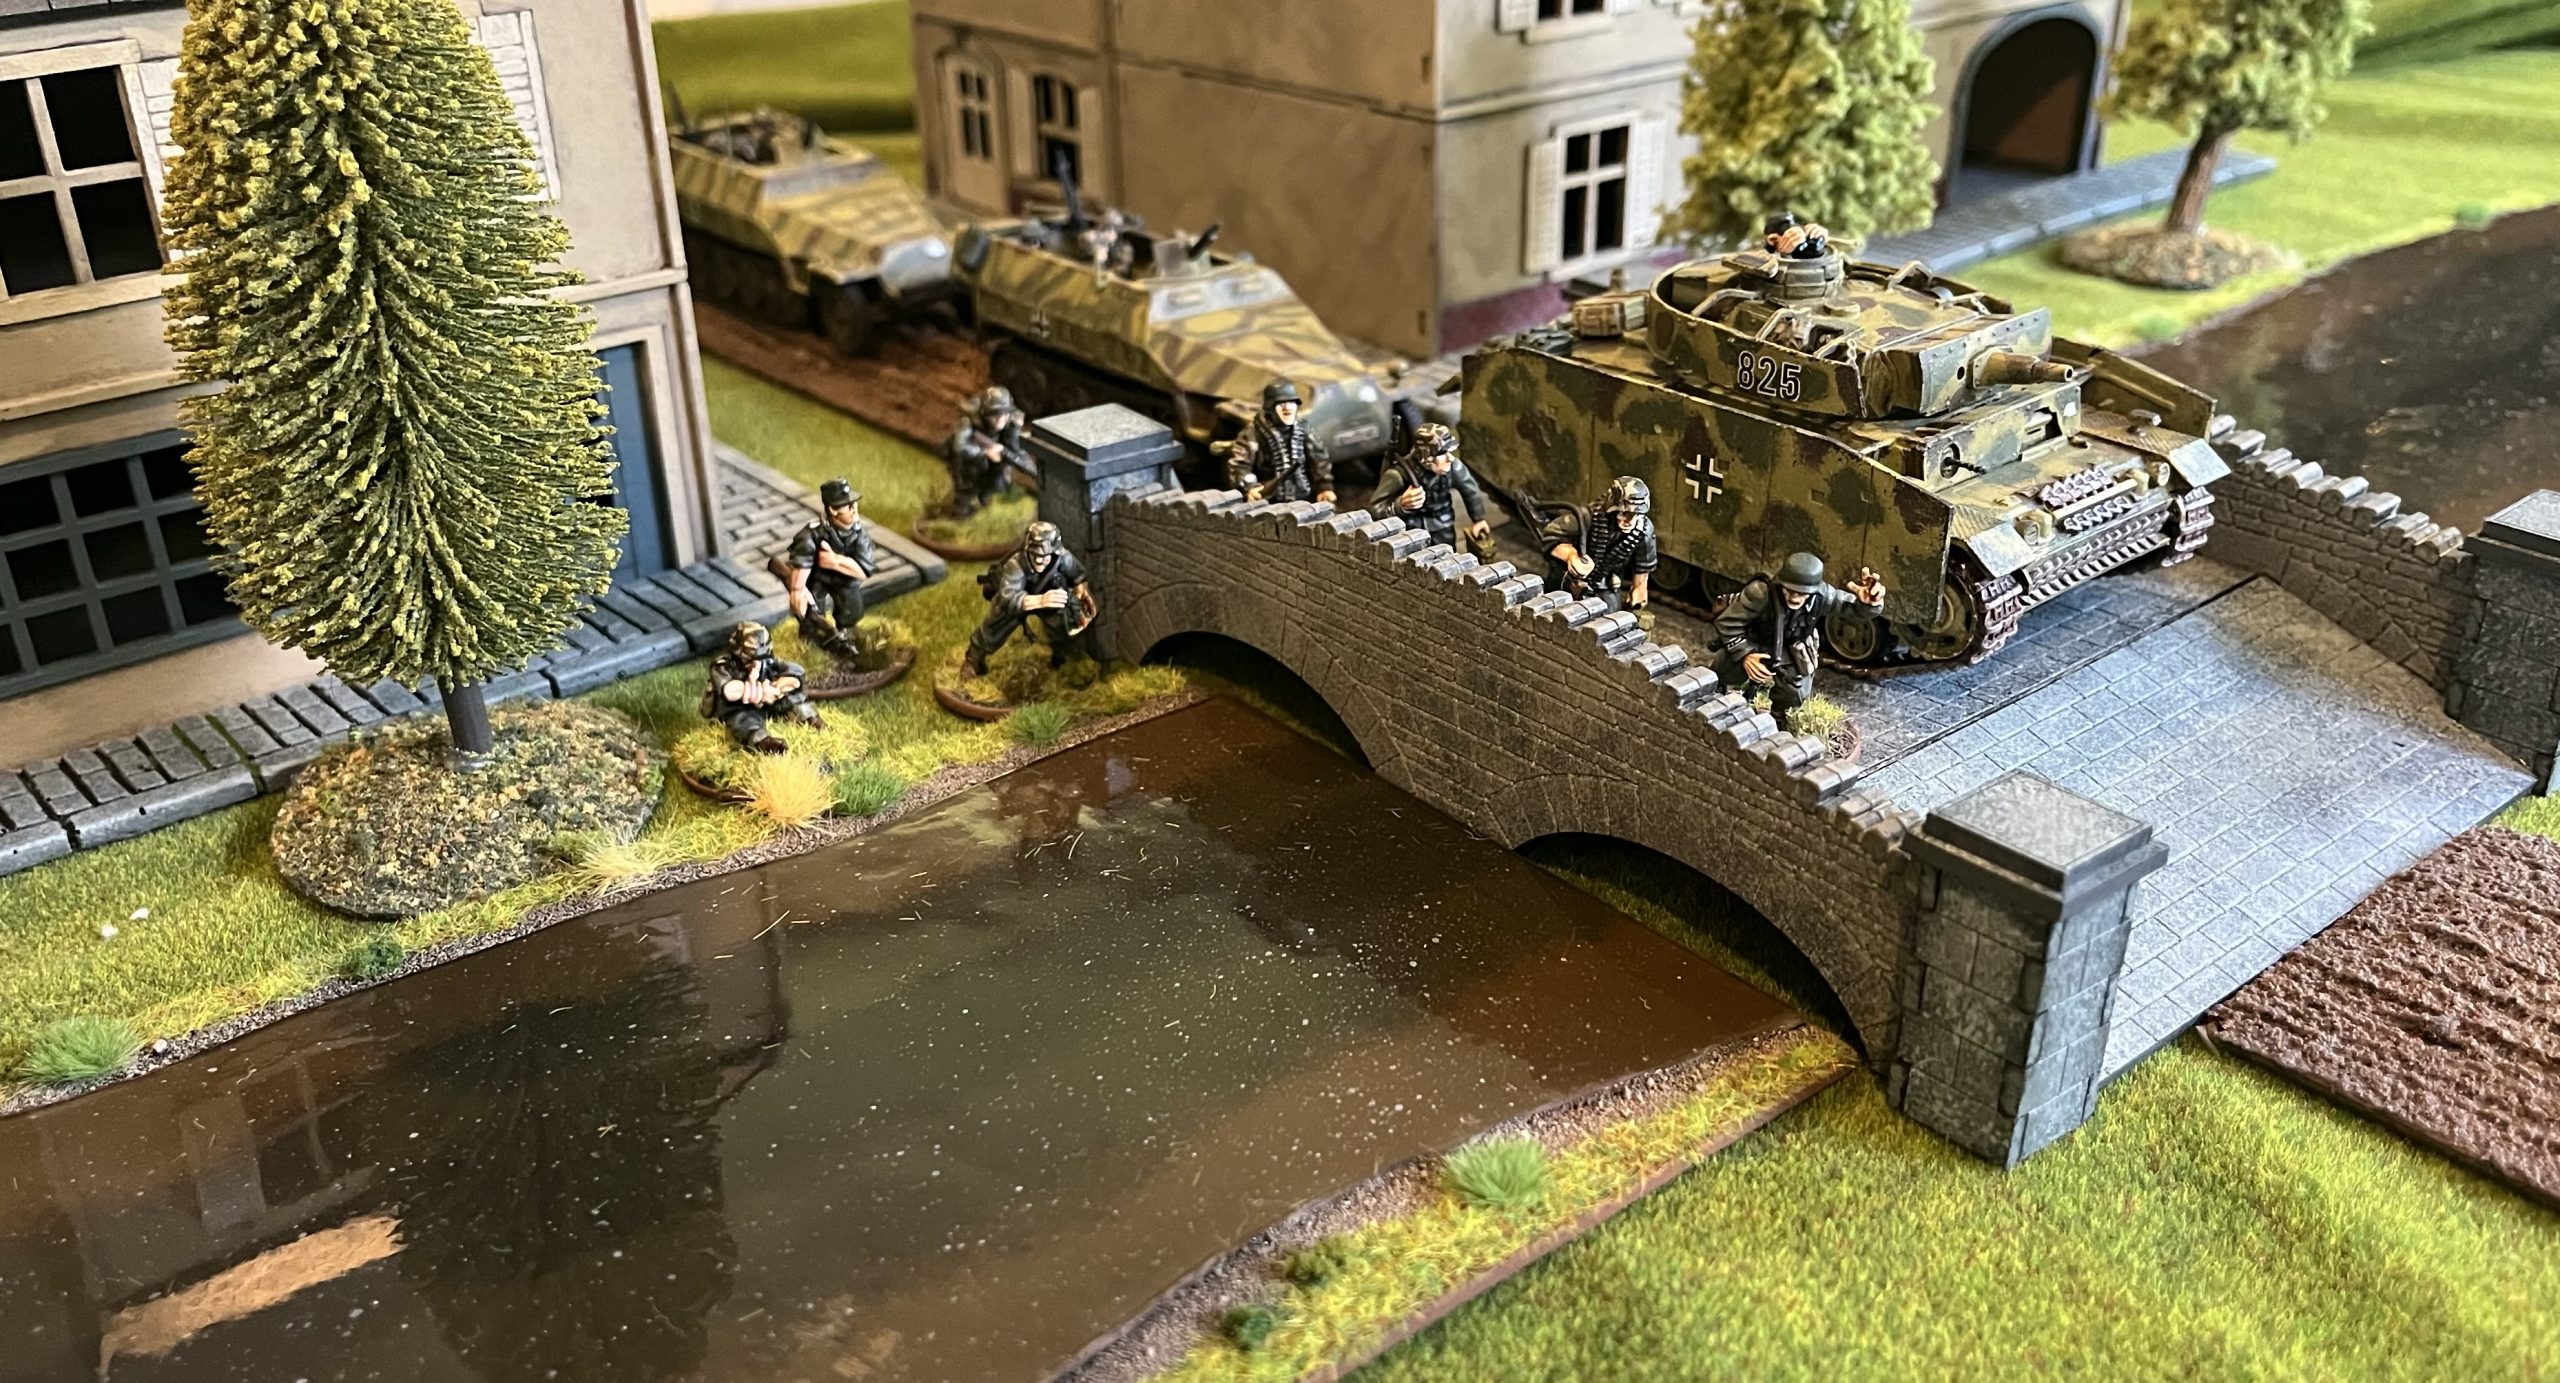
The next project will take me from the sands of North Africa to the ruined cityscape of Stalingrad.  If I said the German Veterans release from Warlord Games had nothing to do with this choice I would be lying.  Having never attempted urban bases before, I spent some of my prep time looking for different ways of creating urban bases and came up with three options to experiment with: Green Stuff, plastic mats, and sand.

Building a Desert Oasis

Image

By Kreighton Long

While day dreaming about my desert terrain I had a vision, or perhaps a mirage, of an oasis on my future table.  As my palm groves came together I strategically left the largest of my bases in reserve for such a project.  With the first batch of my palm groves completed I felt confident in trying to put together a desert oasis.  This oasis will add a splash of color to a dreary desert table as well as could double as a fun objective for the two sides to fight over.


Image
I started by priming the selected MDF base black.


Image
Next I test fit different size pools using scratch paper.


Image
I traced the pool template onto the base for future reference and then drilled holes for the palm trees with a 1/8″ drill bit.


Image
I traced the selected size pool onto a piece of cardboard and then taped a flattened piece of plastic table cover on to the cardboard.


Image
The three paints I used to paint the pool. I started by flicking some Vallejo Silver Grey onto the plastic then began layering mixes of Trail Tan and Olive Green on successive layers.


Image
The first ring was a 1:1 mix of Trail Tan and Olive Green. The outline of the pool on the cardboard served as a guide as I sponged on the first layer of paint. The second layer was a 1:2 mix of Trail Tan and Olive Green and the third layer was Olive Green. I then added a few layers of Olive Green then Black to fully cover the bottom of the pool.


Image
Once the paint dried I applied a layer of brown spray paint to the bottom. The photo here is after all the paint is dried and I removed the plastic from the cardboard and flipped it right side up.


Image
I then traced the original pool template over the top of the pool to cut it to the desired size and shape with scissors.


Image
I overlooked the fact that the pool was mirrored as the original template was at the bottom of the plastic. To fix this I flipped my base over to fit the two together as desired. I applied a 1:1 mix of PVA glue and hobby paint to the bottom of the pool and weighed it down under a stack of books to ensure it glued on flat.


Image
Next I added 1:1 mix of PVA glue and craft paint before sprinkling on a layer of sand.


Image
I painted the sand with a base coat of Black, then drybrushed a layer of Nutmeg Brown, then a layer of Trail Tan.


Image
I then added a variety of tufts to the base. I chose to use the more lively, green tufts around the pool with the more brown tufts closer to the edge.


Image
Insert the palms trees into the holes and the oasis is ready for the table.

Like my desert palm groves, the palm trees with this oasis can be removed to facilitate models moving through the terrain and to store and transport easier.

Happy painting!

Building Desert Palm Groves

Image

By Kreighton Long

After completing my North African Italians I committed to building a set of desert terrain for them to fight in.  In addition to the standard dwellings and walls I wanted to build palm groves to add some soft cover and greenery to the table.  While wandering around a Michaels store I came across bags of palm trees on sale and decided the time to start the palm groves was now.

Building Cobblestone Roads

Image

By Kreighton Long

As many a tabletop war gamer has learned, the winter holiday season is a wonderful time for terrain builders.  This past winter I stocked up on the three styles of Lemax mats in stock at Michaels with the idea of using them to build European style cobblestone roads for my urban tables.

I wanted to build 6 x 12″ sections of road that will allow me to easily stack and store the road sections as well as drop them down on the table as needed.  I found a pack of 20 basswood sheets measuring 6 x 12 x 1/8 inches on Amazon and added them to my cart.

Kreighton Paints a Bolt Action Third Edition Army

Image

By Kreighton Long

With my first Bolt Action Third Edition specific army mapped out it was time to get out the sprue cutters, glue, and paints.  My first target was to test out how I wanted to build and paint my Bersaglieri infantry.

I prefer the look of the helmets rather than the XXX for the Bersaglieri, so I started with one sprue’s worth of infantry with helmets.  After considering available options I decided that my infantry would start with an NCO with a rifle, and LMG team, and additional riflemen.

Painting Vietnam War USMC ERDL Lowland Camouflage

Image

By Kreighton Long

For the last year I’ve had a squad of Vietnam War USMC Recon primed and sitting in my queue.  Every time a new project would join them and pass them up I could feel their crayon-craving stares boring into my soul.  Eventually I could take no more of their non-verbal harassment and promoted them from my queue to my painting desk.

After some brief investigating I decided to paint them in the ERDL lowland camouflage that was commonly worn by USMC Recon during the Vietnam War.  While replicating the complex pattern shown below in detail is beyond my skill level and patience I endeavored to replicate the colors well enough to represent the camouflage patter.

The paints I used are Vallejo’s Black (950), USA Uniform (922), German Cam. Medium Brown (826), Golden Olive (857), and Pale Sand (837).

Building Homemade Rivers

Image

By Kreighton Long

My summer of terrain projects continues with a set of homemade rivers.  I set out to echo the method by which I created a set of ponds several years ago.  The materials I used were chipboard for the base, plastic table covers for the river, Vallejo’s Silver Grey paint, Apple Barrel’s Black and Melted Chocolate paint, Delta Creative’s Trail Tan paint, Craft Smart’s Olive Green and Espresso paints, PVA glue, sand, and various basing flock and tufts.

For the plastic table covers I used LovePads 1.5mm thick clear desk pads.  I prepped the table covers by cutting them to size, ironing them under a t-shirt to smooth out the material, and cleaning them with glass cleaner.

Vehicle identification and standard markings on Danish Vehicles

Image

By Morten

In this article I will talk about markings used on Danish Vehicles in the 80s and 90s.
Most of these have been in use since the 60/70s and are still in use to this day, although with some variations and updates.

For some markings there are Army standards that needs to be obeyed, and are generally placed on the same location on all vehicles, although slight variation in placement could occur, because they were put on the vehicle by either the crew themselves or the mechanic echelons on base.

Let’s start with the “easy” parts that are present on all vehicles: License plates, Vehicle numbers and weight classification (for heavier vehicles).

Building a Pigsty

Image

By Kreighton Long

Feeling adventurous, I set out to build a pigsty for my rural Bolt Action terrain.  Most of the materials were easy enough to order online.  The wattle fences came from Renedra Ltd; the mother pig from Warlord Games; and the balsa wood, match sticks, coffee stirrers, and green stuff from my hobby cache.

Building Wattle Fence Stands

Image

By Kreighton Long

Slowly but surely I’ve been working on improving my terrain options with the focus on Bolt Action.  My primary army project for this year is overhauling my Soviet forces.  Accordingly, my terrain optics have been focused on the terrain pieces that will best fit the Eastern Front.