 Echo Diaz
 - These instructions are intended specifically for installing Oracle Java 8 on Ubuntu 14.04 LTS.
- I’ll be working from a Liquid Web Core Managed Ubuntu 14.04 LTS server with Apache and PHP installed, and I’ll be logged in as a non-root user.
- If you need more information then visit our tutorial on How to Add a User and Grant Root Privileges on Ubuntu 14.04 LTS.
Install Oracle Java 8
Add the PPA:
sudo apt-add-repository ppa:webupd8team/java
As a matter of best practice we’ll update our packages:
sudo apt-add-repository ppa:webupd8team/java
Update apt-get once more:
sudo apt-get update
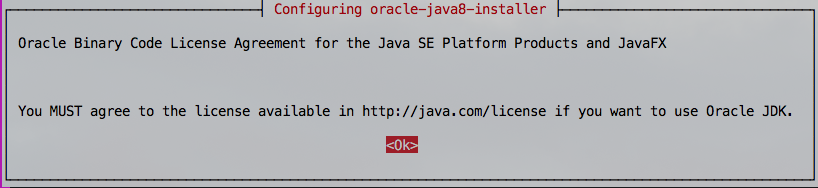
Kick off the installer to completely install Java from the PPA.
sudo apt-get install oracle-java8-installer
Be sure to accept the Oracle license!

Step #3: Verify Installation
Now verify that Java is installed and is of version 1.8.x:
java -version
Your result should be similar to:
Java(TM) SE Runtime Environment (build 1.8.0_181-b13)
 Java HotSpot(TM) 64-Bit Server VM (build 25.181-b13, mixed mode)
Optional JAVA_HOME Variable
Temporarily Set the JAVA_HOME variable
Use the export command for the JAVA_HOME variable to show up as an environmental variable, one that can be used by future child processes:
export JAVA_HOME=/usr/lib/jvm/java-8-oracle
Permanently Set the JAVA_HOME variable
vim ~/.bashrc
Insert the following into the bottom .bashrc file:
JAVA_HOME=/usr/lib/jvm/java-8-oracle
 export JAVA_HOME
 PATH=$PATH:$JAVA_HOME
For changes to the .bashrc file to be recognize run the following command:
source ~/.bashrc