 Ronald Caldwell
 If you run a cPanel server, and need to upgrade your Apache or PHP version, cPanel provides the EasyApache tool in Web Host Manager (WHM) to make these updates a breeze. While some generally prefer to run this functionality from the command line, the WHM graphical user interface (GUI) is a simplified method.
This guide walks you through how to upgrade Apache and PHP with cPanel’s EasyApache tool.
Prerequisites
- Run a CentOS or AlmaLinux server with the LAMP stack.
- Run cPanel/WHM on your server.
- Root access to your server.
- WHM login credentials.
Upgrade Apache and PHP With EasyApache
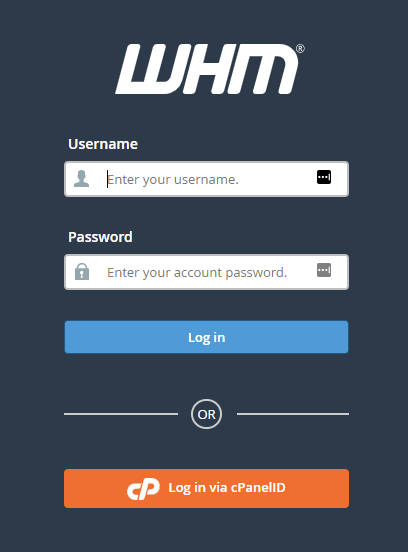
Step 1: Login to WHM.
The login page for your server’s WHM interface is https://yourdomain.com:2087/. Substitute your qualified domain name for yourdomain.com. The default username is root, and the password is the root user password.
Step 2: Access EasyApache in WHM
From the left-hand navigation, in the Software section, click EasyApache 4.

Step 3: View Current and Available Packages
Click Customize next to Currently Installed Packages.

Here you see the different categories to the left and the associated packages on the right. In addition, your installed packages have an activated toggle labeled Unaffected. If updates are necessary, the toggle changes to Update and is on by default.

Click PHP Versions.

You will see the available packages listed.

You may need to scroll to view your installed packages.

Click the toggle next to the option to install additional modules or PHP versions. Once you have made all selections, click Next.

You may also click Review on the left to skip any unnecessary categories.

Step 4: Review Packages and Complete Installation
You will see any new packages, updates, uninstalls, or unaffected packages you will provision from the Review page.

To complete this step, scroll to the bottom of the page and click Provision.

You receive a confirmation that the provisioning process has started.

Step 5: Complete the Installation
Once the provisioning process completes, you receive a green confirmation. Click Done to return to the EasyApache 4 main page.

Wrapping Up
Knowing how to upgrade Apache and PHP using EasyApache in cPanel’s WHM ensures your server runs on the latest software versions. While these updates may affect your code, there are also security implications of not updating in a reasonable amount of time.
Liquid Web’s VPS Hosting, Cloud Servers, and Dedicated Servers offer cPanel hosting with WHM. Contact our sales team to get started if you want a managed hosting experience with cPanel.