Adding and Editing DNS Records
Adding a DNS Zone
DNS records are a vital part of your webhosting experience. They control how visitors find your website, how email is delivered to your server, how email is verified as legitimate, and many other functions. The first step in hosting your DNS at Liquid Web is to create a DNS Zone.
- Log into your Liquid Web account, click Domains list in the left menu.

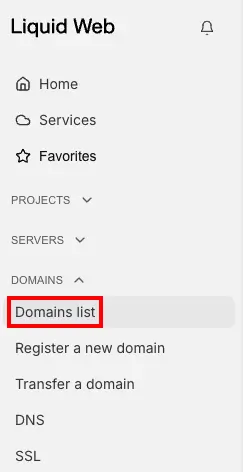
- Click Add DNS.
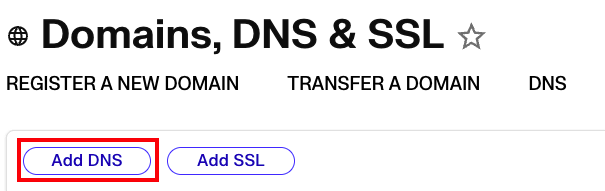
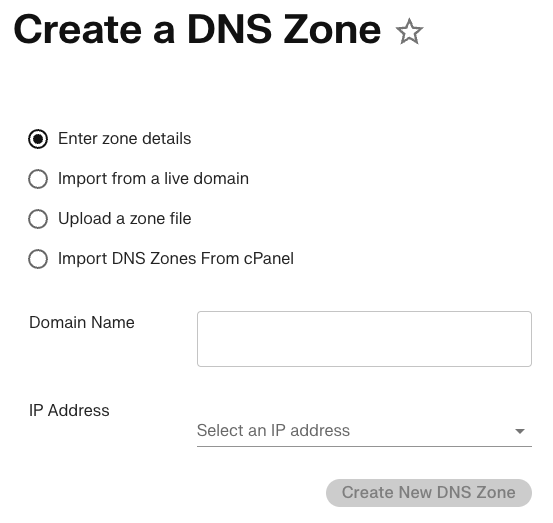
- From the Create a DNS Zone page, you can manually add a domain and IP address, import settings from a live domain, or upload a zone file. Click Create New DNS Zone to save your changes.
Exporting a DNS Zone
- Click on a Domain name in the Domains list. This opens the Domain Dashboard for the selected domain.
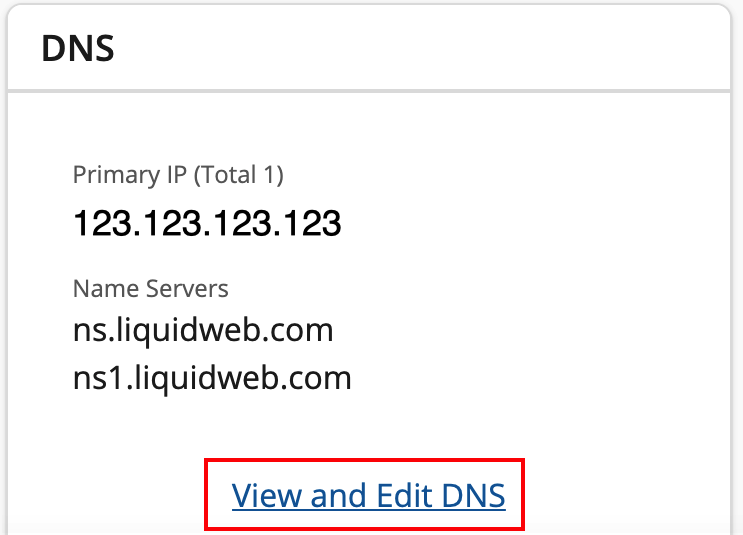
- Click View and Edit DNS from the DNS section.

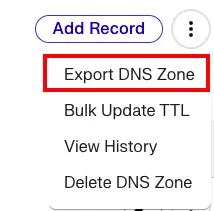
- Click the three dot menu to the right of the DNS records area and choose Export DNS Zone from the drop down menu.

- In the pop-up that appears, name and save the txt file to the location of your choice.
Modifying Your DNS
The most common reason to change DNS Records for a domain is to make sure the domain points to the right IP address so the website resolves correctly. As long as the domain is using a Liquid Web nameserver, it’s simple to change DNS records by logging into your Liquid Web account.
Is the Domain Using Liquid Web’s Nameservers?
Liquid Web uses four nameservers:
- ns.liquidweb.com
- ns1.liquidweb.com
- ns.sourcedns.com
- ns1.sourcedns.com
As long as a domain is using one of these nameservers, DNS records can be easily edited in your Liquid Web account. If you use private nameservers, your DNS records can be changed in WHM or Plesk. If the domain is using different nameservers, read Where Is My DNS Hosted? to learn more about your options. You will need to change your DNS records wherever your DNS is hosted.
There are a few different ways to find out if a domain is using Liquid Web’s nameservers.
- Use a web-based WHOIS lookup tool such as ICANN WHOIS and looking at the Name Server listing.
- Query WHOIS from a terminal by running the command
whois yourdomainname.com
and looking at the Name Servers listing.
- Log into your Liquid Web account, select Domains from the left menu. Scroll down to the Domain List and look at the DNS column. If you see the word “Hosted”, your domain is using Liquid Web nameservers and you can click the three dots to the right of the domain name to select DNS and start managing your DNS records immediately.


Add or Edit a DNS Record
- From your Liquid Web account, click on Domains list in the left menu, click on the Domain you want to adjust, and then click the View and Edit DNS link in the Domains Dashboard.

- To add a new record, click the Add Record button at the top. To edit an existing record, click the Pencil icon to the right of the entry you wish to change. Make sure to fill out all four fields in the record you are adding or editing. If you’re not sure what type of record to add, read about different types of DNS Records. Make sure to use an IP address assigned to your server so your domain doesn’t point to someone else’s website.
- Click the checkmark to accept the DNS record. Once the record is added, DNS will begin to propagate. DNS propagation is when the old DNS records are replaced with the new records on local DNS servers and nameservers. This usually only takes a few hours, but could take up to 48 hours. See if DNS changes are fully propagated using an external tool called What’s My DNS.
Restoring DNS Records
- Click History in the three dot menu of the DNS Records of the domain for which you need to restore records.

- Click on the snapshot drop down and select a date to restore.


- Review the restored records. If everything is correct, click Save All Changes.