-
-
SmoothShot
-
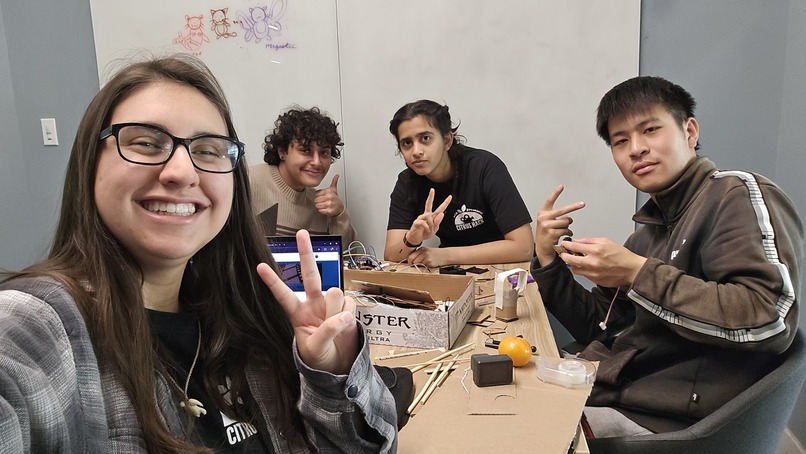
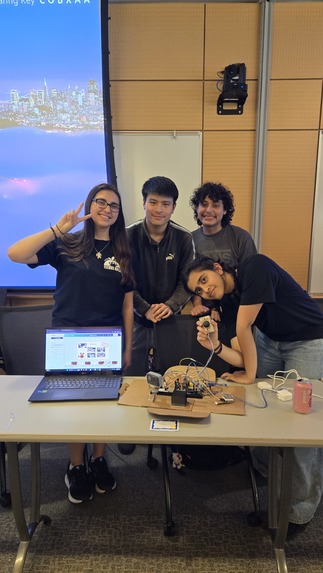
Teammates
-
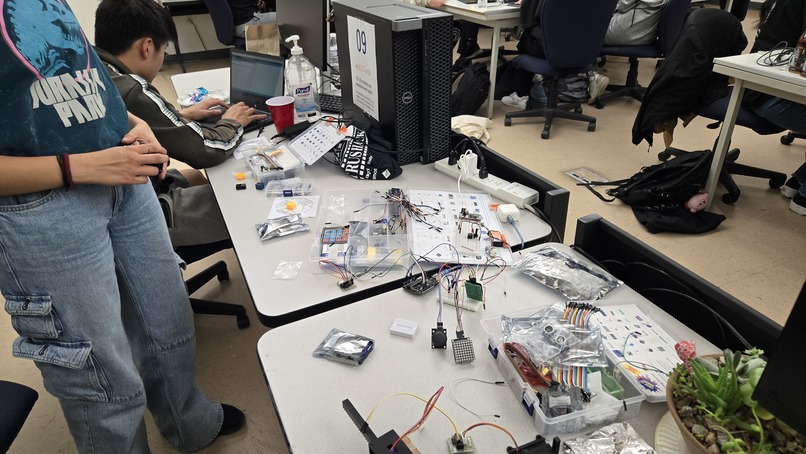
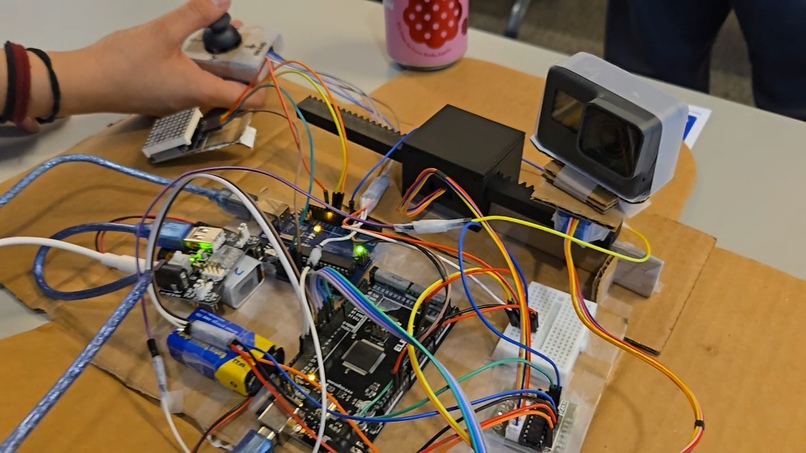
Work In Progress
-
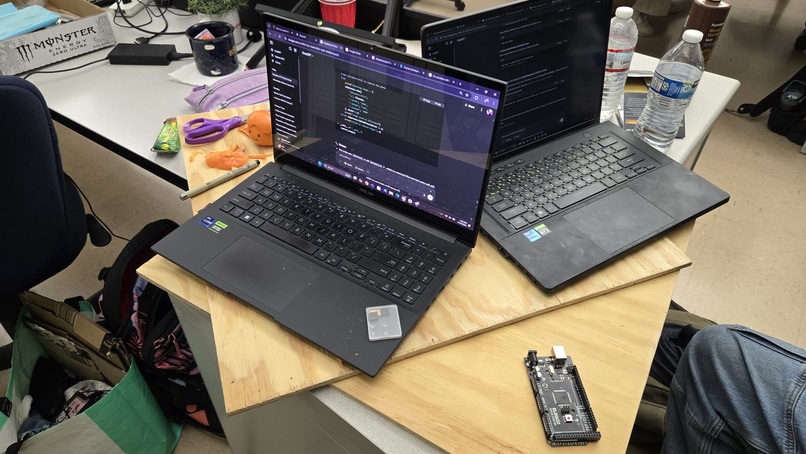
Work In Progress
-
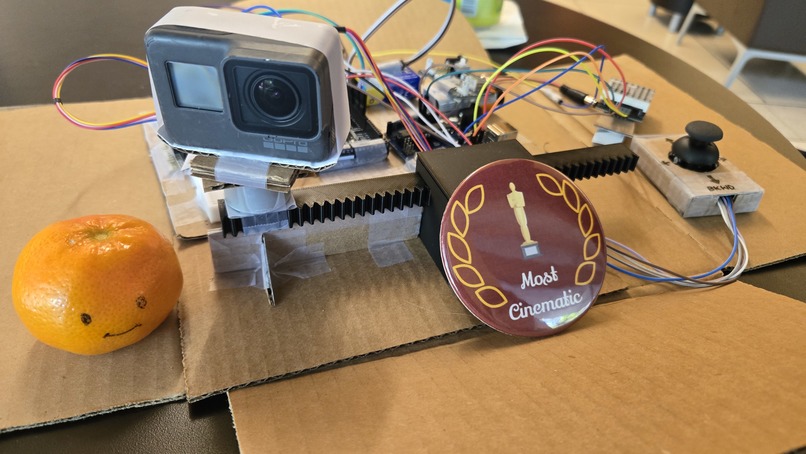
Demo Time
-
Demo Time
-
Smooth Shot
-
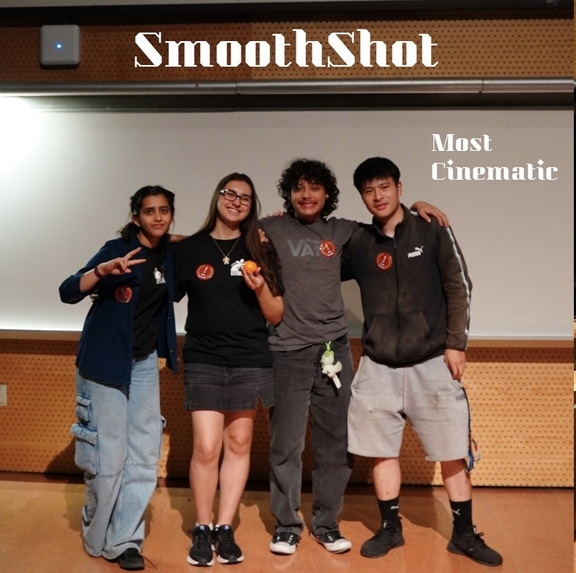
Award Ceremony


Idea & Purpose
- While professional-grade rigs exist, they’re often bulky and prohibitively expensive.
- SmoothShot aims to fill that gap by offering a compact, low-cost alternative that automates camera movements like pans, tilts, and tracking shots with precision.
- Using a joystick and a set of motors, our system can be programmed to follow exact motion paths — perfect for repeated shots, time-lapses, or stop-motion animation. - Whether you're filming short films, creative reels, or DIY videos, SmoothShot gives creators more control without breaking the bank.
What It Does
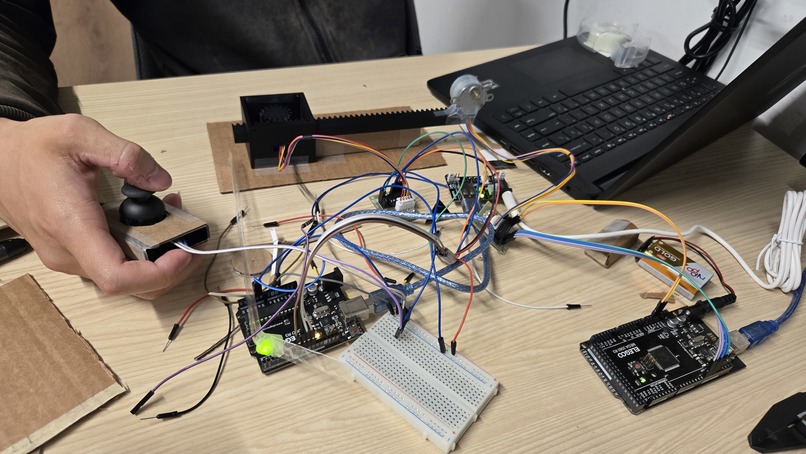
- Our 3D-printed and cardboard components hold together the Arduino parts, including a joystick, stepper motor, rig system, and 8x8 LED dot matrix countdown. The matrix counts down from 3 to simulate when you could start filming. The camera is adjustable through joystick movements, maneuvering the camera module left and right & at different angles.
- Our camera module is maneuverable from 2 degrees, which are translational and rotational, so the overall camera position can be moved left and right, and the camera can be directed at an angle.
- In the camera holder, the user can attach a miniature camera such as a GoPro or other camera/filming device of suitable size so it can be held steady through recording.
How We Built It
- Arduino
- 3D Printed Materials
Challenges
- Connecting a variety of Arduino components & getting them to fit into one central mechanism.
- Pairing the joy sticks to control the movement through the stepper motor.
- Constructing the camera and movable components so that the weight and movement are balanced.
- Getting the Raspberry Pi configured & connecting the camera to the Raspberry Pi.
Accomplishments
- 3D printing accommodating components to make a rig to hold & move the camera module.
- Getting the joystick to maneuver the overall position of the camera from left to right.
- 2 degree camera movement to be translational and rotational.
- Making the 8x8 LED dot matrix to countdown from 3 with accurate time and display.
What We Learned
- How to link multiple components to the Arduino (joystick, stepper motors, 8x8 LED dot matrix).
- How to 3D print parts to align with specific measurements.
What's next for SmoothShot!
- Pairing the Raspberry Pi with an Arducam.
- Capturing pictures and videos using the Raspberry Pi.
- Finding a way to store the captured pictures and photos automatically.
Tracks
- Sustainability
- Most Cinematic
- Best Hardware

Log in or sign up for Devpost to join the conversation.