This project is almost finished I have tweaked the static grass by adding a layer here and there as well as the post and rail fencing .Telegraph posts have been added to match the other modules I hope to have the layout at the Rosehill Exhibition in May but we shall have to see what happens with you know what..As I think everyone wants to escape to an exhibition and forget about the world outside.
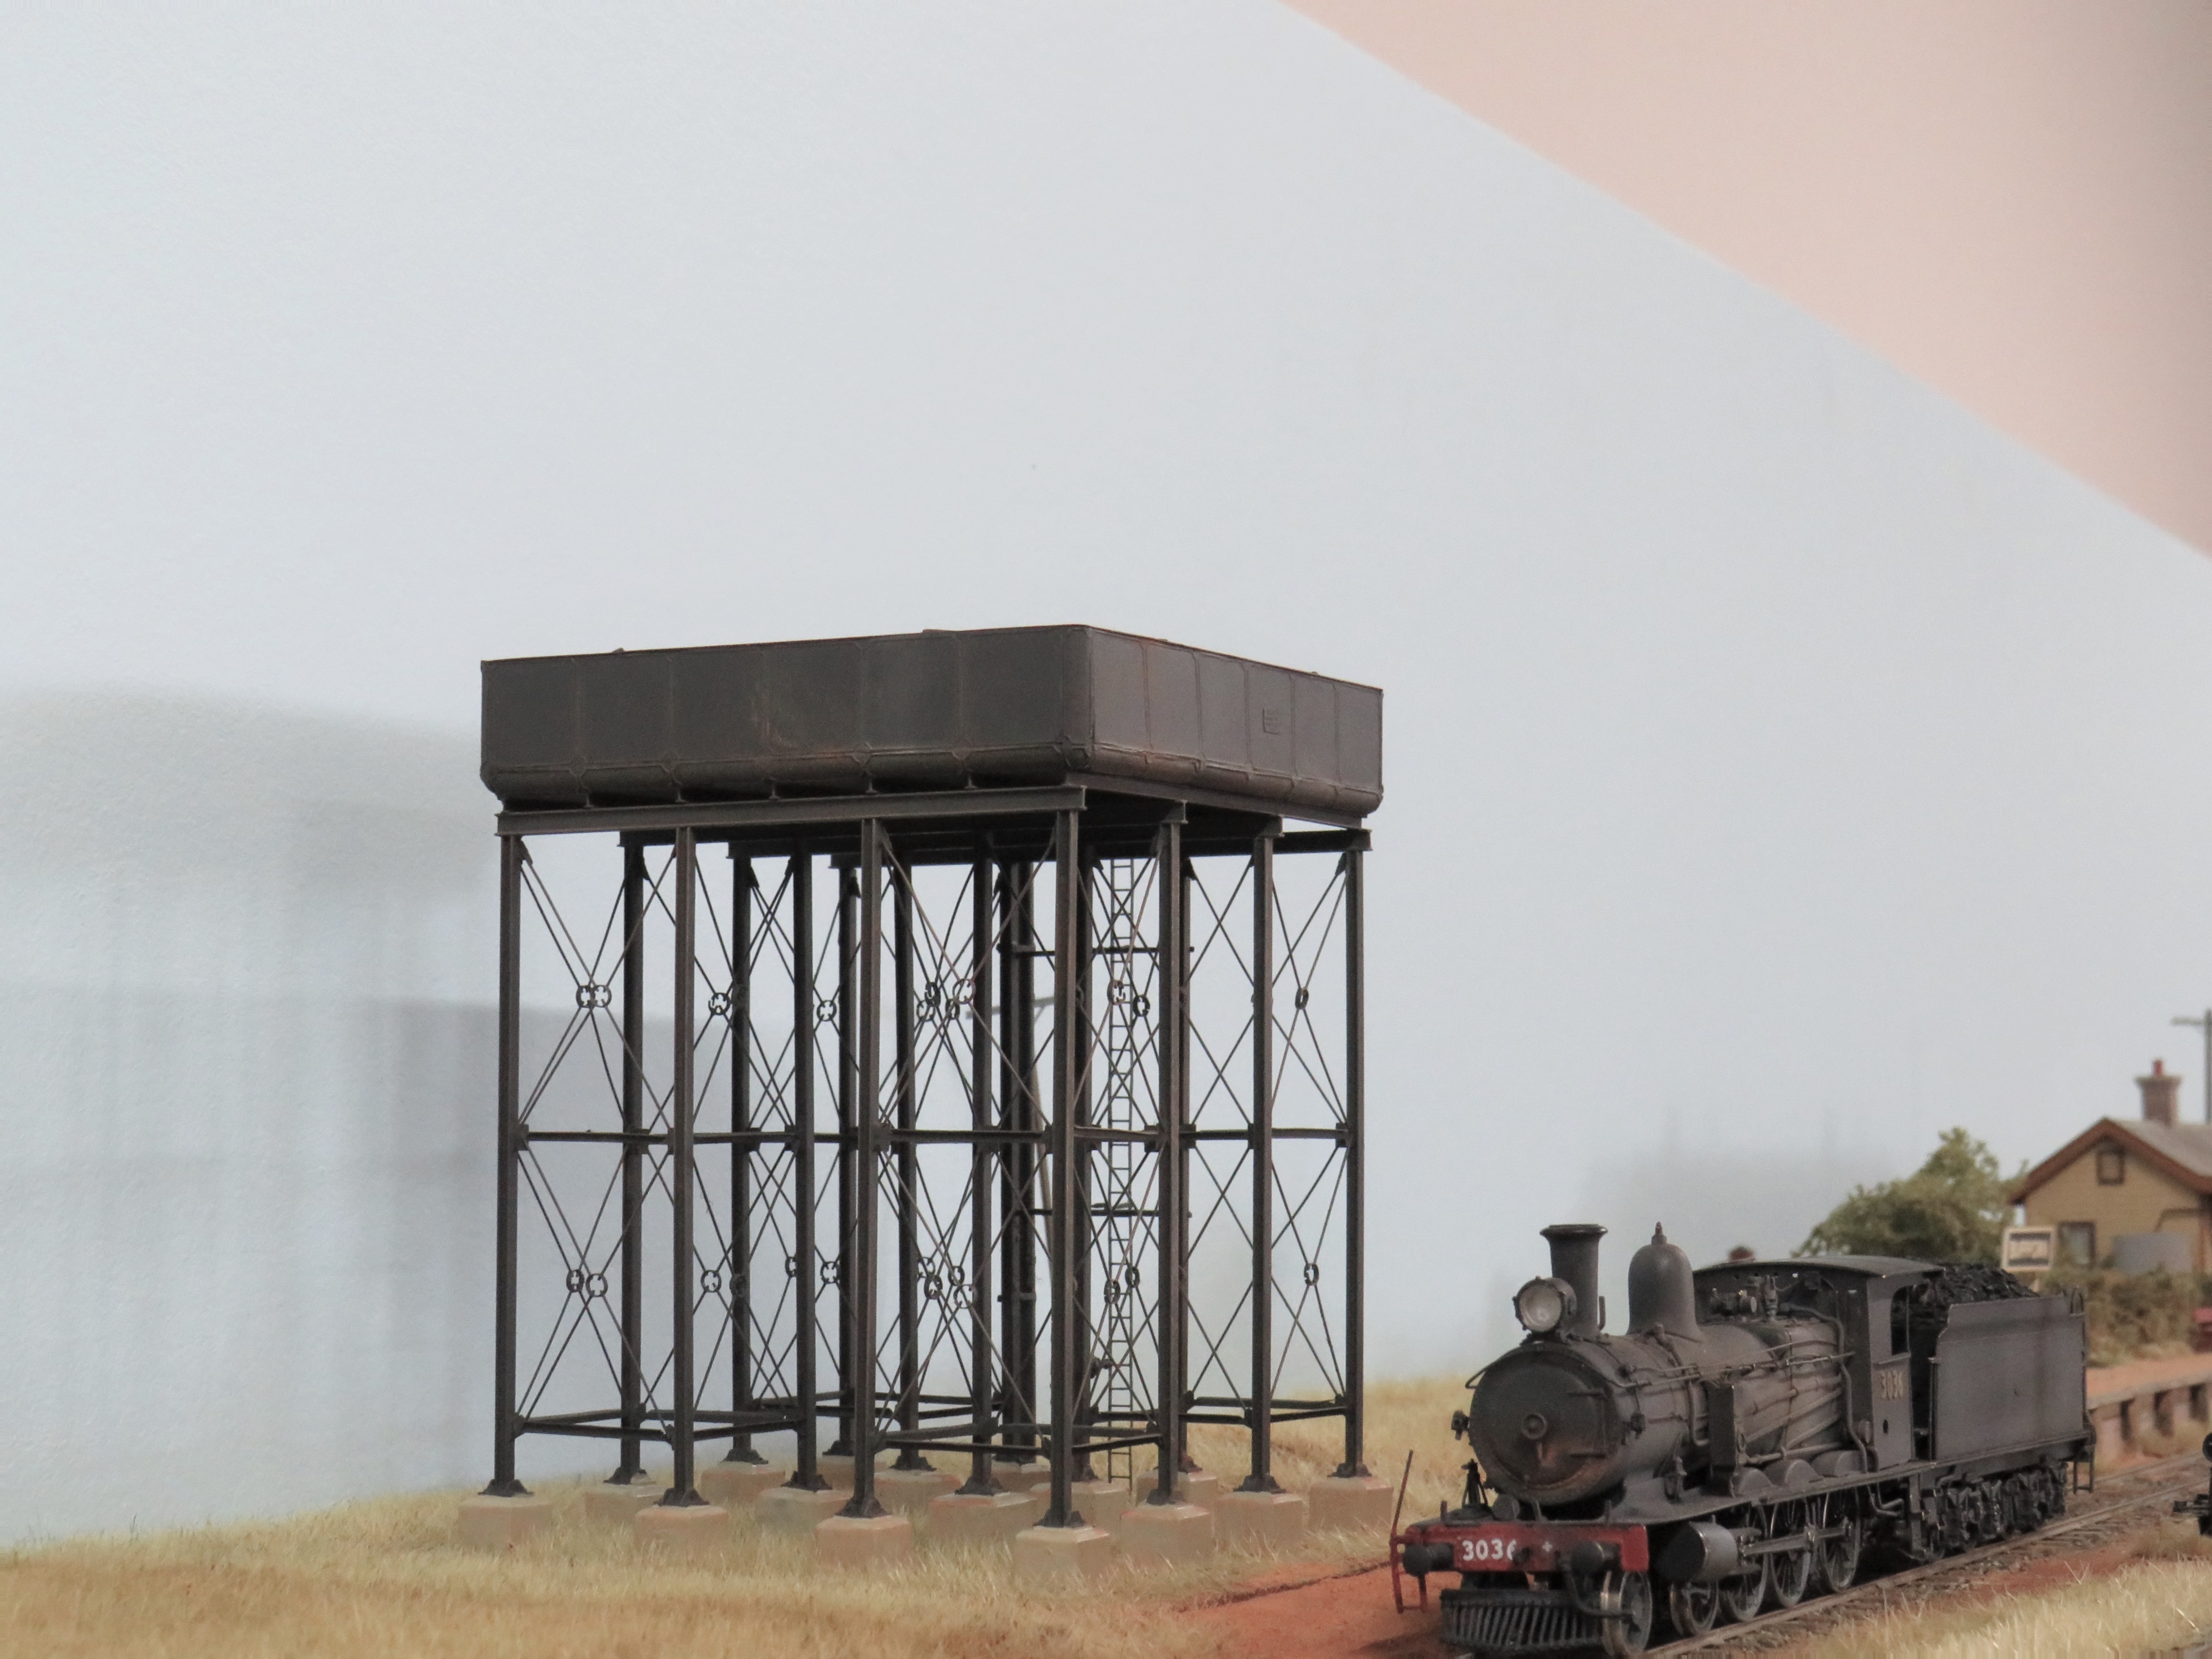
Here are a few photo’s of the module with Z12 and a short passenger train heading away from the terminus.


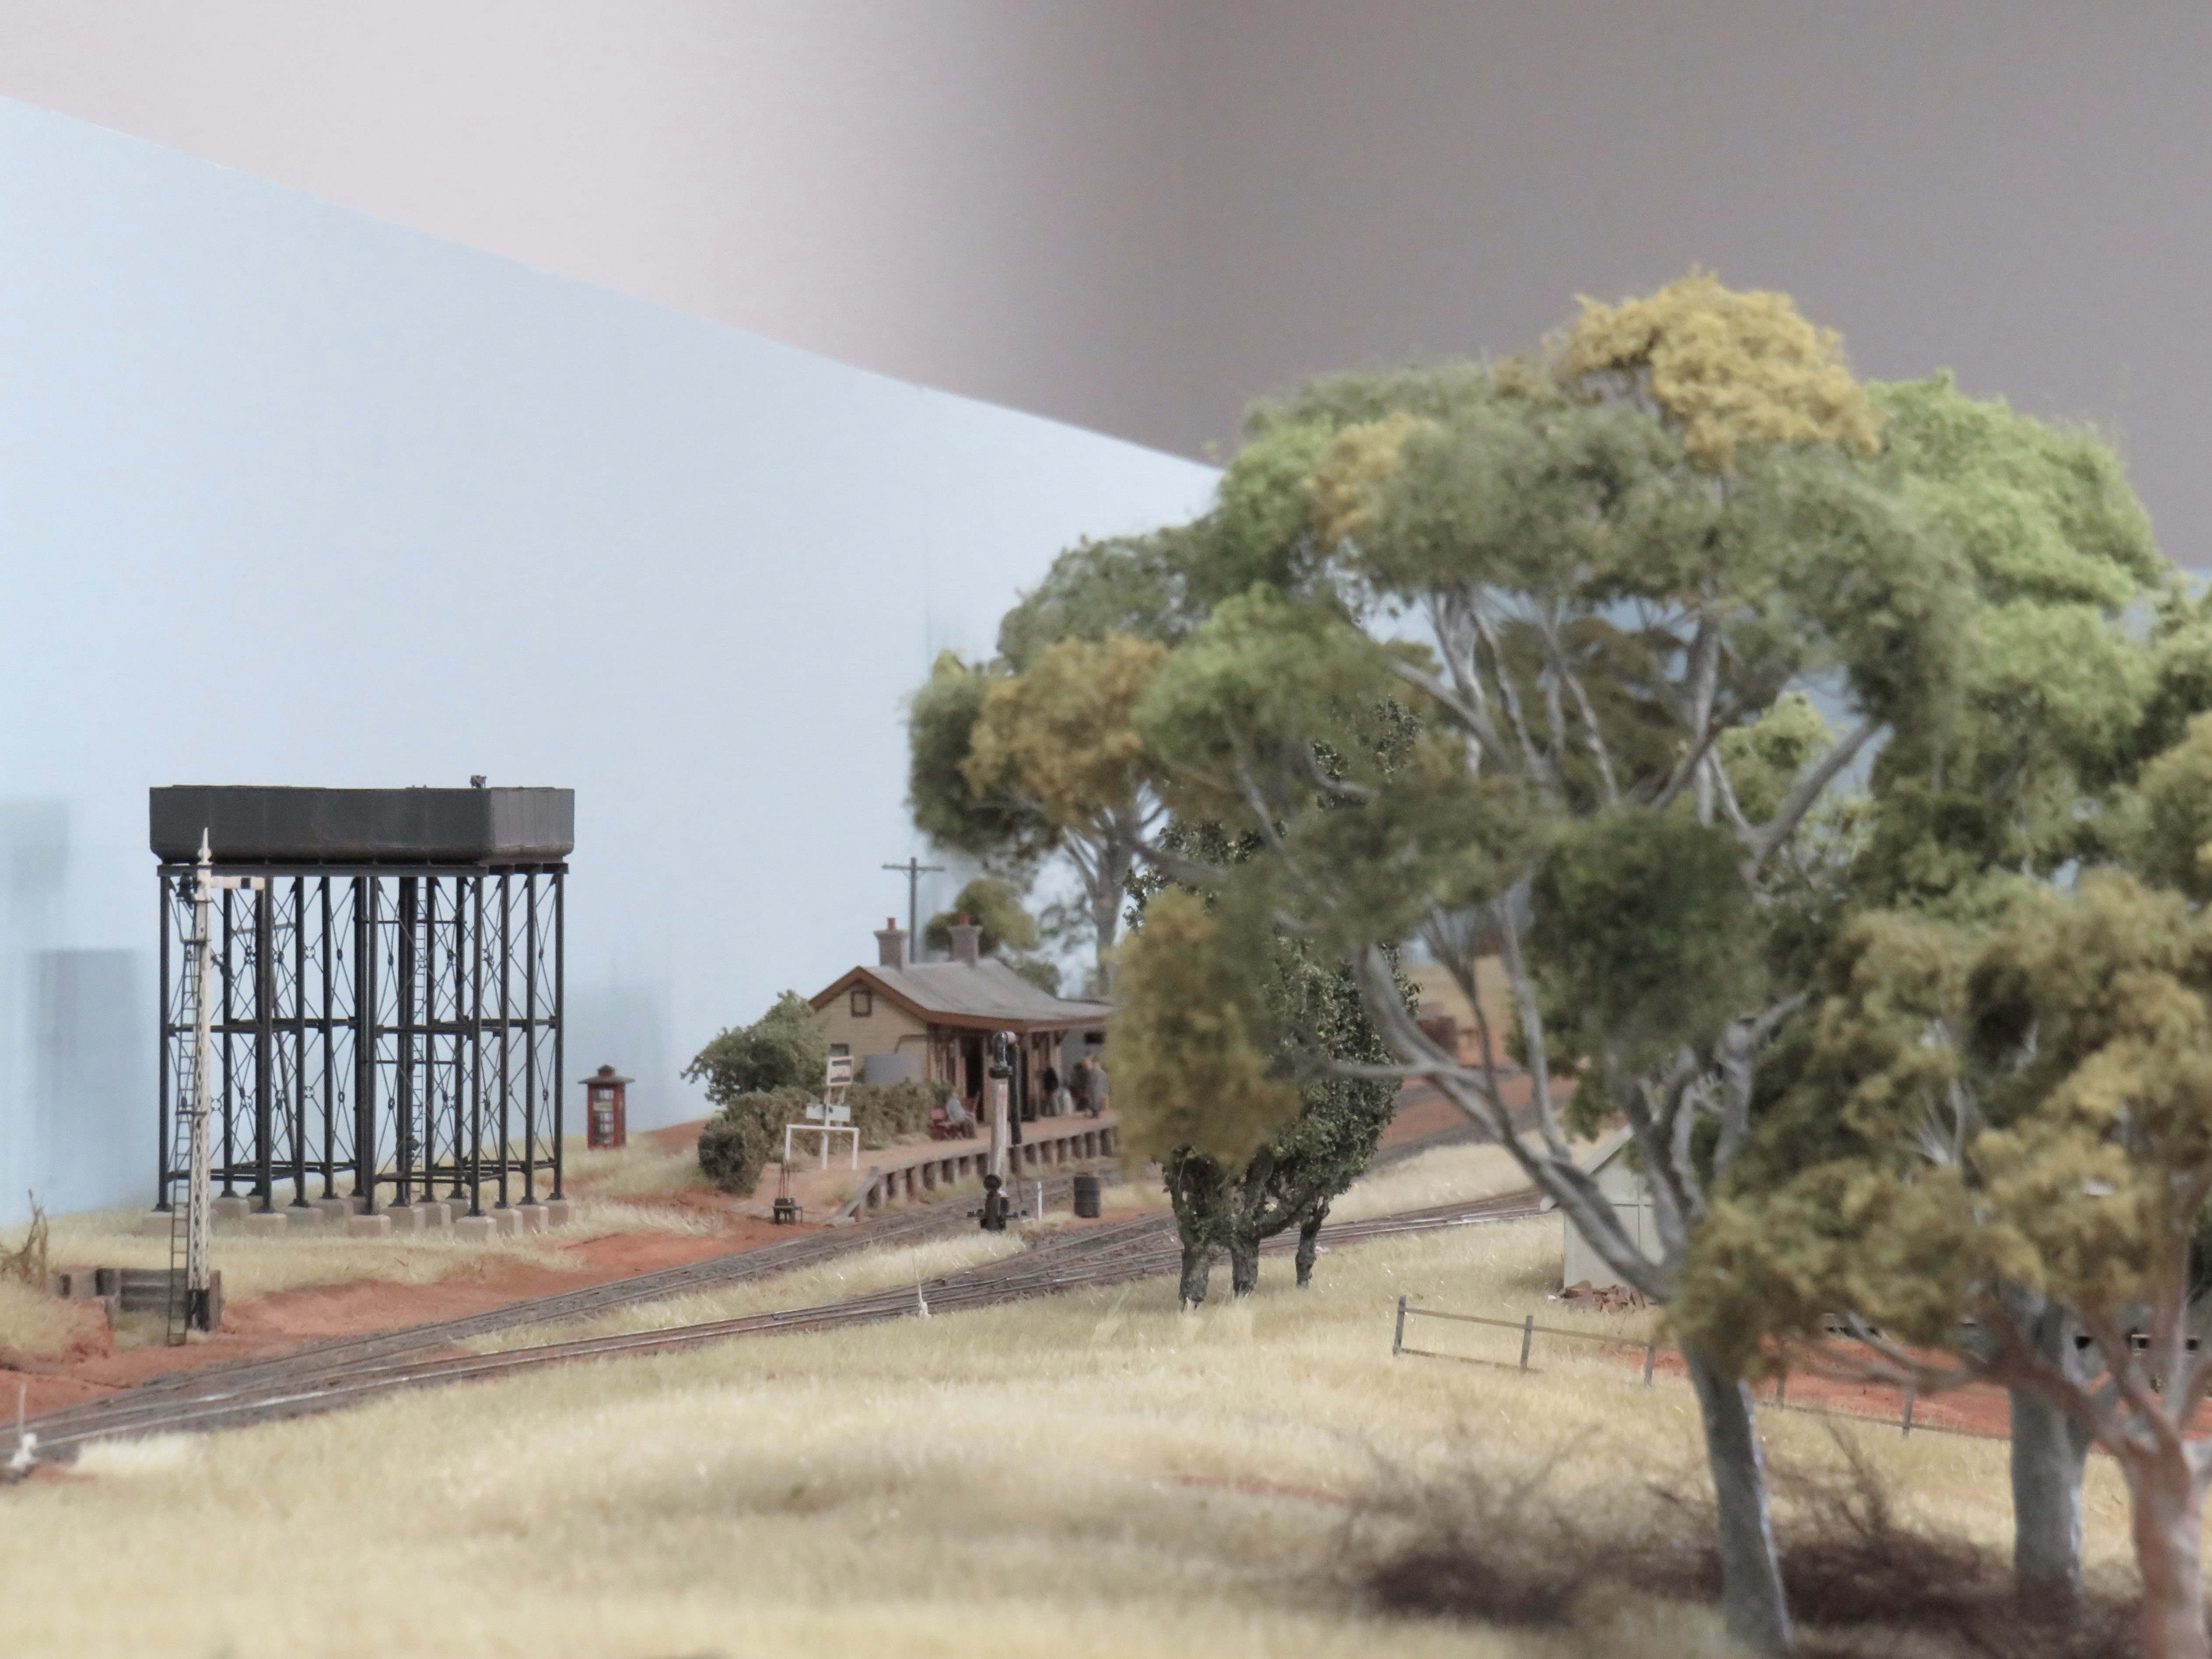
Serious landscaping has started with static grass I still have a long way to go with the installation of a few trees and bushes etc, I will assess the situation as I don’t want to overcrowd the module.
It may be noticed that beneath the trestle the grass is not flat well that is because the static grass was glued to clear plastic let dry and then peeled away from the plastic and cut to size and will bed down after I am happy with the way it looks.
All for now


All for now


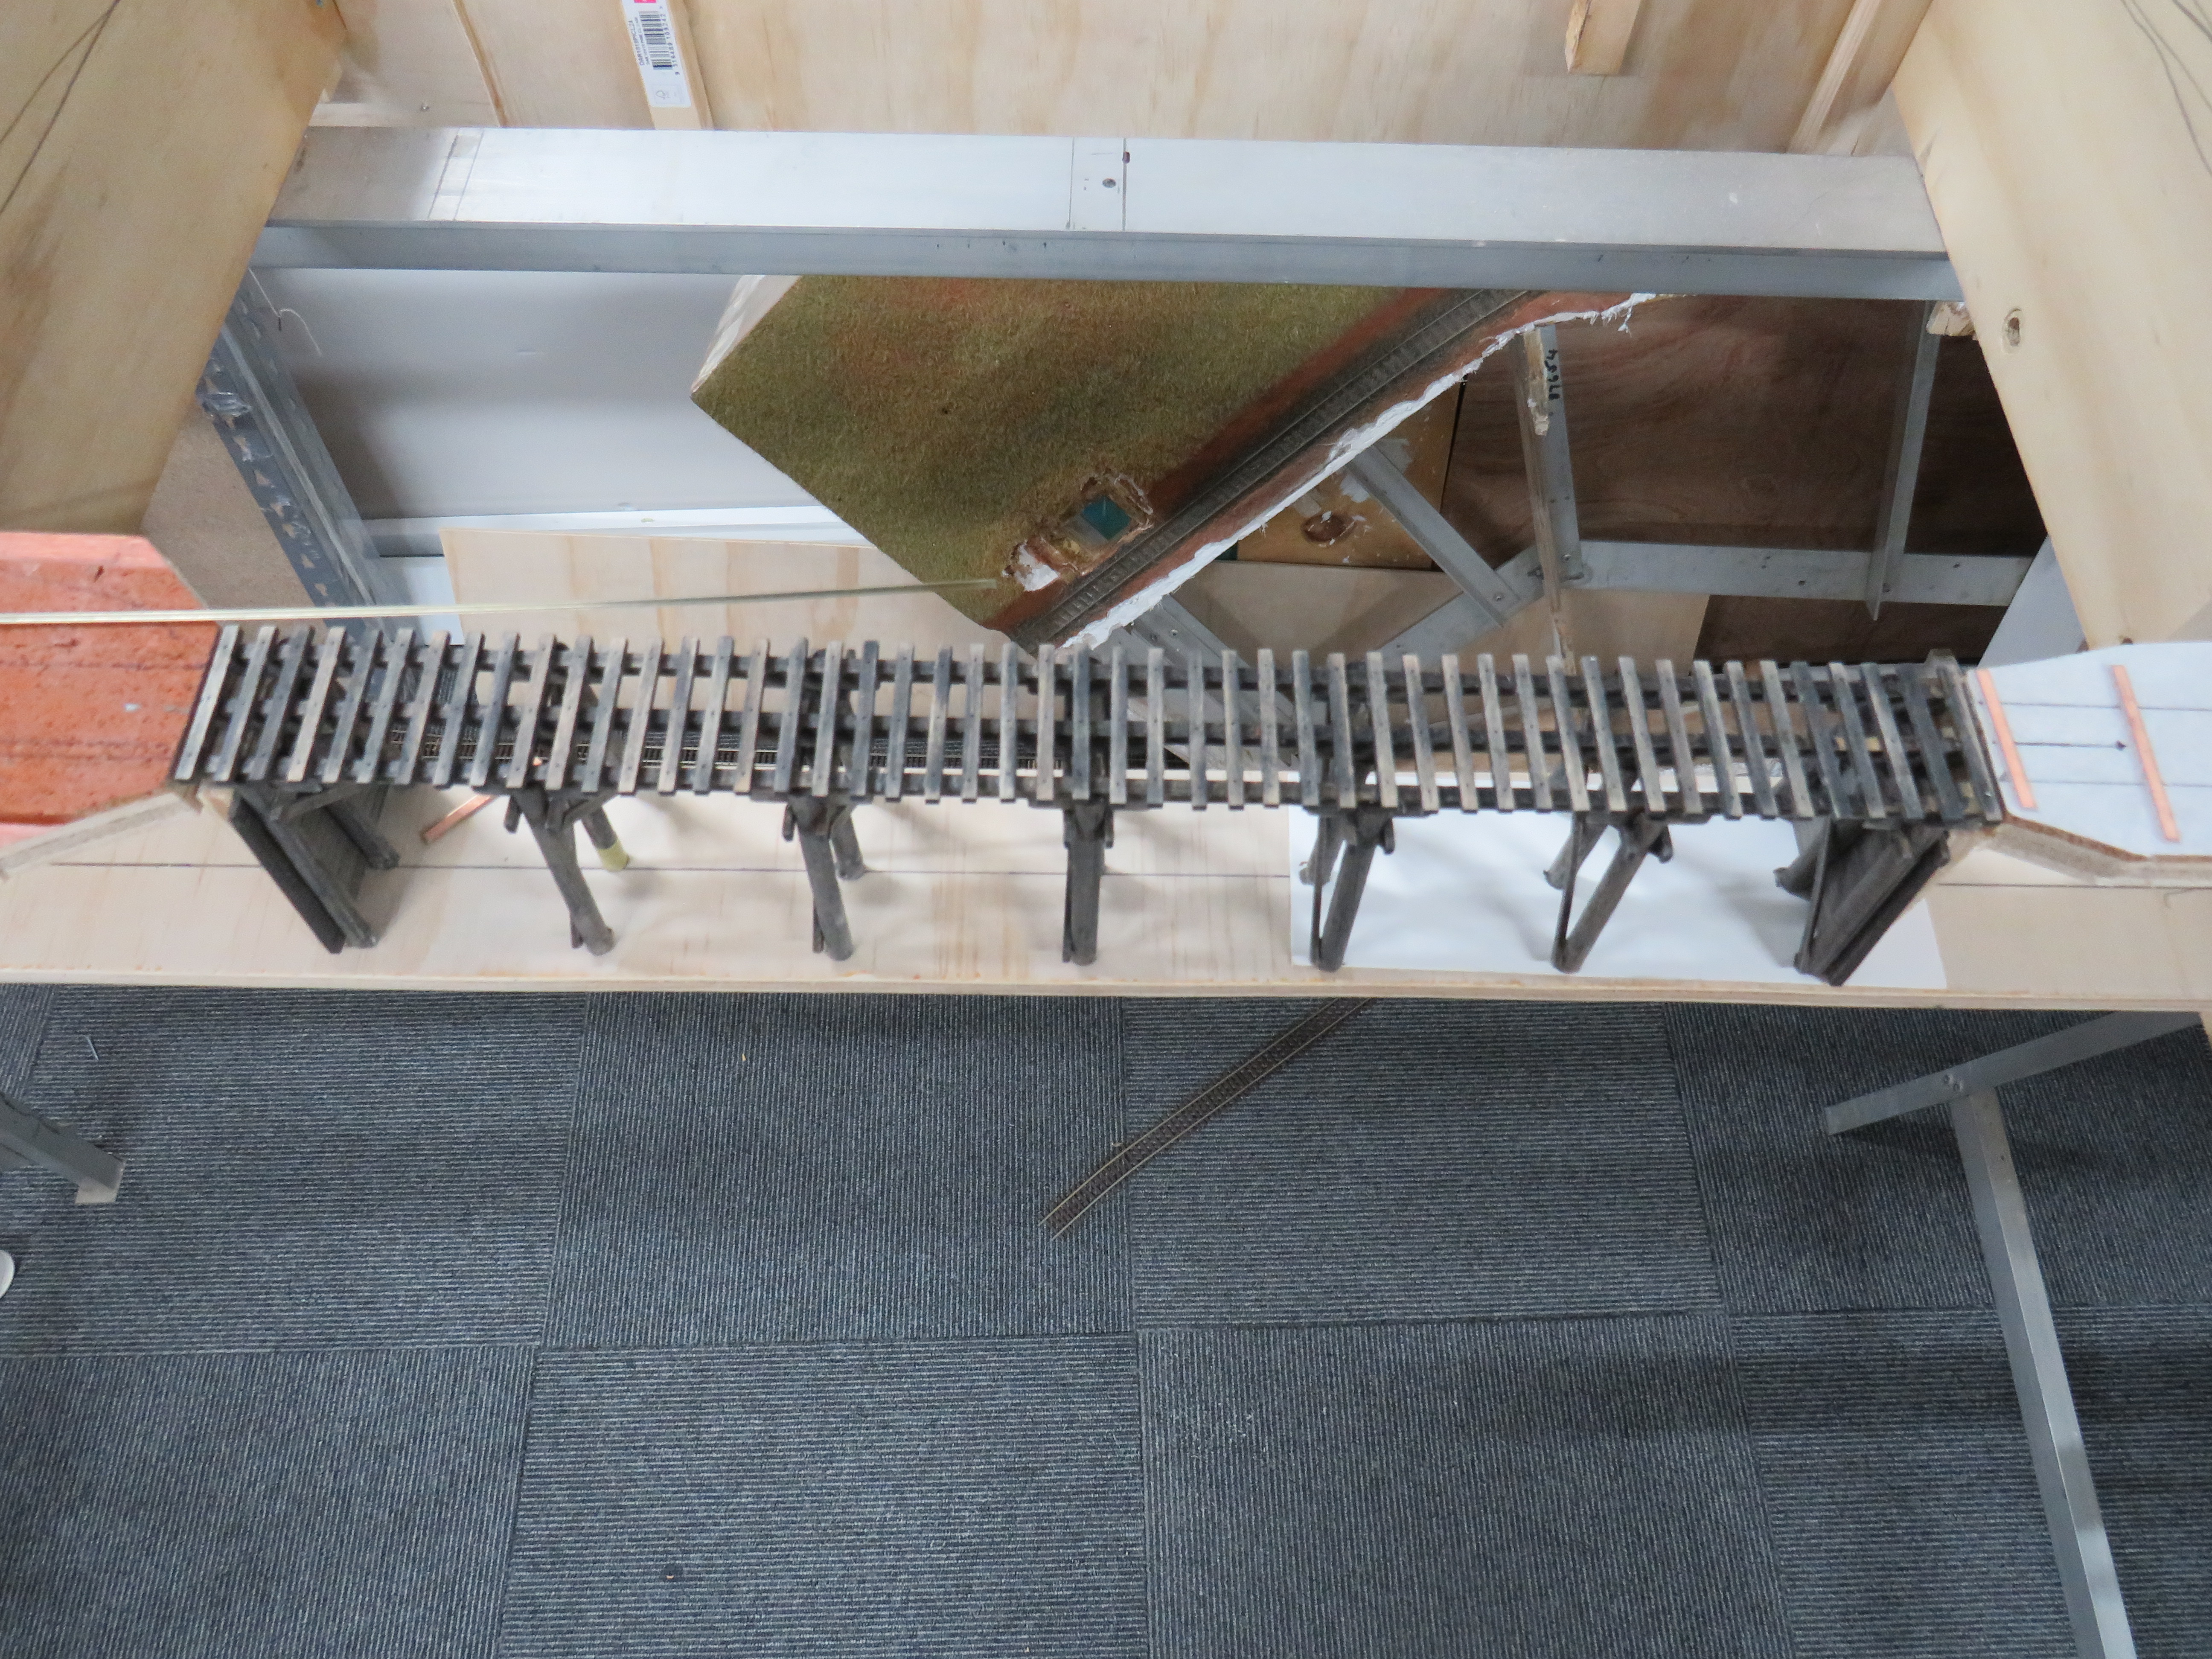
A little more progress with the landscaping although still a long way to go. The earth was ground by putting dirt into a cheap coffee grinder and grind until happy with the size of the dust/powder. The sleepers are soaked in Woodlandscenics 1219 grey stain which is diluted with isopropyl alcohol I have been using this method for sometime now it seams to work well. Sadly there has been nothing else on the modelling front as house maintenance has taken priority.
All for now.


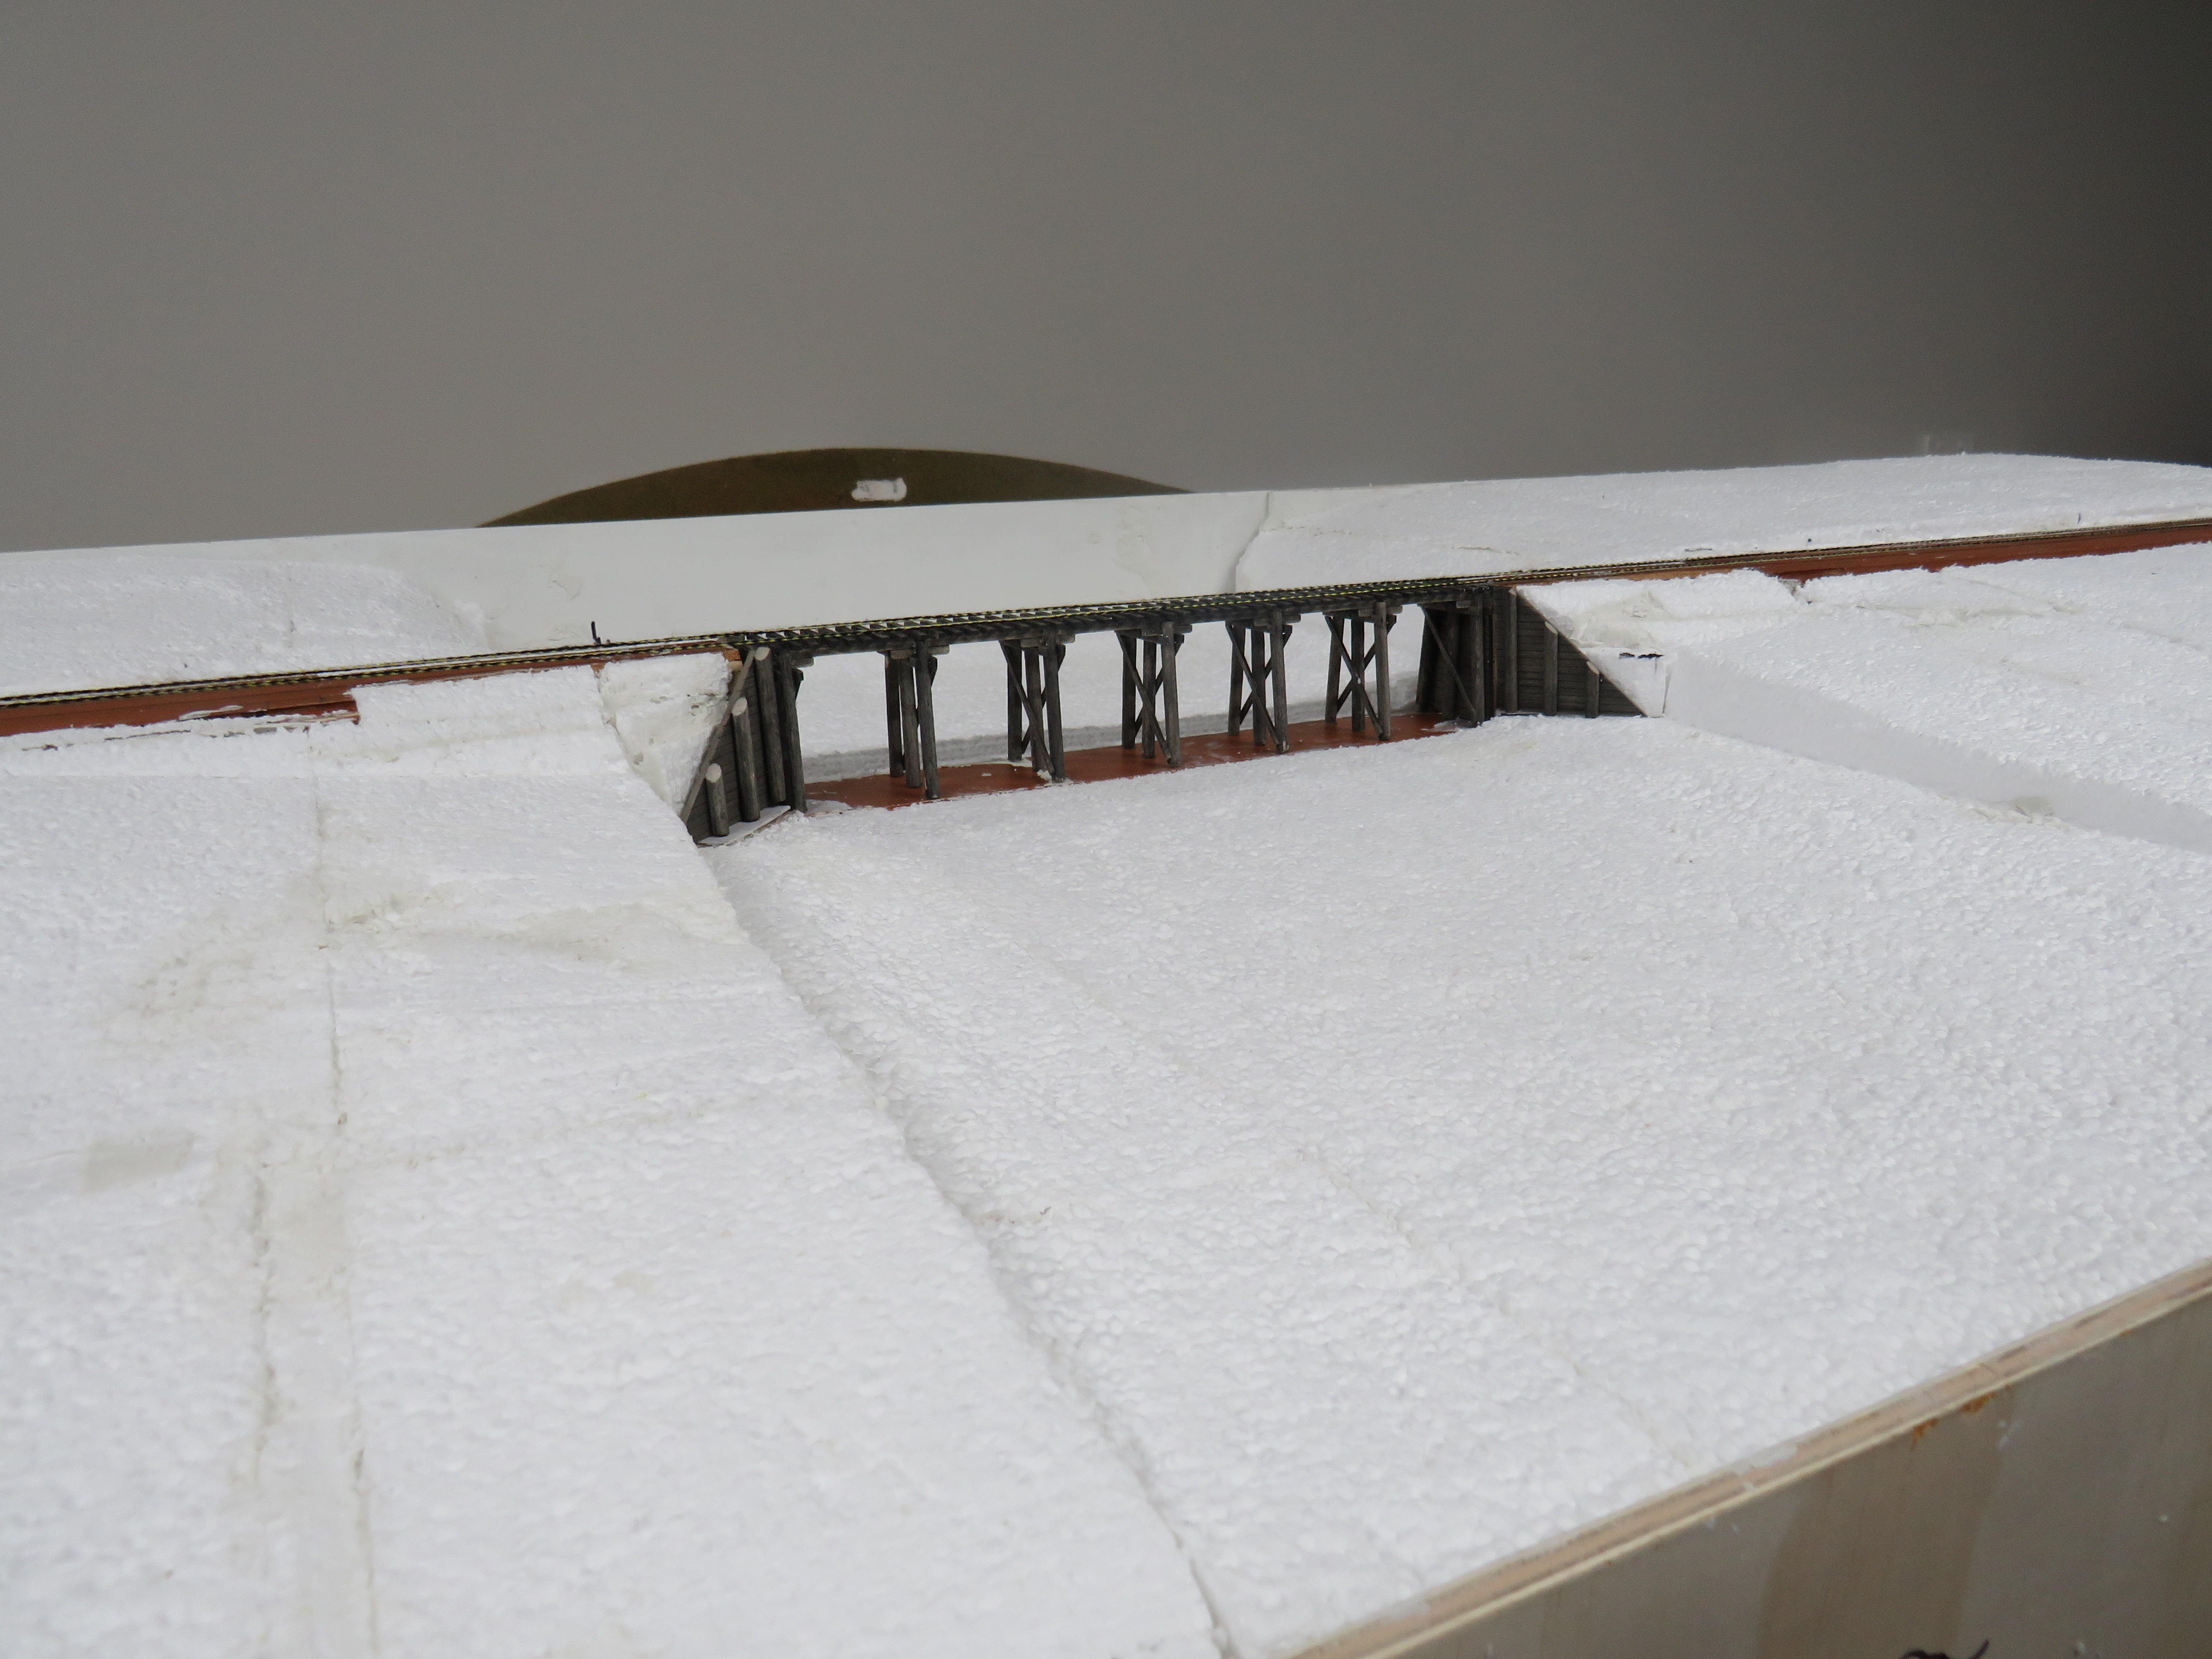
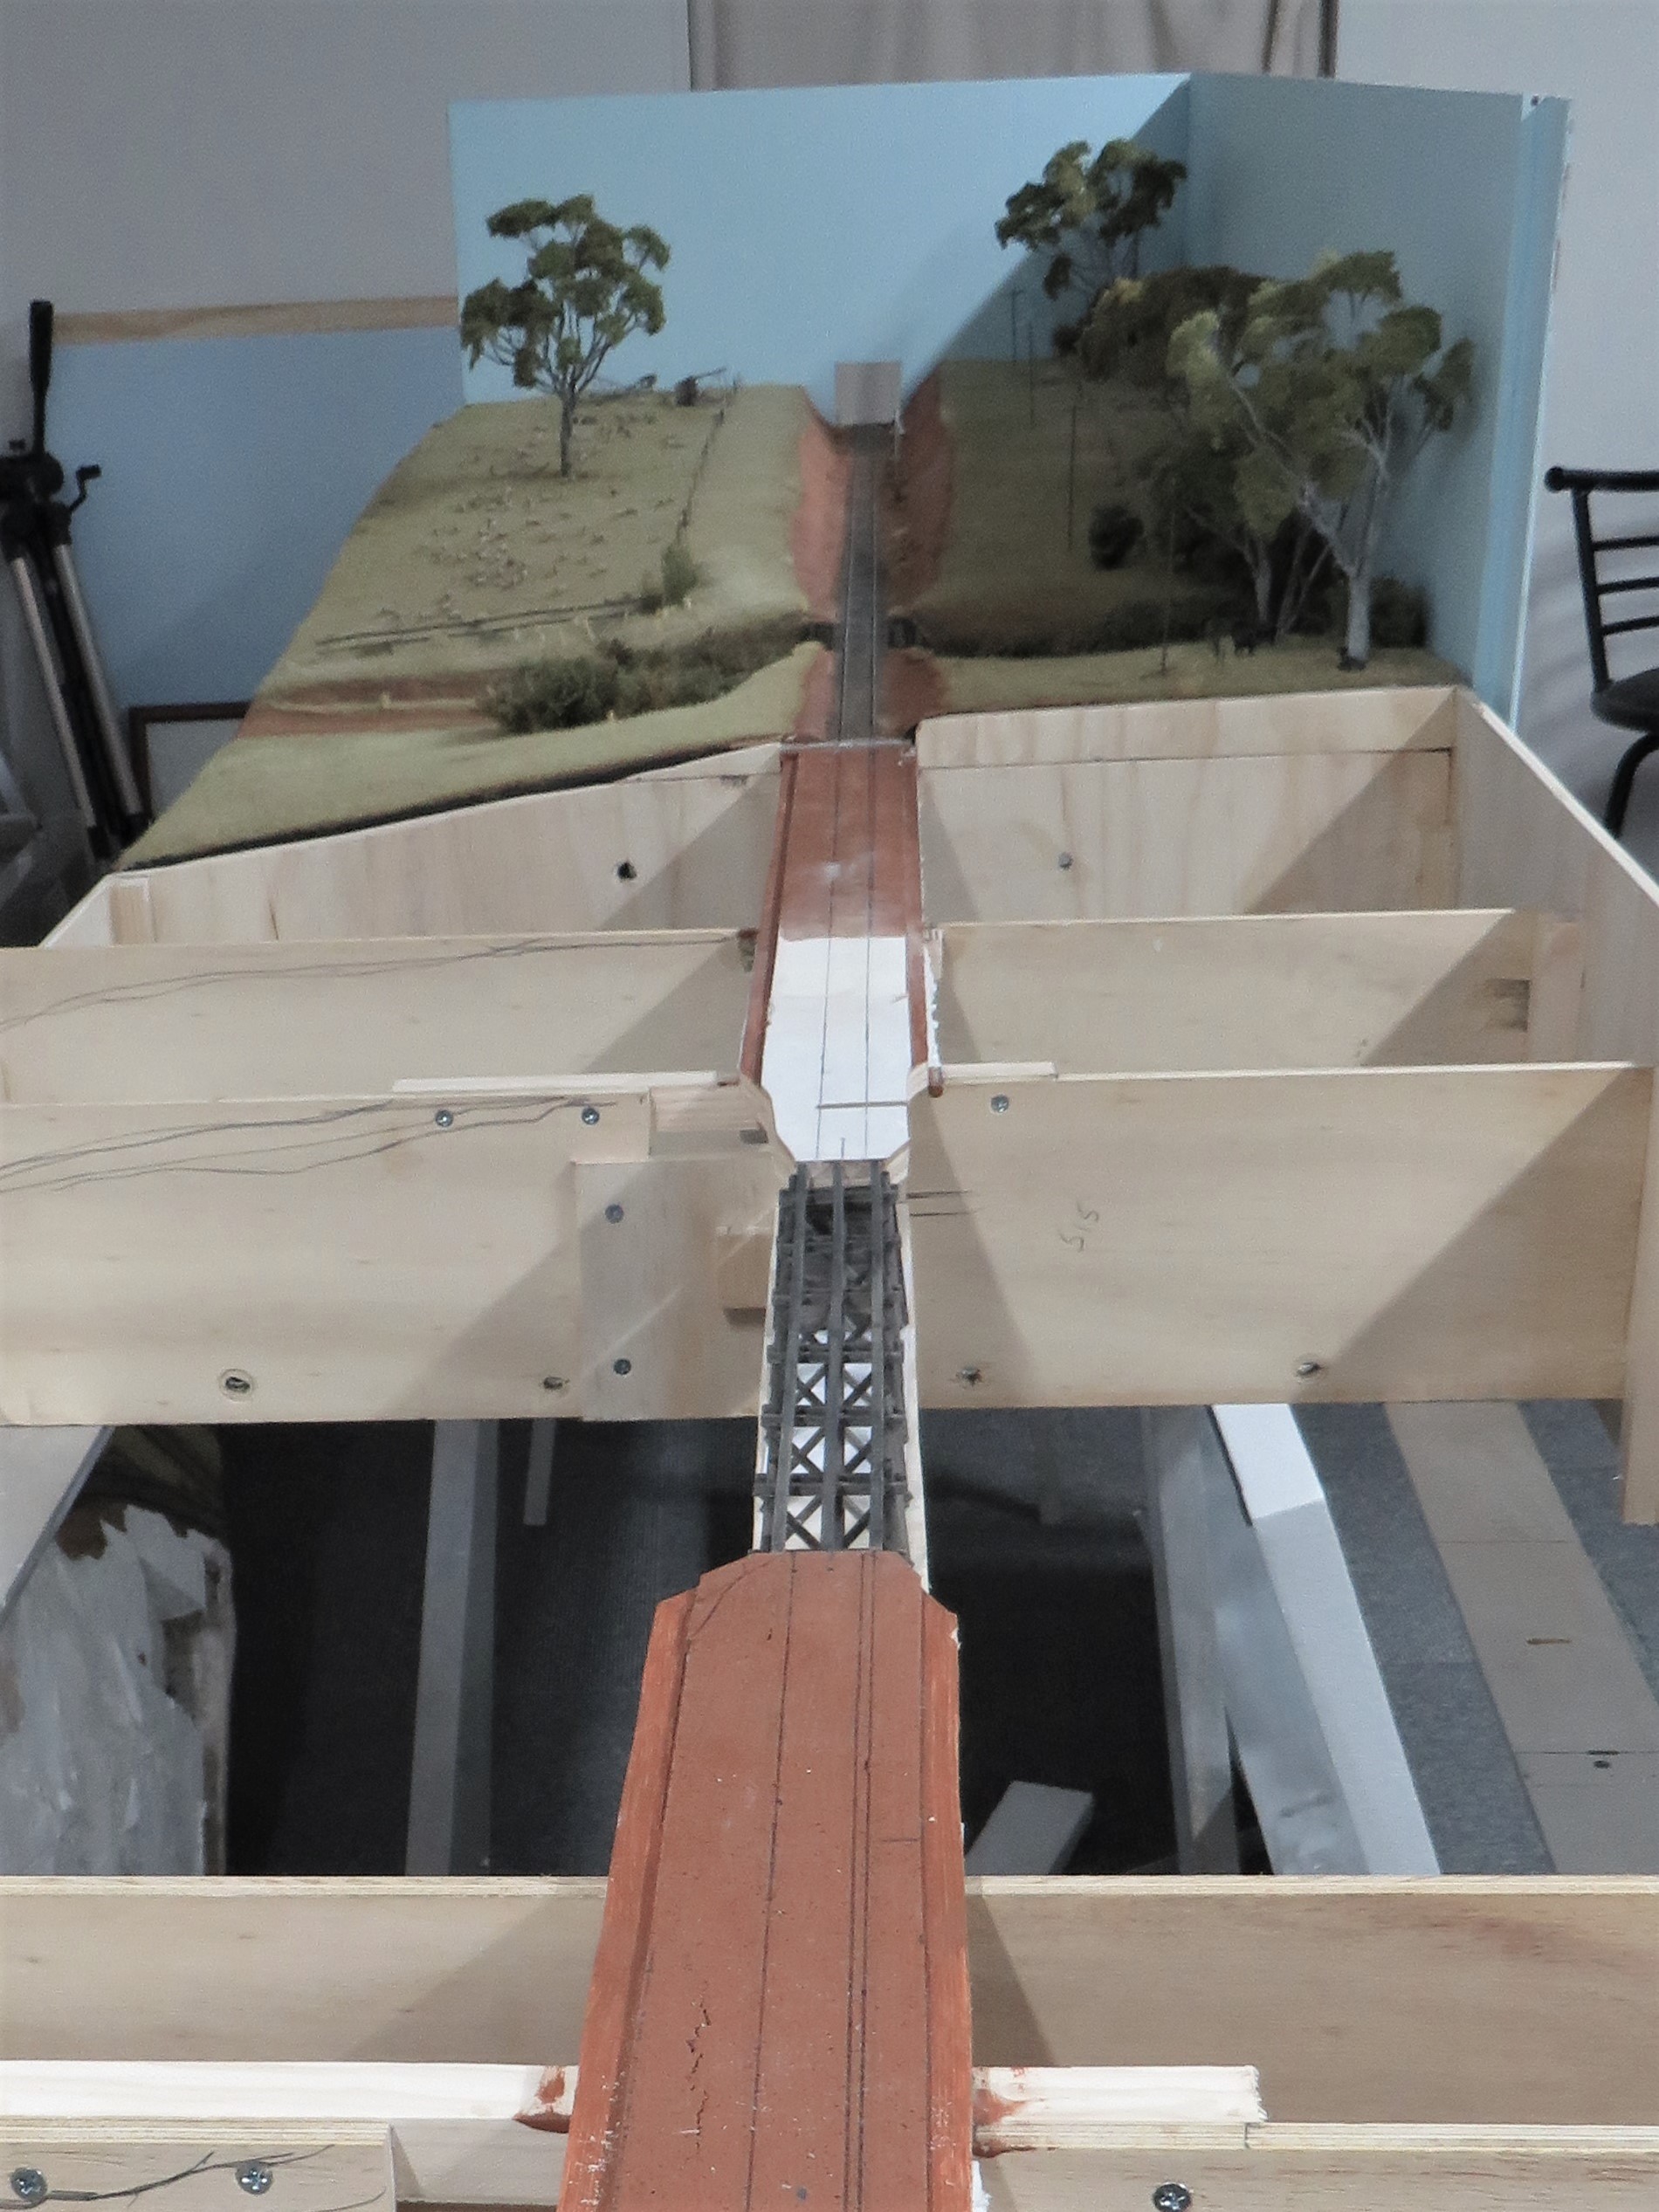
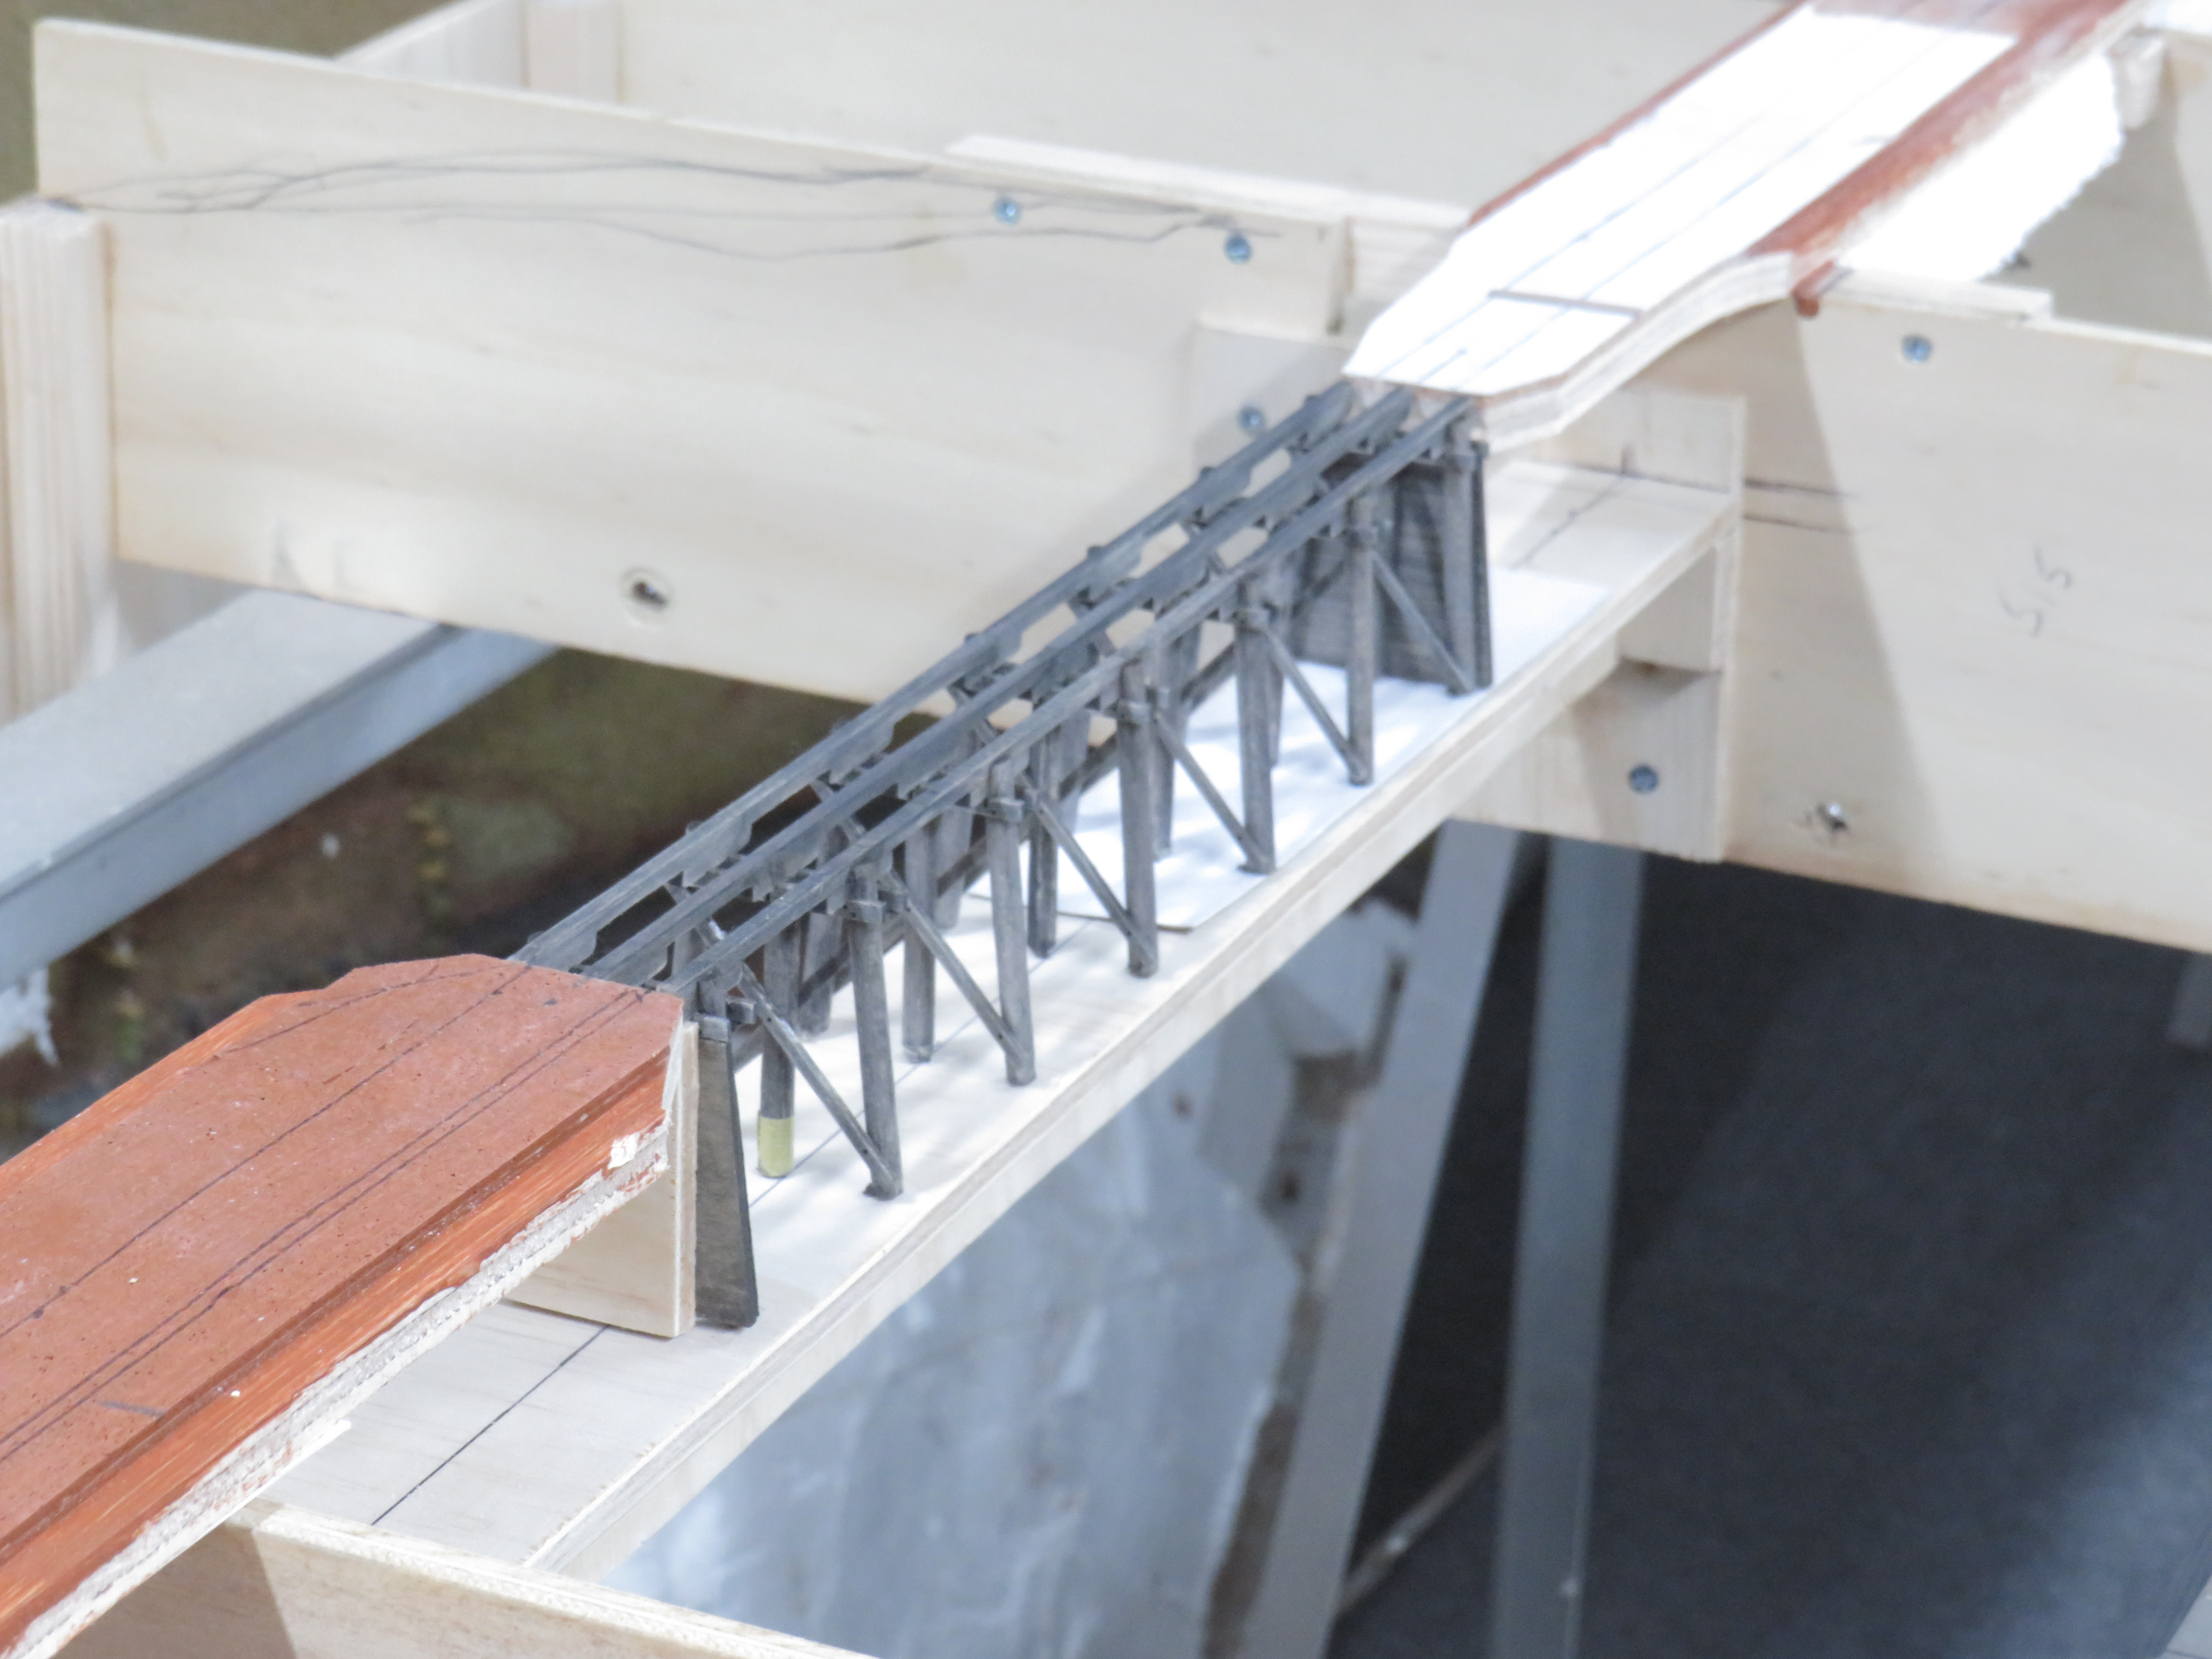
Slowly over the past month progress is being made with the polystyrene foam,it can be messy but with a good vacuum cleaner and a small Stanley surform. After test fitting the bridge and wing walls in place I will add detail like bolts etc.I have also moved the water tank closer to the mainline by 20mm because the would be telegraph wires will be too close. So still a way to go.
All for now

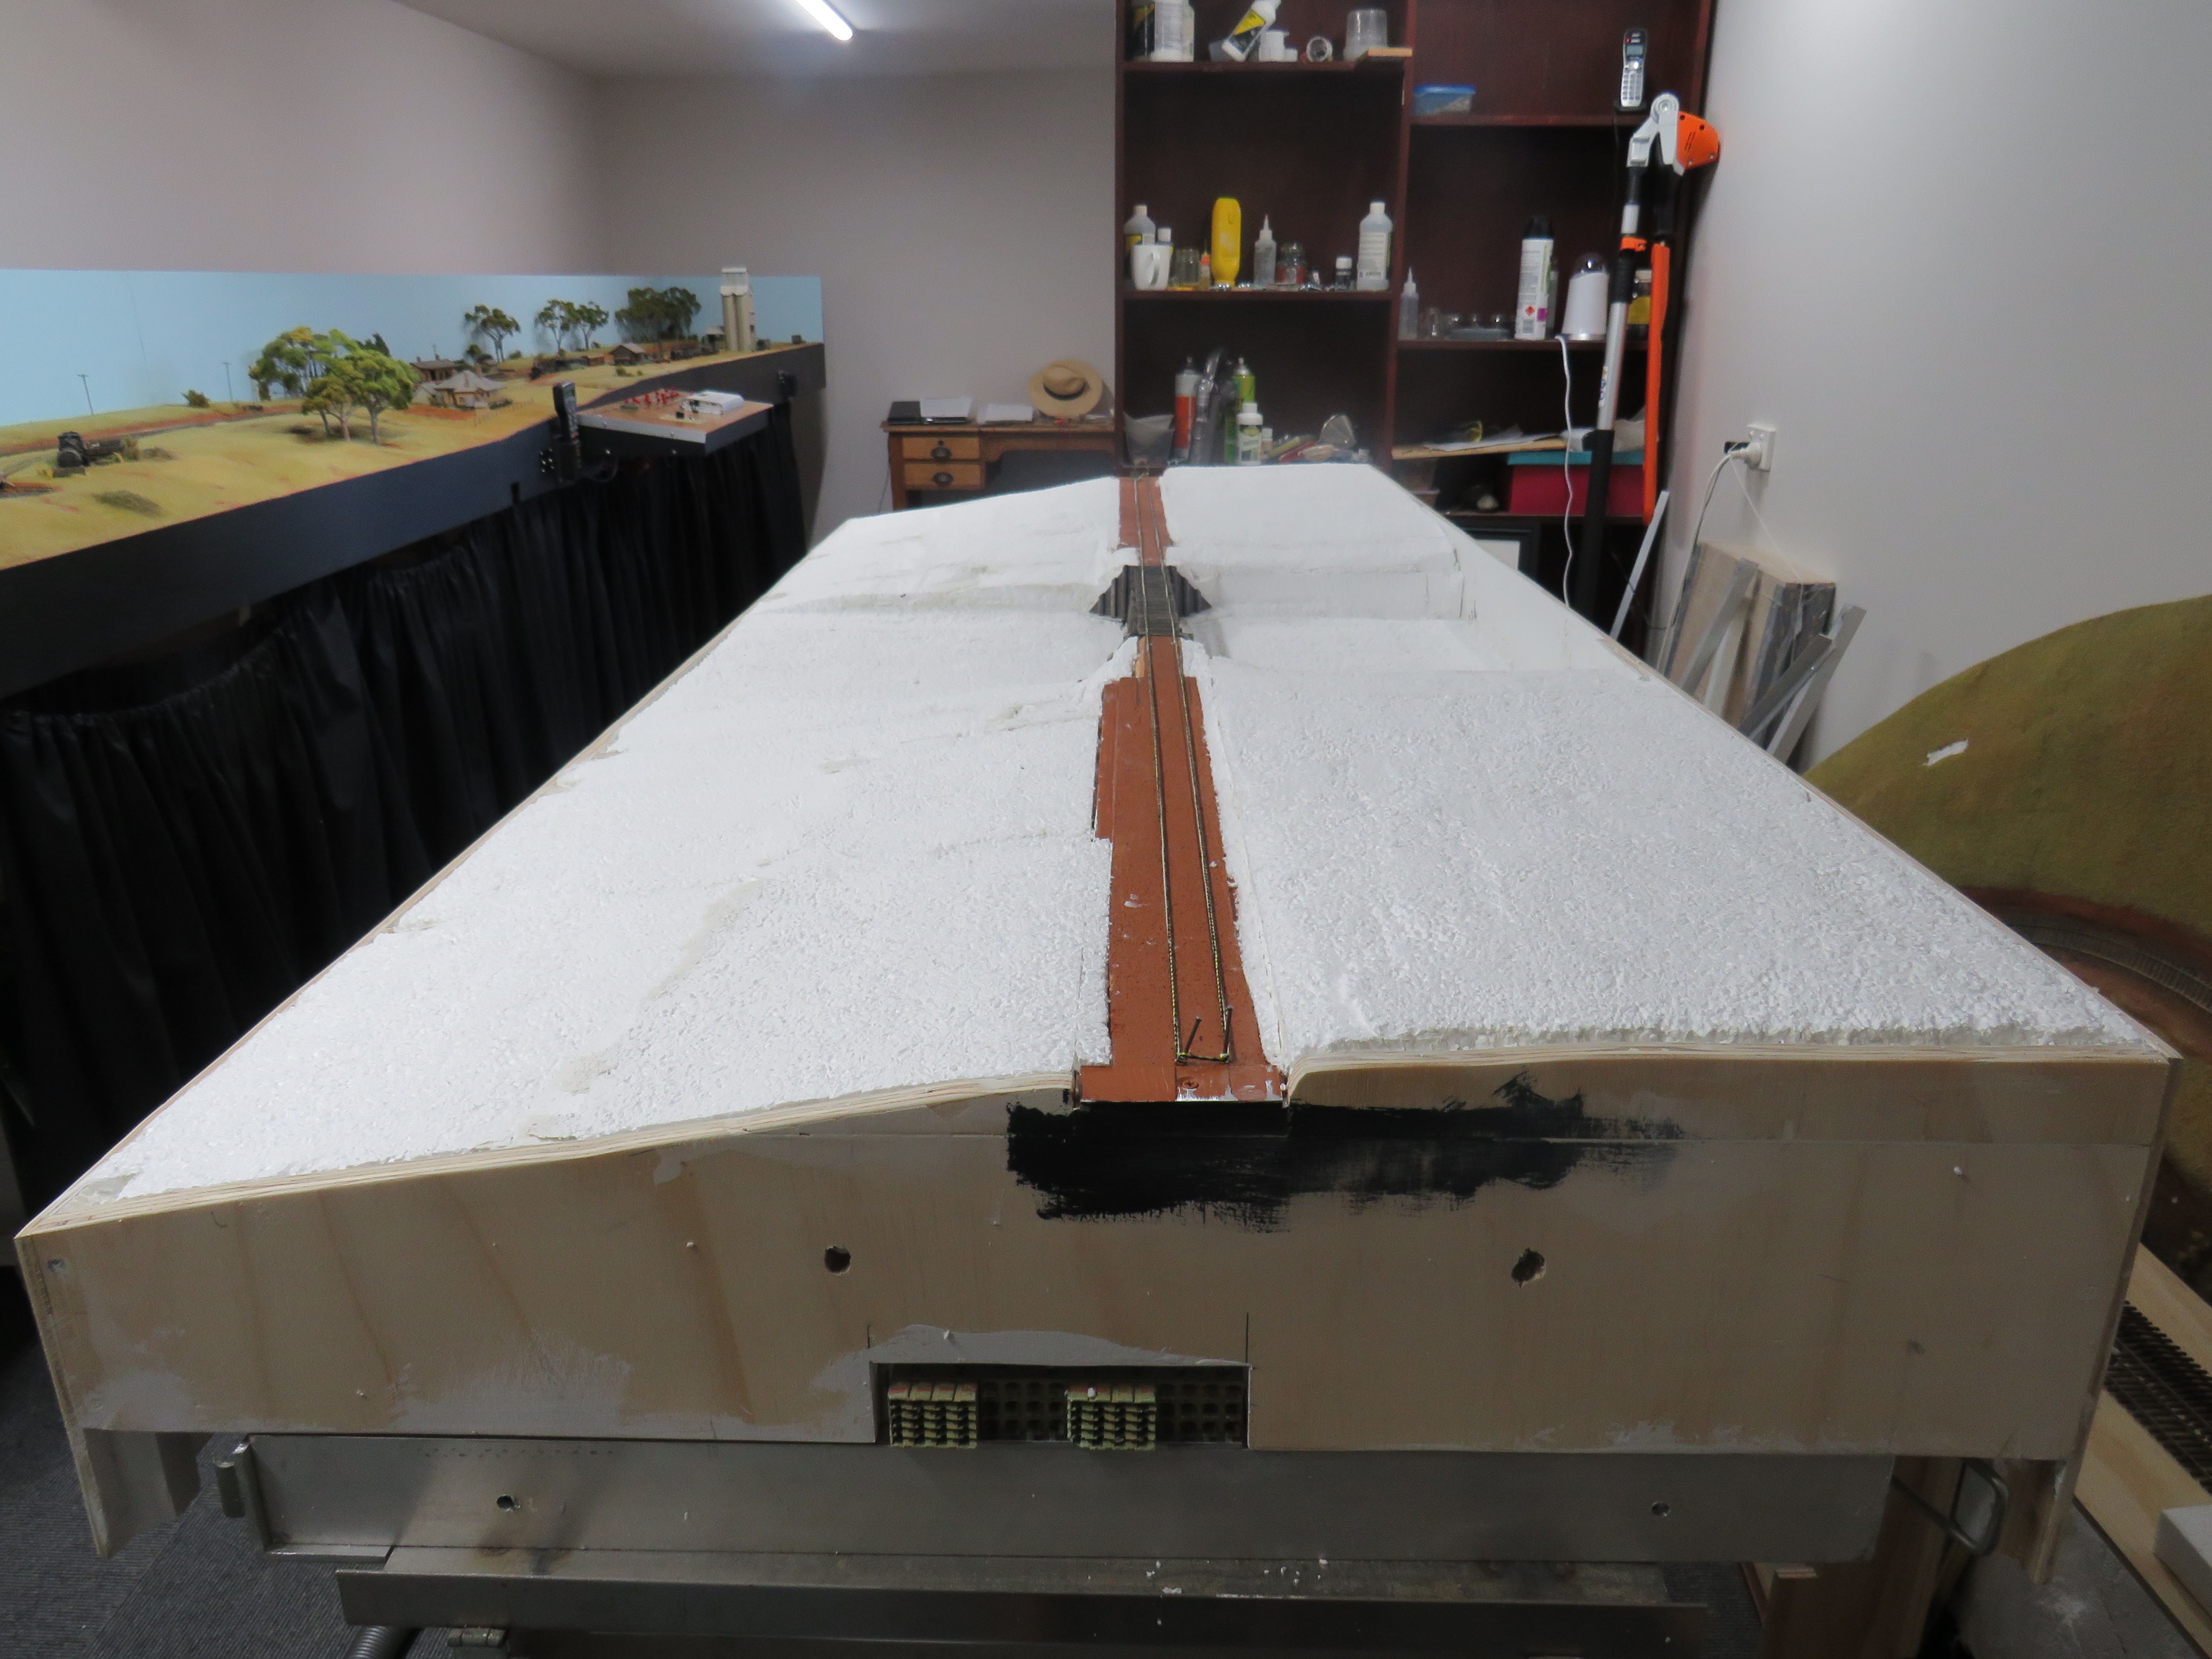
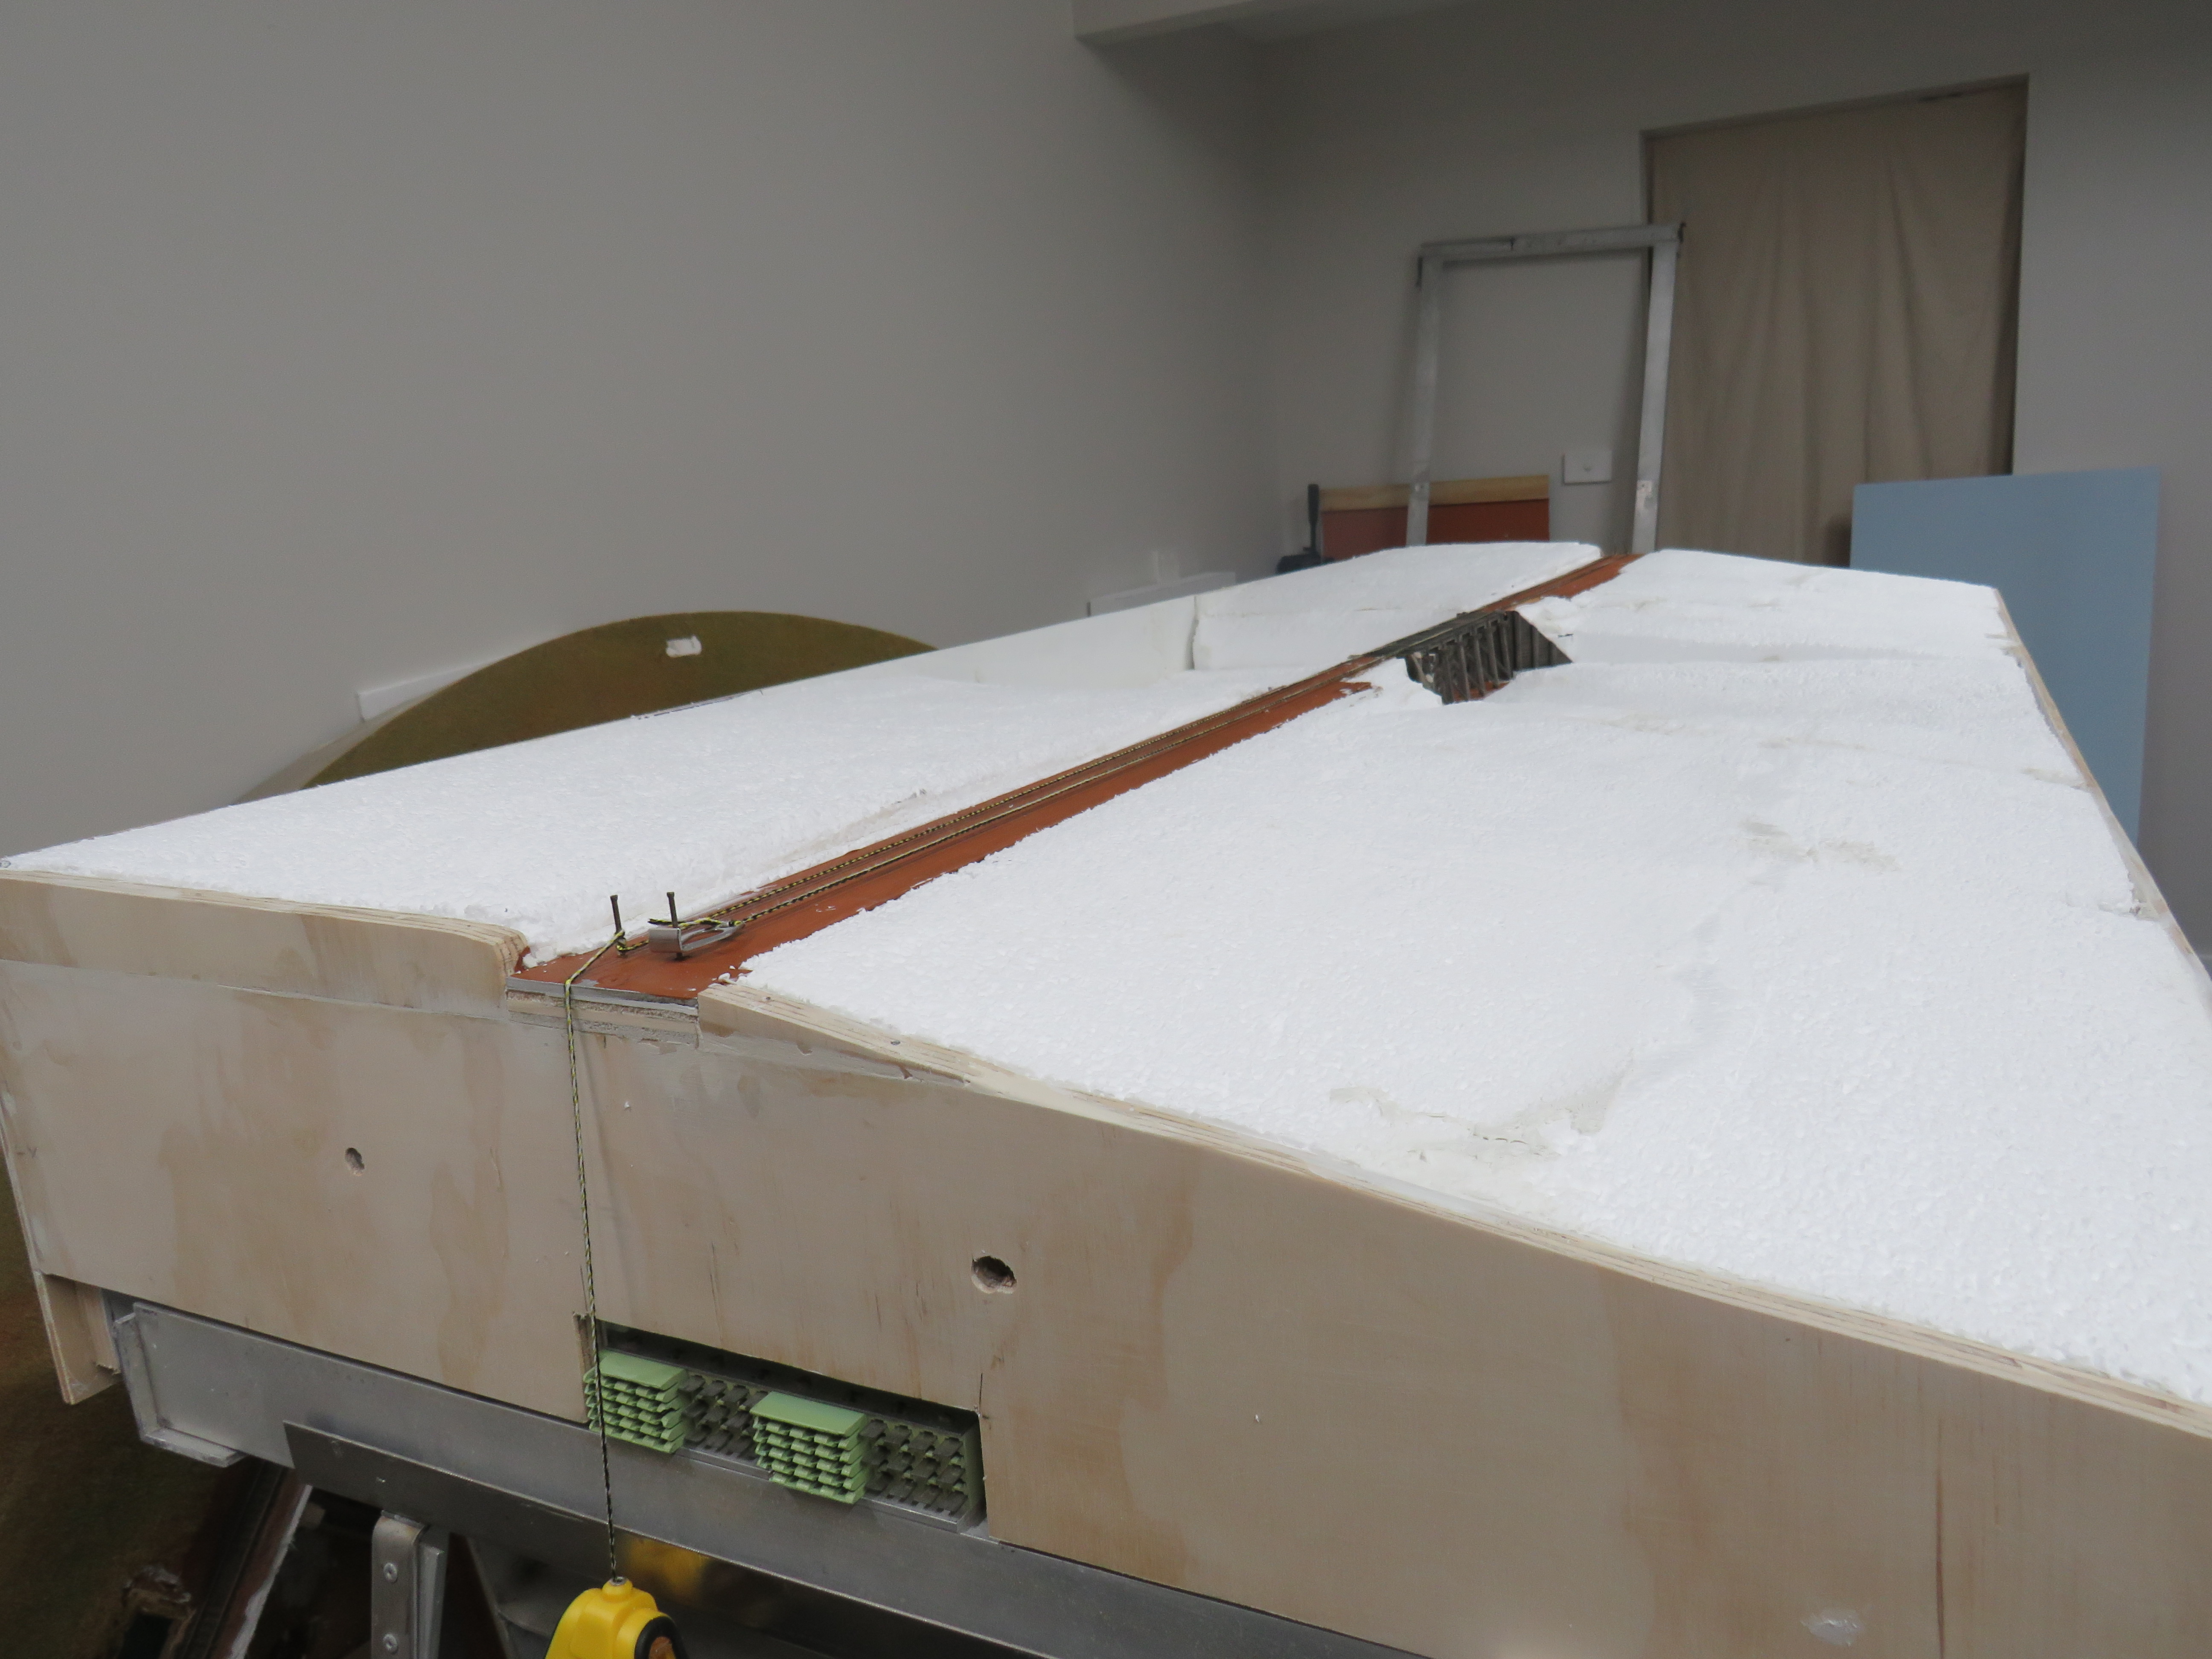
During this prolonged lock down, in order to keep my sanity, I started on a new module to fit into the existing layout between the loco depot and the cutting so it extends the layout by another 1.8 metres.The whole idea is to lengthen the run into the station area.
The trestle is from Harlow Graphics in Goulburn and it assembled quite easily. Before starting I read the instructions very carefully then stained the components with Woodland Scenics 1219 grey then popped the components into the oven on a stainless steel plate to hurry up the drying process at about 100 degrees but not for long. No need to be a master chef.
Next I will tackle the landscape with polystyrene foam which is made in 600x1200x50 sheets at varying thickness from Insulation Industries Broadmeadow Newcastle.I find this polystyrene foam very easy to work with when using a small Stanley surform.
All for now.

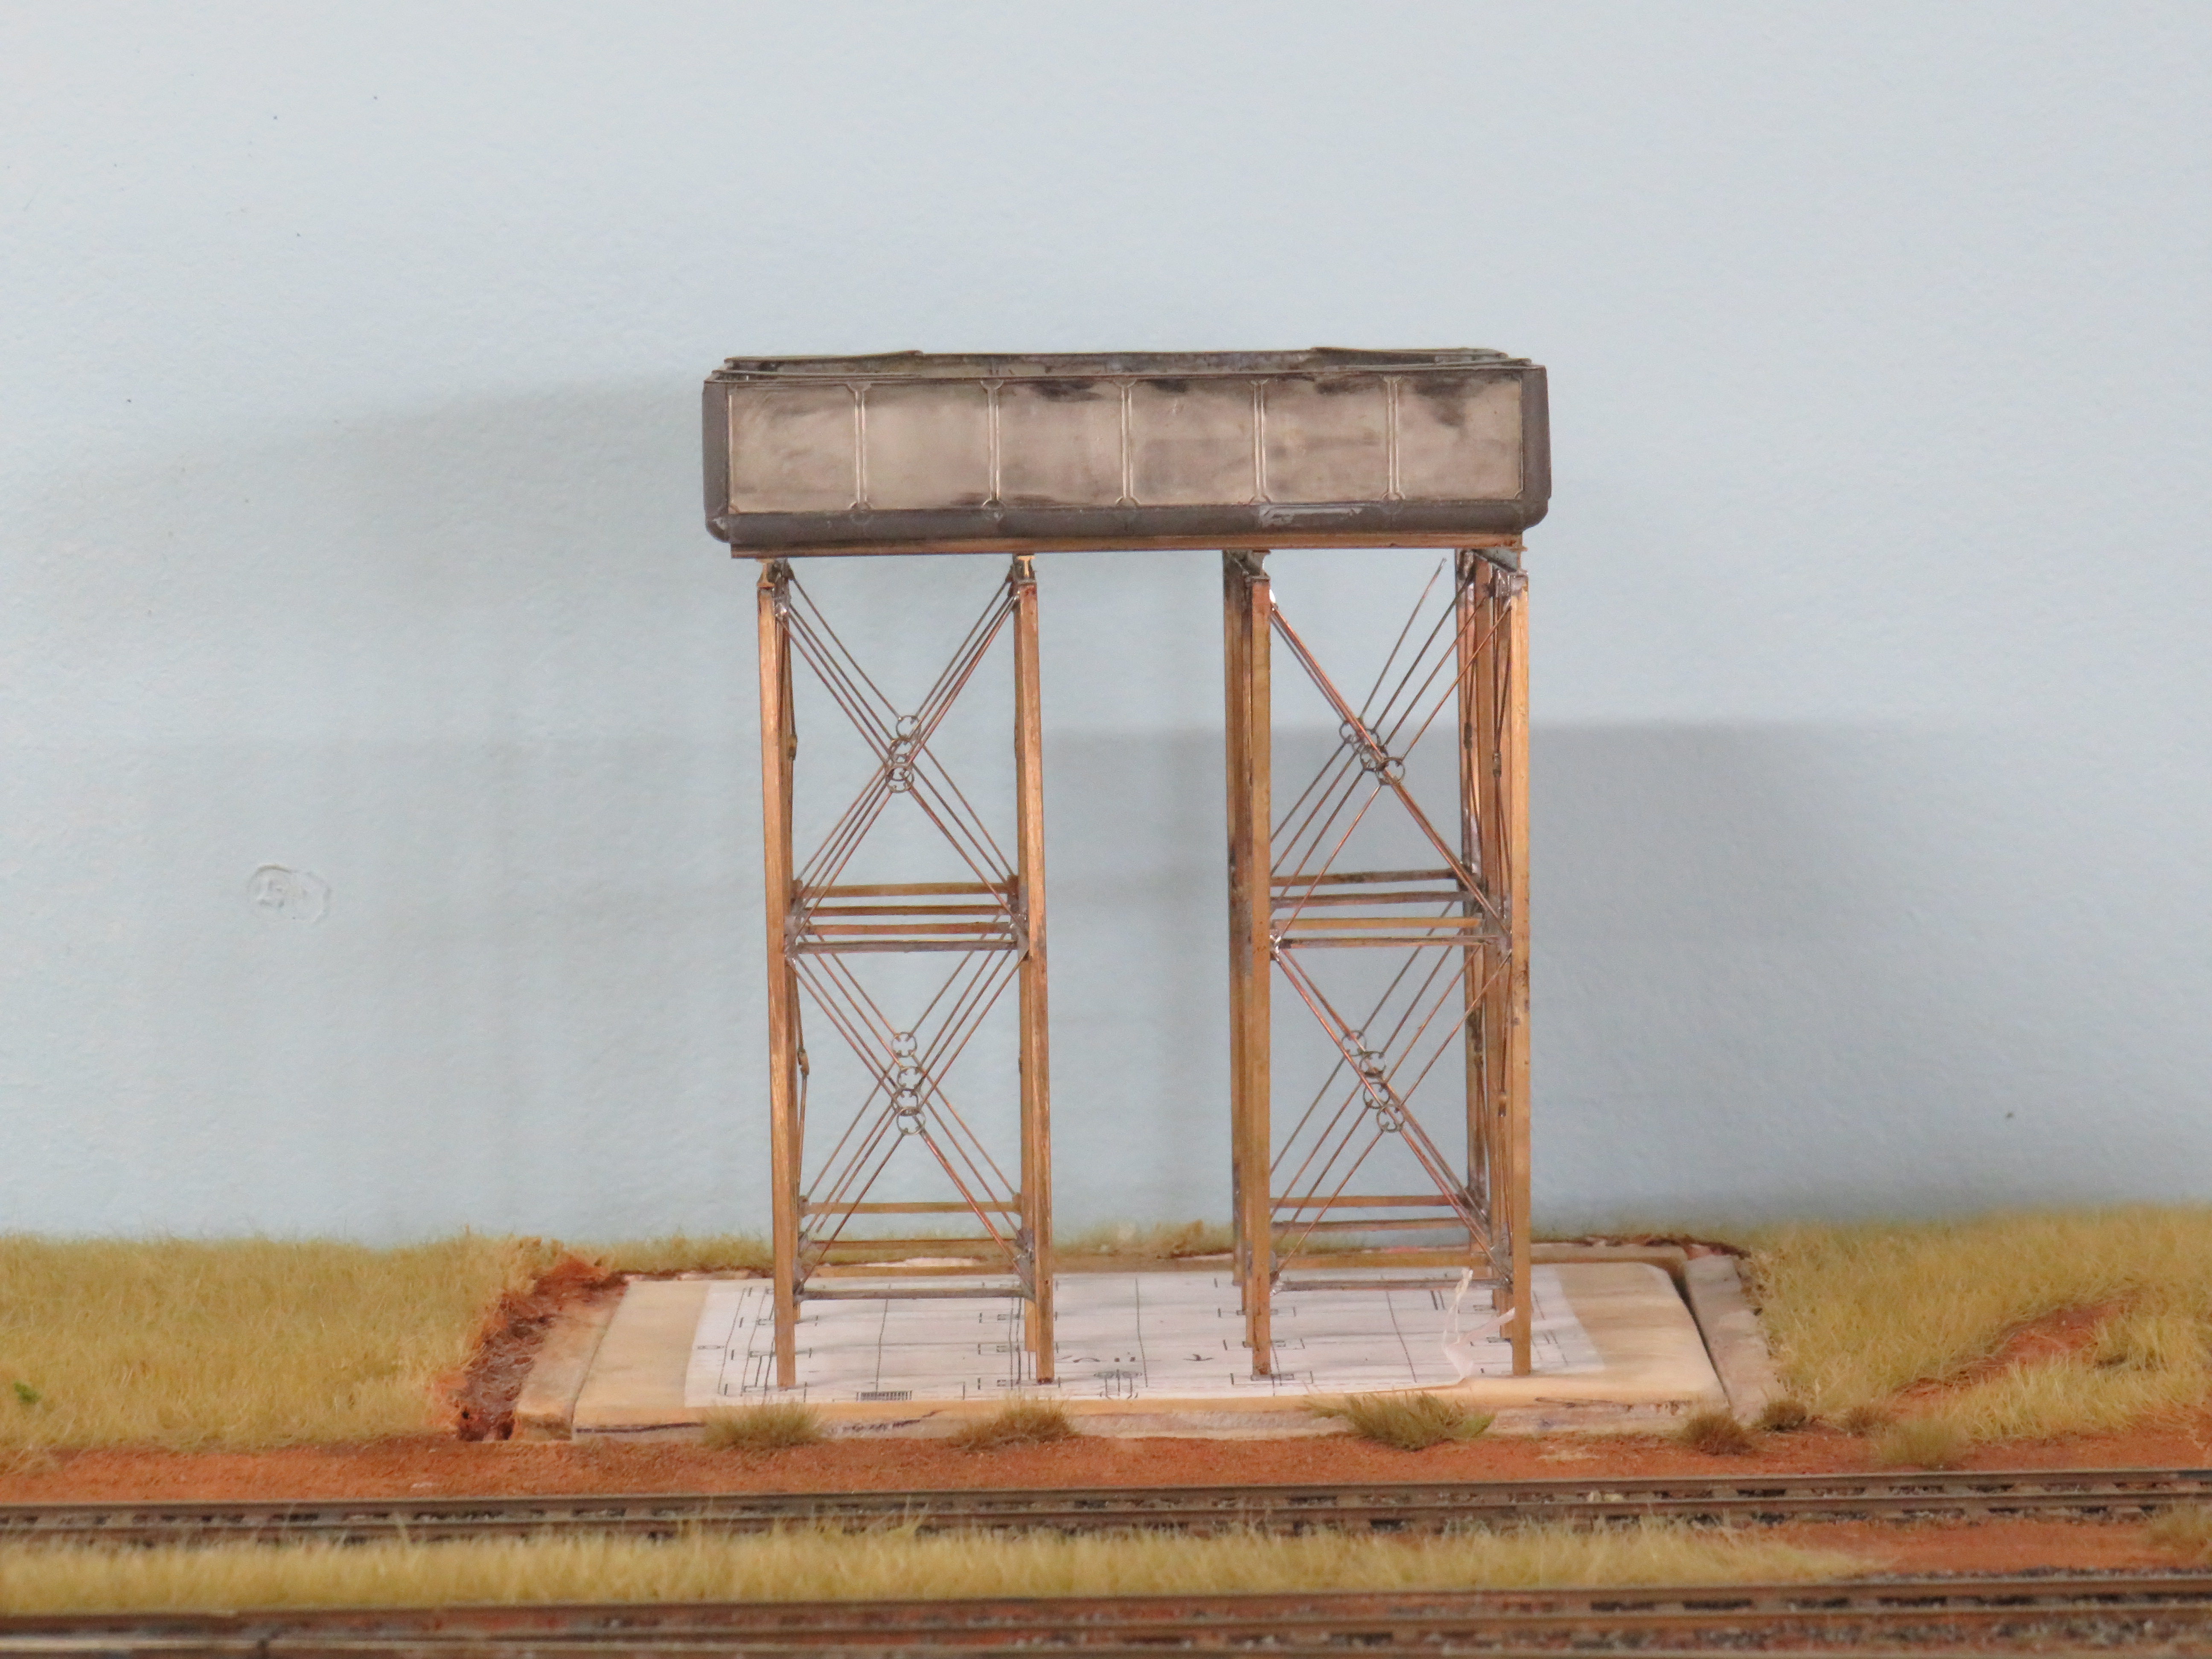
With final adjustments completed painting was next firstly a spray of etch black and let dry. As these tanks were not black but more of a gunmetal grey I settled on a Humbrol 66 matt with a 35 gloss mix also thin the mix down with enamel thinners so that the airbrush flows nicely. Again let it dry I put it a box for 4 days to make sure. After painting I fitted the concrete footings in place with 2 part epoxy making sure all is nice and square. Painting of the footings with Floquil aged concrete as I had a bottle.
With all that done next was the weathering as the tanks were kept in good condition as I model, like so many of other people, the late 1950’s to late 1960’s weathering was not overdone mainly using pastel chalks . I used Vallejo acrylic still water for the contents of the tank, this takes sometime to dry so just fill by 2 or 3 millilitres at a time. If anyone else builds one of these kits taking ones time reading the instructions carefully and having photos on hand. I can certainly recommend this kit as I think it makes into a good model. The next project is a paling fence around the Station Masters residence.
All for now.


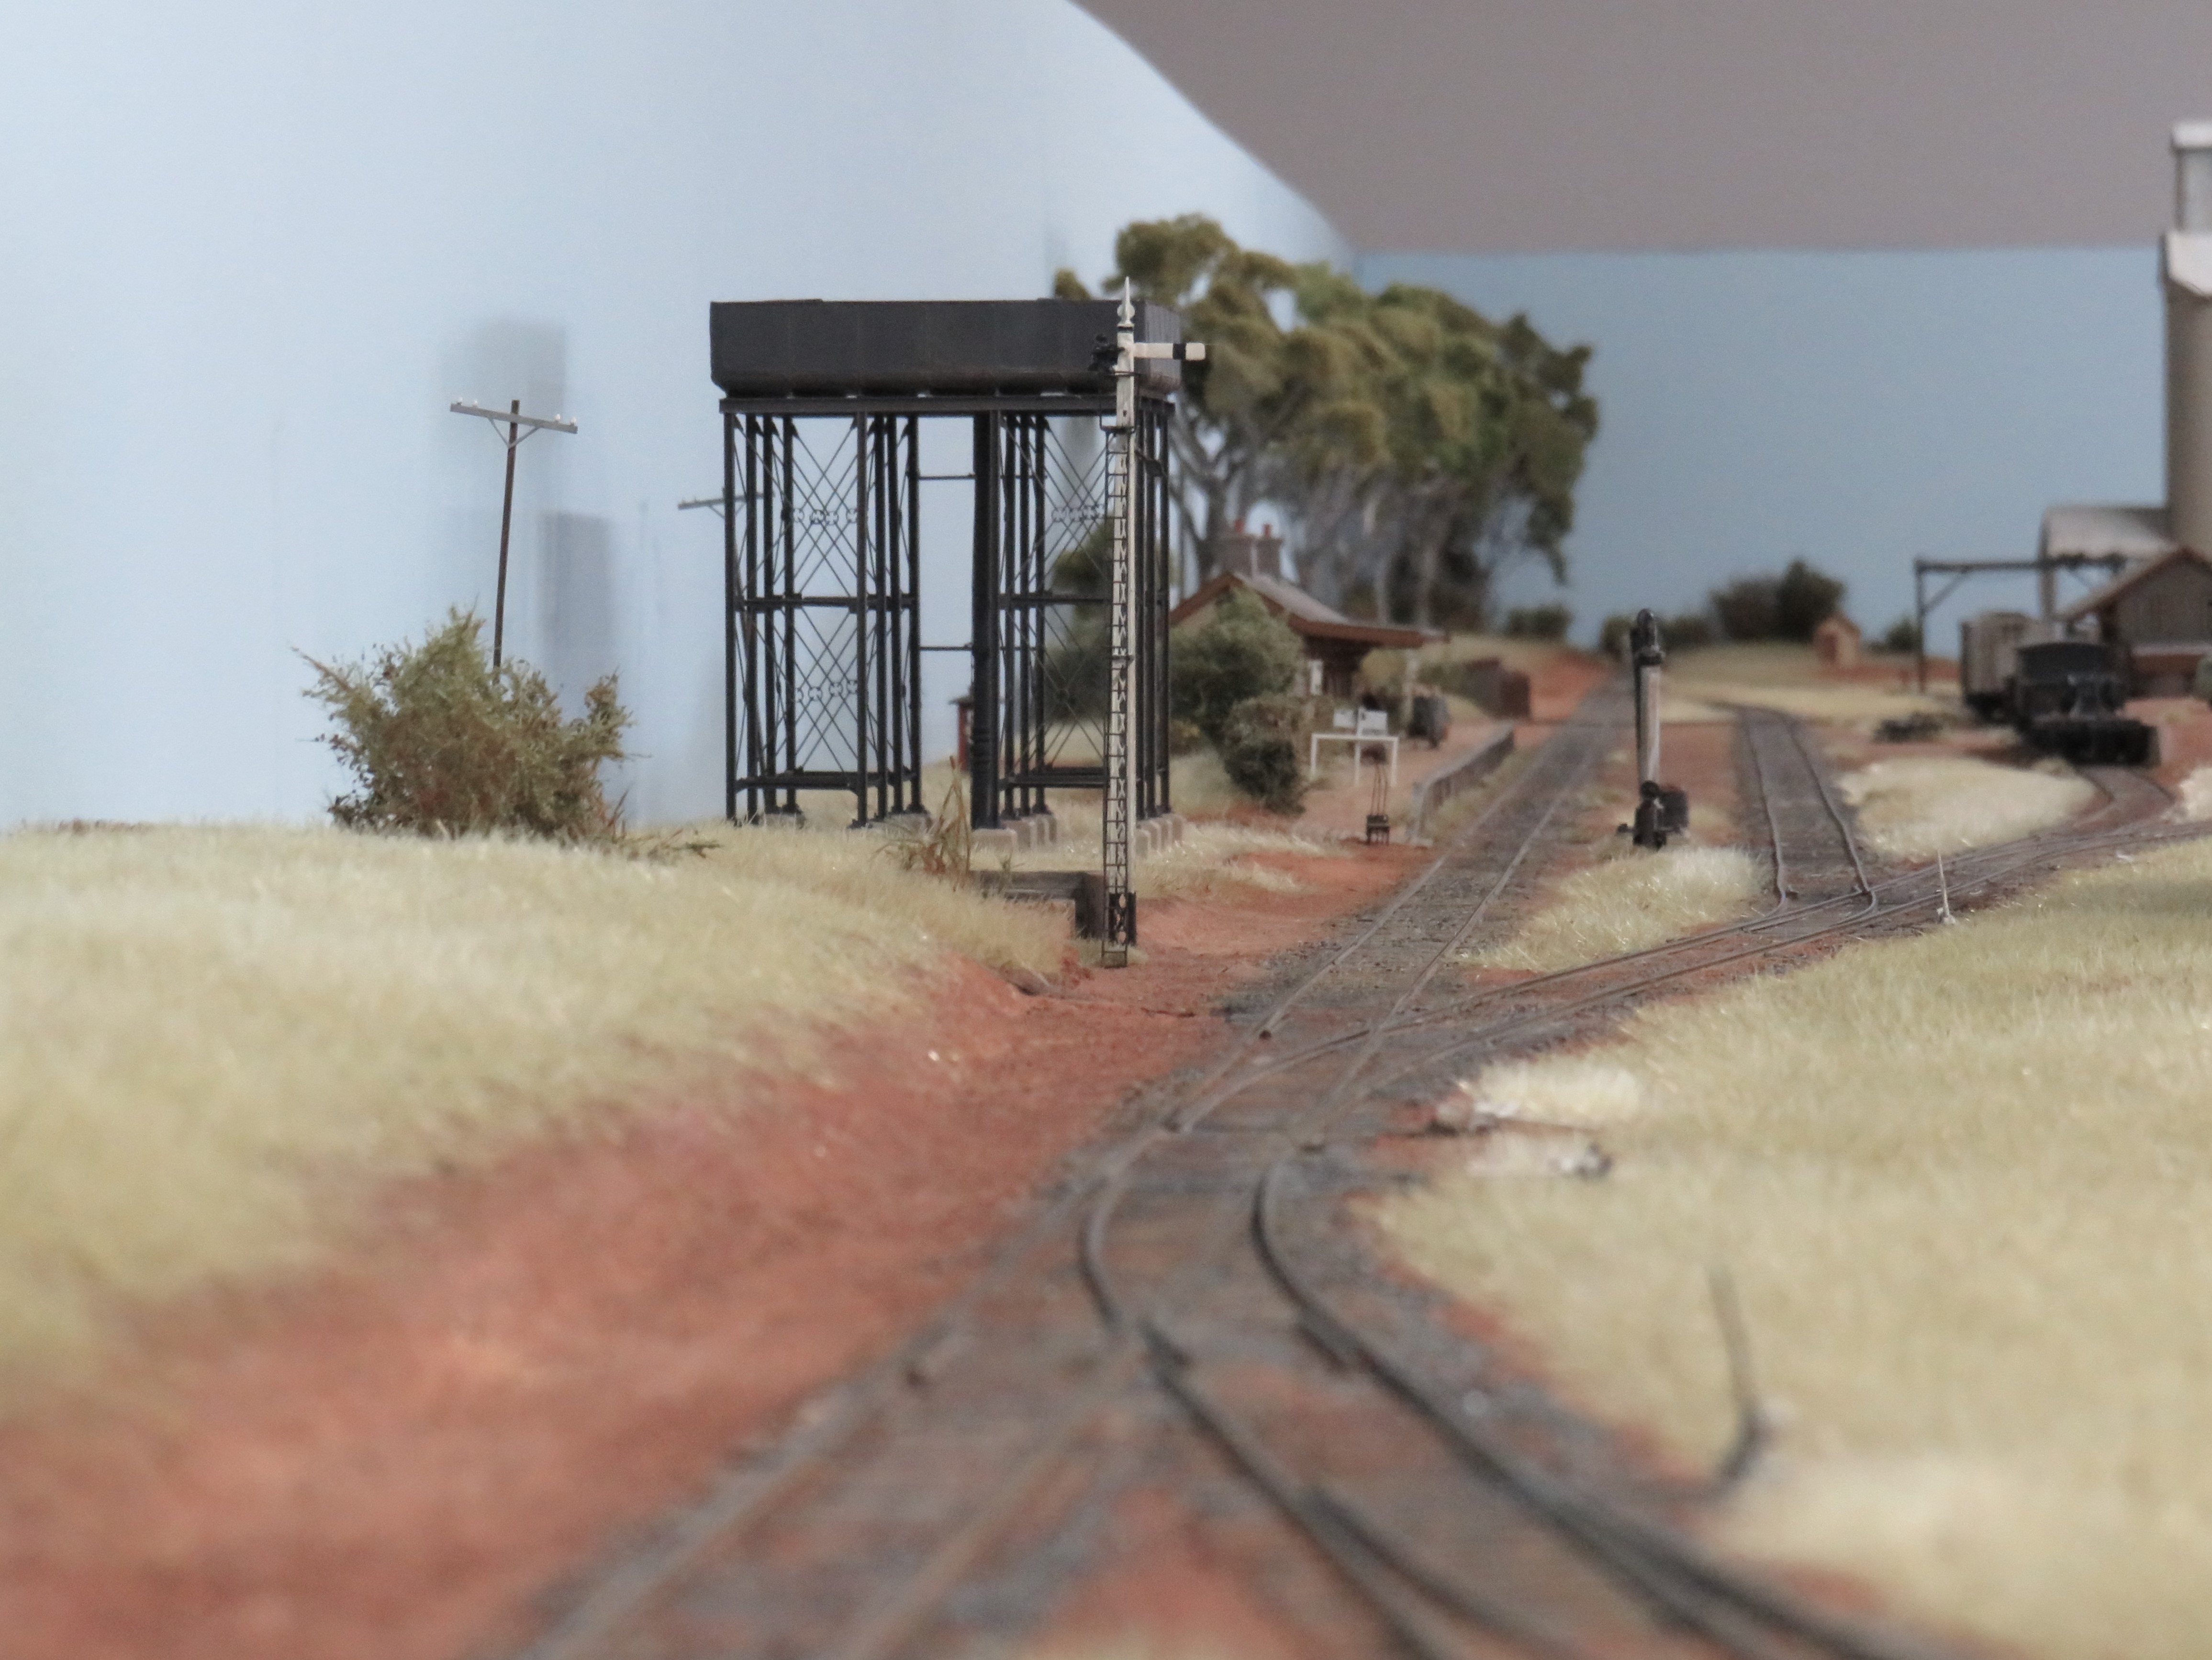
Over the last few weeks progress on the water tank has been slow due to more research to do with the inlet and outlet pipes along with the ladder also how it.is going to fit into the landscape, it’s not as easy as it looks. After I have sorted that out the S M’s residence fence will follow.
All for now


It has been too long since the last post which has been taken up with ironing out a few bugs on the layout and messing around with adjusting decoders on locomotives Tsunami2 and Loksound V4 for both steam and diesel.
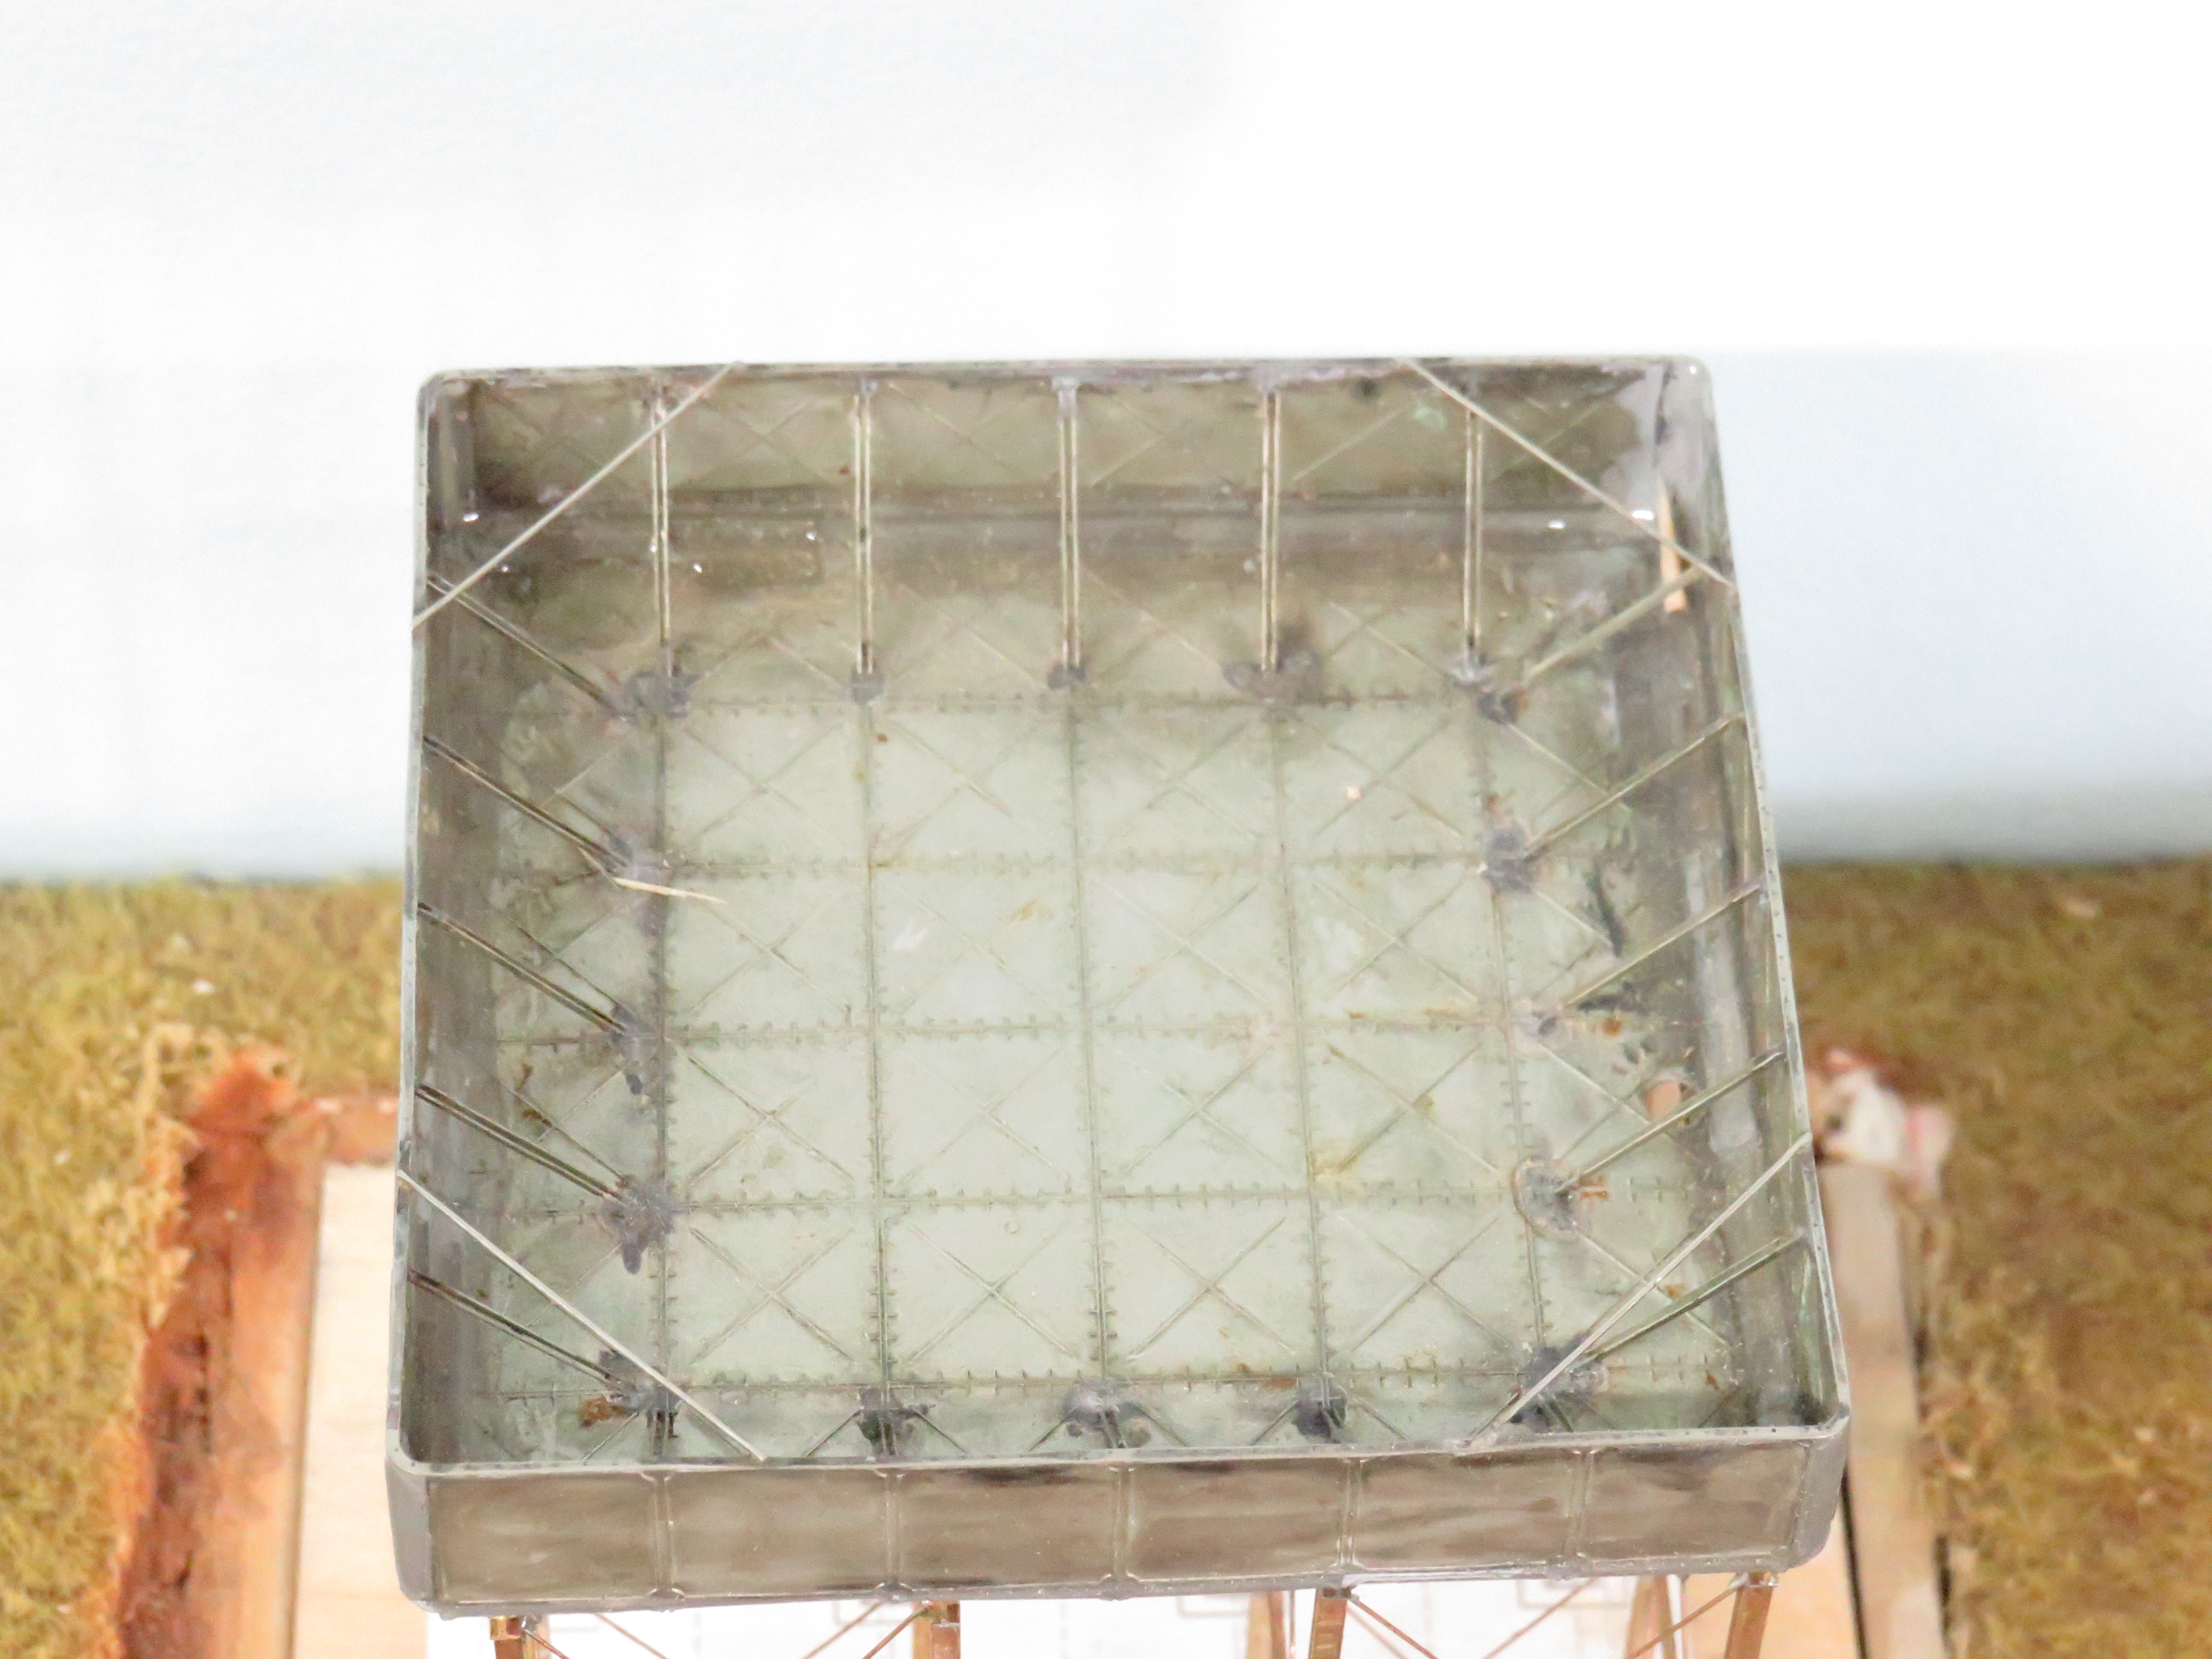
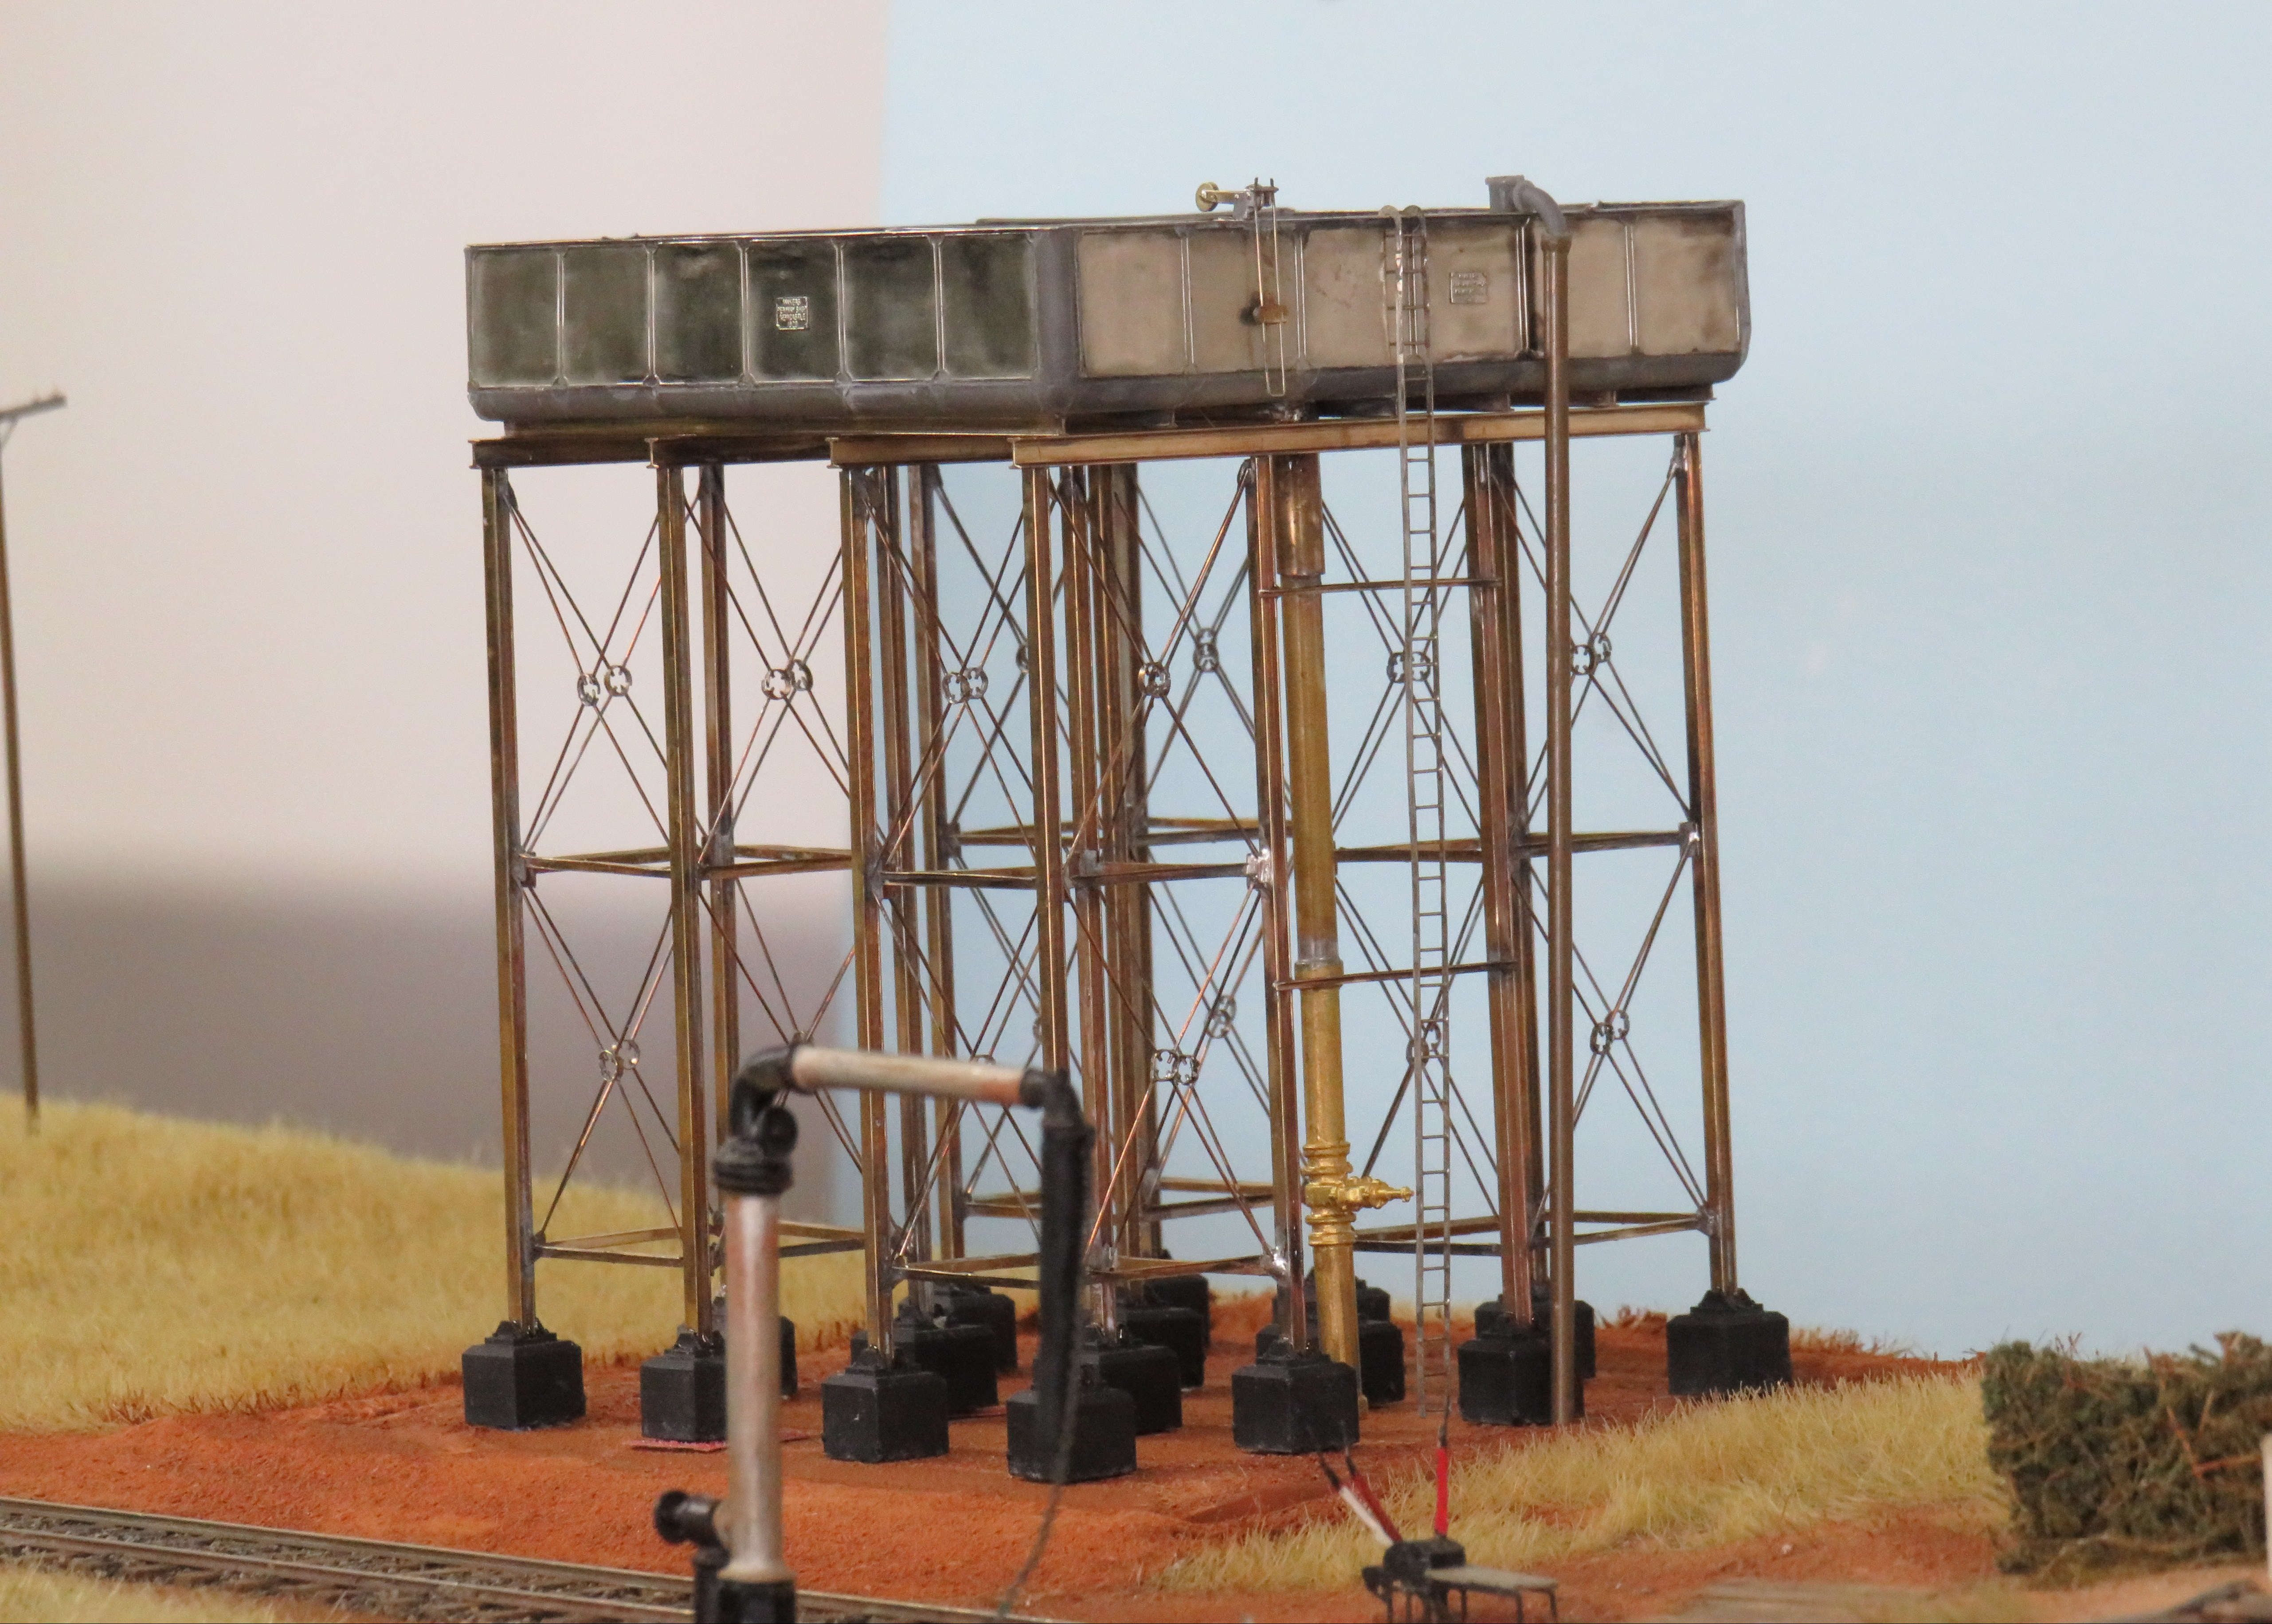
I was given a Mechanical Branch kit of the 20,000 gal water tank for my 70th so before I go completely insane I thought I had better build it. The instructions were studied along with the data sheet by Greg Edwards also photos of the tank at Telegraph Point which were taken a few years ago. After over 20 years the soldering station packed in so a new Weller was bought from Element 14 and it’s working well.
The stand and tank have been assembled and placed on the layout as is but still needs a few adjustments here and there it is to my eyes nice and square and level. The pipework is next which I will do hopefully next week.
All for now and stay safe.