10 Minutes
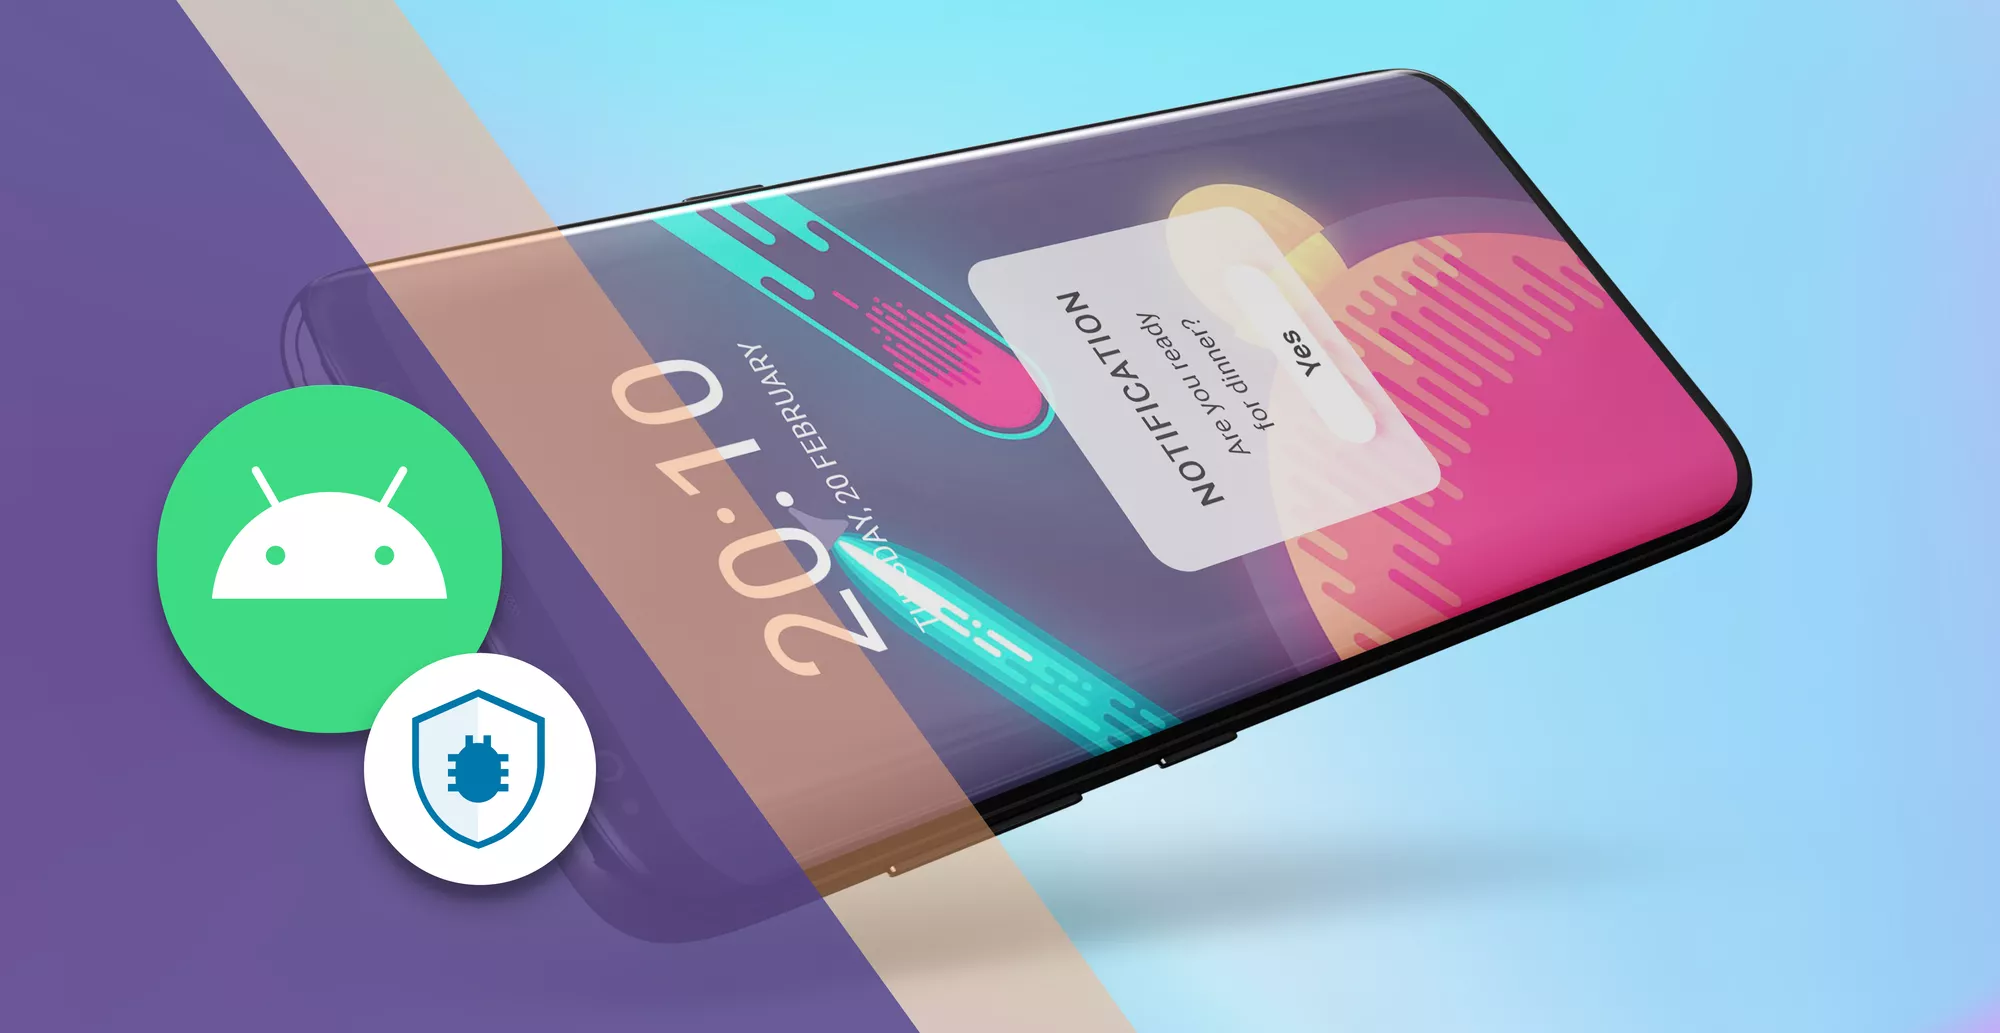
Android Push Notifications: How They Work + Setup Guide
Fix Bugs Faster! Log Collection Made Easy
What is push notification in Android?
A push notification in Android is a short alert that appears outside your app to share important updates or reminders. Push notifications help keep users engaged, encourage action, and help build long-term app retention.
Delivered through Firebase Cloud Messaging (FCM), Android’s official push service, notifications can reach users even when the app isn’t running. They support both data and alert payloads up to 4KB and work across Android, iOS, and web platforms.
However push notifications can be trickier can they look, combining complex infrastructure, platform quirks, UX timing, and reliability concerns. This guide will help you simplify the topic and avoid the pitfalls, giving you a broad base of knowledge from configuration to optimization.
Table of Contents
- What is push notification in Android?
- How Android push notification service works
- How to send push notification in Android (step-by-step)
- Step 1 – Connect your Android app to Firebase
- Step 2 – Request notification permission (Android 13 and above)
- Step 3 – Create a Notification Channel (Android 8.0+)
- Step 4 – Handle incoming messages from Firebase Cloud Messaging
- Step 5 – Build and display a notification
- Step 6 – Retrieve and log the FCM registration token
- Step 7 – Send and test push notifications
- Android push notification example (code walkthrough)
- Types of push messages Android supports
- How to create effective push notifications that Android users appreciate
- Why push notifications in Android apps improve engagement and retention
- Troubleshooting Android push notifications
- Android push notification services comparison
- FAQs about Android push notifications
- Final thoughts on Android push notifications
How Android push notification service works
The Android push notification service follows a simple four-step flow to deliver messages reliably:
- The App server sends a notification or data payload to Firebase Cloud Messaging (FCM).
- The FCM (push service) authenticates the request, identifies the target device using its registration token, and securely routes the message.
- The Android system UI displays the notification based on channel settings, priority level, and user preferences.
- When the user taps the notification, it opens a specific screen, triggers an action or passes data to the app.
This Android push notification service architecture ensures messages are delivered securely using device registration tokens and Google’s infrastructure.
How to send push notification in Android (step-by-step)
Step 1 – Connect your Android app to Firebase
To enable FCM, integrate your app with a Firebase project:
- Go to the Firebase Console and create a new project.
- Click Add app → Android, enter your package name, and optionally add your SHA-1 key.
- Download the
google-services.jsonfile and place it in your app’s/appdirectory. - Add the dependencies to your Gradle files:
// Root build.gradle
plugins {
    id 'com.google.gms.google-services' version '4.4.2' apply false
}

// App-level build.gradle
plugins {
    id 'com.android.application'
    id 'com.google.gms.google-services'
}

dependencies {
    implementation platform('com.google.firebase:firebase-bom:latest.release')
    implementation 'com.google.firebase:firebase-messaging'
}
Then sync your project to complete setup.
This connects your Android app to Firebase and enables cloud messaging.
Step 2 – Request notification permission (Android 13 and above)
Starting with Android 13 (API 33), apps must request permission to post notifications.
Add this permission to your manifest:
<uses-permission android:name="android.permission.POST_NOTIFICATIONS" />
Then request it at runtime (Kotlin example):
if (Build.VERSION.SDK_INT >= 33 &&
    ContextCompat.checkSelfPermission(this, Manifest.permission.POST_NOTIFICATIONS)
    != PackageManager.PERMISSION_GRANTED) {
    requestPermissions(arrayOf(Manifest.permission.POST_NOTIFICATIONS), 101)
}
Without this permission, notifications will not appear on newer Android devices.
Step 3 – Create a Notification Channel (Android 8.0+)
All notifications on Android 8.0 (API 26) and later must belong to a notification channel.
Create this channel once when your app starts, usually in your Application class or MainActivity.
if (Build.VERSION.SDK_INT >= Build.VERSION_CODES.O) {
    String name = "General Notifications";
    String description = "App updates and alerts";
    int importance = NotificationManager.IMPORTANCE_DEFAULT;
    NotificationChannel channel = new NotificationChannel("default_channel_id", name, importance);
    channel.setDescription(description);

    NotificationManager manager = getSystemService(NotificationManager.class);
    manager.createNotificationChannel(channel);
}
You can safely call this multiple times. Existing channels are not recreated.
Step 4 – Handle incoming messages from Firebase Cloud Messaging
To receive and process push notifications, create a class extending FirebaseMessagingService.
public class MyMessagingService extends FirebaseMessagingService {
    @Override
    public void onMessageReceived(RemoteMessage message) {
        if (message.getNotification() != null) {
            showNotification(message.getNotification().getTitle(),
                             message.getNotification().getBody());
        }
    }
}
Register your service in AndroidManifest.xml:
<service android:name=".MyMessagingService"
    android:exported="false">
    <intent-filter>
        <action android:name="com.google.firebase.MESSAGING_EVENT" />
    </intent-filter>
</service>
This allows your app to receive FCM notifications even when it is running in the background.
Step 5 – Build and display a notification
Use NotificationCompat.Builder for backward-compatible notifications that work across Android versions.
private void showNotification(String title, String message) {
    Intent intent = new Intent(this, MainActivity.class);
    intent.setFlags(Intent.FLAG_ACTIVITY_NEW_TASK | Intent.FLAG_ACTIVITY_CLEAR_TASK);

    PendingIntent pendingIntent = PendingIntent.getActivity(
        this, 0, intent, PendingIntent.FLAG_IMMUTABLE);

    NotificationCompat.Builder builder = new NotificationCompat.Builder(this, "default_channel_id")
        .setSmallIcon(R.drawable.ic_notification)
        .setContentTitle(title)
        .setContentText(message)
        .setPriority(NotificationCompat.PRIORITY_DEFAULT)
        .setAutoCancel(true)
        .setContentIntent(pendingIntent);

    NotificationManagerCompat.from(this).notify(1, builder.build());
}
Using FLAG_IMMUTABLE ensures compliance with Android 12 and later security updates.
Step 6 – Retrieve and log the FCM registration token
Each installation of your app receives a unique FCM registration token used to send targeted notifications.
FirebaseMessaging.getInstance().getToken()
    .addOnSuccessListener(token ->
        Log.d("FCM", "Registration Token: " + token)
    );
Send this token to your backend server or use it in Firebase Console to test notifications.
Step 7 – Send and test push notifications
You can test your setup directly from the Firebase Console.
- Go to Engage → Messaging and create a new notification.
- Enter a title and message.
- Under Target, select Single device and paste your FCM token.
- Click Send test message.
Here is the expected Logcat output:
D/MyFirebaseMsgService: Message Notification Body: This is a test notification!
D/MyFirebaseMsgService: Message data payload: {key1=value1, key2=value2}
If you see this output, your push notifications are configured correctly.
Android push notification example (code walkthrough)
In Firebase Cloud Messaging (FCM), notifications can include two payload types:
- Notification messages — automatically displayed by the system UI.
- Data messages — custom key-value pairs your app handles manually, even in the background.
Here’s a simplified example combining both:
public class MyMessagingService extends FirebaseMessagingService {
    @Override
    public void onMessageReceived(RemoteMessage message) {
        // Handle notification payload
        if (message.getNotification() != null) {
            showNotification(message.getNotification().getTitle(),
                             message.getNotification().getBody());
        }

        // Handle data payload
        if (!message.getData().isEmpty()) {
            Log.d("FCM", "Data payload: " + message.getData());
            handleData(message.getData());
        }
    }

    private void handleData(Map<String, String> data) {
        String key1 = data.get("key1");
        // Do something with your custom data
    }
}
To display notifications properly, always assign them to a notification channel on Android 8.0 (API 26)+:
if (Build.VERSION.SDK_INT >= Build.VERSION_CODES.O) {
    NotificationChannel channel = new NotificationChannel(
        "default_channel_id", "General", NotificationManager.IMPORTANCE_DEFAULT);
    getSystemService(NotificationManager.class).createNotificationChannel(channel);
}
This ensures your notifications appear consistently and let users manage their preferences for each channel.
Types of push messages Android supports
Different types of notifications serve different goals. Here are the most common ones – and when they make sense for your app or business:
| Notification Type | Best Used For |
|---|---|
| Standard notifications | General updates like “Your order has shipped” or “New comment on your post.” |
| Heads-up notifications | Time-sensitive alerts – flight updates, delivery arrivals, or breaking news. |
| Lock screen notifications | Important messages users should see immediately, even with the screen locked. |
| Expandable notifications | Rich content like images, messages, or multiple choices (reply, mark as read, etc.). |
| Grouped notifications | Combining multiple updates from the same app (e.g. multiple chat messages). |
Always align the notification type with user context – a notification that helps, not interrupts, builds trust and keeps engagement high.
How to create effective push notifications that Android users appreciate
The best push notifications combine clear content, smart timing, and thoughtful design. Each element plays a role in capturing attention without irritating users:
- Title and message: One idea, one outcome. Keep it short, front-load value, use verbs (“Track your order,” “Resume workout”), and personalize when it’s meaningful, not creepy.
- Actions: Add one or two clear actions that match intent (e.g., “View order,” “Reply”). No dead-end pushes.
- Channels and priority: Separate transactional vs promotional. Give critical updates higher importance; keep marketing quieter.
- Timing and frequency: Prioritize behavior-based triggers over blasts. Respect timezones and quiet hours.
- Visuals and sound: Use a consistent icon and subtle sound. Think recognizable, not obnoxious.
Clarity, context, and timing turn simple alerts into valuable user touchpoints.
Why push notifications in Android apps improve engagement and retention
When implemented effectively, Android push notifications can become one of the most powerful tools for boosting engagement and retention. Here are some stats to illustrate the point.
- According to the latest Worldmetrics report, 72% of consumers have made a purchase directly after receiving a push notification.
- Apps that use personalized or behavior-based notifications achieve up to 3× higher 30-day retention and 55% better long-term retention than those sending generic messages.
- Segmented campaigns can boost engagement by as much as 300%, proving relevance matters more than frequency.
- Transactional alerts reach open rates of around 90%, while relevant, timely notifications would convince 9 in 10 users to keep them enabled.
- Notifications enriched with images, offers, or contextual information can increase engagement by over 50%.
In short: relevant, timely messaging is proven to lift retention, revenue, and user loyalty.
Troubleshooting Android push notifications
Sometimes Android push notifications don’t appear, and it’s often due to configuration, permissions or connectivity problems. Here’s a quick set of fixes to identify and resolve common issues:
| Issue | Possible Fix |
|---|---|
| Notifications not showing | Check app permissions and ensure notification channels are correctly configured. |
| No data messages received | Verify your FirebaseMessagingService is registered and the app has internet access. |
| App in background not receiving pushes | Enable background data and confirm you’re using high-priority FCM messages. |
| Device not registered | Regenerate and send a new FCM registration token to your server. |
| Delayed or duplicate notifications | Avoid sending identical message IDs and review server retry logic. |
And of course, if you want to track crashes, logs and user actions while testing push notifications, you can use Bugfender – we’ve built it to help you debug real issues on real devices instantly.
Android push notification services comparison
Choosing the right push notification service affects speed, reliability, and scalability. These platforms manage authentication, routing, and message delivery between your server and users’ devices.
| Service | Best for / Key features |
|---|---|
| Firebase Cloud Messaging (FCM) | Google’s official Android push notification service. Free, deeply integrated with Android, and supports both notification and data payloads. Ideal for most developers. |
| OneSignal | Strong choice for marketing teams. Offers dashboards, segmentation, automation, analytics and multi-channel messaging. |
| Amazon SNS | Enterprise-grade solution with high scalability, API flexibility, and support for multi-platform push delivery. |
| Pushy | Independent alternative to FCM known for fast delivery speeds and greater uptime control. Suitable for performance-focused apps. |
Each service fits different needs: FCM for core Android development, OneSignal for campaigns and automation, Amazon SNS for large-scale infrastructure, and Pushy for delivery optimization.
FAQs about Android push notifications
What’s the difference between data and notification messages in FCM?
Notification messages are handled automatically by the Android system UI, while data messages require custom handling in your app. Use data messages for background tasks or dynamic content.
Do I need a backend server to send push notifications?
No, you can send test or manual notifications directly from the Firebase Console. A backend is only needed for automated, personalized, or event-based pushes.
How can I improve Android push notification delivery?
Keep payloads lightweight (under 4KB), use high priority for time-sensitive messages, and ensure the device isn’t battery-optimized or restricted. Proper channel setup and message scheduling also boost reliability.
Final thoughts on Android push notifications
Android push notifications are one of the most direct ways to bring users back, share value and drive conversions, but only when implemented thoughtfully.
To recap, success with push notifications comes down to:
- Reliable delivery. Set up Firebase Cloud Messaging (FCM) correctly with notification channels for Android 8.0+ devices.
- Relevance. Send the right message at the right time, based on user behavior and context.
- Respect. Avoid overloading users; prioritize clarity, timing, and personalization.
When done right, push notifications can boost engagement, retention, and sales without adding complexity.
Expect The Unexpected!
Debug Faster With Bugfender

Aleix Ventayol
Aleix Ventayol is CEO and co-founder of Bugfender, with 20 years' experience building apps and solutions for clients like AVG, Qustodio, Primavera Sound and Levi's. As a former CTO and full-stack developer, Aleix is passionate about building tools that solve the real problems of app development and help teams build better software.