 Bolan Xu
My Science Olympiad Electric Vehicle
Last year, my Science Olympiad EV looked something like this:
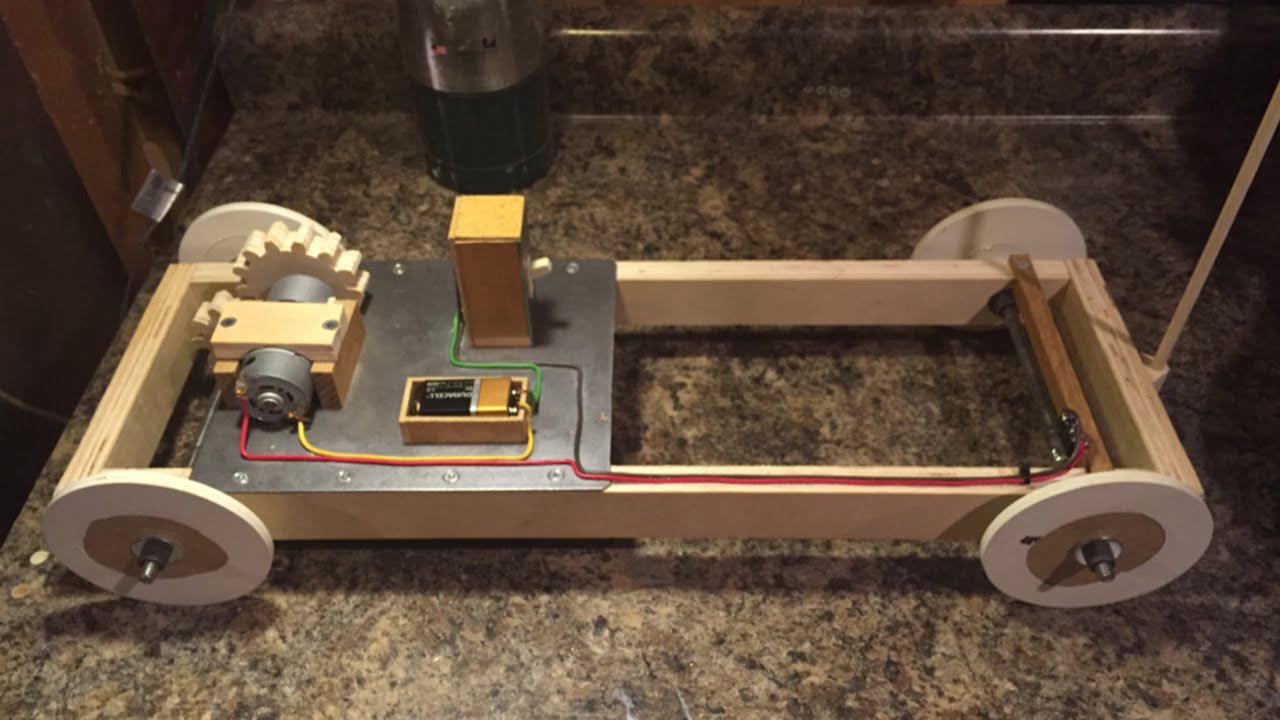
Source: Michael Laffin, YouTube
It actually looked probably even worse than this. This guy's EV at least had straight cut wood...
And somehow, even with my crudely built wooden EV, we still placed 6th at the regional competition!
This Year...
For this year competition, I was determined to place at least top 3 and after some planning I made a post on my website in late December 2025:
https://bolanxu.github.io/posts/scioly-electric-vehicle/
In the post I discussed two ideas I had for my design.
In the event, there is a bonus you can get by turning in an arc shape to pass through two cans off to the side of the track (see https://scioly.org/wiki/Electric_Vehicle). In most EV designs, this is achieved using a digital caliper to adjust the steering to a fixed angle that will ensure a run arc that will pass through the cans. However, to me this seemed to be unreliable, especially considering the many factors that could affect the run like wheel slippage, how much dust is on the ground, minute errors in measurements, etc.
So, I decided upon a dynamic steering mechanism that would adjust the steering angle as the EV was moving. This would allow me to correct for possible wheel slippage that would occur.
But how would I detect if the EV went off course?
This led to my two ideas for odometry as described in my post.
My first idea was a dual encoder system on the two front wheels that would allow me find the difference in each wheel's rotation to find how much the EV has turned and what its position is.
My second idea was creative but risky, a dual computer mice system. Basically I would have two "hacked" computer mice pointing to the ground and I would use them to detect movement of my EV using the camera system.
I eventually went with the first idea primarily because it was more feasible with the time I had to create it.
So after a few months...
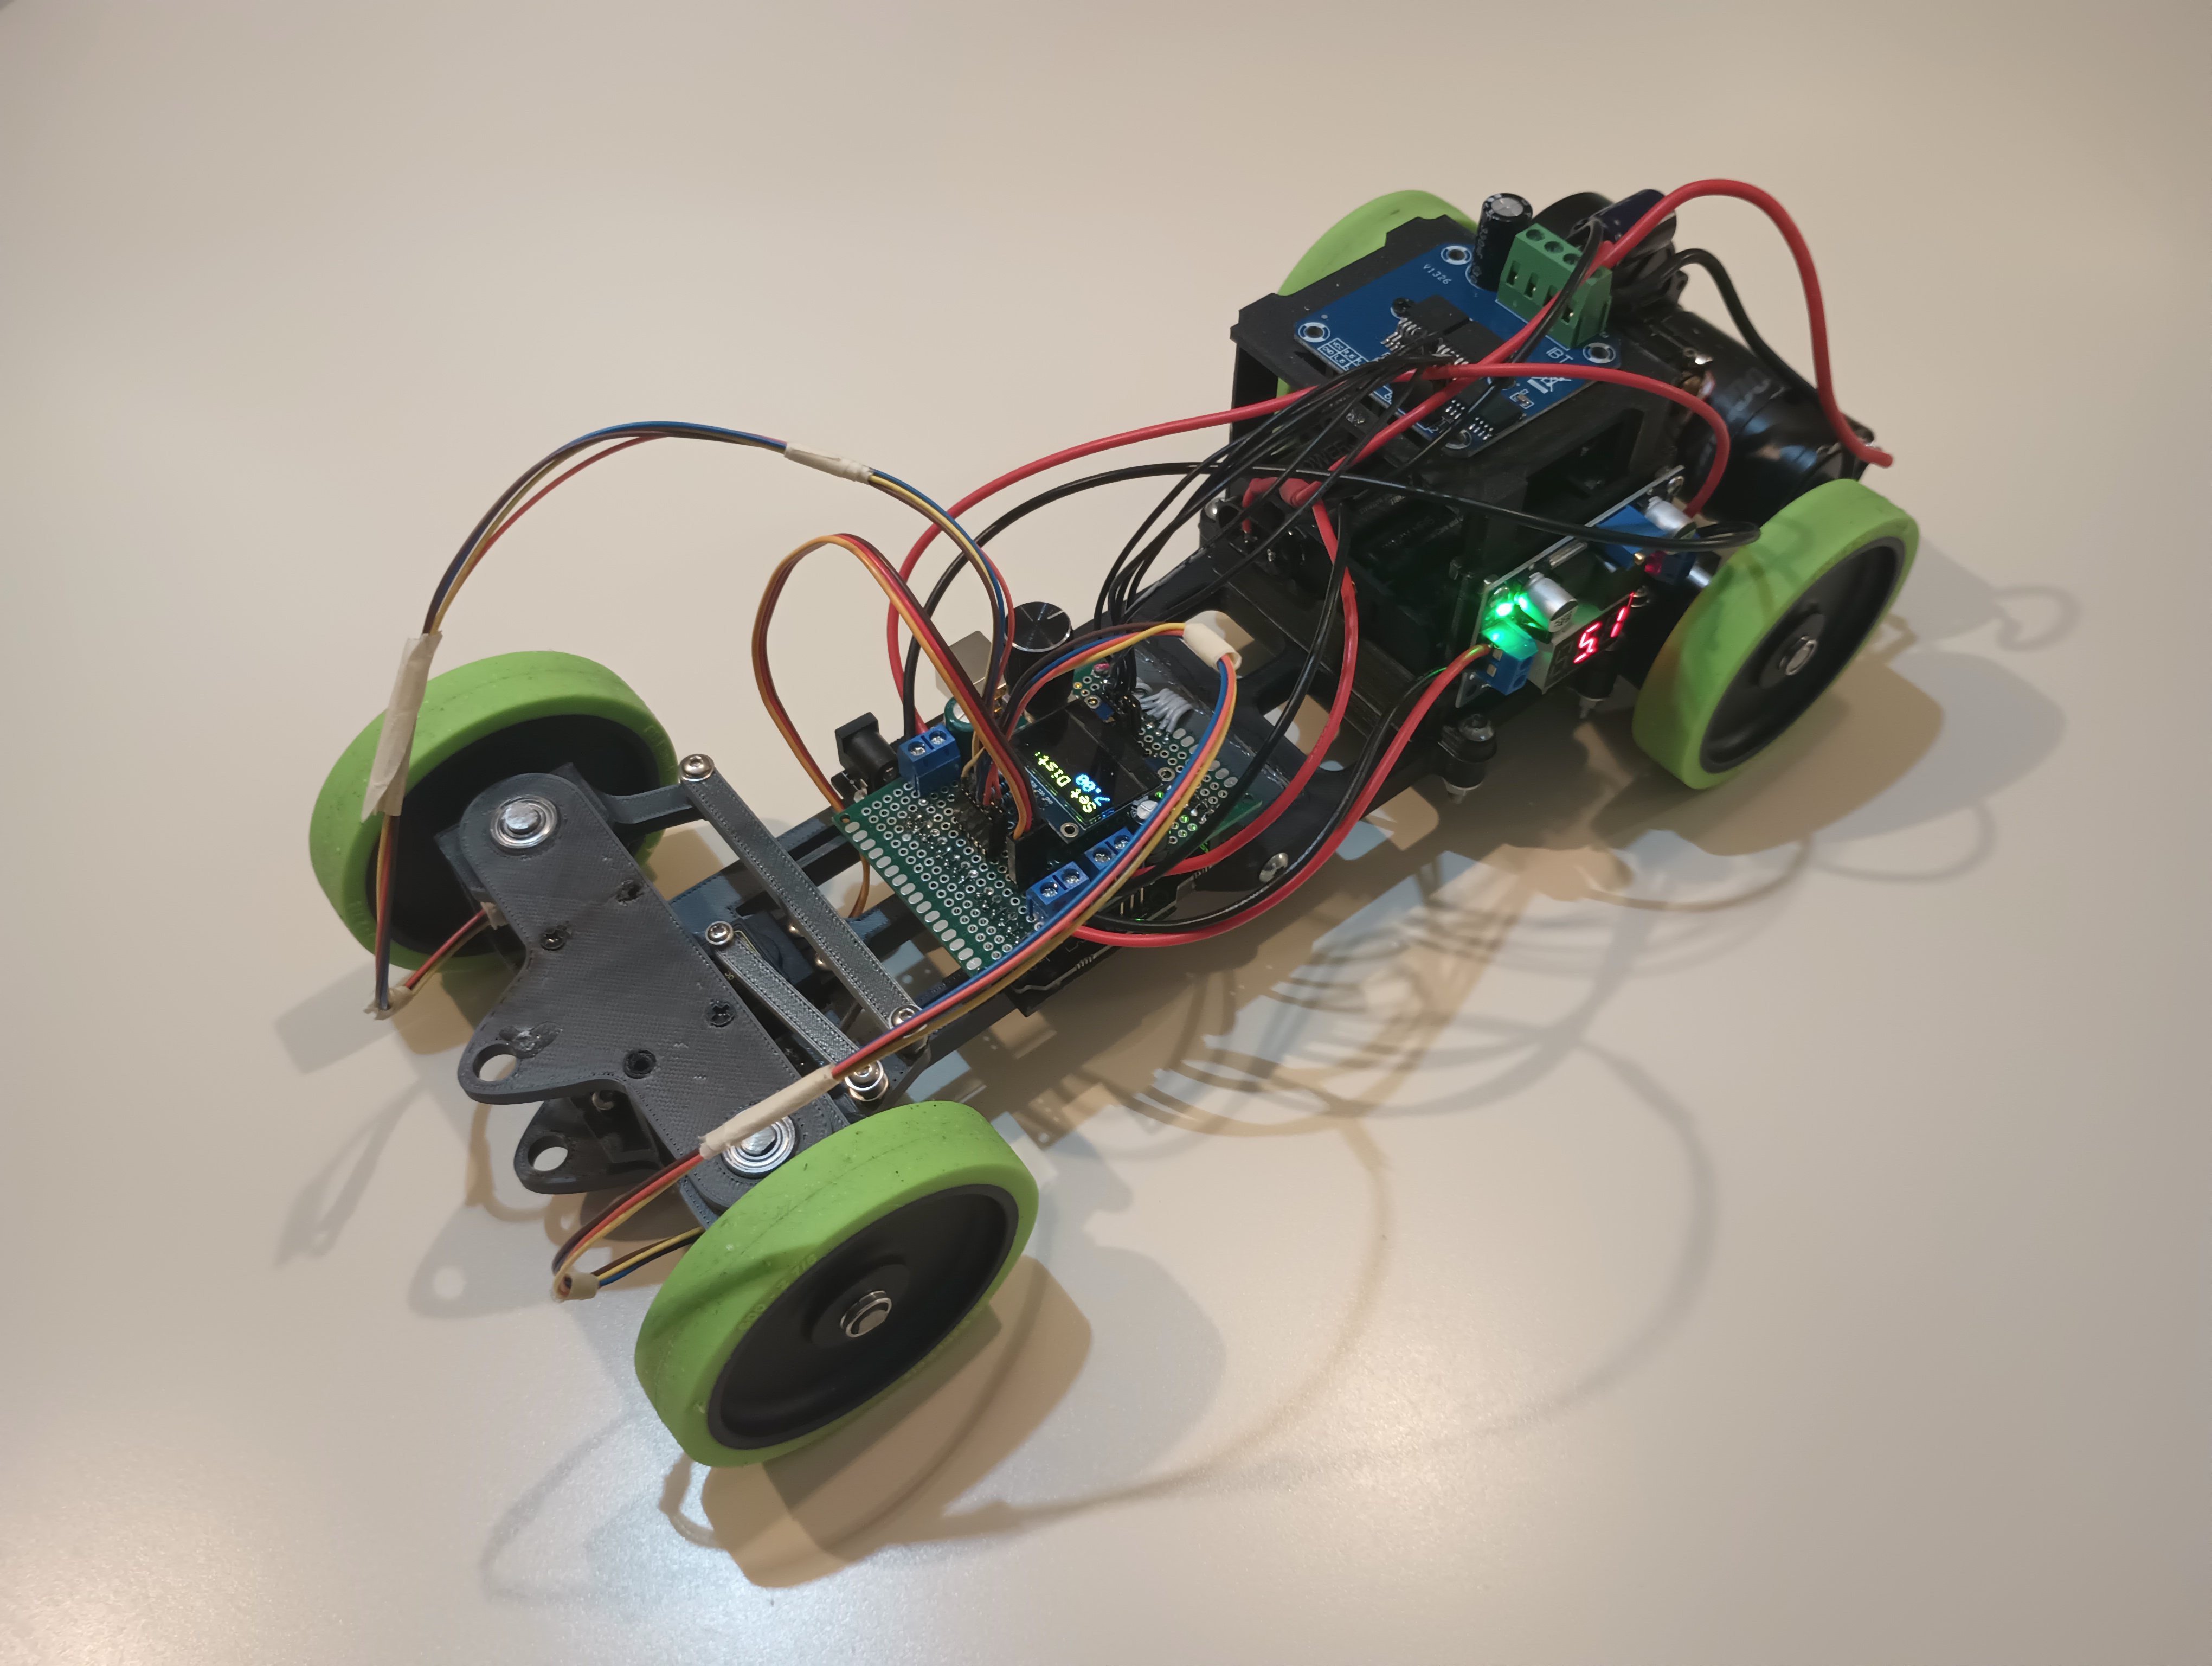
I got a working EV with the features I described above.
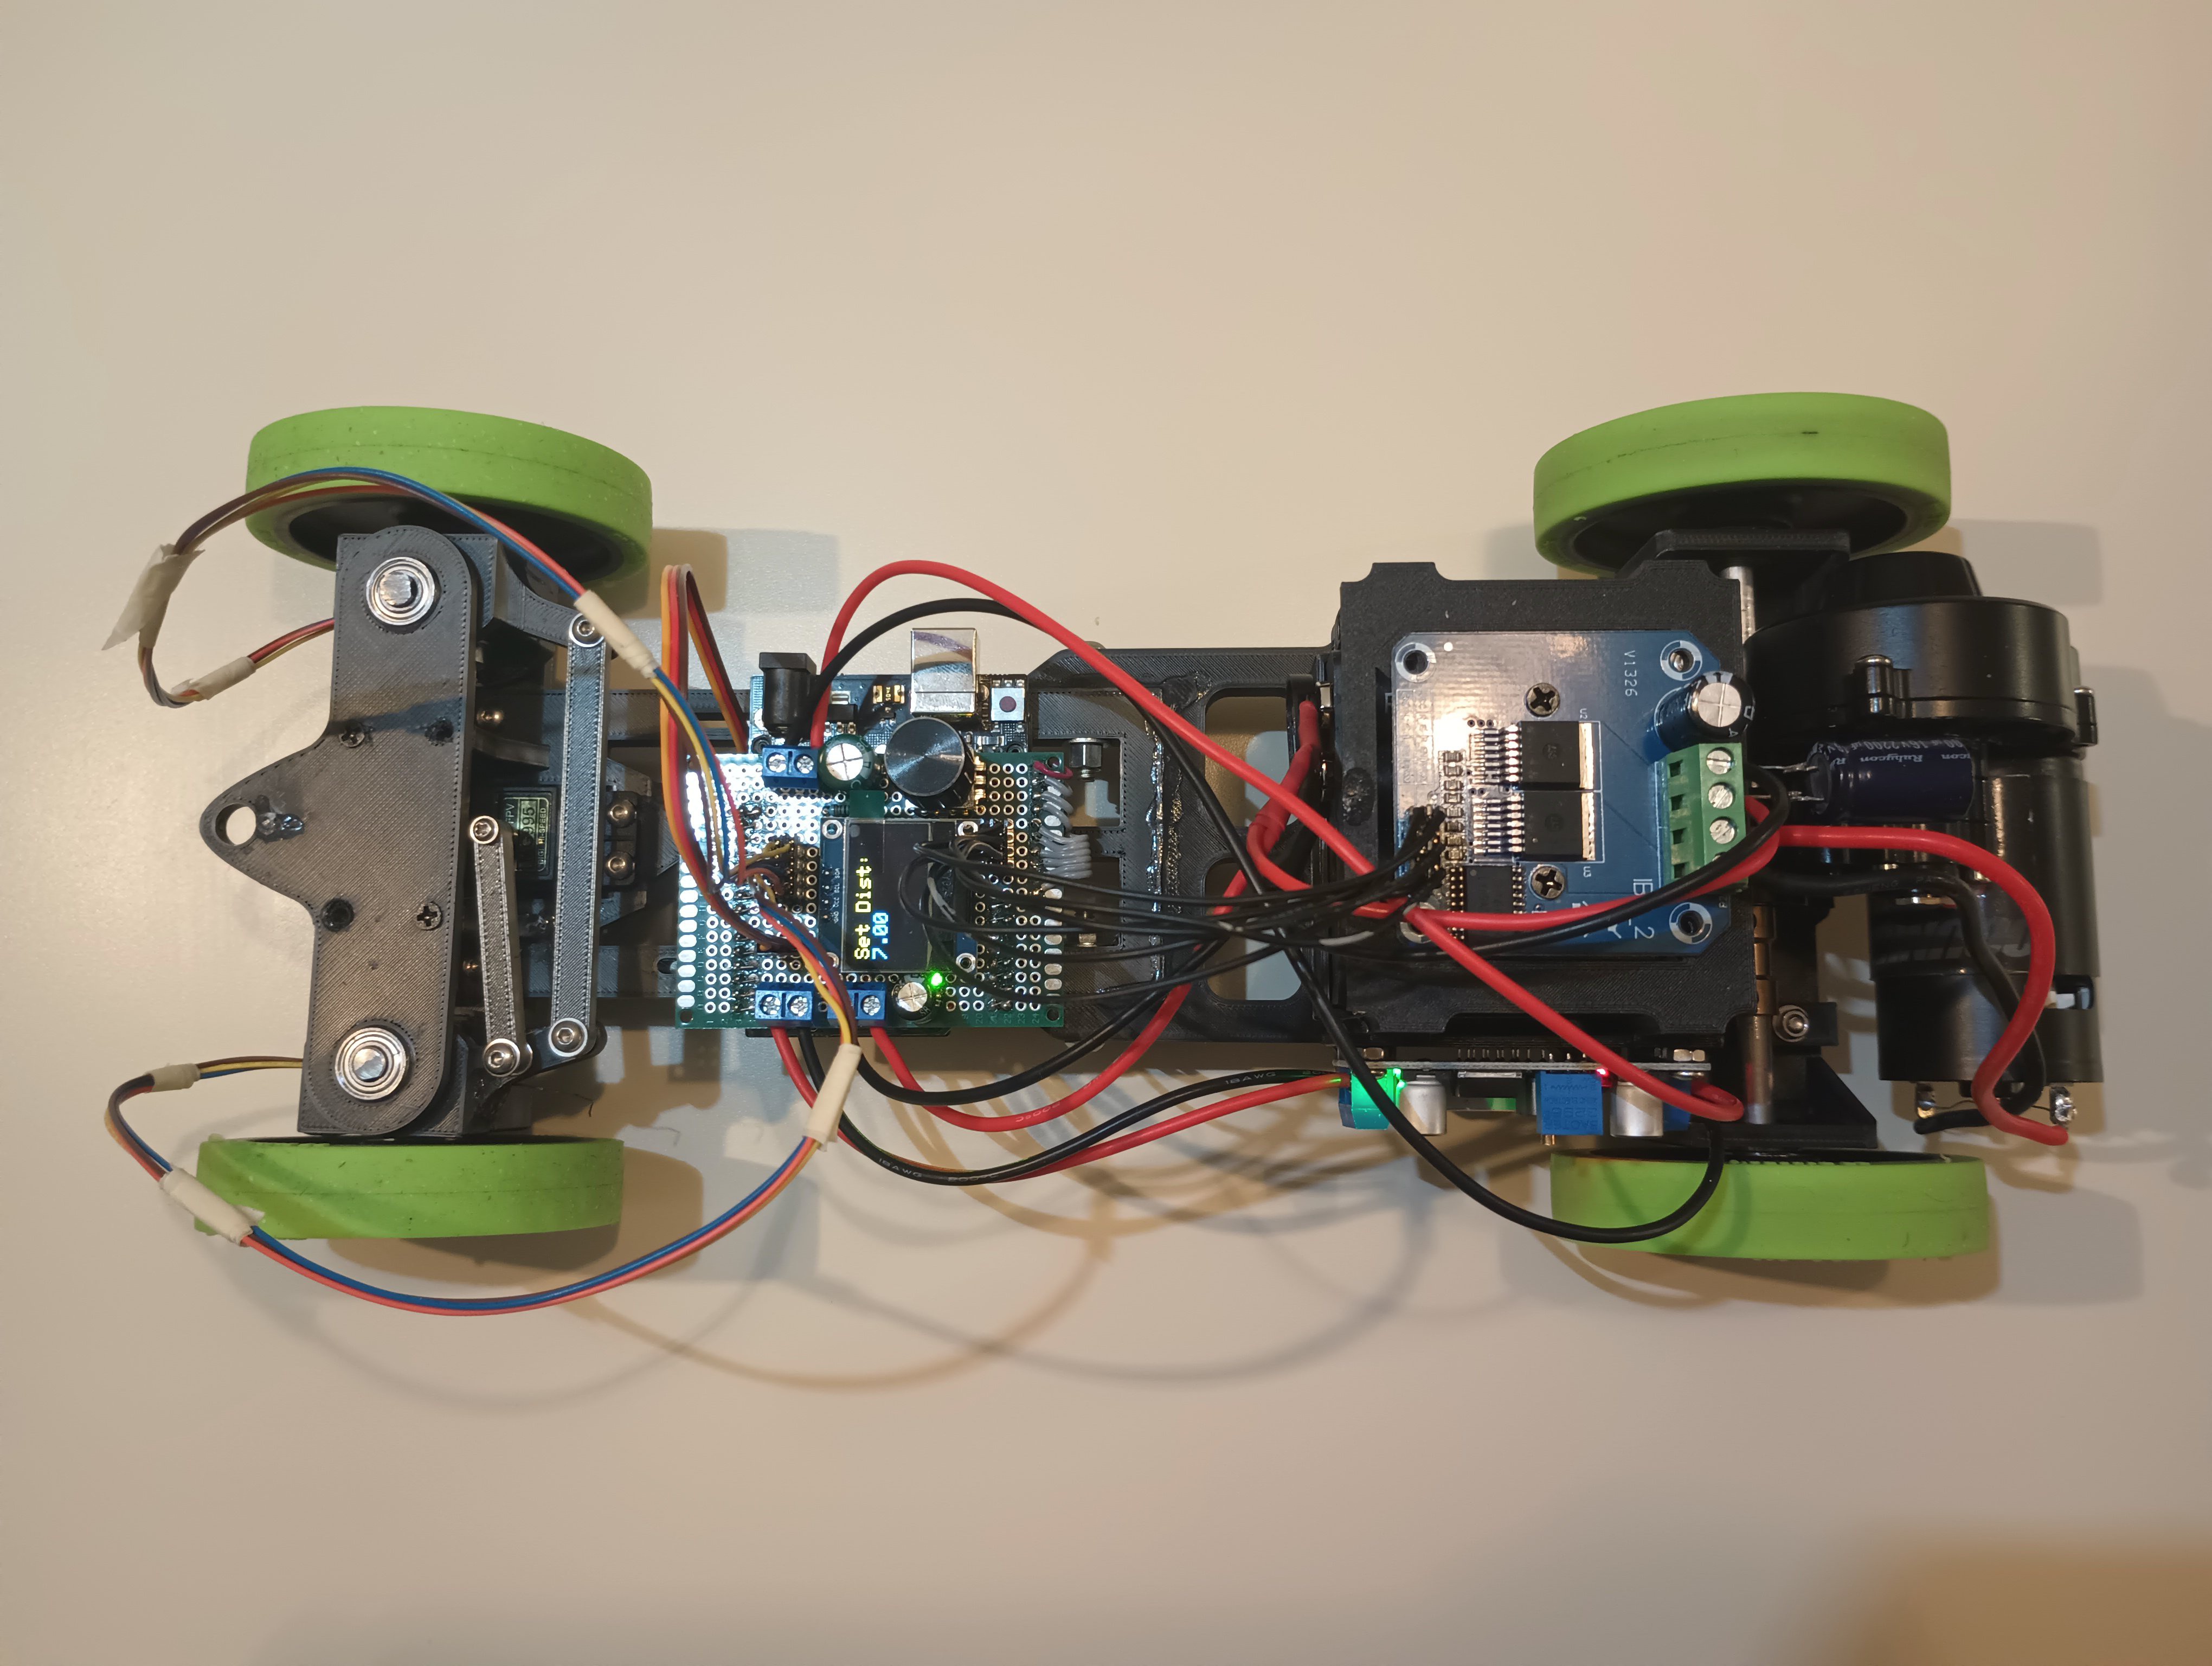
Hardware Design
- Steering: A MG995 servo motor with an ackerman steering linkage.
- Drivetrain: A 1/20 RC car motor with a reduction gearbox.
- Electronics: The brain is an Arduino UNO with a custom designed shield that has a encoder for control and a small OLED display for displaying adjustments. The motor driver is a BTS7960 shield connected to the Arduino with drives it with PWM signals. The a battery is a 8 x 1.2V rechargeable battery pack and the 5V components are powered through a voltage regulator.
Software and Algorithm Design
For specific code look at the Github repo: https://github.com/bolanxu/scioly-ev-sprint-zero
This is basically how a run works:
- Calibration: I first turn on the EV and set the target distance and time, followed by some calibration parameters.
- Run (Phase 1): After I press the button on the encoder I start the run. The EV aims at the waypoint 1, a point about 60 cm ahead of the cans and goes there.
- Run (Phase 2): It then aims at waypoint 2, a point 60 cm after the cans and move there. The EV crosses accurately in between the cans.
- Run (Phase 3): Now that it is past the cans, it turns and aims at the finish point and arrives there.
So essentially I've created a robotic car that can move to any position I tell it to.
The Challenges
For the first few weeks, the EV didn't even move forward because I didn't realize I had to add capacitors to ensure the motor doesn't sag the voltage.
After that came a bigger problem. It wouldn't steer if it was driving too fast. At first I suspected it was because of software problems, it wasn't turning at the right time or something. But I soon discovered that it was a power problem. If the motor was spinning too fast, the voltage would be pulled down to below 5V and the servo would fail to respond. And because only one power source was allowed there was basically no way to me to fix this.
However after some thinking I found...
Read more »
 Lee Djavaherian
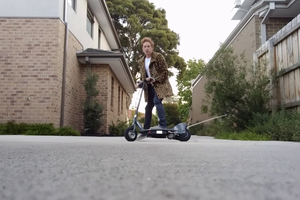
 TK
TK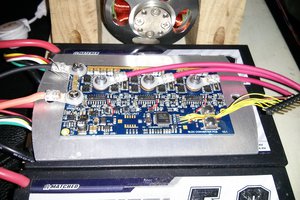
 Jarrod