Overview
Scheduled automations are recurring tasks that Zenflow executes on a cron-like schedule. Configure a task once—description, repository, workflow type—and Zenflow creates and runs a new task instance at each interval.Creating an Automation
There are two ways to create a scheduled automation: From scratch or a template — Click the thunderbolt icon in the left sidebar to open the Automations section. Click + New Automation, fill in the schedule, task details, and repository, then click Create. You can also browse the template library to start from a pre-built pattern.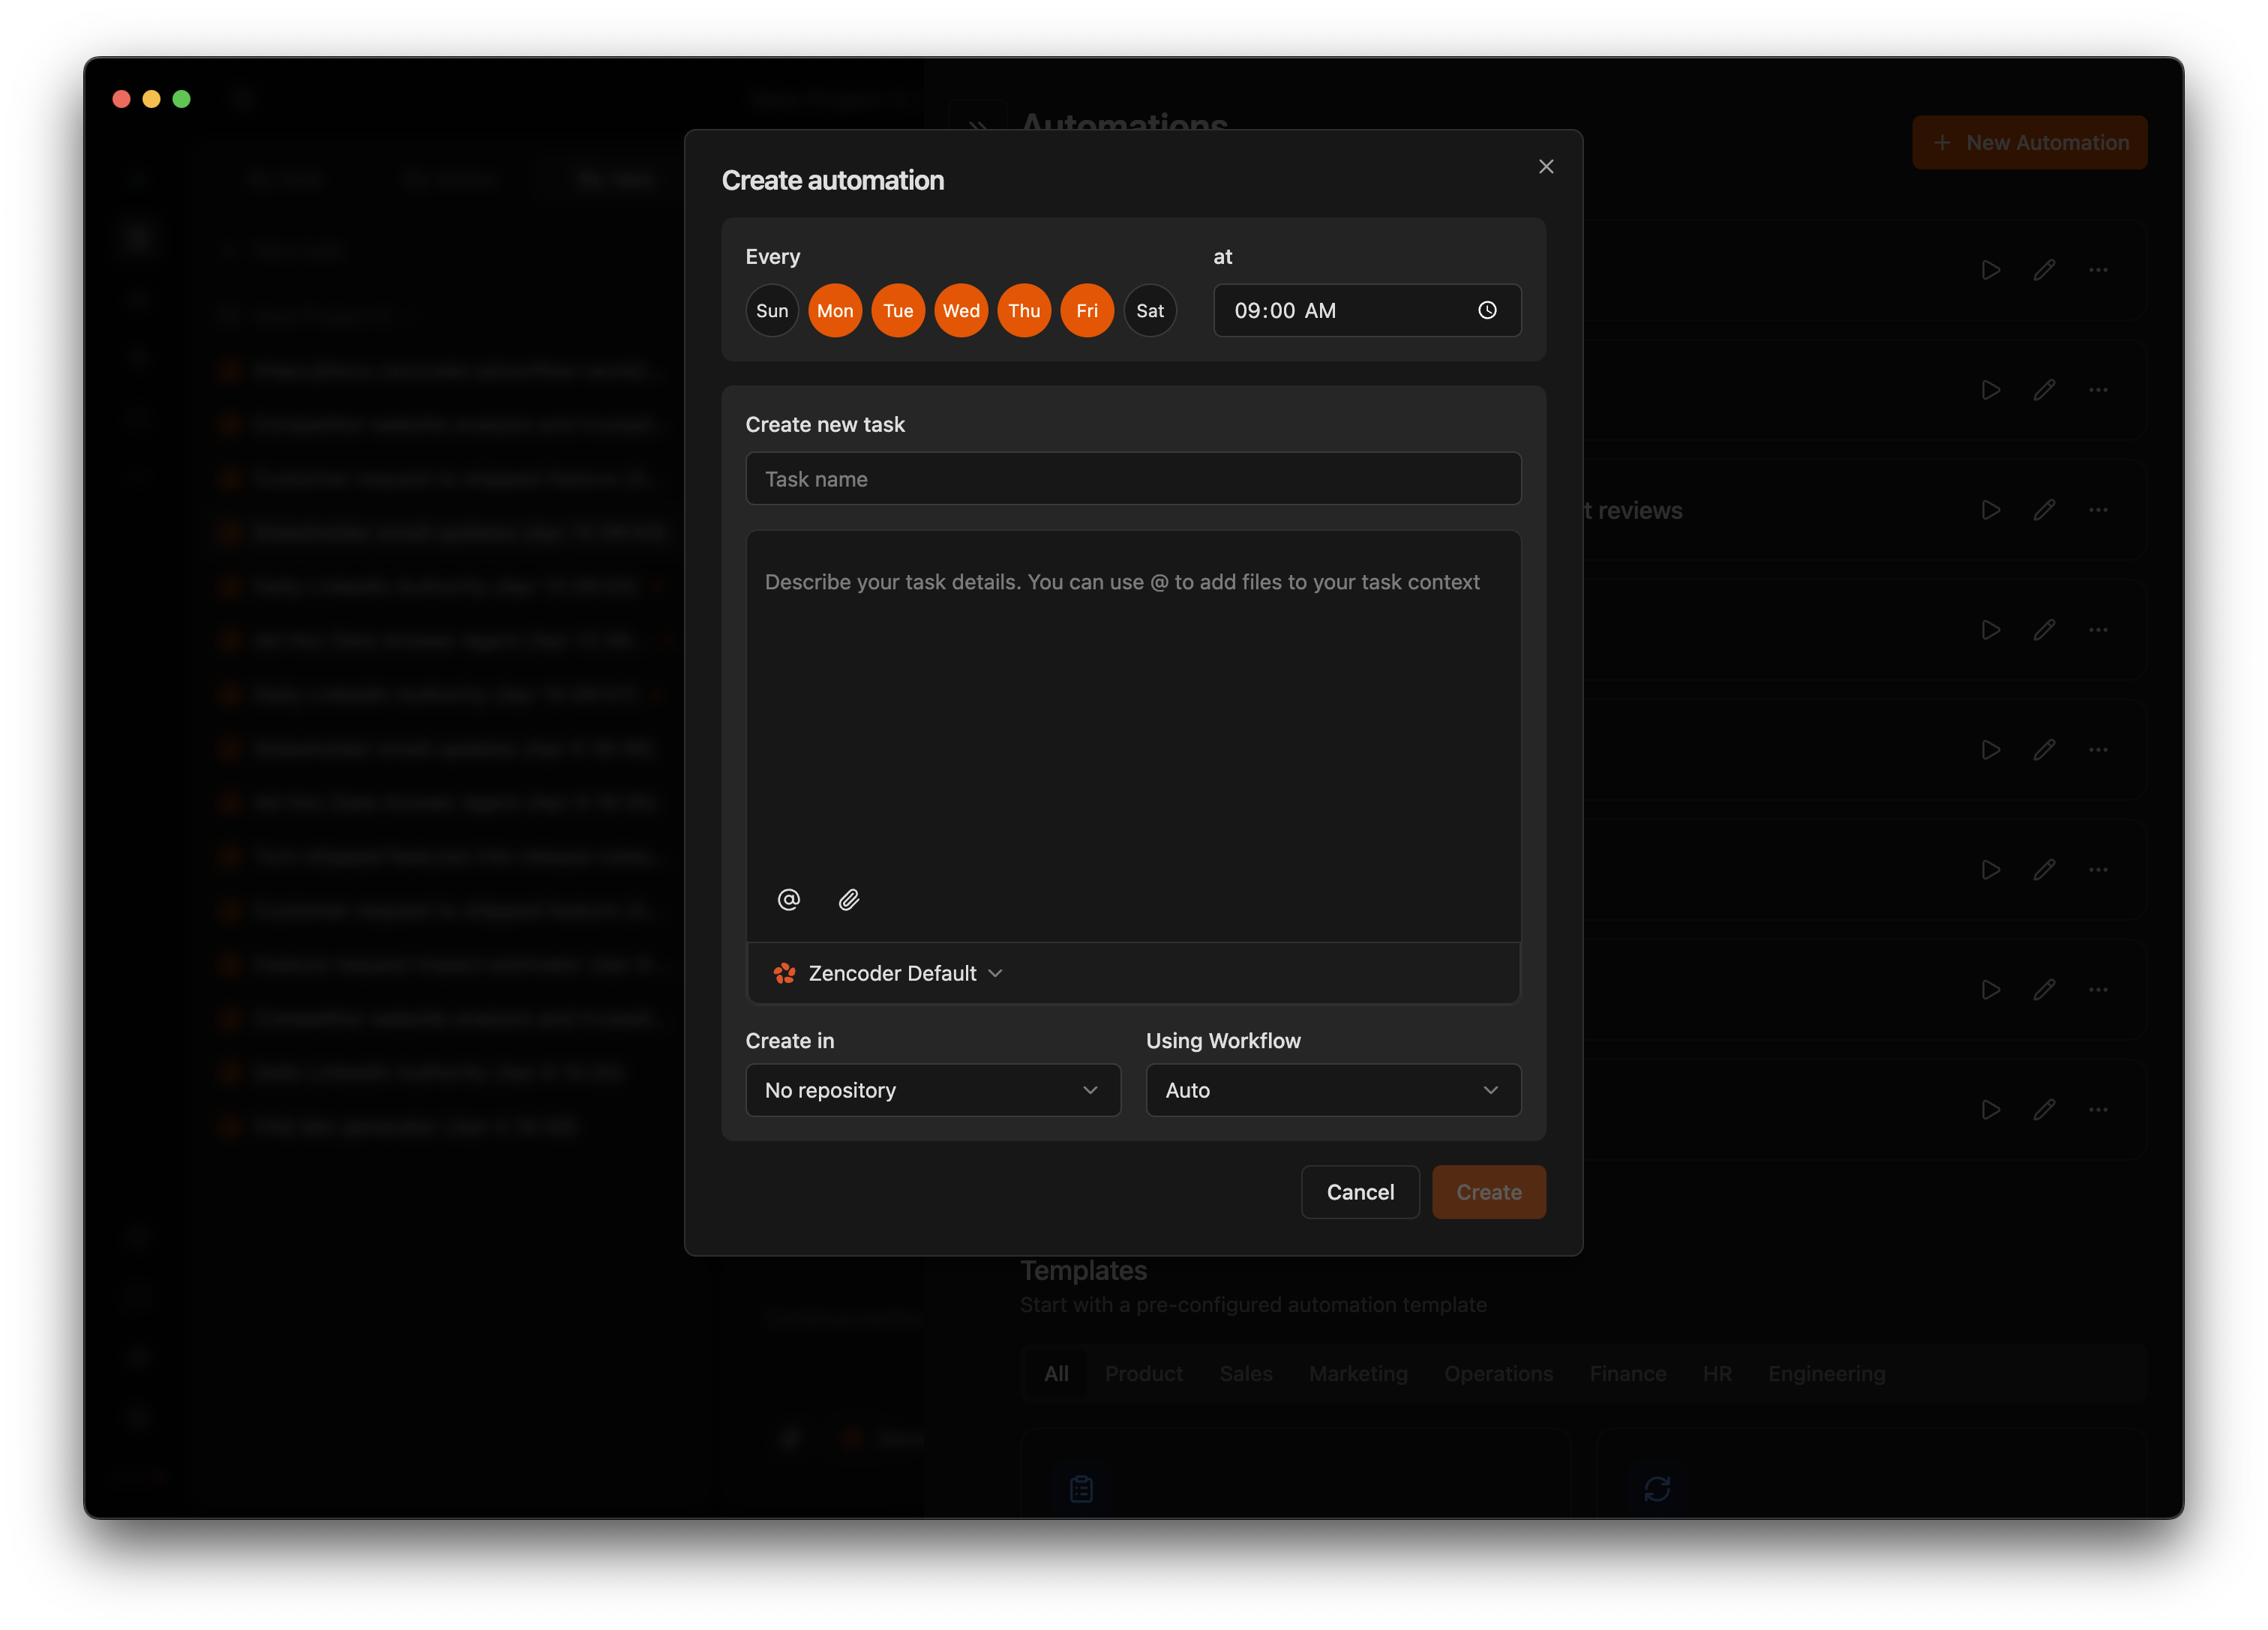
Configuration Fields
| Field | Description |
|---|---|
| Schedule | Days of the week and time (e.g., Mon–Fri at 9:00 AM) |
| Task Name | A descriptive name for the recurring task |
| Description | Detailed instructions passed to the agent at runtime. Use @ to reference files |
| Repository | The repository the task runs against |
| Using Workflow | Workflow type: Quick change, Fix bug, Spec and build, or Full SDD |
| Model | The AI model to use (defaults to your saved preset) |
Templates
Zenflow includes a large library of pre-built templates organized by department — Product, Sales, Marketing, Operations, Finance, HR, and Engineering. Start from a template that matches your team’s workflow and customize it to your needs.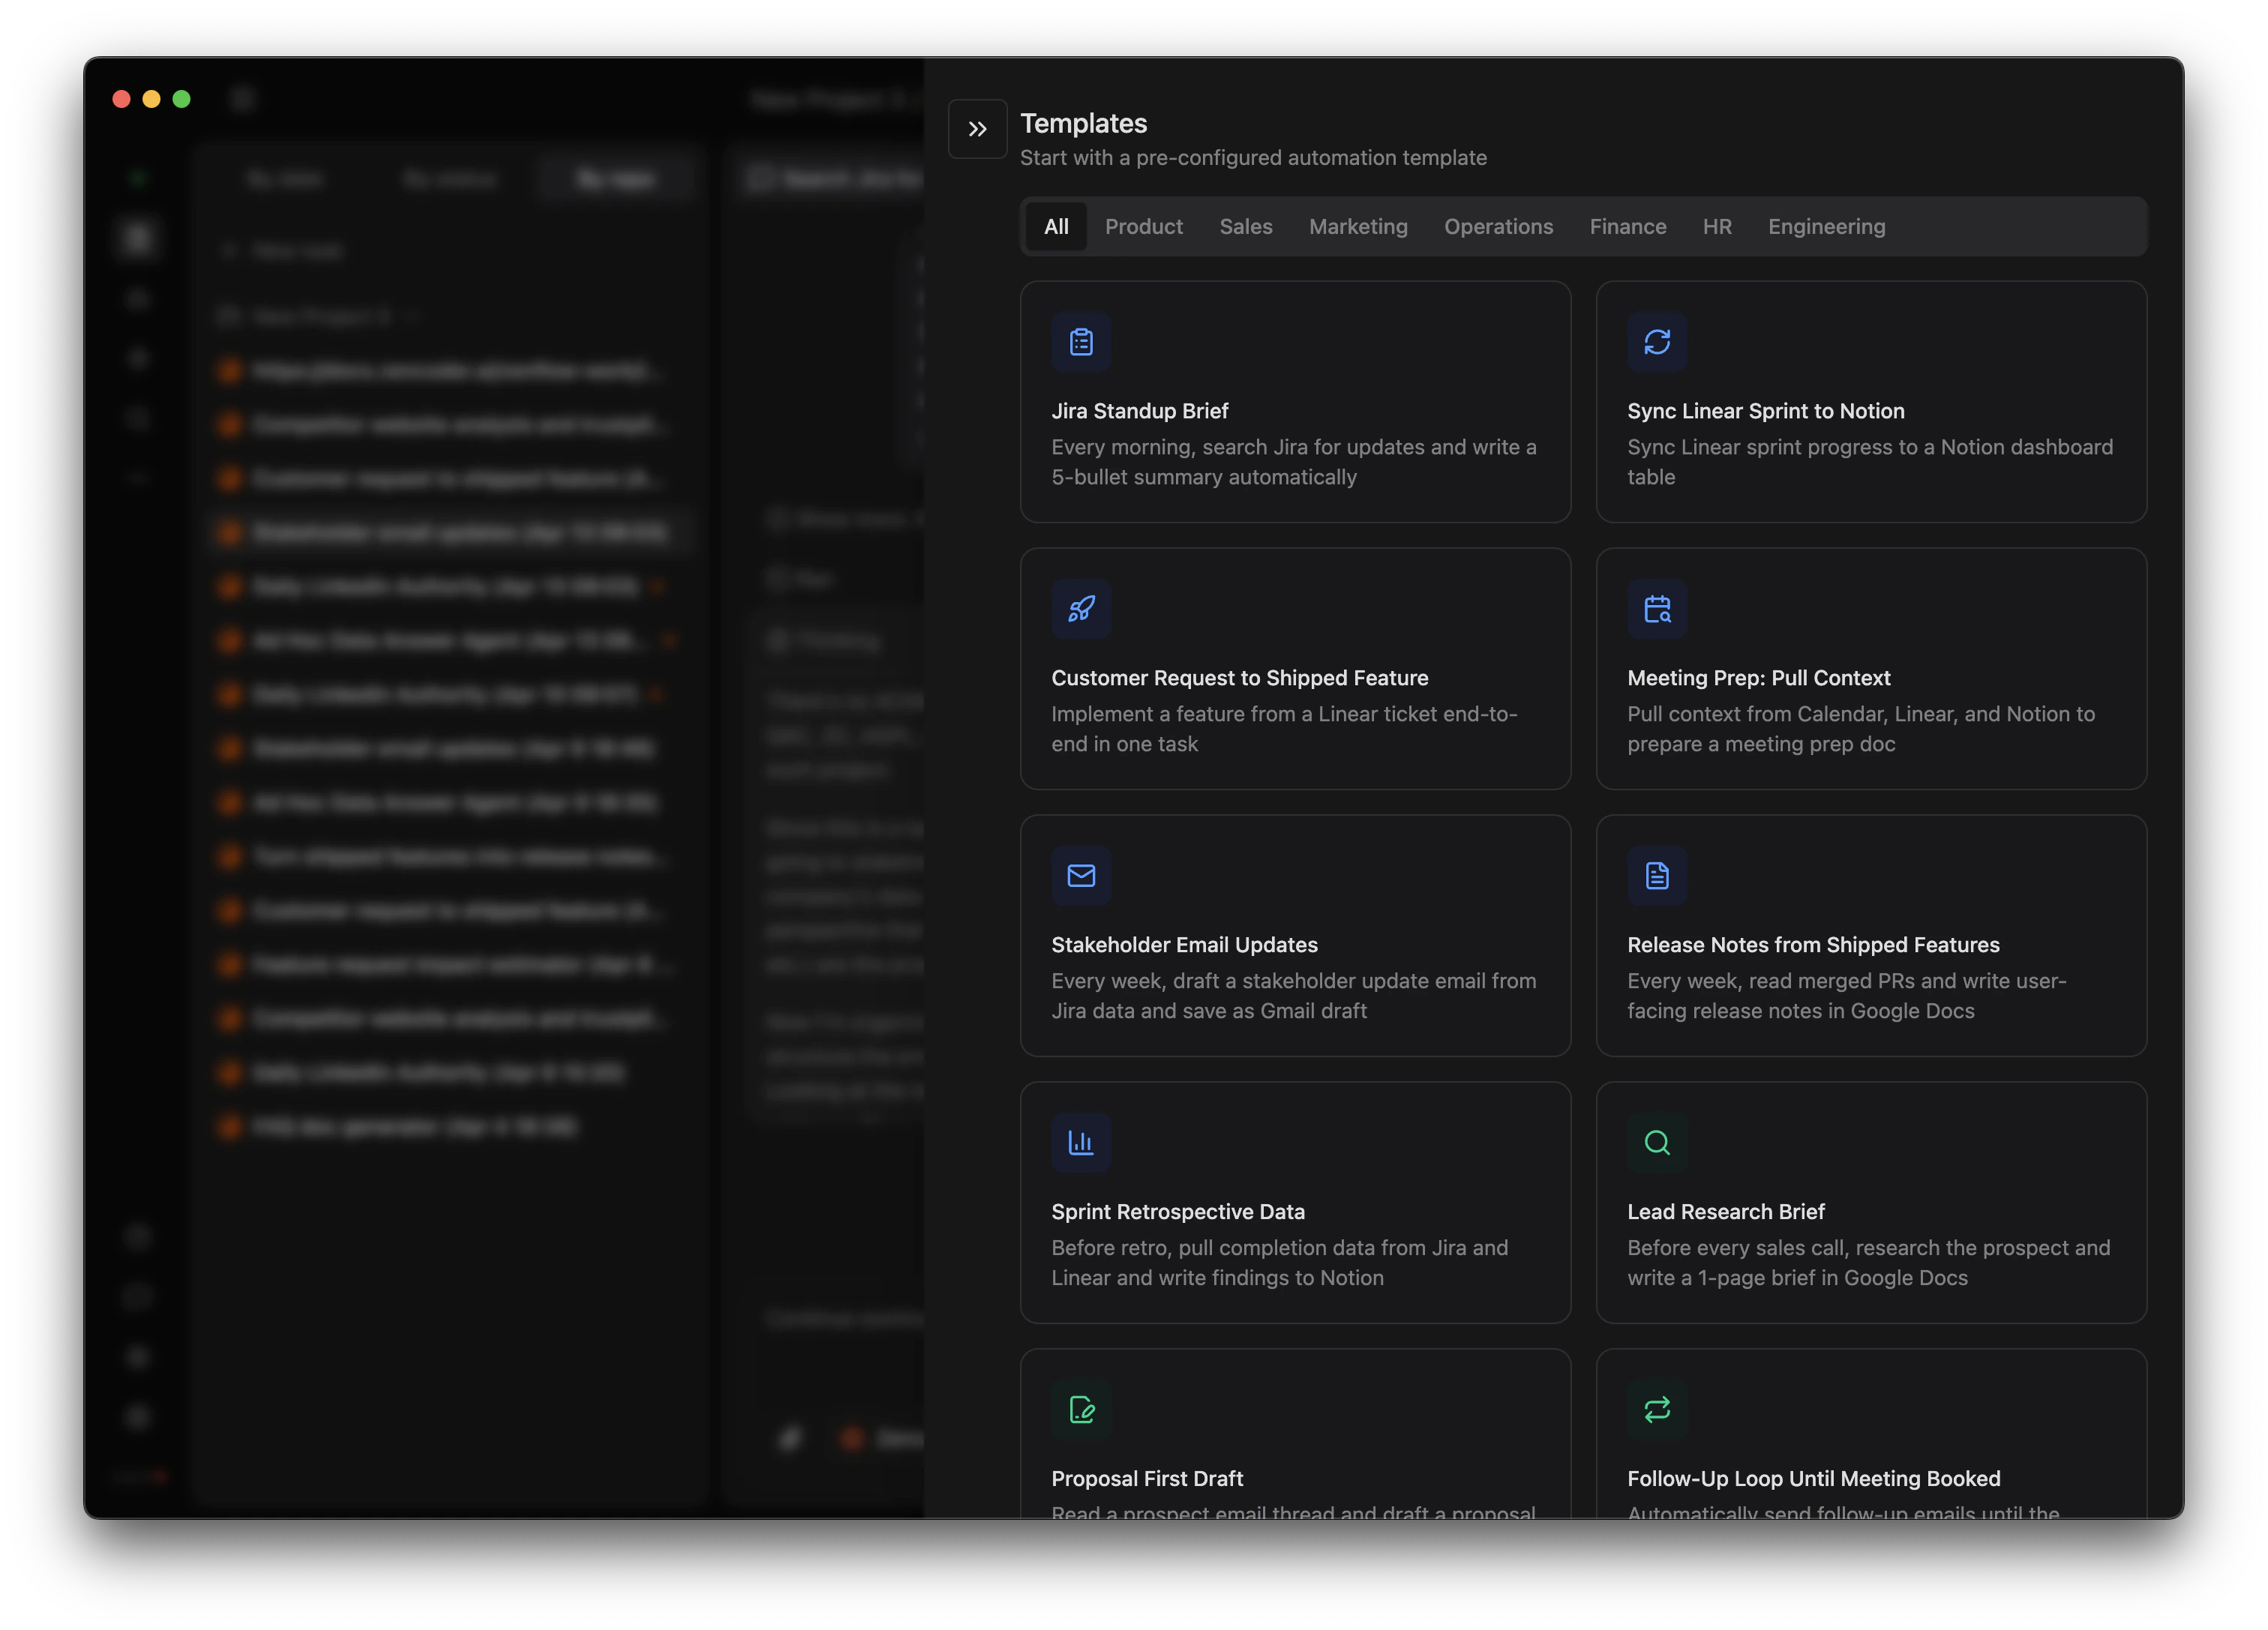
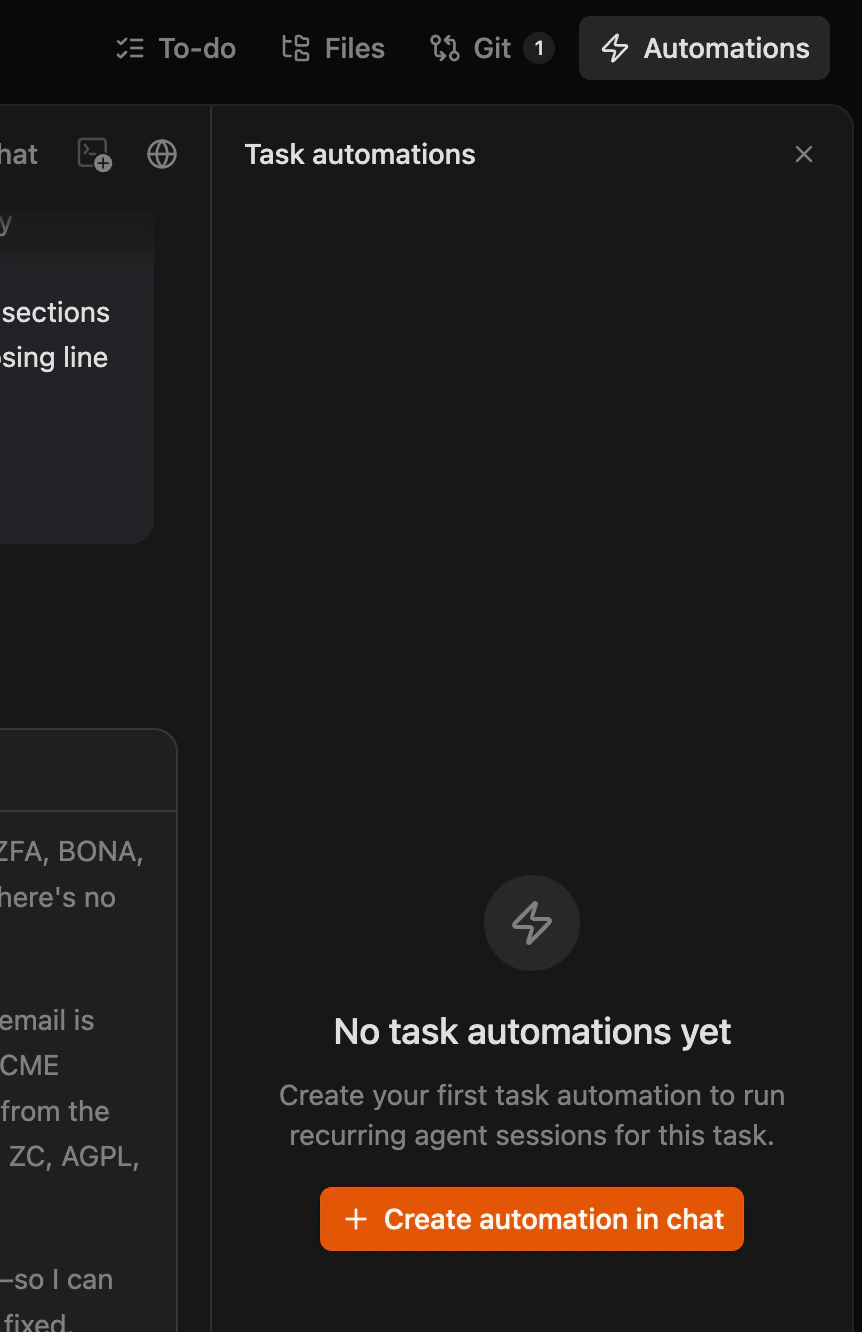
Managing Automations
All automations are visible in the Automations section of the Zenflow sidebar.- Next run – Each automation displays its next scheduled execution time
- Toggle on/off – Enable or disable without deleting
- Test run – Trigger manually to verify before the next scheduled run
- Edit – Update the schedule, description, repository, or workflow at any time
Use Cases
| Use case | What the automation does | Suggested schedule |
|---|---|---|
| Bug triage | Queries your issue tracker (Jira/Linear via MCP), filters by severity, creates fix tasks for the most critical ones | Weekdays |
| Stale PR cleanup | Finds unreviewed or stale pull requests, posts summary comments, pings reviewers | Daily or twice-weekly |
| Backlog grooming | Reviews open backlog items, closes stale issues, re-prioritizes based on labels or age | Weekly |
| Community PR triage | Monitors external contributions, runs basic checks, creates tasks to review and merge | Daily |
| Code quality sweeps | Identifies technical debt patterns, unused imports, deprecated API usage, creates cleanup tasks | Weekly |
| Flaky test review | Finds tests that failed intermittently in CI, quarantines or fixes them | Weekly |
Automations interact with external systems through MCP servers. The more integrations you configure (Jira, GitHub, Slack, etc.), the more your automations can do. See MCP Servers for setup.
Best Practices
- Validate manually first – Run the task once by hand before scheduling it. Confirm the agent has the right MCP connections, permissions, and context to succeed unattended.
- Be specific in descriptions – Vague instructions produce inconsistent results. Include the project, filters, priorities, and expected output explicitly.
- Match schedule to cadence – Daily triage makes sense for active projects; weekly is better for maintenance or low-traffic repos.
- Monitor early runs – Check the first 2–3 automated runs to confirm output. Adjust the description or workflow before relying on it fully.
- Start from templates – Pre-built templates encode working patterns. Customize them rather than writing from scratch.
- Watch context usage – If consistently high, break the task into smaller, focused automations.