An Amazon Machine Image (AMI) is a template that contains the software configuration (operating system, application server, and applications) required to launch an Amazon EC2 instance.
Think of an AMI as the "blueprint" for your virtual server. You cannot launch an EC2 instance without specifying an AMI. Whether you launch one instance or thousands, they all start as a clone of the AMI you select.

Core Components of an AMI
An AMI is packaged with three main components:
- Root Volume Template: A snapshot of the root volume (usually EBS) that contains the OS and installed software.
- Launch Permissions: Controls which AWS accounts can use the AMI to launch instances.
- Block Device Mapping: Specifies which volumes (root + additional storage) to attach to the instance when it launches.
AMI Storage Types: EBS vs. Instance Store
This is the most critical architectural distinction. AMIs are backed by either Amazon EBS or Instance Store.
| Feature | EBS-Backed AMI | Instance Store-Backed AMI |
|---|---|---|
| Boot Time | Fast (Seconds/Minutes). | Slow (Minutes). |
| Persistence | Persistent. Data survives stop/start. | Ephemeral. Data is LOST if the instance stops or fails. |
| Stop/Start | Supported. You can stop the instance and restart it later. | Not Supported. You can only Reboot or Terminate. |
| Root Device Limit | Up to 64 TB. | 10 GB. |
| Use Case | 99% of workloads (Web servers, DBs). | High-performance computing (HPC), Distributed caches. |
Almost always use EBS-Backed AMIs. Instance Store-backed AMIs are a legacy or niche feature for stateless, high-I/O workloads.
The AMI Lifecycle
Managing AMIs involves more than just creating them. You need to handle their entire lifecycle.
- Create: You launch an instance, configure it (install patches, app code), and create an image.
- Register: The AMI is registered with a unique ID (e.g., ami-12345678) in a specific Region.
- Copy: AMIs are Region-specific. To use an AMI in eu-west-1 that you created in us-east-1, you must explicitly Copy it to the new region.
- Deregister: When an AMI is old, you "Deregister" it.
- Crucial Note: Deregistering the AMI does NOT delete the underlying EBS Snapshot. You must delete the snapshot separately to stop paying for storage.
Types of AMIs
- Amazon-Provided AMIs: Official, maintained images for Amazon Linux 2023, Ubuntu, Windows Server, etc. These are the safest starting point.
- AWS Marketplace AMIs: Paid images provided by vendors (e.g., a pre-hardened CIS Benchmark image or a WordPress appliance).
- Community AMIs: Images shared publicly by other AWS users. Use with caution. Always verify the source, as they could contain malware or backdoors.
- Custom AMIs: Your own "Golden Images" that you build, harden, and maintain.
Steps to create your own AMI
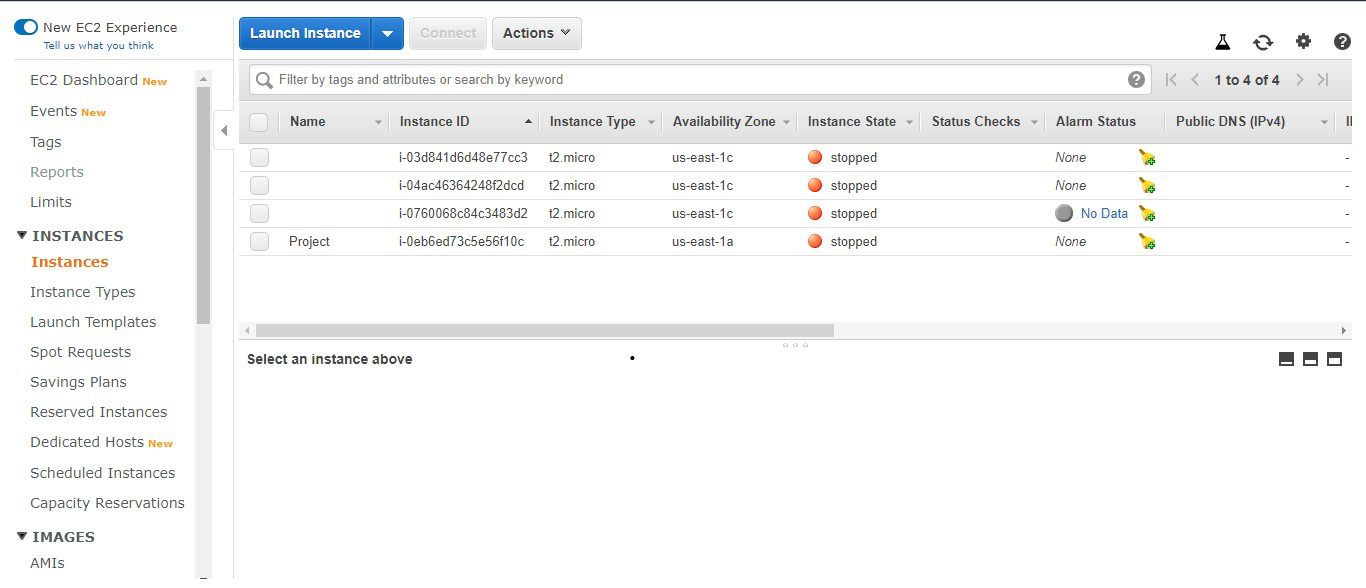
Step 1: Click on the launch instance button on the AWS management console.
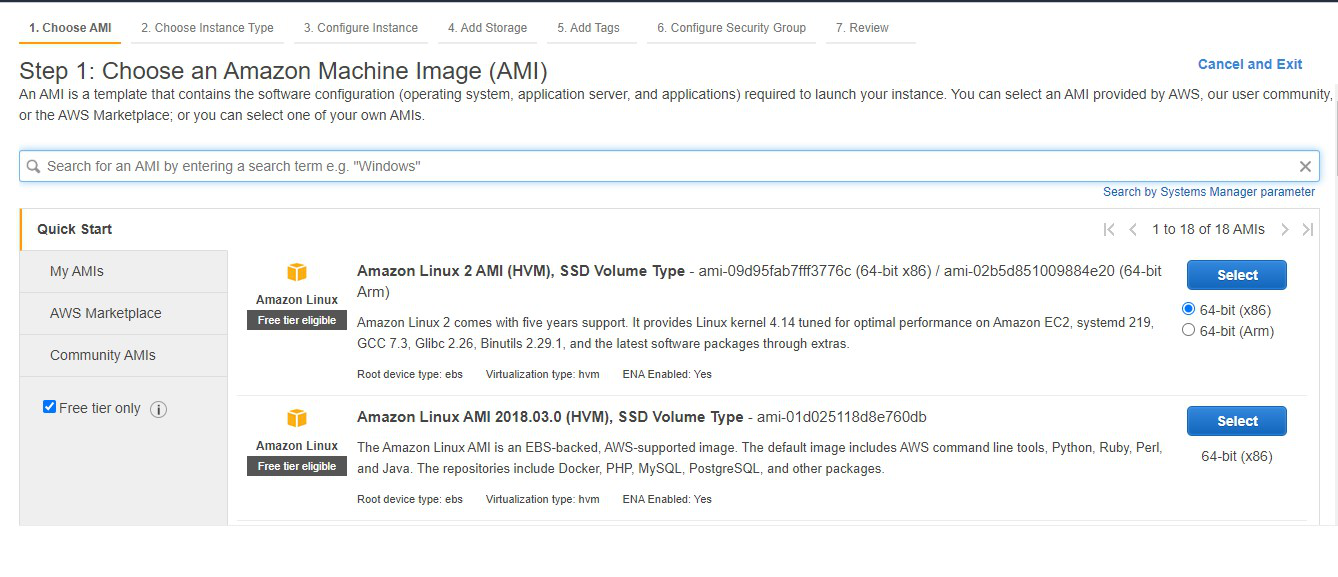
Step 2: Now you will be asked to select an already available AMI. Select the Free tier and then select the Amazon Linux 2 AMI.
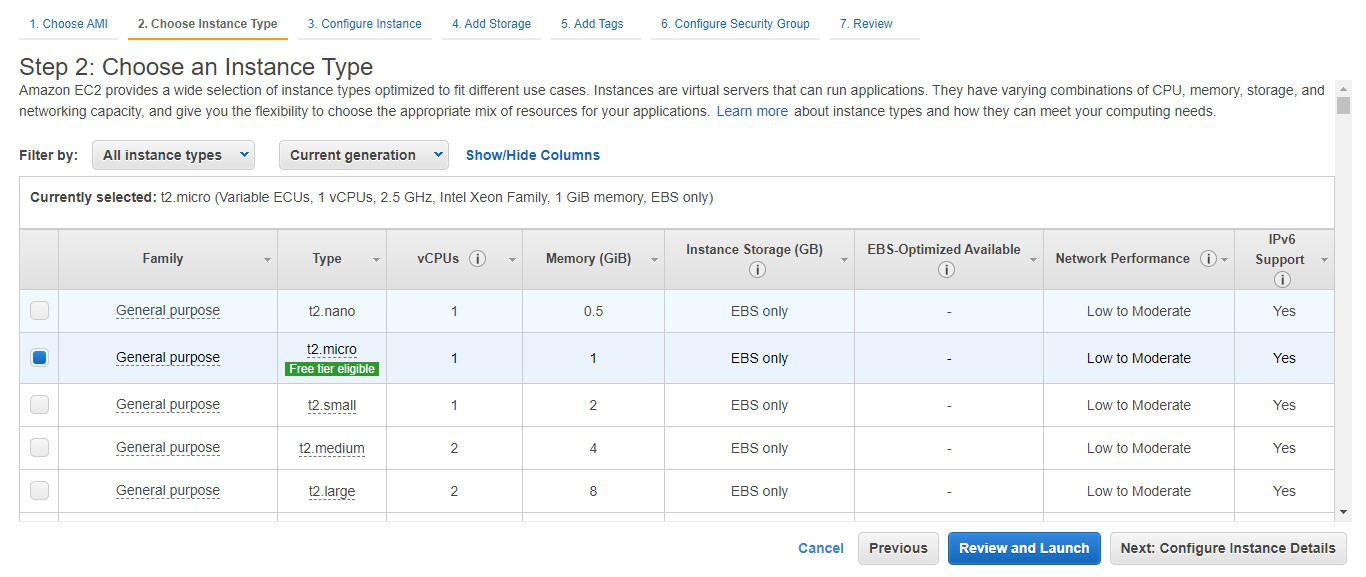
Step 3: Select t2.micro eligible (Instance types in aws) for the free tier. Now click on next: configure Instance details.
Step 4: Here you can select the various configurations related to the EC2 instance. Click on Next: Add storage.

Step 5: Select the amount of storage you want for the EC2 instance. Click on Next: Add tags and then click Next: configure security groups.

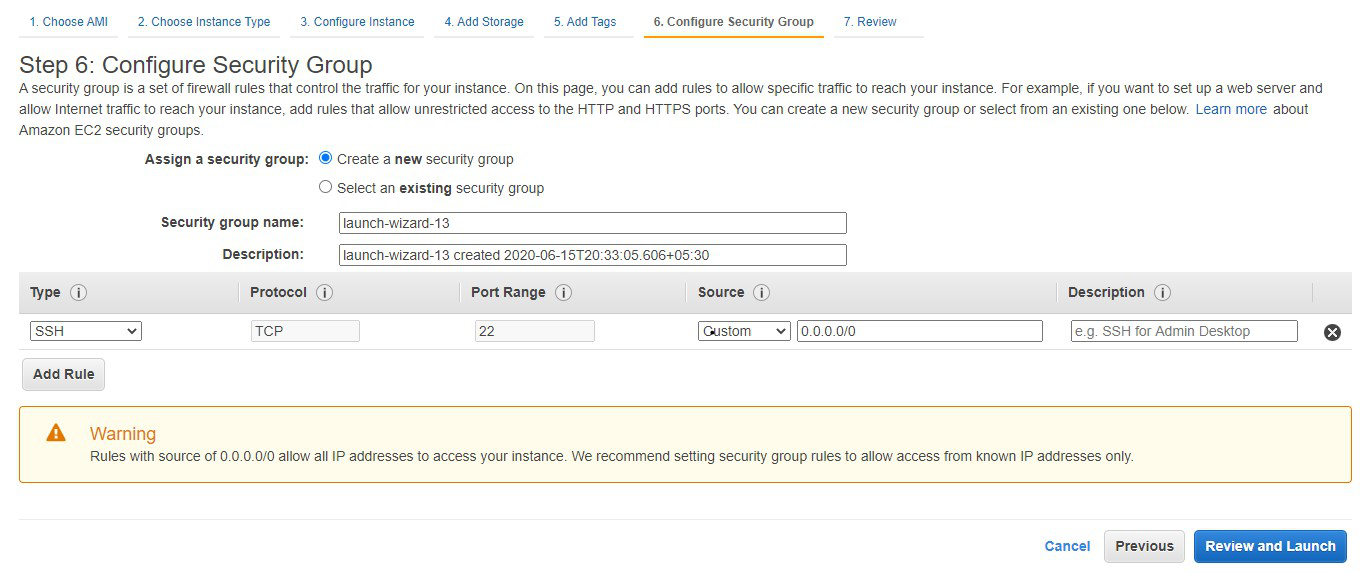
Step 6: Here you can add the security groups to allow the desired traffic for your instance. Click on review and launch.
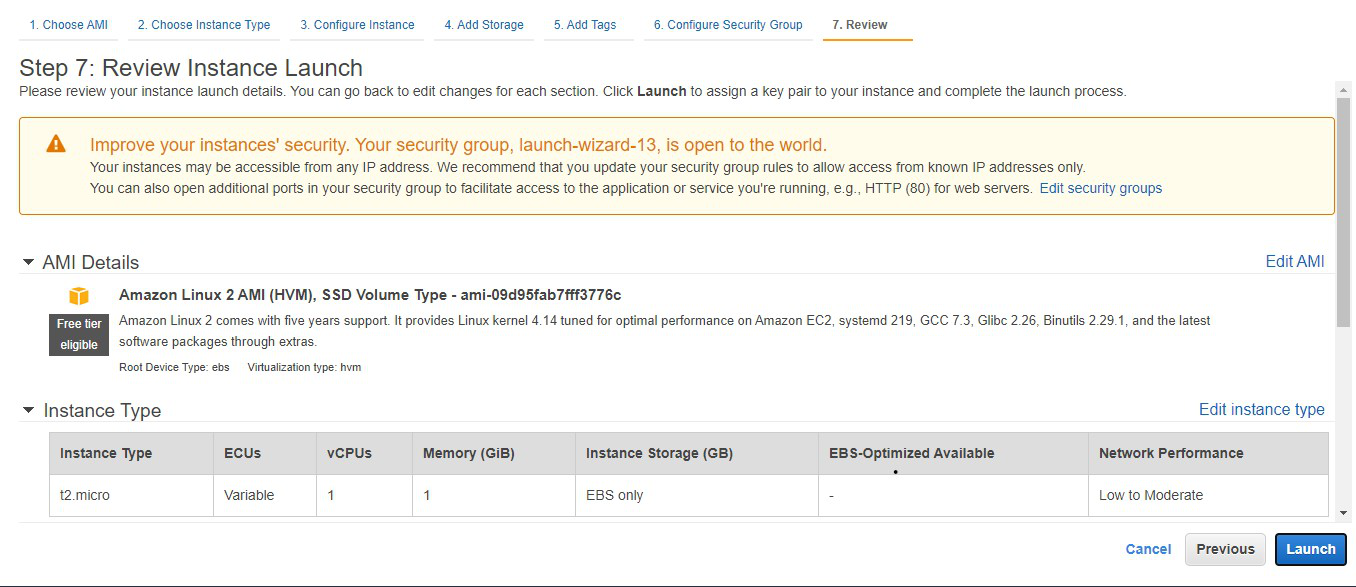
Step 7: Review all the configurations regarding the EC2 instance. Click on Launch.
Step 8: Choose to create a new key pair option and write the key pair name. Download the key pair and then click on the launch instance.

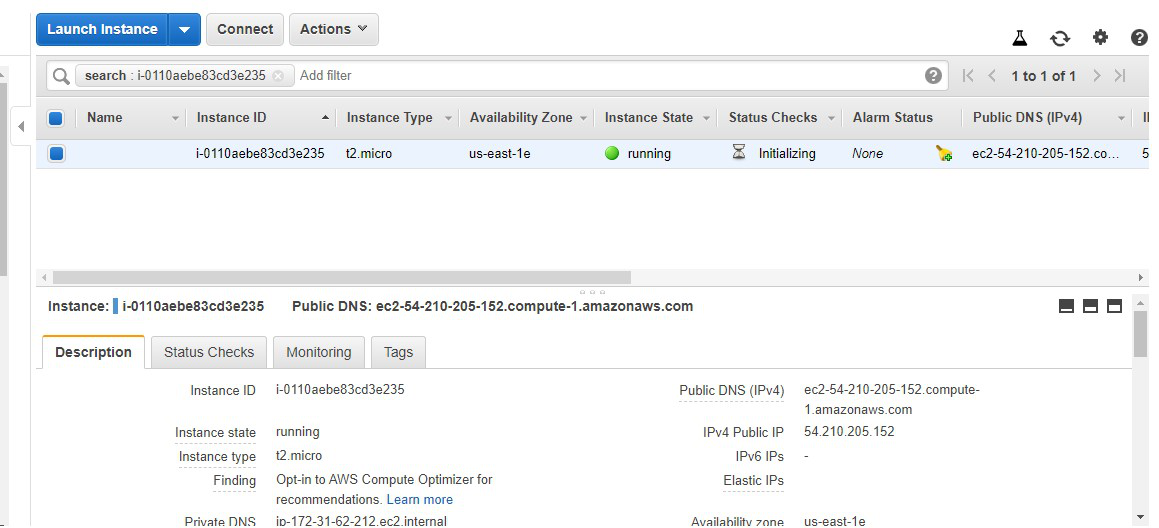
Step 9: We can see that the instance is launched and running in a healthy state. Now It is required to create the Amazon Machine Image of this instance.
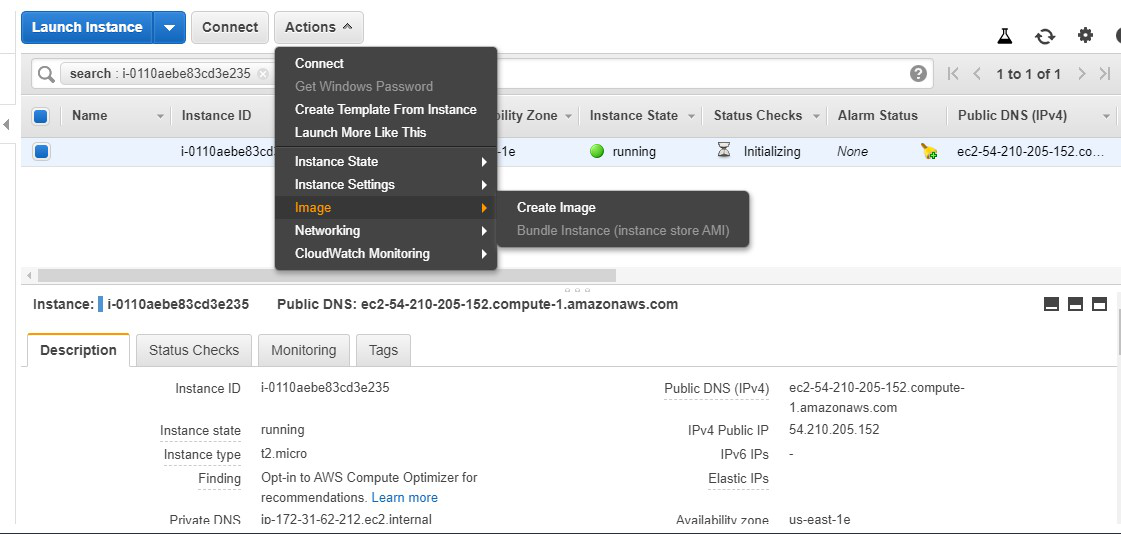
Step 10: Click on actions. Go to the image and then click on create an image.
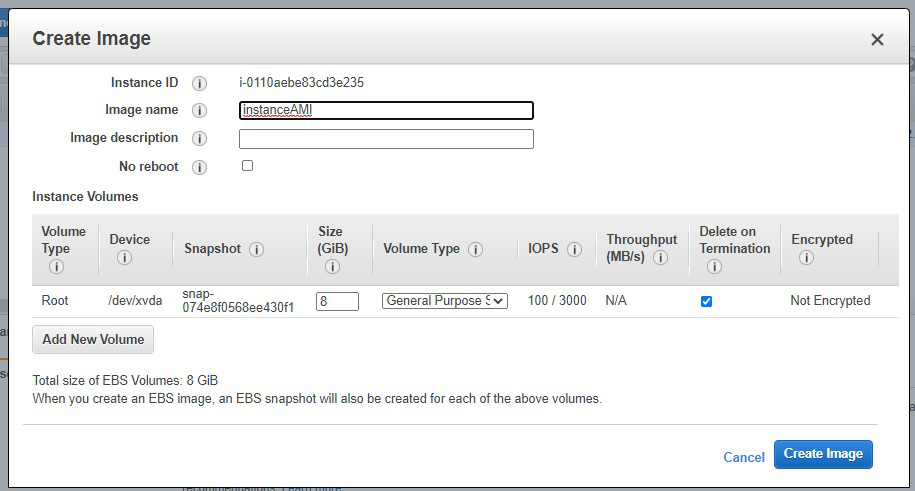
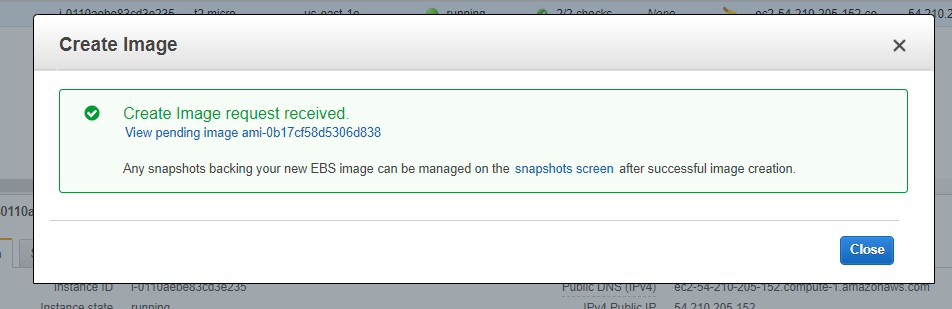
Step 11: A prompt will open wherein you are required to write the name of the image. Click on create an image.
Step 12: The image creation request is received. Now the image will be created. Click on close. Now go to AMI services in the AWS management console.
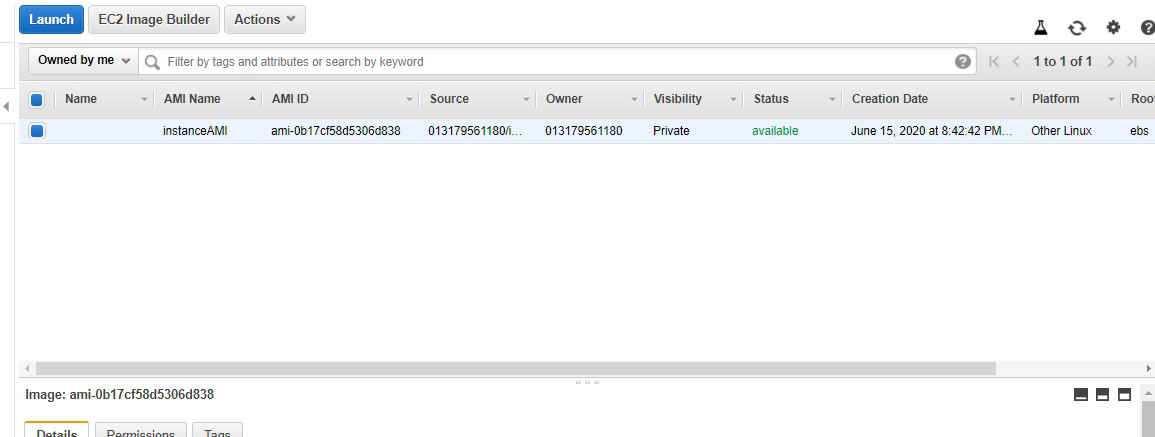
Step 13: The AMI image of our instance is created successfully.
Best Practices
- Don't Bake Secrets: Never put AWS Access Keys or database passwords in your AMI. Use IAM Roles and AWS Secrets Manager instead.
- Automate Builds: Don't build AMIs manually. Use EC2 Image Builder or HashiCorp Packer to automate the patching and creation pipeline.
- Lifecycle Policy: Use Amazon Data Lifecycle Manager (DLM) to automatically deregister old AMIs and delete their snapshots to save money.
- Encryption: Always encrypt your AMIs. You can share encrypted AMIs with other accounts by granting them permission to the KMS key.
Types of EC2-Instances
There are different types of EC2-Instances types which are defined for certain use cases and unique requirements for different workloads and different applications depending on your use cases like depending on the computing, memory, or storage you required. for more read Amazon EC2 – Instance Types
Advantages Of Amazon EC2
- Highly scalable: Amazon ec-2 instance will allow you to scale your infrastructure very easily and highly. You can increase and decrease the memory and CPU whenever you required depending upon the traffic.
- Highly available: Amazon ec2-instance is highly available because you can configure it multiple availability zones and if there is a failure in one zone you can automatically access the infrastructure which is available in another zone.
- Integration: You can integrate ec2-instance with multiple aws resources which are available in AWS such as S3, Autoscaling group, Load Balancing, RDS, and so on.
- EC2-Instance is secure: Ec2-instance is more secure because it can be integrated with VPC (virtual private cloud). ec2 can be configured in multiple private subnets where it is very hard to penetrate into it.
- Global Infrastructure: Amazon ec2-instance is available in multiple regions and multiple zones by which you can deploy your applications near to your users which will decrease the latency and improves the performance of the application.