Installing React JSon a Linux system helps set up an environment for building dynamic and interactive web applications using a widely used JavaScript library.
- Requires Node.js and npm to manage dependencies and run React applications.
- Enables efficient development of modern user interfaces.
- Provides a smooth and stable environment for building and testing applications.
Note: Whether you’re using Ubuntu, Fedora, or any other Linux distribution, these steps will help you get started with React development quickly and efficiently.
Prerequisites
Before installing React JSon Linux, ensure the following requirements are met:
System Requirements
- Linux-based OS such as Ubuntu, Fedora, or Debian.
- Node.js to run JavaScript outside the browser.
- npm to manage packages and dependencies.
- Terminal or command-line interface to run commands.
Required Tools and Software
- Node.js and npm installed and configured.
- Git (optional) for version control and cloning repositories.
Install React JS on Linux (Step-by-Step Guide)
To get started, you need to install Node.js on your computer. When you do, npm (Node Package Manager) will usually be installed automatically because it comes with Node.js.
Note: If npm doesn't install automatically, you can download and install it separately from the npm website.
Step 1: Installation of Node.js
The first step in installing React JSis to ensure that Node.js is installed on your system. React JSrequires Node.js to run JavaScript on the server side and handle package management.
1. Update System Package List
- Open your terminal. and update the system package list.
sudo apt update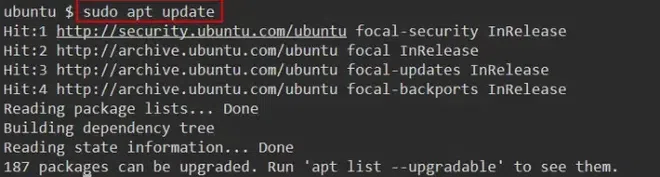
2. Install Node.js
- Now write the command in your terminal, after updating the package list.
sudo apt install nodejs
3. Installation verification
- You should see the version of Node.js installed on your system.
node -v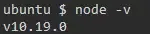
Step 2: Install npm (Node Package Manager) if not Installed
npm is the default package manager for Node.js, and it will be needed to install React JS and other dependencies.
1. Install npm
If npm is not installed with Node.js, install it manually.
sudo apt install npm2. Installation verification
You should see the version of npm installed on your system.
npm -v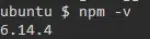
Step 3: Create a React App
Once Node.js and npm are installed, you're ready to create your first React project. The recommended tool for this is Vite, which provides a fast and optimized setup. You can also use Create React App (CRA) if required for legacy purposes.
Using Vite (Recommended)
Vite is a modern build tool that offers lightning-fast startup, minimal configuration, and a better development experience.
1. Create the project
Run the following command to scaffold a new React + JavaScript project using Vite:
npm create vite@latest my-app -- --template react2. Navigate to Project Directory and Install Dependencies
Move into your project folder and install all required dependencies:
cd my-app
npm install
3. Start the Development Server
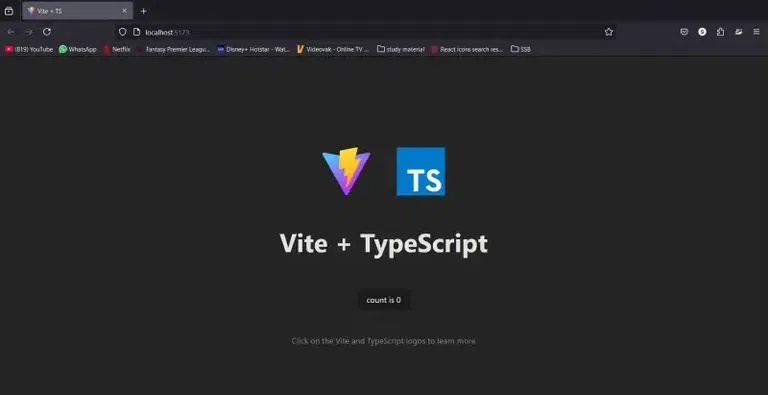
Start the development server to preview your app in the browser:
npm run devVisit http://localhost:5173 in your browser to see your React app.
Using Create React App (Deprecated)
Create React App was once the standard for bootstrapping React apps but has been deprecated since 2023. It's not recommended for new projects.
1. Create the project:
Run the following command to generate a new React project using CRA:
npx create-react-app my-app2. Navigate to the project directory:
Move into the newly created project folder:
cd my-app3. Starting the server:
Start the development server to launch your app:
npm startYour app will launch at http://localhost:3000 in the browser.
Note: Use lowercase for project names to avoid npm naming errors.
Step 4: Verifying the Installation
Once the development server is running, open your browser and go to http://localhost:3000. If everything is set up correctly, you should see the default React welcome page with a "Learn React" message. This confirms that React has been successfully installed on your Linux system.
React JS on Linux Alternate Method
While Create React App is the most popular way to set up a React project, there are other alternative methods available for creating a React app.
Using npx
npx is a package runner tool that comes with npm. It allows you to run commands without installing them globally on your system.
- This will create a new React app in the my app folder without needing to install create-react-app globally.
npx create-react-app my-appNote: The server will start by the same command that is npm start.
Using Yarn
Yarn is an alternative package manager to npm that is faster and more reliable in some cases. If you prefer Yarn over npm, you can follow these steps to install React.
1. Yarn Installation
To install yarn write the command in your terminal which is given below-
npm install --global yarn2. Create a new React app
- Create a new React app using Yarn.
yarn create react-app my-app3. Navigate to the Project Folder and Start the Development Server
- Navigate to the project folder and start the server.
cd my-app
yarn start
Troubleshooting Common Issues & Errors
Common issues may occur during setup or development, but they can be resolved with proper understanding and fixes.
1. Node.js or npm not found
If you encounter the error "node: command not found" or "npm: command not found," it usually means that Node.js and npm are not installed correctly. solution is given below:-
- Make sure to follow the installation steps for Node.js and npm carefully.
- Try reinstalling Node.js and npm using the instructions provided above.
2. Missing dependencies or build errors
Sometimes, when installing React or running the development server, you may encounter errors related to missing dependencies or build issues. solution is given below:-
- Run the following command to install the required dependencies.
npm install- If you are using yarn, run:-
yarn install3. Server not running on localhost
If the React development server does not start on http://localhost:3000, you may need to check the port or firewall settings. solution for this is given below:-
- Check if another process is using port 3000 by running.
lsof -i :3000- If another process is using the port, stop it and try restarting your React app.